2021 CITROEN C3 AIRCROSS instrument panel
[x] Cancel search: instrument panelPage 18 of 244

16
Instruments
Monochrome screen C
Displays in the screen
This displays the following information:– the time,– the date,– the exterior temperature (this flashes if there is a risk of ice),– visual parking sensor information,– the audio source being listened to,– telephone or hands-free kit information,– alert messages,– settings menus for the screen and the vehicle equipment.
Controls
To be able to restart the engine, contact
a CITROËN dealer or a qualified
workshop.
Distance recorders
The total and trip distances are displayed for
thirty seconds when the ignition is switched off,
when the driver's door is opened and when the
vehicle is locked or unlocked.
When travelling abroad, you may have to
change the units of distance: the display
of road speed must be in the official units
(miles or km) for the country.
The change of units is done via the screen
configuration menu, with the vehicle
stationary.
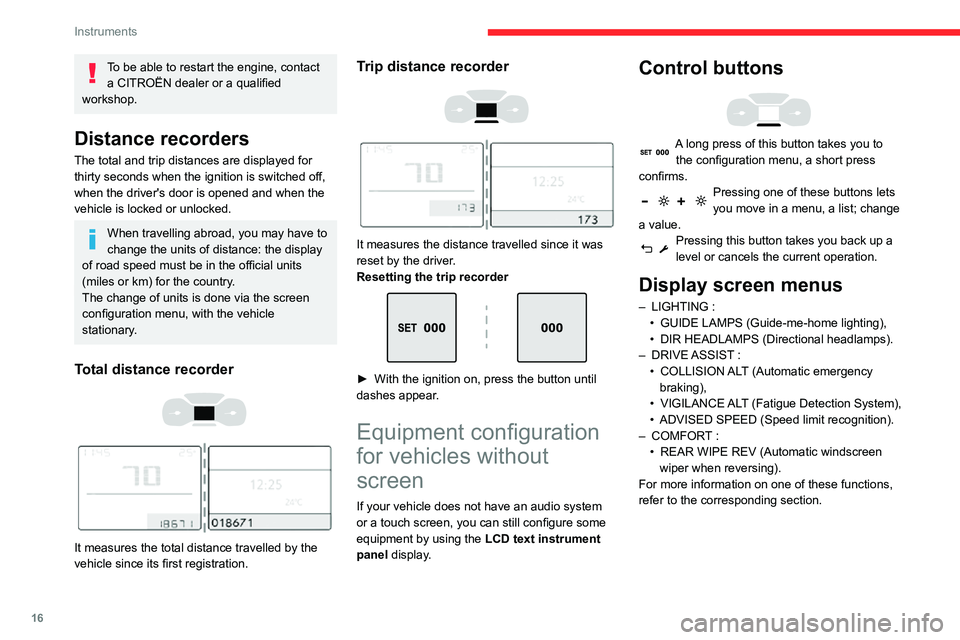
Total distance recorder
It measures the total distance travelled by the
vehicle since its first registration.
Trip distance recorder
It measures the distance travelled since it was
reset by the driver.
Resetting the trip recorder
► With the ignition on, press the button until dashes appear.
Equipment configuration
for vehicles without
screen
If your vehicle does not have an audio system
or a touch screen, you can still configure some
equipment by using the LCD text instrument
panel display.
Control buttons
A long press of this button takes you to the configuration menu, a short press
confirms.
Pressing one of these buttons lets you move in a menu, a list; change
a value.
Pressing this button takes you back up a level or cancels the current operation.
Display screen menus
– LIGHTING :• GUIDE LAMPS (Guide-me-home lighting),• DIR HEADLAMPS (Directional headlamps).– DRIVE ASSIST : • COLLISION ALT (Automatic emergency braking),• VIGILANCE ALT (Fatigue Detection System),• ADVISED SPEED (Speed limit recognition).– COMFORT : • REAR WIPE REV (Automatic windscreen wiper when reversing).
For more information on one of these functions,
refer to the corresponding section.
Page 19 of 244

17
Instruments
1Monochrome screen C
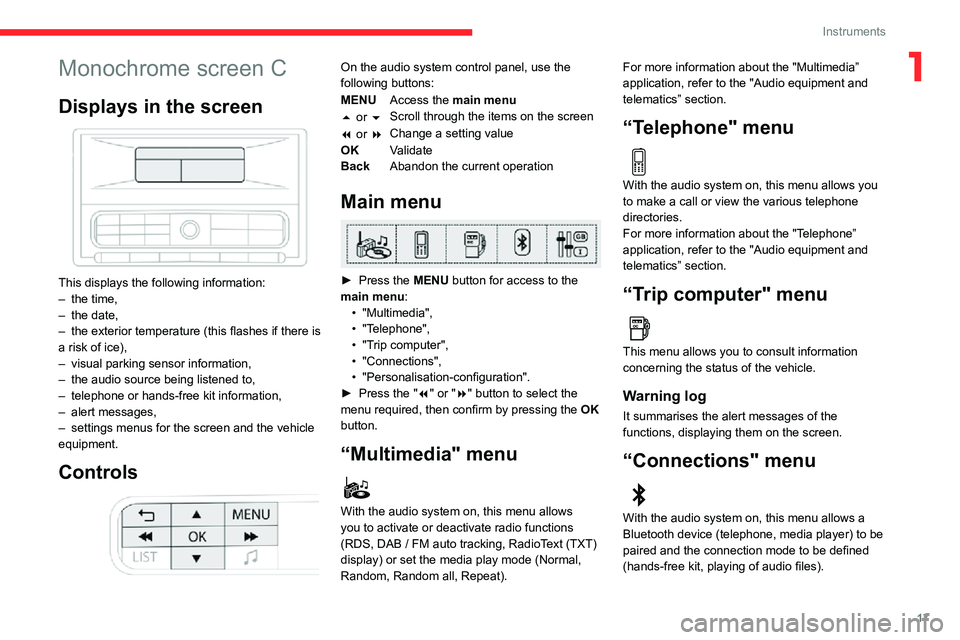
Displays in the screen
This displays the following information:– the time,– the date,– the exterior temperature (this flashes if there is a risk of ice),– visual parking sensor information,– the audio source being listened to,– telephone or hands-free kit information,– alert messages,– settings menus for the screen and the vehicle equipment.
Controls
On the audio system control panel, use the
following buttons:
MENUAccess the main menu
5 or 6 Scroll through the items on the screen
7 or 8 Change a setting value
OK Validate
Back Abandon the current operation
Main menu
► Press the MENU button for access to the
main menu:
• "Multimedia",• "Telephone",• "Trip computer",• "Connections",• "Personalisation-configuration".► Press the "7" or "8" button to select the
menu required, then confirm by pressing the OK
button.
“Multimedia" menu
With the audio system on, this menu allows
you to activate or deactivate radio functions
(RDS, DAB / FM auto tracking, RadioText (TXT) display) or set the media play mode (Normal,
Random, Random all, Repeat). For more information about the "Multimedia”
application, refer to the "Audio equipment and
telematics” section.
“Telephone" menu
With the audio system on, this menu allows you
to make a call or view the various telephone
directories.
For more information about the "Telephone”
application, refer to the "Audio equipment and
telematics” section.
“Trip computer" menu
This menu allows you to consult information
concerning the status of the vehicle.
Warning log
It summarises the alert messages of the
functions, displaying them on the screen.
“Connections" menu
With the audio system on, this menu allows a
Bluetooth device (telephone, media player) to be
paired and the connection mode to be defined
(hands-free kit, playing of audio files).
Page 22 of 244

20
Instruments
Average speed
(mph or km/h)Calculated since the last trip computer reset.
Distance travelled
(miles or km)Calculated since the last trip computer reset.Stop & Start time counter
(minutes / seconds or hours / minutes)
A time counter calculates the time spent in STOP
mode during a journey.
It resets to zero every time the ignition is
switched on.
Lighting dimmer
Allows manual adjustment of the brightness of
the instrument panel and touch screen according
to the outside lighting.
Only works when the vehicle lamps are on
(except daytime running lamps) and in night
mode.
Two buttons
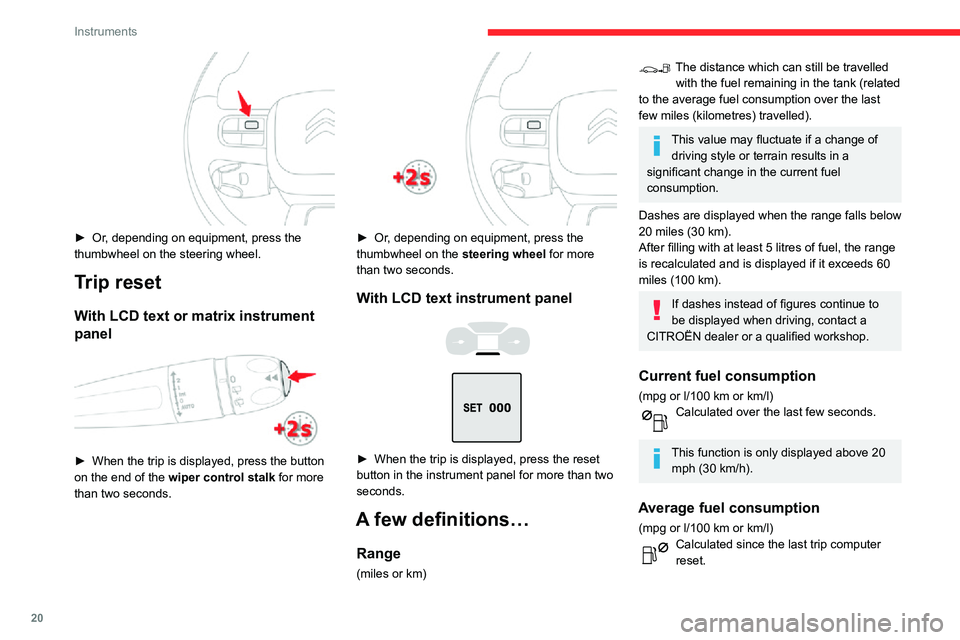
► Or, depending on equipment, press the thumbwheel on the steering wheel.
Trip reset
With LCD text or matrix instrument
panel
► When the trip is displayed, press the button on the end of the wiper control stalk for more
than two seconds.
► Or, depending on equipment, press the thumbwheel on the steering wheel for more
than two seconds.
With LCD text instrument panel
► When the trip is displayed, press the reset button in the instrument panel for more than two
seconds.
A few definitions…
Range
(miles or km)
The distance which can still be travelled with the fuel remaining in the tank (related
to the average fuel consumption over the last
few miles (kilometres) travelled).
This value may fluctuate if a change of driving style or terrain results in a
significant change in the current fuel
consumption.
Dashes are displayed when the range falls below
20 miles (30 km).
After filling with at least 5 litres of fuel, the range
is recalculated and is displayed if it exceeds 60
miles (100 km).
If dashes instead of figures continue to
be displayed when driving, contact a
CITROËN dealer or a qualified workshop.
Current fuel consumption
(mpg or l/100 km or km/l)Calculated over the last few seconds.
This function is only displayed above 20 mph (30 km/h).
Average fuel consumption
(mpg or l/100 km or km/l)Calculated since the last trip computer reset.
Page 23 of 244

21
Instruments
1Average speed
(mph or km/h)Calculated since the last trip computer reset.
Distance travelled
(miles or km)Calculated since the last trip computer reset.Stop & Start time counter
(minutes / seconds or hours / minutes)
A time counter calculates the time spent in STOP
mode during a journey.
It resets to zero every time the ignition is
switched on.
Lighting dimmer
Allows manual adjustment of the brightness of
the instrument panel and touch screen according
to the outside lighting.
Only works when the vehicle lamps are on
(except daytime running lamps) and in night
mode.
Two buttons
With the lamps on, press button A to increase
the brightness of the instruments and controls
and the ambience of the vehicle or button B to
reduce it.
As soon as the lighting reaches the required
level of brightness, release the button.
Touch screen
► In the Settings menu, select "Brightness".► Adjust the brightness by pressing the arrows or moving the cursor.
The brightness can be set differently for day mode and night mode.
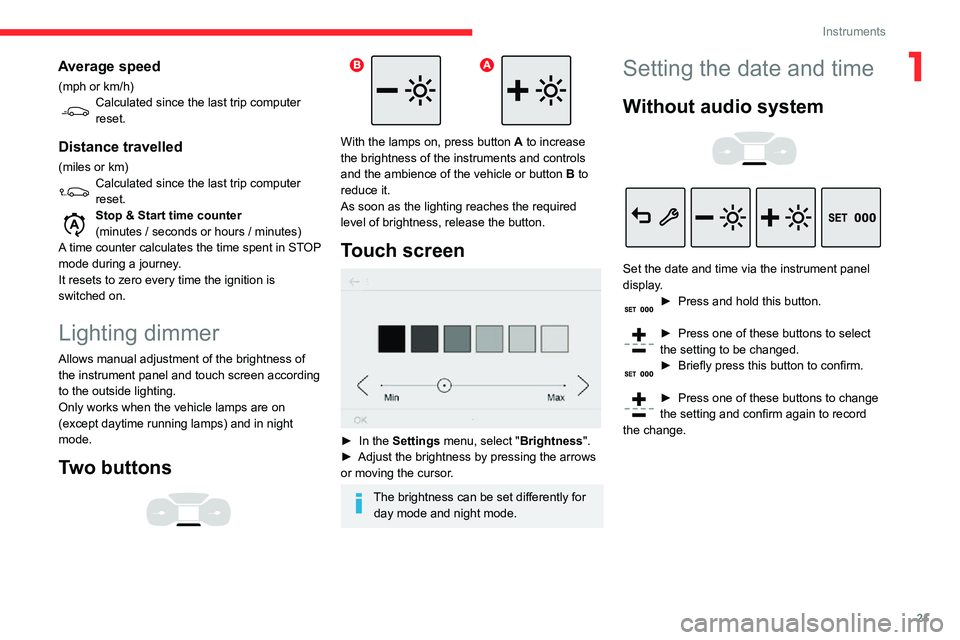
Setting the date and time
Without audio system
Set the date and time via the instrument panel
display.
► Press and hold this button.
► Press one of these buttons to select the setting to be changed.► Briefly press this button to confirm.
► Press one of these buttons to change the setting and confirm again to record
the change.
Page 29 of 244

27
Access
2document and, if possible, the label bearing the
key code.
The CITROËN dealer will be able to retrieve the
key code and the transponder code required to
order a new key.
Complete unlocking /
locking of the vehicle with
the key
These procedures should be used in the
following cases:
– remote control battery flat,– remote control fault,– vehicle in an area subject to strong electromagnetic interference.
In the first case, you can also replace the remote
control battery.
Refer to the corresponding section.
In the second case, you can also reinitialise the
remote control.
Refer to the corresponding section.
► Insert the key in the door lock barrel.► Turn the key towards the front of the vehicle to unlock it, or towards the rear to lock it.
► Turn the key rearwards again within 5 seconds to deadlock the vehicle.
For versions without alarm, the lighting of the
direction indicators for a few seconds confirms
that the procedure has completed correctly.
If the alarm is activated, the siren sounds
on opening the door; switch on the
ignition to stop it.
If your vehicle is fitted with an alarm, this
function will not be activated when
locking with the key.
Without central locking
These procedures should be used in the
following cases:
– central locking fault,– battery disconnected or discharged.
In the event of a fault with the central
locking system, it is essential to
disconnect the battery to lock the boot and so
ensure complete locking of the vehicle.
Driver's door
► Turn the key towards the rear of the vehicle to lock it, or towards the front to unlock it.
Passenger doors
Unlocking a door► Pull the interior opening control for the door .
Locking► Open the doors.► For the rear doors, check that the child lock is not on.
Refer to the corresponding section.
► Remove the black cap on the edge of the door, using the key.► Without forcing, insert the key into the aperture; then, without turning it, move the latch
sideways towards the inside of the door.
► Remove the key and refit the black cap.► Close the doors and check from the outside that the vehicle is locked.
Changing the battery
A message is displayed on the instrument panel
when the battery needs changing.
Page 38 of 244

36
Ease of use and comfort
Correct driving position
For safety reasons, adjustments must
only be made when the vehicle is
stationary.
Before taking to the road and to make the most
of the ergonomic layout of the instruments and
controls, carry out these adjustments in the
following order:
– head restraint height.– seat backrest angle.– seat cushion height.– longitudinal seat position.– steering wheel height and reach.– rear view mirror and door mirrors.
Once these adjustments have been
made, check that the instrument panel
can be viewed correctly from your driving
position.
Front head restraints
Height adjustment
Upward:► pull the head restraint up to the desired position; the head restraint can be felt to click
into position.
Downward:
► press the lug A and push the head restraint
down to the desired position.
The adjustment is correct when the upper edge of the head restraint is level
with the top of the head.
Removing a head restraint
► Pull the head restraint up as far as it will go.► Press the lug A to release the head restraint
and remove it completely.
► Stow the head restraint securely .
Refitting a head restraint
► Introduce the head restraint rods into the guides in the seat backrest.► Push the head restraint down as far as it will go.► Press the lug A to free the head restraint and
push it down.
► Adjust the height of the head restraint.
Never drive with the head restraints
removed; they should be in place and
correctly adjusted for the occupant of the
seat.
Front seats
For safety reasons, seat adjustments
must only be made when the vehicle is
stationary.
Adjustments
Forwards-backwards
► Raise the control bar and slide the seat forwards or backwards.► Release the bar to lock the seat in position on one of the notches.
Before moving the seat backwards,
ensure that there is no person or object
that might prevent the full travel of the seat.
There is a risk of trapping or pinching
passengers if present in the rear seats or of
jamming the seat if large objects are placed
on the floor behind the seat.
Height
(driver only)
Page 57 of 244

55
Lighting and visibility
4Lighting control
Never look too closely at the luminous
beam of LED lamps: risk of serious eye
injury!
In some weather conditions (e.g. low
temperature or humidity), misting on the
internal surface of the glass of the headlamps
and rear lamps is normal, and will disappear
after the lamps have been on for a few
minutes.
Travelling abroad
Vehicles equipped with halogen
headlamps:
If planning to use your vehicle in a country
that drives on the other side of the road, the
headlamp dipped beams must be adjusted to
avoid dazzling oncoming drivers. Contact a
CITROËN dealer or a qualified workshop.
If one or more lamps fails, a message
asks you to check the lamp or lamps
concerned.
Main lighting
Automatic illumination of lamps/daytime running lampsSidelamps only
Dipped or main beam headlamps
Headlamp dipping
► Pull the stalk to switch between dipped and
main beam headlamps.
In “AUTO” and sidelamps modes, the driver can
switch on the main beam headlamps temporarily
(“headlamp flash”) by pulling the stalk.
Display
Illumination of the corresponding indicator lamp
in the instrument panel confirms that the lighting
selected is on.
Foglamps
Rear foglamp
It only works if the sidelamps or dipped beam headlamps are on.
► Rotate the ring forwards to switch it on and backwards to switch it off.
When the lamps are switched off automatically
("AUTO" position), the foglamp and the dipped
beam headlamps will remain on.
Front foglamps and rear
foglamp
Page 58 of 244

56
Lighting and visibility
the left, moving the lighting control stalk upwards turns on the right-hand sidelamps).
This is confirmed by an audible signal and the
lighting of the corresponding direction indicator
lamp on the instrument panel.
► To switch off the parking lamps, return the lighting control stalk to the central position.
Automatic illumination of
headlamps
When the ring is at the "AUTO" position and
a low level of ambient light is detected by a
sunshine sensor, the number plate lamps, side lamps and dipped beam headlamps are switched
on automatically, without any action on the
part of the driver. They can also come on if
rain is detected, at the same time as automatic
operation of the windscreen wipers.
As soon as the light returns to a sufficient level
or after the windscreen wipers are switched off,
the lamps are switched off automatically.
Operating fault
In the event of a malfunction of the sunshine sensor, the lighting comes on,
this warning lamp is displayed in the instrument
panel accompanied by an audible signal and/or a
message.
Contact a CITROËN dealer or a qualified
workshop.
They operate with the sidelamps or dipped beam headlamps on, in manual or
auto mode.
► Press and rotate the ring:– forwards a 1st time to switch on the front
foglamps.
– forwards a 2nd time to switch on the rear
foglamp.
– backwards a 1st time to switch off the rear
foglamp.
– backwards a 2nd time to switch off the front
foglamps.
When the lamps are switched off automatically
(with AUTO model) or when the dipped beam
headlamps are switched off manually, the
foglamps and sidelamps remain on.
► Rotate the ring backwards to switch the foglamps off; the sidelamps will then switch off.
In good or rainy weather, by day and
night, using the front and rear foglamps
is prohibited. In these situations, the power of
their beams may dazzle other drivers. They
should only be used in fog or falling snow.
In these weather conditions, it is your
responsibility to switch on the foglamps and
dipped beam headlamps manually as the
sunshine sensor may detect sufficient light.
Do not forget to turn off the front and rear
foglamps as soon as they are no longer
necessary.
Switching off of the lamps when the
ignition is switched off
When the ignition is switched off, all of the
lamps turn off immediately, except for dipped
beam headlamps if automatic guide-me-home
lighting is activated.
Switching on the lamps after
switching off the ignition
To reactivate the lighting control, rotate the
ring to the "AUTO" position, then to the
desired position.
If the driver's door is opened, a temporary
audible signal warns the driver that the lamps
are on.
They will go off automatically after a period of
time that depends on the state of charge of
the battery (entering energy economy mode).
Direction indicators
(flashers)
► Left: lower the lighting control stalk passing the point of resistance.► Right: raise the lighting control stalk passing the point of resistance.
Three flashes
► Press briefly upwards or downwards, without going beyond the point of resistance; the
direction indicators will flash 3 times.
Parking lamps
Vehicle side marking by lighting the sidelamps
on the traffic side only.
► Depending on version, within one minute of switching off the ignition, move the lighting
control stalk up or down, depending which side
the traffic is on (for example, when parking on