2021 CHRYSLER 300 oil reset
[x] Cancel search: oil resetPage 5 of 268

3
EXTERIOR LIGHTS ................................................. 40
Headlight Switch.. .............................................40
Multifunction Lever . . ........................................40
Daytime Running Lights (DRLs). . .....................41
High/Low Beam Switch. . ..................................41
Automatic High Beam — If Equipped . . ...........41
Flash-To-Pass. . ..................................................41
Automatic Headlights . . ....................................41
Parking Lights . . ................................................41
Headlights On With Wipers . . ............................42
Adaptive Bi-Xenon High Intensity Discharge
Headlights — If Equipped . .
...............................42
Headlight Time Delay . . .....................................42
Lights-On Reminder . . .......................................42
Fog Lights — If Equipped . . ................................42
Turn Signals . . ....................................................43
Lane Change Assist — If Equipped . . ................43
INTERIOR LIGHTS . . ............................................... 43
Interior Courtesy Lights .. ..................................43
WINDSHIELD WIPERS AND WASHERS . . ............ 45
Windshield Wiper Operation .. ..........................45
Rain Sensing Wipers — If Equipped . . .............46
CLIMATE CONTROLS . . .......................................... 47
Automatic Climate Control Descriptions And
Functions . .........................................................47
A
utomatic Temperature Control (ATC) . . .........49
Climate Voice Commands. . ..............................50
Operating Tips . . ...............................................50 INTERIOR STORAGE AND EQUIPMENT .
.
............. 51
Storage..............................................................51
U SB/AUX Control . . ...........................................53
Lighted Cupholders — If Equipped . . ................53
Heated And Cooled Cupholders —
If Equipped . .
.....................................................53
Power Sunshade — If Equipped . . ....................54
Power Outlets . . .................................................54
WINDOWS . . ............................................................56
Power Window Controls .. .................................56
Automatic Window Features . . ........................56
Reset Auto-Up . . ................................................57
Window Lockout Switch . . .................................57
Wind Buffeting . . ...............................................57
PANORAMIC SUNROOF — IF EQUIPPED . . ...........58
Opening And Closing The Sunroof.. .................58
Pinch Protect Feature . . ....................................58
Venting Sunroof. . ..............................................59
Opening And Closing The Power Shade. . ........59
Sunroof Maintenance . . ....................................59
Ignition Off Operation. . .....................................59
HOOD . .....................................................................59
O pening The Hood.. ..........................................59
Closing The Hood . . ...........................................60
TRUNK . ...................................................................60
O pening The Trunk .. .........................................60
Closing The Trunk. . ...........................................60
Trunk Safety . . ...................................................61
Cargo Area Features . . .....................................61
LOAD LEVELING SYSTEM — IF EQUIPPED . . .......63
GETTING TO KNOW YOUR
INSTRUMENT PANEL
INSTRUMENT CLUSTER ........................................ 64
Instrument Cluster Descriptions .. .................. 66
INSTRUMENT CLUSTER DISPLAY . . ...................... 66
Location And Controls.. .................................... 66
Engine Oil Life Reset . . ..................................... 67
Instrument Cluster Display Selectable
Menu Items . .
.................................................... 68
Battery Saver On/Battery Saver Mode
Message — Electrical Load Reduction
Actions — If Equipped . .
.................................... 70
Programmable Features . . ................................ 71
WARNING LIGHTS AND MESSAGES . . ................. 71
Red Warning Lights .. ........................................72
Yellow Warning Lights . . .................................... 74
Yellow Indicator Lights . . ................................... 77
Green Indicator Lights . . ................................... 77
White Indicator Lights . . .................................... 78
Blue Indicator Lights . . ...................................... 78
ONBOARD DIAGNOSTIC SYSTEM — OBD II . . ...... 79
Onboard Diagnostic System
(OBD II) Cybersecurity . .
.................................... 79
EMISSIONS INSPECTION AND MAINTENANCE
PROGRAMS . .
.......................................................... 79
Page 69 of 268

GETTING TO KNOW YOUR INSTRUMENT PANEL 67
Instrument Cluster Display Controls
Up And Down Arrow Buttons:
Using the up
or down arrow buttons allows
you to cycle through the Main Menu Items.
Changes the Main Screen area and Menu Title
a r
ea.
Left And Right Arrow Buttons:
Using the left
or right arrow button allows
you to cycle through the submenu items of the
M a
in menu item.
NOTE:
Holding the up / down or left / right
a
rrow button will loop the user through the
c u
rrently selected menu or options presented
on the screen.
Upon returning to a main menu, the last
submenu screen viewed within that main menu
will be displayed.
OK Button:
For Digital Speedometer:
Pushing the OK button changes units (mph or
km/h).
For Screen Setup:
OK button allows user to enter menu and
submenus.
Within each submenu layer, the up and
down arrow buttons will allow the user to
select the item of interest.
Pushing the OK button makes the selection. A
confirmation screen will appear, returning the
user to the first page of the submenu.
Pushing the left arrow button will exit each
submenu layer and return to the main menu.
For the Trip and Fuel Economy menus:
Information is reset by pushing and holding the
OK button.
ENGINE OIL LIFE RESET
Oil Change Required
Your vehicle is equipped with an engine oil change
in
dicator system. The “Oil Change Required”
message will display in the instrument cluster
display for five seconds after a single chime has
sounded, to indicate the next scheduled oil change
interval. The engine oil change indicator system is
duty cycle based, which means the engine oil
change interval may fluctuate, dependent upon
your personal driving style.
Unless reset, this message will continue to display
e a
ch time you place the ignition in the ON/RUN
position. To turn off the message temporarily, push
and release the OK or arrow buttons. To reset the
oil change indicator system (after performing the
scheduled maintenance), refer to the following
procedure.
Vehicles Equipped With Keyless Enter ‘N Go™ —
I g
nition
Use the steering wheel instrument cluster display
con
trols for the following procedure(s):
1. Without pressing the brake pedal, push the E
NGINE START/STOP button and place the
ignition in the ON/RUN position (do not start
the engine).
1 — Left Arrow Button
2 — Up Arrow Button
3 — Right Arrow Button
4 — Down Arrow Button
5 — OK Button
3
Page 70 of 268

68 GETTING TO KNOW YOUR INSTRUMENT PANEL
2. Push and release the down arrow button to
scroll downward through the main menu to
“ V
ehicle Info.”
3. P ush and release the right
arrow button to
access the ”Oil Life” screen.
4. P ush and hold the O
K button to reset oil life. If
conditions are met, the gauge and numeric
display will update to show 100%. If conditions
are not met a pop-up message of "To reset oil
life engine must be off with ignition in run" will
be displayed (for five seconds), and the user
will remain at the Oil Life screen.
5. P ush and release the u
p or down arrow
button to exit the submenu screen.
NOTE:
If the indicator message illuminates when you start
t h
e vehicle, the oil change indicator system did not
reset. If necessary, repeat this procedure.
Secondary Method Of Resetting Engine Oil Life
1. W ithout pressing the brake pedal, push the
E
NGINE START/STOP button and place the
ignition to the ON/RUN position (do not start
the engine).
2. Fully press the accelerator pedal, slowly, three t
imes within ten seconds.
3. Without pushing the brake pedal, push the E
NGINE START/STOP button once to return the
ignition to the OFF position.
NOTE:
If the indicator message illuminates when you start
t h
e vehicle, the oil change indicator system did not
reset. If necessary, repeat this procedure.
INSTRUMENT CLUSTER DISPLAY
S
ELECTABLE MENU ITEMS
Push and release the up or down arrow
button until the desired Selectable Menu item is
d i
splayed in the instrument cluster display.
Follow the Menu or submenu prompts as desired.
Speedometer
Push and release the OK button to toggle between
mph and km/h.
Vehicle Info
The Vehicle Info consists of the following submenu
(pushing the left or right arrow button will
allow you to scroll through the submenu):
Tire Pressure Monitor
Coolant Temperature
Transmission Temperature
Oil Temperature
Oil Pressure
Oil Life
AWD Status — If Equipped
Battery Voltage
Driver Assist — If Equipped
The Driver Assist menu provides the status and a
visual about the Adaptive Cruise Control and
LaneSense features. When they are both off the
screen, the display will read "Adaptive Cruise
Control (ACC) and LaneSense Off."
Adaptive Cruise Control (ACC) Feature —
If Equipped
The instrument cluster display displays the current
A C
C system settings Ú page 94. The information
displayed depends on ACC system status.
Push the ACC ON/OFF button (located on the
s t
eering wheel) until one of the following displays
in the instrument cluster display:
Adaptive Cruise Control Off
When ACC is deactivated, the display will read
“ A
daptive Cruise Control Off.”
Adaptive Cruise Control Ready
When ACC is activated but the vehicle speed
s e
tting has not been selected, the display will read
“Adaptive Cruise Control Ready.”
Push the SET + or the SET- button (located on the
s t
eering wheel) and the following will display in the
instrument cluster display:
ACC Set
When ACC is set, the set speed will display in the
i n
strument cluster.
Page 197 of 268

195
SERVICING AND MAINTENANCE
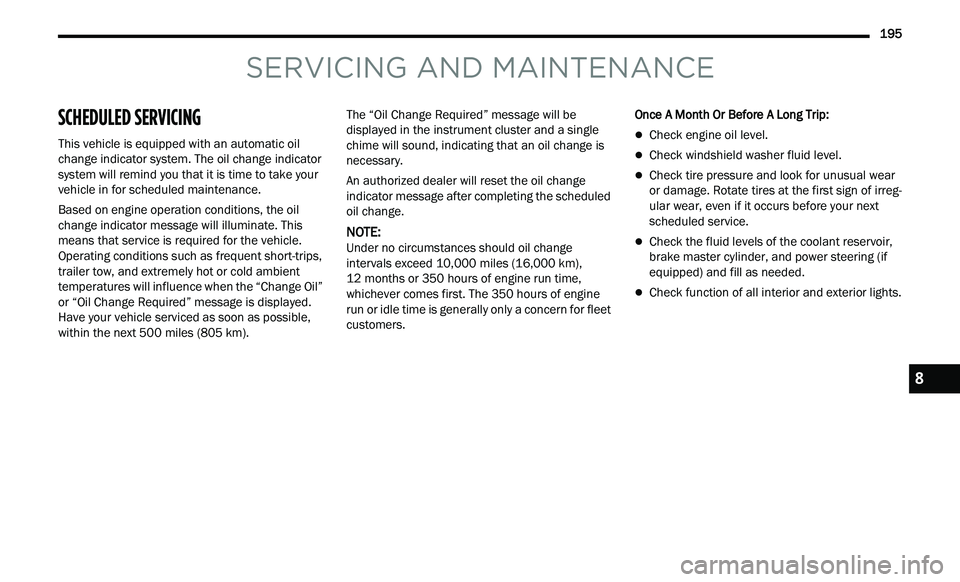
SCHEDULED SERVICING
This vehicle is equipped with an automatic oil
change indicator system. The oil change indicator
system will remind you that it is time to take your
vehicle in for scheduled maintenance.
Based on engine operation conditions, the oil
ch
ange indicator message will illuminate. This
means that service is required for the vehicle.
Operating conditions such as frequent short-trips,
trailer tow, and extremely hot or cold ambient
temperatures will influence when the “Change Oil”
or “Oil Change Required” message is displayed.
Have your vehicle serviced as soon as possible,
within the next 500 miles (805 km). The “Oil Change Required” message will be
di
splayed in the instrument cluster and a single
chime will sound, indicating that an oil change is
necessary.
An authorized dealer will reset the oil change
in
dicator message after completing the scheduled
oil change.
NOTE:
Under no circumstances should oil change
i n
tervals exceed 10,000 miles (16,000 km),
1 2
months or 350 hours of engine run time,
w h
ichever comes first. The 350 hours of engine
run or idle time is generally only a concern for fleet
customers. Once A Month Or Before A Long Trip:
Check engine oil level.
Check windshield washer fluid level.
Check tire pressure and look for unusual wear
or damage. Rotate tires at the first sign of irreg
-
ular wear, even if it occurs before your next
s c
heduled service.
Check the fluid levels of the coolant reservoir,
brake master cylinder, and power steering (if
equipped) and fill as needed.
Check function of all interior and exterior lights.
8
Page 215 of 268

SERVICING AND MAINTENANCE 213
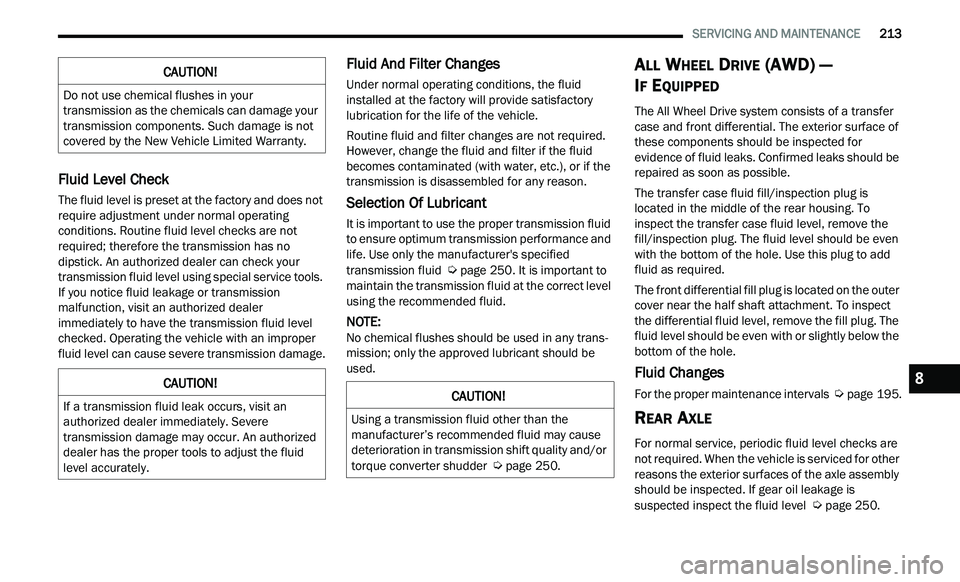
Fluid Level Check
The fluid level is preset at the factory and does not
require adjustment under normal operating
conditions. Routine fluid level checks are not
required; therefore the transmission has no
dipstick. An authorized dealer can check your
transmission fluid level using special service tools.
If you notice fluid leakage or transmission
malfunction, visit an authorized dealer
immediately to have the transmission fluid level
checked. Operating the vehicle with an improper
fluid level can cause severe transmission damage.
Fluid And Filter Changes
Under normal operating conditions, the fluid
installed at the factory will provide satisfactory
lubrication for the life of the vehicle.
Routine fluid and filter changes are not required.
How e
ver, change the fluid and filter if the fluid
becomes contaminated (with water, etc.), or if the
transmission is disassembled for any reason.
Selection Of Lubricant
It is important to use the proper transmission fluid
to ensure optimum transmission performance and
life. Use only the manufacturer's specified
transmission fluid
Ú page 250. It is important to
maintain the transmission fluid at the correct level
u s
ing the recommended fluid.
NOTE:
No chemical flushes should be used in any trans -
mission; only the approved lubricant should be
u s
ed.
ALL WHEEL DRIVE (AWD) —
I
F EQUIPPED
The All Wheel Drive system consists of a transfer
case and front differential. The exterior surface of
these components should be inspected for
evidence of fluid leaks. Confirmed leaks should be
repaired as soon as possible.
The transfer case fluid fill/inspection plug is
l oc
ated in the middle of the rear housing. To
inspect the transfer case fluid level, remove the
fill/inspection plug. The fluid level should be even
with the bottom of the hole. Use this plug to add
fluid as required.
The front differential fill plug is located on the outer
cov
er near the half shaft attachment. To inspect
the differential fluid level, remove the fill plug. The
fluid level should be even with or slightly below the
bottom of the hole.
Fluid Changes
For the proper maintenance intervals Ú page 195.
REAR AXLE
For normal service, periodic fluid level checks are
not required. When the vehicle is serviced for other
reasons the exterior surfaces of the axle assembly
should be inspected. If gear oil leakage is
suspected inspect the fluid level
Ú page 250.
CAUTION!
Do not use chemical flushes in your
transmission as the chemicals can damage your
transmission components. Such damage is not
covered by the New Vehicle Limited Warranty.
CAUTION!
If a transmission fluid leak occurs, visit an
authorized dealer immediately. Severe
transmission damage may occur. An authorized
dealer has the proper tools to adjust the fluid
level accurately.CAUTION!
Using a transmission fluid other than the
manufacturer’s recommended fluid may cause
deterioration in transmission shift quality and/or
torque converter shudder
Ú page 250.
8
Page 262 of 268

260
Outside........................................................35Rearview............................................34, 179Vanity..........................................................34Modifications/Alterations
Vehicle..........................................................8Monitor, Tire Pressure System.......................148Mopar Parts...................................................253MP3 Control....................................................53Multi-Function Control Lever............................40
N
New Vehicle Break-In Period............................84
O
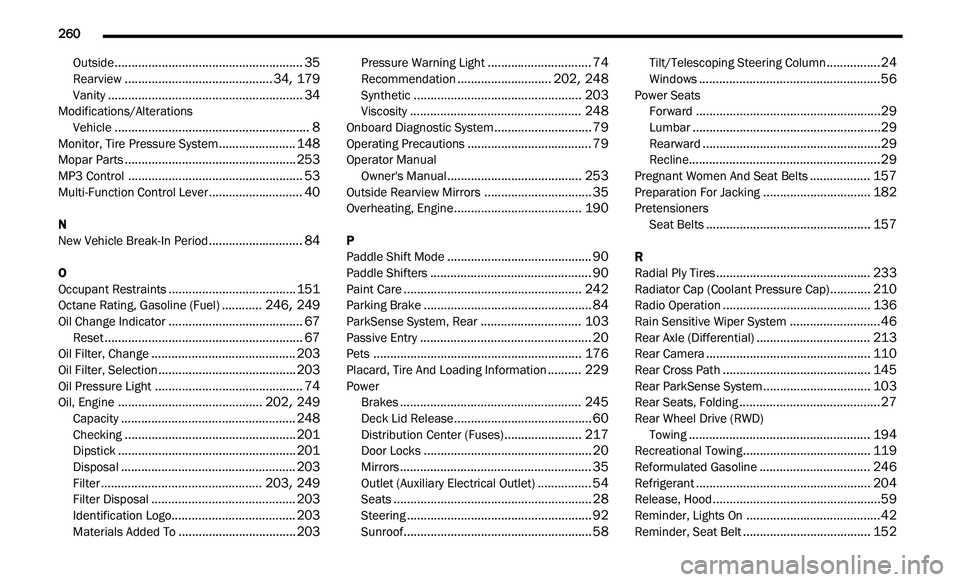
Occupant Restraints......................................151Octane Rating, Gasoline (Fuel)............246, 249Oil Change Indicator........................................67Reset...........................................................67Oil Filter, Change...........................................203Oil Filter, Selection.........................................203Oil Pressure Light............................................74Oil, Engine...........................................202, 249Capacity....................................................248Checking...................................................201Dipstick.....................................................201Disposal....................................................203Filter................................................203, 249Filter Disposal...........................................203Identification Logo.....................................203
Materials Added To...................................203
Pressure Warning Light...............................74Recommendation............................202, 248Synthetic..................................................203Viscosity...................................................248Onboard Diagnostic System.............................79Operating Precautions.....................................79Operator ManualOwner's Manual........................................253Outside Rearview Mirrors................................35Overheating, Engine......................................190
P
Paddle Shift Mode...........................................90Paddle Shifters................................................90Paint Care.....................................................242Parking Brake..................................................84ParkSense System, Rear..............................103Passive Entry...................................................20Pets..............................................................176Placard, Tire And Loading Information..........229PowerBrakes......................................................245Deck Lid Release.........................................60Distribution Center (Fuses).......................217Door Locks..................................................20Mirrors.........................................................35Outlet (Auxiliary Electrical Outlet)................54Seats...........................................................28Steering.......................................................92
Sunroof........................................................58
Tilt/Telescoping Steering Column................24Windows......................................................56Power SeatsForward.......................................................29Lumbar........................................................29Rearward.....................................................29Recline.........................................................29Pregnant Women And Seat Belts..................157Preparation For Jacking................................182PretensionersSeat Belts.................................................157
R
Radial Ply Tires..............................................233Radiator Cap (Coolant Pressure Cap)............210Radio Operation............................................136Rain Sensitive Wiper System...........................46Rear Axle (Differential)..................................213Rear Camera.................................................110Rear Cross Path............................................145Rear ParkSense System................................103Rear Seats, Folding..........................................27Rear Wheel Drive (RWD)Towing......................................................194Recreational Towing......................................119Reformulated Gasoline.................................246Refrigerant....................................................204Release, Hood..................................................59Reminder, Lights On........................................42
Reminder, Seat Belt......................................152