2021 CHEVROLET SILVERADO 2500HD service indicator
[x] Cancel search: service indicatorPage 228 of 433
Chevrolet Silverado 2500 HD/3500 HD Owner Manual (GMNA-Localizing-U.
S./Canada/Mexico-14632154) - 2021 - CRC - 11/20/20
Driving and Operating 227
2. Brake using a firm and steady pressure.Do not pump the brakes repeatedly. This
may deplete power assist, requiring
increased brake pedal force.
3. Shift the vehicle to N (Neutral). This can be done while the vehicle is moving.
After shifting to N (Neutral), firmly apply
the brakes and steer the vehicle to a
safe location.
4. Come to a complete stop, shift to P (Park), and make sure engine is off.
The shift lever must be in P (Park) to
turn the ignition off.
5. Set the parking brake. See Electric
Parking Brake 0240.
{Warning
Turning off the vehicle while moving may
cause loss of power assist in the brake
and steering systems and disable the
airbags. While driving, only shut the
vehicle off in an emergency.
ACC/ACCESSORY (Amber Indicator Light) :
This mode allows some electrical accessories
to be used when the engine is off. With the ignition off, pressing the ENGINE
START/STOP button one time without the
brake pedal applied will place the ignition
system in ACC/ACCESSORY.
The ignition will switch from ACC/
ACCESSORY to off after five minutes to
prevent battery rundown.
ON/RUN/START (Green Indicator Light) :
This
mode is for driving and starting. With the
ignition off, and the brake pedal applied,
pressing ENGINE START/STOP button once
will turn the ignition on. Once engine
cranking begins, release the button. Engine
cranking will continue until the engine
starts. See Starting the Engine 0227.
Service Mode
This power mode is available for service and
diagnostics, and to verify the proper
operation of the malfunction indicator lamp
as may be required for emission inspection
purposes. With the vehicle off, and the
brake pedal not applied, pressing and
holding the ENGINE START/STOP button for
more than five seconds will place the vehicle
in Service Mode. The instruments and audio
systems will operate as they do when the
ignition is on, but the vehicle will not be able to be driven. The engine will not start
in Service Mode. Press the ENGINE START/
STOP button again to turn the ignition off.
Starting the Engine
If the vehicle has a diesel engine, see the
Duramax diesel supplement.
Caution
If you add electrical parts or accessories,
you could change the way the engine
operates. Any resulting damage would
not be covered by the vehicle warranty.
See
Add-On Electrical Equipment 0297.
Move the shift lever to P (Park) or
N (Neutral). To restart the engine when the
vehicle is already moving, use
N (Neutral) only.
Caution
Do not try to shift to P (Park) if the
vehicle is moving. If you do, you could
damage the transmission. Shift to P (Park)
only when the vehicle is stopped.
Page 233 of 433
Chevrolet Silverado 2500 HD/3500 HD Owner Manual (GMNA-Localizing-U.
S./Canada/Mexico-14632154) - 2021 - CRC - 11/20/20
232 Driving and Operating
Engine Exhaust{
Warning
Engine exhaust contains carbon monoxide
(CO), which cannot be seen or smelled.
Exposure to CO can cause
unconsciousness and even death.
Exhaust may enter the vehicle if:
.The vehicle idles in areas with poor
ventilation (parking garages, tunnels,
deep snow that may block underbody
airflow or tail pipes).
.The exhaust smells or sounds strange
or different.
.The exhaust system leaks due to
corrosion or damage.
.The vehicle exhaust system has been
modified, damaged, or improperly
repaired.
.There are holes or openings in the
vehicle body from damage or
aftermarket modifications that are not
completely sealed. (Continued)
Warning (Continued)
If unusual fumes are detected or if it is
suspected that exhaust is coming into the
vehicle:
.Drive it only with the windows
completely down.
.Have the vehicle repaired immediately.
Never park the vehicle with the engine
running in an enclosed area such as a
garage or a building that has no fresh air
ventilation.
Running the Vehicle While Parked
It is better not to park with the engine
running.
If the vehicle is left with the engine running,
follow the proper steps to be sure the
vehicle will not move. See Shifting Into Park
0 230 and
Engine Exhaust 0232.
If parking on a hill and pulling a trailer, see
Driving Characteristics and Towing Tips
0 268.
Automatic Transmission
If equipped, there is an electronic shift lever
position indicator within the instrument
cluster. This display comes on when the
ignition is in ACC/ACCESSORY, on or
service mode.
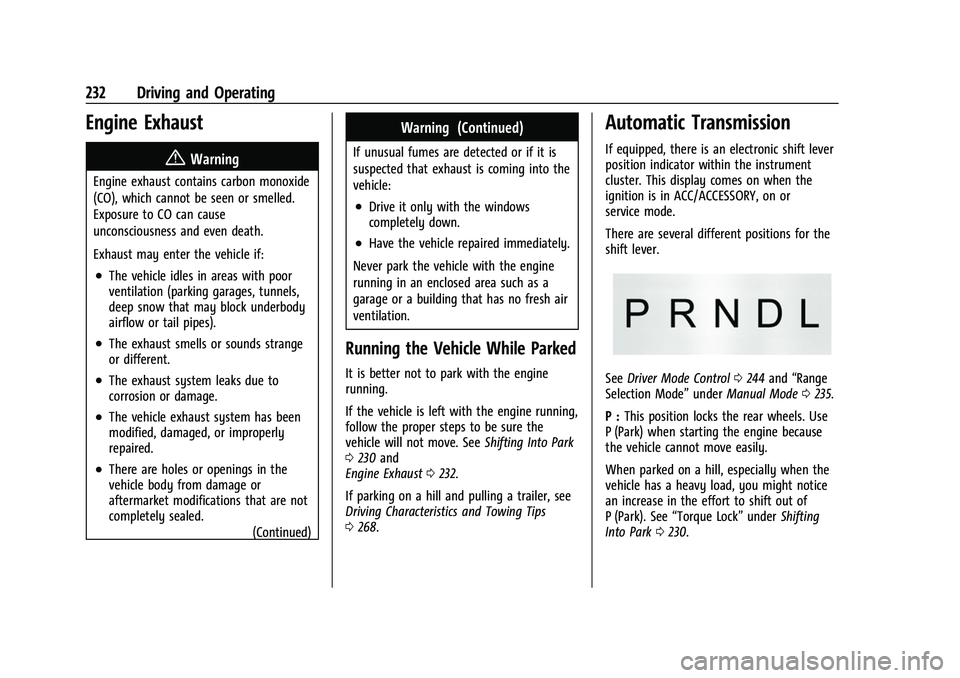
There are several different positions for the
shift lever.
See Driver Mode Control 0244 and “Range
Selection Mode” underManual Mode 0235.
P : This position locks the rear wheels. Use
P (Park) when starting the engine because
the vehicle cannot move easily.
When parked on a hill, especially when the
vehicle has a heavy load, you might notice
an increase in the effort to shift out of
P (Park). See “Torque Lock” underShifting
Into Park 0230.
Page 260 of 433
Chevrolet Silverado 2500 HD/3500 HD Owner Manual (GMNA-Localizing-U.
S./Canada/Mexico-14632154) - 2021 - CRC - 11/20/20
Driving and Operating 259
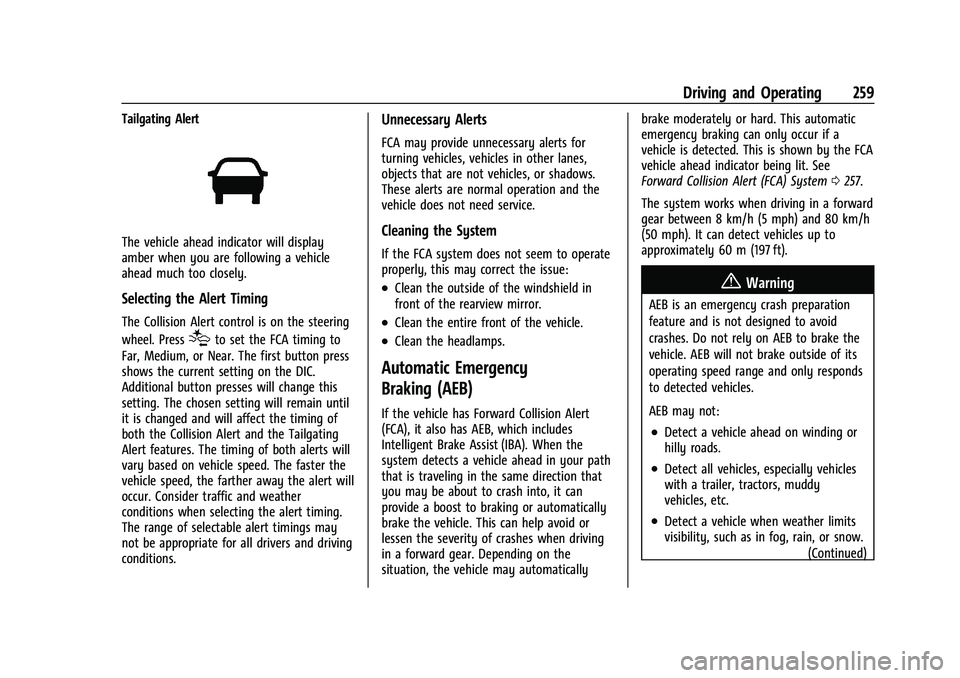
Tailgating Alert
The vehicle ahead indicator will display
amber when you are following a vehicle
ahead much too closely.
Selecting the Alert Timing
The Collision Alert control is on the steering
wheel. Press
[to set the FCA timing to
Far, Medium, or Near. The first button press
shows the current setting on the DIC.
Additional button presses will change this
setting. The chosen setting will remain until
it is changed and will affect the timing of
both the Collision Alert and the Tailgating
Alert features. The timing of both alerts will
vary based on vehicle speed. The faster the
vehicle speed, the farther away the alert will
occur. Consider traffic and weather
conditions when selecting the alert timing.
The range of selectable alert timings may
not be appropriate for all drivers and driving
conditions.
Unnecessary Alerts
FCA may provide unnecessary alerts for
turning vehicles, vehicles in other lanes,
objects that are not vehicles, or shadows.
These alerts are normal operation and the
vehicle does not need service.
Cleaning the System
If the FCA system does not seem to operate
properly, this may correct the issue:
.Clean the outside of the windshield in
front of the rearview mirror.
.Clean the entire front of the vehicle.
.Clean the headlamps.
Automatic Emergency
Braking (AEB)
If the vehicle has Forward Collision Alert
(FCA), it also has AEB, which includes
Intelligent Brake Assist (IBA). When the
system detects a vehicle ahead in your path
that is traveling in the same direction that
you may be about to crash into, it can
provide a boost to braking or automatically
brake the vehicle. This can help avoid or
lessen the severity of crashes when driving
in a forward gear. Depending on the
situation, the vehicle may automatically brake moderately or hard. This automatic
emergency braking can only occur if a
vehicle is detected. This is shown by the FCA
vehicle ahead indicator being lit. See
Forward Collision Alert (FCA) System
0257.
The system works when driving in a forward
gear between 8 km/h (5 mph) and 80 km/h
(50 mph). It can detect vehicles up to
approximately 60 m (197 ft).
{Warning
AEB is an emergency crash preparation
feature and is not designed to avoid
crashes. Do not rely on AEB to brake the
vehicle. AEB will not brake outside of its
operating speed range and only responds
to detected vehicles.
AEB may not:
.Detect a vehicle ahead on winding or
hilly roads.
.Detect all vehicles, especially vehicles
with a trailer, tractors, muddy
vehicles, etc.
.Detect a vehicle when weather limits
visibility, such as in fog, rain, or snow. (Continued)
Page 297 of 433
Chevrolet Silverado 2500 HD/3500 HD Owner Manual (GMNA-Localizing-U.
S./Canada/Mexico-14632154) - 2021 - CRC - 11/20/20
296 Driving and Operating
Settings View
Within the Trailering App, touch the Settings
tab to modify the following settings:
.Trailer Detection Alert
.Maintenance Alerts
.Theft Alert
.Tow/Haul Mode Reminder
.Trailer Length Indicator
Trailer Detection Alert
The Trailer Detection Alert setting will be on
by default. Turn it off to disable the Trailer
Detection pop-up from displaying when a
trailer is connected. The Guest Trailer Profile
will become the active Trailer Profile, unless
another Trailer Profile is selected manually
through the Trailering App. If this setting is
disabled while a Custom Trailer Profile is
active, that Trailer Profile will remain the
active profile until the trailer is
disconnected.
Maintenance Alerts
Touch Maintenance Alerts to view the
Maintenance Alerts settings page. These
alerts are based on the Trailer Profile, so the
settings for each Trailer Profile must beturned on or off. Touch a profile to view
more information or adjust the setting for
that profile.
The setting will be on by default for each
profile. All Maintenance Alerts for that active
Trailer Profile will be received.
Turn a setting off to not receive any of the
Maintenance Alerts when that Trailer Profile
is active.
Theft Alert
A theft alert can be set if a trailer is
connected and the alert is enabled. When
the trailer is disconnected and the vehicle is
off, an alarm will sound.
Touch Theft Alert in Settings to view the
Theft Alert settings page. These alerts are
based on the Trailer Profile, so the settings
for each Trailer Profile must be turned on or
off. Touch a profile to view more
information or adjust the setting for that
profile.
This setting will be off by default for each
Trailer Profile, including the Guest Trailer
Profile.
A smartphone will receive a notification that
the trailer related to the selected Trailer
Profile is disconnected from the vehicle,if the setting is on for the active Trailer
Profile, the vehicle has an OnStar or
connected service plan and the smartphone
number has been added to the account for
this notification.
If the setting is turned off for a given Trailer
Profile, the smartphone will not receive this
security notification even if the Trailer
Profile is active.
Tow/Haul Mode Reminder
This is a reminder to turn on the Tow/Haul
Mode when towing a trailer. See
Tow/Haul
Mode 0235.
Touch Tow/Haul Mode Reminder in Settings
to view the Tow/Haul Mode Reminder
settings page. These alerts are based on the
Trailer Profile, so the settings for each
Trailer Profile must be turned on or off.
Touch a profile to view more information or
to adjust the setting for that profile.
This setting will default to OFF for each
Trailer Profile, including the Guest Trailer
Profile.
Page 298 of 433
Chevrolet Silverado 2500 HD/3500 HD Owner Manual (GMNA-Localizing-U.
S./Canada/Mexico-14632154) - 2021 - CRC - 11/20/20
Driving and Operating 297
If Tow/Haul Mode is off and this setting is
on for a Trailer Profile, each time the
ignition is turned on a reminder will appear
to turn on Tow/Haul Mode when the Trailer
Profile is active.
If Tow/Haul Mode is on and this setting is
on for a Trailer Profile, the reminder will not
appear when the Trailer Profile is active.
Trailer Length Indicator
Touch Trailer Length Indicator to view the
Trailer Length Indicator settings page. If this
setting is ON a guideline is displayed in the
side mirror camera view to indicate the rear
of the attached trailer. If this setting is OFF
the guideline will not be displayed.
This setting will default to OFF if the trailer
length indicator feature is not set up. See
"Towing Assistance" for details on the setup.
Conversions and Add-Ons
Add-On Electrical Equipment
{Warning
The Data Link Connector (DLC) is used for
vehicle service and Emission Inspection/
Maintenance testing. SeeMalfunction
Indicator Lamp (Check Engine Light) 0111.
A device connected to the DLC —such as
an aftermarket fleet or driver-behavior
tracking device —may interfere with
vehicle systems. This could affect vehicle
operation and cause a crash. Such devices
may also access information stored in the
vehicle’s systems.
Caution
Some electrical equipment can damage
the vehicle or cause components to not
work and would not be covered by the
vehicle warranty. Always check with your
dealer before adding electrical equipment.
Add-on equipment can drain the vehicle's
12-volt battery, even if the vehicle is not
operating. The vehicle has an airbag system. Before
attempting to add anything electrical to the
vehicle, see
Servicing the Airbag-Equipped
Vehicle 066 and
Adding Equipment to the Airbag-Equipped
Vehicle 066.
For information on wiring auxiliary switches,
see www.gmupfitter.com or contact your
dealer.
Adding a Snow Plow or Similar
Equipment
Caution
Do not exceed 72 km/h (45 mph) with a
snow plow mounted to the vehicle. The
vehicle could overheat and be damaged.
Before installing a snow plow on the vehicle,
follow these guidelines:
Caution
If the vehicle does not have the snow
plow prep package, RPO VYU, adding a
plow can damage the vehicle, and the
repairs would not be covered by the
vehicle warranty. Unless the vehicle was
built to carry a snow plow, do not add
(Continued)
Page 317 of 433
Chevrolet Silverado 2500 HD/3500 HD Owner Manual (GMNA-Localizing-U.
S./Canada/Mexico-14632154) - 2021 - CRC - 11/20/20
316 Vehicle Care
Caution (Continued)
.Do not use engine coolant (antifreeze)
in the windshield washer. It can
damage the windshield washer system
and paint.
.Do not mix water with ready-to-use
washer fluid. Water can cause the
solution to freeze and damage the
washer fluid tank and other parts of
the washer system.
.When using concentrated washer fluid,
follow the manufacturer instructions
for adding water.
.Fill the washer fluid tank only
three-quarters full when it is very cold.
This allows for fluid expansion if
freezing occurs, which could damage
the tank if it is completely full.
Brakes
Disc brake linings have built-in wear
indicators that make a high-pitched warning
sound when the brake linings are worn and
new linings are needed. The sound can come
and go or can be heard all the time when
the vehicle is moving, except when applying
the brake pedal firmly.
{Warning
The brake wear warning sound means
that soon the brakes will not work well.
That could lead to a crash. When the
brake wear warning sound is heard, have
the vehicle serviced.
Caution
Continuing to drive with worn-out brake
linings could result in costly brake
repairs.
Some driving conditions or climates can
cause a brake squeal when the brakes are
first applied, clearing up following several
applications. This does not mean something
is wrong with the brakes.
Properly torqued wheel nuts are necessary
to help prevent brake pulsation. When tires
are rotated, inspect brake linings for wear
and evenly tighten wheel nuts in the proper
sequence to torque specifications. See
Capacities and Specifications 0398.
Brake pads should be replaced as complete
axle sets.
Brake Pedal Travel
See your dealer if the brake pedal does not
return to normal height, or if there is a
rapid increase in pedal travel. This could be
a sign that brake service may be required.
Replacing Brake System Parts
Always replace brake system parts with
new, approved replacement parts. If this is
not done, the brakes may not work
properly. The braking performance can
change in many ways if the wrong brake
parts are installed or if parts are improperly
installed.
Brake Pad Life System
When to Change Brake Pads
This vehicle has a system that estimates the
remaining life of the front and rear brake
pads. Brake pad life is displayed in the
Driver Information Center (DIC), along with
a percentage for each axle. The system must
be reset every time the brake pads are
changed.
When the system has determined that the
brake pads need to be replaced, a message
will display, which may include mileage
remaining.
Page 345 of 433

Chevrolet Silverado 2500 HD/3500 HD Owner Manual (GMNA-Localizing-U.
S./Canada/Mexico-14632154) - 2021 - CRC - 11/20/20
344 Vehicle Care
displays, seeDriver Information Center (DIC)
(Base Level) 0119 or
Driver Information Center (DIC) (Midlevel and
Uplevel) 0120.
The low tire pressure warning light may
come on in cool weather when the vehicle is
first started, and then turn off as the vehicle
is driven. This could be an early indicator
that the air pressure is getting low and
needs to be inflated to the proper pressure.
A Tire and Loading Information label shows
the size of the original equipment tires and
the correct inflation pressure for the tires
when they are cold. See Vehicle Load Limits
0 217, for an example of the Tire and
Loading Information label and its location.
Also see Tire Pressure 0341.
The TPMS can warn about a low tire
pressure condition but it does not replace
normal tire maintenance. See Tire Inspection
0 348, Tire Rotation 0348 and
Tires 0336.
Caution
Tire sealant materials are not all the
same. A non-approved tire sealant could
damage the TPMS sensors. TPMS sensor
(Continued)
Caution (Continued)
damage caused by using an incorrect tire
sealant is not covered by the vehicle
warranty. Always use only the GM
approved tire sealant available through
your dealer or included in the vehicle.
TPMS Malfunction Light and Message
The TPMS will not function properly if one
or more of the TPMS sensors are missing or
inoperable. When the system detects a
malfunction, the low tire pressure warning
light flashes for about one minute and then
stays on for the remainder of the ignition
cycle. A DIC warning message also displays.
The malfunction light and DIC warning
message come on at each ignition cycle
until the problem is corrected. Some of the
conditions that can cause these to come
on are:
.One of the road tires has been replaced
with the spare tire. The spare tire does
not have a TPMS sensor. The malfunction
light and the DIC message should go off
after the road tire is replaced and the
sensor matching process is performed
successfully. See "TPMS Sensor Matching
Process" later in this section.
.The TPMS sensor matching process was
not done or not completed successfully
after rotating the tires. The malfunction
light and the DIC message should go off
after successfully completing the sensor
matching process. See "TPMS Sensor
Matching Process" later in this section.
.One or more TPMS sensors are missing or
damaged. The malfunction light and the
DIC message should go off when the
TPMS sensors are installed and the sensor
matching process is performed
successfully. See your dealer for service.
.Replacement tires or wheels do not match
the original equipment tires or wheels.
Tires and wheels other than those
recommended could prevent the TPMS
from functioning properly. See Buying
New Tires 0351.
.Operating electronic devices or being near
facilities using radio wave frequencies
similar to the TPMS could cause the TPMS
sensors to malfunction.
If the TPMS is not functioning properly, it
cannot detect or signal a low tire pressure
condition. See your dealer for service if the
TPMS malfunction light and DIC message
come on and stay on.
Page 349 of 433

Chevrolet Silverado 2500 HD/3500 HD Owner Manual (GMNA-Localizing-U.
S./Canada/Mexico-14632154) - 2021 - CRC - 11/20/20
348 Vehicle Care
performed successfully. See "TTPMS
Sensor Learning Process" underTrailering
App 0286.
.Operating electronic devices or being near
facilities using radio wave frequencies
similar to the TTPMS could cause
interference to the TTPMS which could
cause loss of signal reception from the
sensor.
.If the system does not receive the signal
from an individual sensor, an error
message may not occur until the vehicle
has been driver for a period of time.
If the TTPMS is not functioning properly, it
cannot detect or signal a low tire condition.
See your dealer for service if the DIC
message comes on and stays on when the
trailer tire pressures have been checked and
determined to be correct.
Tire Inspection
We recommend that the tires, including
the spare tire, if the vehicle has one, be
inspected for signs of wear or damage
at least once a month.
Replace the tire if:
.The indicators at three or more
places around the tire can be seen.
.There is cord or fabric showing
through the tire's rubber.
.The tread or sidewall is cracked, cut,
or snagged deep enough to show
cord or fabric.
.The tire has a bump, bulge, or split.
.The tire has a puncture, cut, or other
damage that cannot be repaired well
because of the size or location of the
damage.
Tire Rotation
Tires should be rotated every 12 000 km
(7,500 mi). See Maintenance Schedule
0 384.
Tires are rotated to achieve a more
uniform wear for all tires. The first
rotation is the most important.
Anytime unusual wear is noticed, rotate
the tires as soon as possible, check for
proper tire inflation pressure, and check
for damaged tires or wheels. If the
unusual wear continues after the
rotation, check the wheel alignment.
See When It Is Time for New Tires
0 350 and Wheel Replacement 0354. If the full-size spare tire is part of the
tire rotation, make sure the tire rotated
into the spare position is stored
securely. Push, pull, and then try to
rotate or turn the tire. If it moves, use
the wheel wrench/hoist shaft to tighten
the cable. See
Tire Changing0356.
Use this rotation pattern when rotating
the tires if the vehicle has single rear
wheels.