Page 105 of 126
8-30
8
do not work smoothly, you could be unable
to control the ATV, which could lead to an
accident or collision.
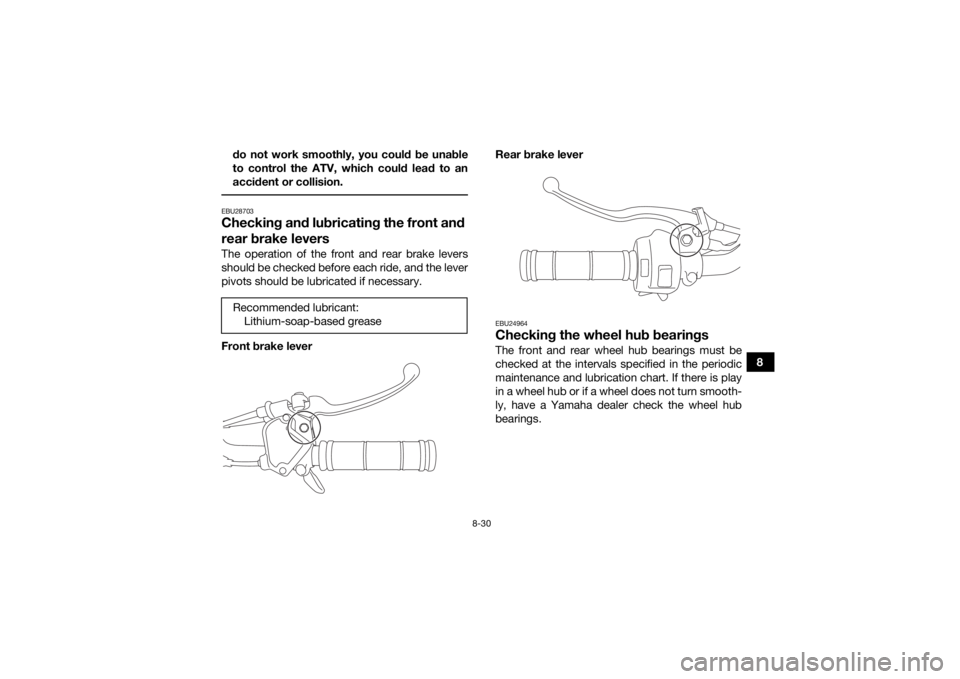
EBU28703Checking and lubricating the front and
rear brake leversThe operation of the front and rear brake levers
should be checked before each ride, and the lever
pivots should be lubricated if necessary.
Front brake lever
Rear brake lever
EBU24964Checking the wheel hub bearingsThe front and rear wheel hub bearings must be
checked at the intervals specified in the periodic
maintenance and lubrication chart. If there is play
in a wheel hub or if a wheel does not turn smooth-
ly, have a Yamaha dealer check the wheel hub
bearings.
Recommended lubricant:
Lithium-soap-based grease
UBW463E0.book Page 30 Monday, January 28, 2019 10:22 AM
Page 106 of 126
8-31
8
EBU36391Lubricating the front arm pivotsThe front arm pivots must be lubricated at the in-
tervals specified in the periodic maintenance and
lubrication chart.
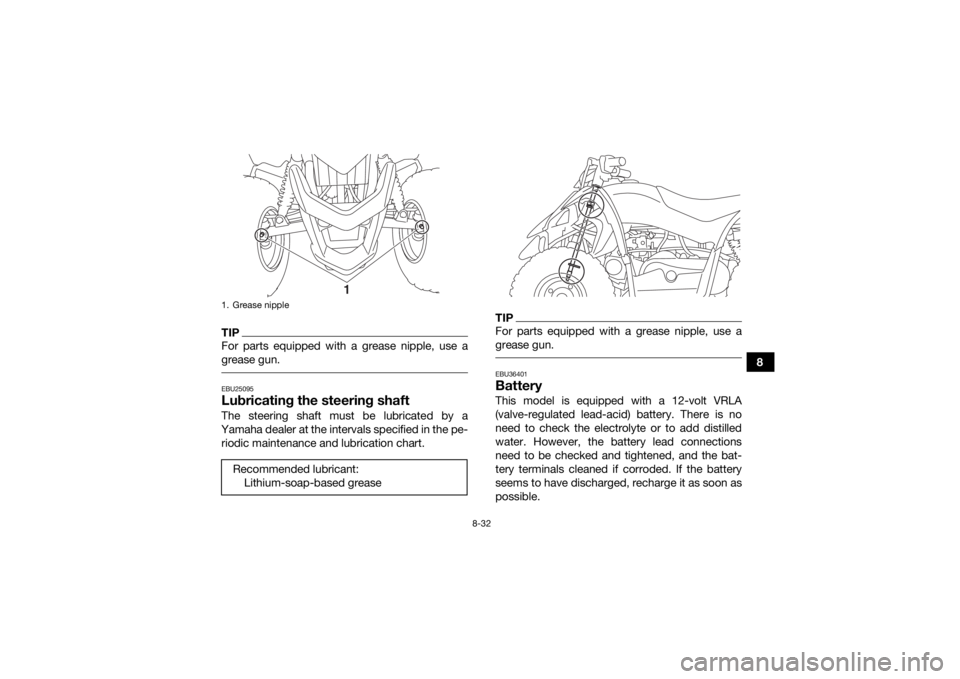
TIPFor parts equipped with a grease nipple, use a
grease gun. EBU28825Lubricating the front knuckle pivotsThe front knuckle pivots must be lubricated at the
intervals specified in the periodic maintenance
and lubrication chart.
Recommended lubricant:
Lithium-soap-based grease1. Grease nippleRecommended lubricant:Lithium-soap-based grease
1
UBW463E0.book Page 31 Monday, January 28, 2019 10:22 AM
Page 107 of 126
8-32
8
TIPFor parts equipped with a grease nipple, use a
grease gun. EBU25095Lubricating the steering shaftThe steering shaft must be lubricated by a
Yamaha dealer at the intervals specified in the pe- riodic maintenance and lubrication chart.
TIPFor parts equipped with a grease nipple, use a
grease gun. EBU36401BatteryThis model is equipped with a 12-volt VRLA
(valve-regulated lead-acid) battery. There is no
need to check the electrolyte or to add distilled
water. However, the battery lead connections
need to be checked and tightened, and the bat-
tery terminals cleaned if corroded. If the battery
seems to have discharged, recharge it as soon as
possible.
1. Grease nippleRecommended lubricant: Lithium-soap-based grease
1
UBW463E0.book Page 32 Monday, January 28, 2019 10:22 AM
Page 108 of 126

8-33
8
TIPWear gloves and eye protection in a ventilated
area away from sparks and open flames. Wash
hands after handling.
It is recommended to have the battery serviced
by a Yamaha dealer.
WARNING
EWB02161Battery electrolyte is poisonous and danger-
ous, as it contains sulfuric acid, which can
cause severe burns. Avoid contact with skin,
eyes or clothing. Always shield your eyes when
working near batteries.
Antidote:
EXTERNAL: Flush with water.
INTERNAL: Drink large quantities of water or
milk. Follow with milk of magnesia, beaten egg
or vegetable oil. Call a physician immediately.
EYES: Flush with water for 15 minutes and get
prompt medical attention.
Batteries produce explosive gases. Keep
sparks, flame, cigarettes or other sources of
ignition away. Ventilate when charging or using
in an enclosed space. KEEP OUT OF REACH OF CHILDREN.
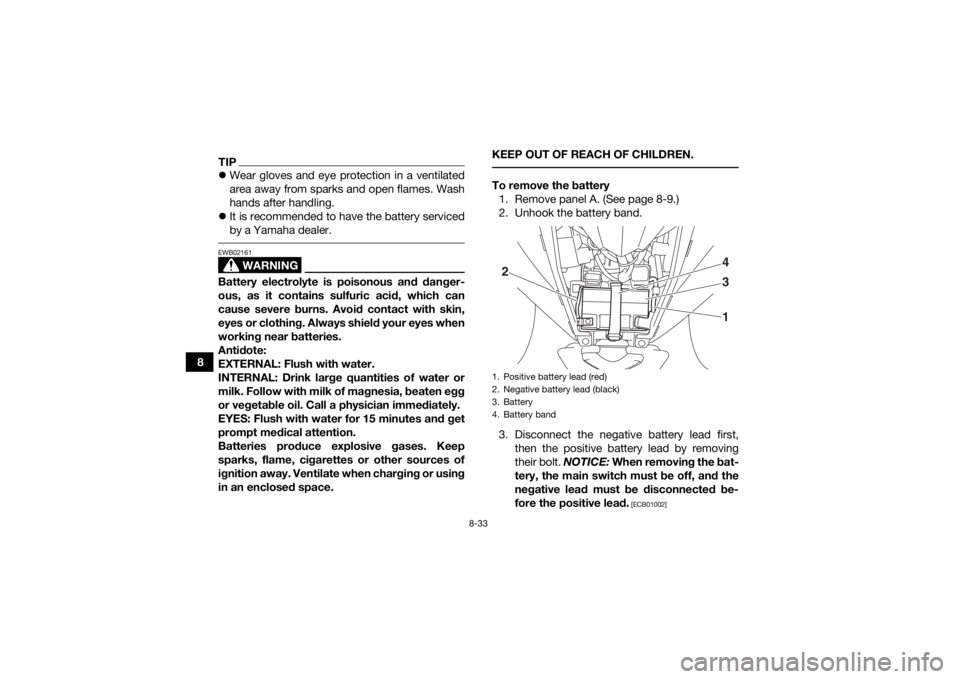
To remove the battery
1. Remove panel A. (See page 8-9.)
2. Unhook the battery band.
3. Disconnect the negative battery lead first, then the positive battery lead by removing
their bolt. NOTICE: When removing the bat-
tery, the main switch must be off, and the
negative lead must be disconnected be-
fore the positive lead.
[ECB01002]
1. Positive battery lead (red)
2. Negative battery lead (black)
3. Battery
4. Battery band2 4
3
1
UBW463E0.book Page 33 Monday, January 28, 2019 10:22 AM
Page 109 of 126

8-34
8
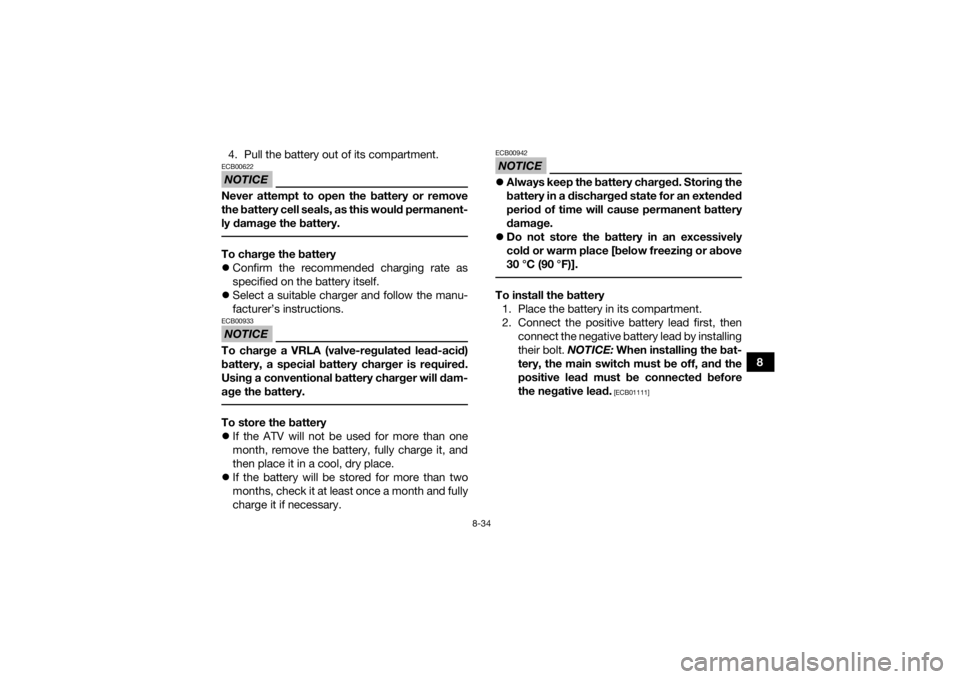
4. Pull the battery out of its compartment.
NOTICEECB00622Never attempt to open the battery or remove
the battery cell seals, as this would permanent-
ly damage the battery. To charge the battery
Confirm the recommended charging rate as
specified on the battery itself.
Select a suitable charger and follow the manu-
facturer’s instructions.NOTICEECB00933To charge a VRLA (valve-regulated lead-acid)
battery, a special battery charger is required.
Using a conventional battery charger will dam-
age the battery. To store the battery
If the ATV will not be used for more than one
month, remove the battery, fully charge it, and
then place it in a cool, dry place.
If the battery will be stored for more than two
months, check it at least once a month and fully
charge it if necessary.
NOTICEECB00942Always keep the battery charged. Storing the
battery in a discharged state for an extended
period of time will cause permanent battery
damage.
Do not store the battery in an excessively
cold or warm place [below freezing or above
30 °C (90 °F)]. To install the battery
1. Place the battery in its compartment.
2. Connect the positive battery lead first, then connect the negative battery lead by installing
their bolt. NOTICE: When installing the bat-
tery, the main switch must be off, and the
positive lead must be connected before
the negative lead.
[ECB01111]
UBW463E0.book Page 34 Monday, January 28, 2019 10:22 AM
Page 110 of 126
8-35
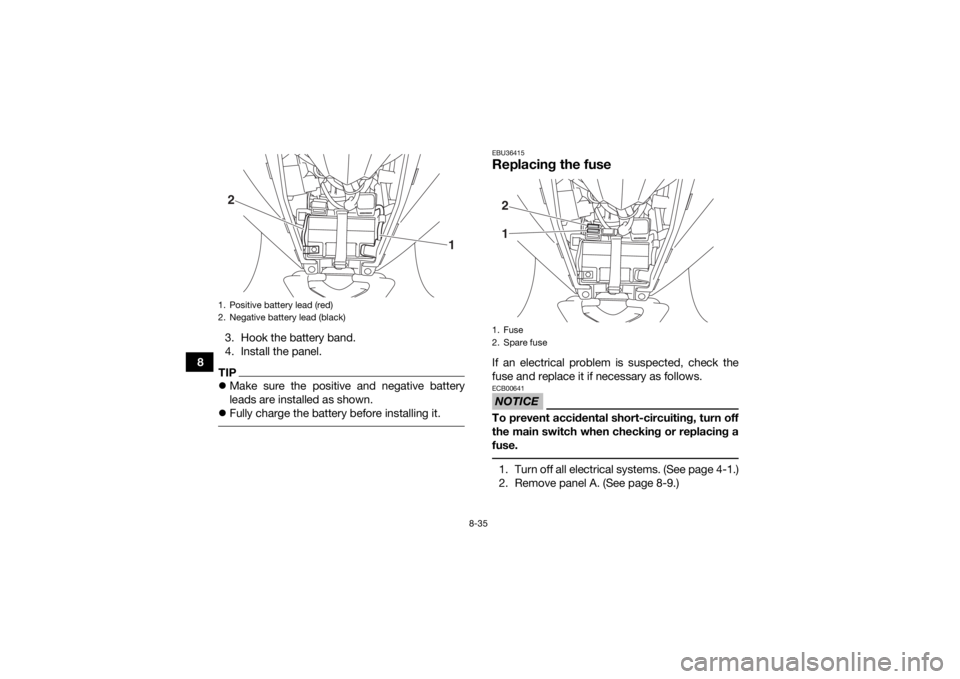
83. Hook the battery band.
4. Install the panel.
TIP
Make sure the positive and negative battery
leads are installed as shown.
Fully charge the battery before installing it.
EBU36415Replacing the fuseIf an electrical problem is suspected, check the
fuse and replace it if necessary as follows.NOTICEECB00641To prevent accidental short-circuiting, turn off
the main switch when checking or replacing a
fuse. 1. Turn off all electrical systems. (See page 4-1.)
2. Remove panel A. (See page 8-9.)
1. Positive battery lead (red)
2. Negative battery lead (black)2
1
1. Fuse
2. Spare fuse21
UBW463E0.book Page 35 Monday, January 28, 2019 10:22 AM
Page 111 of 126
8-36
8
3. Remove the blown fuse, and then install a
new fuse of the specified amperage.
WARNING! Always use a fuse of the spec- ified rating, and never use a substitute ob-
ject in place of the proper fuse. An
improper fuse or a substitute object can
cause damage to the electrical system,
which could lead to a fire.
[EWB02173]
4. Turn on the main switch and start the engine.
5. Install the panel.
6. If the fuse immediately blows again, have a Yamaha dealer check the vehicle.EBU34030Removing a wheel1. Place the ATV on a level surface.
2. Loosen the wheel bolts. 3. Elevate the ATV and place a suitable stand
under the frame.
4. Remove the bolts from the wheel.
5. Remove the wheel.
EBU34042Installing a wheel1. Install the wheel with the arrow mark pointing in the forward rotating direction of the wheel,
and then install the wheel bolts.
Specified fuse:
7.5 A1. Wheel bolt
1
1
UBW463E0.book Page 36 Monday, January 28, 2019 10:22 AM
Page 112 of 126

8-37
82. Lower the ATV to the ground.
3. Tighten the wheel bolts to the specified
torques.
EBU25721TroubleshootingAlthough Yamaha ATVs receive a thorough in-
spection before shipment from the factory, trouble
may occur during operation. Any problem in the
fuel, compression, or ignition systems, for exam-
ple, can cause poor starting and loss of power.
The following troubleshooting chart represents a
quick and easy procedure for checking these vital
systems yourself. However, should your ATV re-
quire any repair, take it to a Yamaha dealer, whose
skilled technicians have the necessary tools, ex-
perience, and know-how to service the ATV prop-
erly.
Use only genuine Yamaha replacement parts. Im-
itation parts may look like Yamaha parts, but they
are often inferior, have a shorter service life and
can lead to expensive repair bills.
WARNING
EWB02281Do not smoke when checking the fuel system.
Fuel can ignite or explode, causing severe inju-
ry or property damage. Make sure there are no
open flames or sparks in the area, including pi-
lot lights from water heaters or furnaces.
1. Arrow mark
2. Forward rotating direction
3. Wheel boltTightening torques:Front wheel bolt:45 N·m (4.5 kgf·m, 33 lb·ft)
Rear wheel bolt: 45 N·m (4.5 kgf·m, 33 lb·ft)3
1
2
UBW463E0.book Page 37 Monday, January 28, 2019 10:22 AM