2020 VOLKSWAGEN TRANSPORTER roof rack
[x] Cancel search: roof rackPage 49 of 486
Switching the child lock on and off
• Unlock the vehicle and open the appropriate sliding door.
• Use the vehicle key to bring the slot to the de-sired position.
Slot position =>Fig. 29 or =>Fig. 30:
® Child lock is switched off.
@ Child lock is switched on.
A WARNING
When the child lock is activated, the door cannot be opened from the Inside.
Tailgate
a:n Introduction
This chapter contains information on the following subjects:
Warning lamp . . . . . . . . . . . . . . . . . . . . . . 50
Opening and closing the tallgate from the outside . . . . . . . . . . . . . . . . . . . . . . . . . . . . 50
Unlocking and locking the tailgate from the inside . . . . . . . . . . . . . . . . . . . . . . . . . . . . . . . . . 51
Child proof lock in the tailgate . . . . . . . 52
Additional information and warnings:
• Exterior views 5
• Central locking system 39
• Transporting 125
• Manual opening and closing 413
A WARNING
Incorrect and unsupervised unlocking, open-ing or closing of the tail gate can cause acci-dents and serious injuries.
• Therefore the tailgate should only be opened or closed when you are sure there is no-one in its path.
• Never close the tailgate by pushing it down with your hand on the window. The rear window could shatter and cause Injuries.
• After closing the tailgate, check that it is closed and locked correctly so that it does not open while the vehicle is in motion. The closed tailgate must be flush with the sur-rounding body panels.
A WARNING (Continued)
• Never leave children or people requiring assistance alone In the vehicle when the doors are locked. This may mean that these people lock themselves In the vehicle. They could become trapped In the vehicle in an emergency and may not be able to get them-selves to safety. People locked In the vehicle may be subjected to very high or very low temperatures.
• Temperatures inside a locked vehicle may reach extremes of heat or cold, according to season. This can cause serious injuries and Illness or fatalities, especially to small chil-dren.
• Always keep the tailgate closed while the vehicle Is In motion so that no toxic exhaust fumes can enter the vehicle Interior.
• Never open the tailgate if a load is attach-ed to it, e.g. a rack or luggage carrier. lt may also not possible to open the tailgate if there are objects attached to it, e.g. bicycles. The additional load might cause the open tailgate to close by itself. Support the tail gate as nec-essary or remove the load from the surface.
• Close and lock the tailgate and all vehicle doors when the vehicle Is not In use. Make sure there Is no-one left In the vehicle.
• Never leave children playing unattended In or around the vehicle, especially when the tailgate is open. Children could climb Into the luggage compartment and shut the tailgate, thereby trapping themselves Inside. Tempera-tures Inside a locked vehicle may reach ex-tremes of heat or cold, according to season. This can cause serious Injuries and Illness or fatalities, especially to small children.
• Never leave children or people requiring assistance alone in the vehicle. They could use the vehicle key or central locking button to lock the vehicle and thereby trap them-selves Inside. .,.
Opening and closing
Page 125 of 486
Transporting items
Driving notes
ClJl Introduction
This chapter contains information on the following subjects:
Stowing items of luggage . . . . . . . . . . . . . . . . . 126
Stowing cargo . . . . . . . . . . . . . . . . . . 127
Buckle straps . . . . . . . . . . . . . . . . . . . . . . . . . . . 128
Ratchet straps . . . . . . . . . . . . . . . . . . . 128 Driving with an open tailgate or open wing doors . . . . . . . . . . . . . . . . . . . . . 129
Driving a loaded vehicle .... 130
Always secure the load transported in the luggage compartment or load compartment, on the roof car-rier, on the load surface or trailer. Always use suita-ble securing straps with the fastening rings to se-cure heavy items. Never exceed the vehicle's max-imum payload. Both the payload and the distribu-tion of the load in the vehicle will have an effect on the driving response and braking distance &.
Using securing straps
• Follow the instructions for the securing straps.
• Observe specifications for maximum load rat-ing.
• The securing straps must be long enough for the item you wish to secure.
Damaged securing straps
Never use the securing straps if:
• Damage to the warp and weft of the webbing (cuts or fraying) accounts for more than 10% of the webbing.
• The seams are damaged.
• The webbing is deformed by friction or heat.
• The securing straps are cracked, especially if cracked across the strap, or if the straps have notches.
• The securing straps have splits or corrosion damage.
• There is damage to the tightening device and connection elements.
Additional information and warnings:
• Tailgate 49
• Wing doors 52
• Lights 106
• Luggage compartment 130
• Roof carrier 137
• Towing a trailer 139
• Wheels and tyres 367
• Vehicle weight and axle weight rating 450
A WARNING
Objects that are not secured, or are secured incorrectly, can cause serious injuries in the event of a sudden driving or braking manoeu-vre or accident. This applies particularly if objects are struck by the airbag when activa-ted and then flung through the vehicle interi-or. To reduce the risk of accidents, please ob-serve the following guidelines:
• Always stow all objects in the vehicle se· curely.
• Always use suitable straps to prevent ob-jects entering the deployment zones of the curtain alrbag, the combined curtain and side airbag or the front airbag during a sudden driving or braking manoeuvre.
• Objects should be stowed in the vehicle interior In such a way that they can never en-ter the alrbag deployment zones while the ve-hicle is In motion.
• Always keep stowage compartments closed while the vehicle is In motion.
• The front airbag must be switched off and the indicator lamp PASSENGER AIR BAG OFF 'Ji; must light up for as long as the front passenger seat backrest is folded forwards.
• Stowed objects must never cause passen-gers to assume an incorrect sitting position.
• If an item is being stowed on a seat, this seat must not be used by any passengers.
A WARNING
Transporting heavy objects changes the vehi-cle driving characteristics and increases the braking distance. Heavy loads which are not properly stowed or secured in the vehicle can lead to a loss of vehicle control and cause se-rious injury. .,..
Transporting items 125
Page 130 of 486
A WARNING (Continued)
• Any objects protruding from the luggage compartment must be marked to ensure that they are visible to other road users. Comply with legal regulations.
• If items protrude out of the luggage com-partment, never use the tail gate or wing doors to "hold them in position".
• If you drive with the tailgate or wing doors open, remove any racks and luggage from the tail gate or a wing door.
A WARNING
Poisonous exhaust fumes can get into the in-terior when the tailgate or wing doors are open. This can result in loss of conscious-ness, carbon monoxide poisoning, serious Injury and accidents.
Driving a loaded vehicle
1"''l1 First read and observe the introductory L--Wl information and safety warnings & on page 125.
For good vehicle handling when driving a loaded vehicle, please observe the following:
• Stow all items of luggage page 127.
• Accelerate carefully and gently.
• Avoid sudden braking and driving manoeuvres.
• Brake earlier than in normal driving.
• If applicable, heed the information about driving with a trailer 139.
• If applicable, observe the information concern-ing the roof carrier 137.
Luggage compartment
CO Introduction
This chapter contains information on the following subjects:
Luggage compartment cover . . . . . . . . . . . . . . 132
130 Before the JOUrney
A WARNING (Continued)
• Always drive with the wing doors or tail-gate closed to prevent poisonous exhaust fumes getting into the vehicle.
• If exceptional circumstances require you to drive with an open tallgate or open wing doors, do the following to reduce the amount of poisonous exhaust fumes that could enter into the vehicle:
CD
-Close all windows and the sliding/tilting roof.
-Switch off air reclrculatlon mode.
-Open all vents In the dash panel.
-Switch the blowers to the highest set-ting.
The vehicle length and height are different when the wing doors or tailgate are open.
A wARNING
Moving loads can severely impair the vehi-cle's stability and driving safety which could cause accidents and severe Injuries.
• Secure objects properly to prevent them from sliding.
• Use suitable straps when securing heavy objects.
• Engage the rear seat backrests securely In
Page 139 of 486
Loading the roof carrier
ill1 First read and observe the introductory L-l.:.l.l information and safety warnings & on page 137.
Loads can only be attached securely when the roof carrier system is fitted correctly &.
Maximum permissible roof load
The maximum permissible roof load for vehicles with a normal roof is 150 kg and for vehicles with a pop-up roof it is 50 kg. The roof load limit refers to the combined weight of the roof carrier and the load carried on the roof &.
Each mount can bear a maximum load of 50 kg if the weight of the load is evenly distributed over the entire length of the mount.
Ensure that you know the weight of the roof rack and the items to be transported on the roof, and weigh them if necessary. Never exceed the maxi-mum permissible roof load.
However, you will not be able to carry the maxi-mum roof load if you are using a roof carrier with a lower weight rating. In this instance, do not exceed the maximum weight limit for the roof carrier. This weight limit is listed in the fitting instructions.
Distributing the load
Distribute the load evenly and secure it correctly
Checking the fittings
After the mounts and roof carrier have been at-tached, check the bolted connections and fasten-ings once you have travelled a short distance and then at regular intervals.
Towing a trailer
o:n Introduction
This chapter contains information on the following subjects:
Technical requirements . . . . . . . . . . 141 Fitting the removable ball coupling 142
Removing the ball coupling . . . . . . . . . 144
Hitching and connecting the trailer . . . 144 Loading the trailer . . . . . . . . . .. . . 146 Towing a trailer . . . . . . . . . . . . . . . . . . . . . . . . 146
Trailer stabilisation . . . . . . . . . . . . . . . . . . . . . . 147
Retrofitting a towing bracket............... 149
A WARNING
Accidents and vehicle damage can occur if the maximum permitted roof load is excee-ded.
• Never exceed the quoted roof load, the maximum permissible axle loads, and the permissible gross vehicle weight for the vehi-cle.
• Do not exceed the weight rating of the roof carrier, even if the maximum roof load has not been reached.
• Secure heavy objects as far forwards as possible and distribute the load evenly.
A WARNING
Loose and Incorrectly secured loads can fall off the roof carrier and cause accidents and injuries.
• Always use suitable and undamaged se-curing straps.
• Secure loads properly.
The additional load will affect the durability, fuel consumption and performance of the vehicle and, in certain circumstances, could shorten the service intervals.
Driving with a trailer not only places an extra load on the vehicle, but also requires increased concen-tration on the part of the driver.
Transporting items 139
Page 218 of 486
Manual pop-up roof, California
C::O Introduction
This chapter contains information on the following subjects:
Opening the manual pop-up roof.......... 219
Closing the manual pop-up roof . 220
Roller shutter
Above the front seats there is a roller shutter, which must always be closed while the vehicle is in motion. This prevents the pop-up roof canvas from hanging down through the ceiling access and blocking the driver's view. Keeping the roller shut-ter closed also reduces wind noise while the vehi-cle is in motion.
A WARNING
Incorrect handling of the manual pop-up roof can cause accidents and serious injuries.
• Never drive the vehicle with the pop-up roof open. The pop-up roof must always be completely closed and securely locked while the vehicle is in motion.
• Never drive with people in the pop-up roof.
• Only open or close the pop-up roof while the vehicle Is stationary.
• Only mount a luggage roof rack when the pop-up roof is completely closed and secure-ly locked.
A WARNING
Careless or inattentive use of the manual pop-up roof could cause serious Injuries.
• The pop-up roof should only be opened or closed when you are sure that nobody is in its operating area.
• Never leave children or people requiring assistance alone in the vehicle.
• Always take all vehicle keys with you ev-ery time you leave the vehicle.
218 I Before the journey
CD
Incorrect handling of the manual pop-up roof can cause damage to it or to other parts of the vehicle.
• Make sure there Is adequate space before opening the pop-up roof.
• When closing the pop-up roof, always open the roller shutter and one of the vehicle doors to allow the excess air pressure to escape.
• Only close the pop-up roof when it is dry to prevent the build up of mould or mildew.
• Open the pop-up roof occasionally to air it out when it Is not being used for long periods oftime.
• Clean the pop-up roof bellows with water only. Never use household cleaners or Impreg-nating fabric treatment products.
• Close the pop-up roof during storms with driving rain and wind gusts. Otherwise the bel-lows could leak despite their specially treated fabric.
Page 221 of 486
Electric pop-up roof, California
o:IJ Introduction
This chapter contains information on the following subjects:
Opening the electric pop-up roof . . . . . . . . . . . 222
Closing the electric pop-up roof . . . 223
Preliminary work for closing the electric pop-up roof manually . . . . . . . . . . . . . . . . . . . . . . . . 224
Closing the electric pop-up roof manually . 225 Securing the pop-up roof manually from outside the vehicle . . . . . 225
Roller shutter
Above the front seats there is a roller shutter, which must always be closed while the vehicle is in motion. This prevents the pop-up roof canvas from hanging down through the ceiling access and blocking the driver's view. Keeping the roller shut-ter closed also reduces wind noise while the vehi-cle is in motion.
Additional information:
• Central control panel 204
• Rectifying faults on the camping equipment 254
• Winter conditions 253
• Vehicle tool kit 416
A WARNING
Incorrect handling of the pop-up roof can cause accidents and serious Injuries.
• Never drive the vehicle with the pop-up roof open. The pop-up roof must always be completely closed and securely locked while the vehicle Is In motion.
• Never drive with people In the pop-up roof.
• Only open or close the pop-up roof while the vehicle Is stationary.
• Only mount a luggage roof rack when the pop-up roof is completely closed and secure-ly locked.
A WARNING
Careless or inattentive use of the pop-up roof could cause serious Injuries.
• The pop-up roof should only be opened or closed when you are sure that nobody is in its operating area.
A WARNING (Continued)
• Never leave children or people requiring assistance alone In the vehicle.
• Always take all vehicle keys with you ev-ery time you leave the vehicle.
A WARNING
Driving at high vehicle speeds and with a strong headwind after closing the pop-up roof manually could cause the pop-up roof to lift up or open on Its own and potentially cause serious Injuries.
• If you close the pop-up roof manually, do not drive faster than 60 km/h.
• Drive especially carefully and slowly In the presence of a strong headwind.
• The pop-up roof should be checked by a qualified workshop as soon as possible.
CD
Incorrect handling of the pop-up roof can cause damage to it or to other parts of the vehi-cle.
• Make sure there is adequate space before opening the pop-up roof.
• When closing the pop-up roof, always open the roller shutter and one of the vehicle doors to allow the excess air pressure to escape.
• Only close the pop-up roof when it is dry to prevent the build up of mould or mildew.
• Open the pop-up roof occasionally to air it out when it is not being used for long periods of time.
• Clean the pop-up roof bellows with water only. Never use household cleaners or Impreg-nating fabric treatment products.
• Close the pop-up roof during storms with driving rain and wind gusts. Otherwise the bel-lows could leak despite their specially treated fabric.
m Roof hydraulics: the pop-up height of the W pop-up roof will be checked automatically and altered if necessary at regular intervals after the ignition has been switched off and the ignition key removed: first after 10 hours and then every five hours. .,.
Equipment, California 221
Page 226 of 486
• Take one long and one short plastic rail. as well as one Velcro strap from the drawer.
• Place the long plastic rail in the upper alumini-um rail on the roof frame on the right-hand side of the vehicle. The tapered end of the plastic rail should be pointing towards the rear of the vehicle 187 G). Push it in as far as it will go.
• Pull the Velcro strap@ through the narrow slot in the small plastic rail.
• Place a small plastic rail in the lower aluminium rail on the roof frame on the right-hand side of the Fig. 187 (arrow) and arrange it so that it is parallel to the long plastic rail. If an awning is fit-ted, slide the small plastic rail with the Velcro strap right up to the awning bracket.
• Pull the upper end of the Velcro strap through the slot in the long plastic rail.
• Bind both ends of the Velcro strap securely to-gether@.
• Repeat the same procedure on the left-hand side of the vehicle as on the right-hand side.
• Drive carefully and slowly to the nearest quali-fied workshop and have the pop-up roof checked & in Introduction on page 221.
Awning, California
a:n Introduction
This chapter contains information on the following subjects:
Opening and closing the awning . . . . . . • . . . . 227
Removing and fitting the awning . . . . . . . . . . . 228
Storing the folding crank for the awning
The folding crank for the awning is located in the drawer under the bench seaVbed.
Unclip the folding crank for the awning from the three clips to take it out of the drawer.
226 I Before tho journey
Double closure Velcro set
This set consists of two short plastic rails and one long Velcro strap.
• Pull the Velcro tape over the whole roof.
• On the right side of the vehicle, pull the Velcro strap 188@ through the narrow slot in the small plastic rail.
• Place the short plastic rail in the lower alumini-um rail on the roof frame on the right-hand side of the vehicle 188 (arrow). If an awning is fit-ted, slide the small plastic rail with the Velcro strap right up to the awning bracket.
• Bring the Velcro strap around to bind the end of the strap with the long portion of the strap.
• Repeat the same procedure on the left-hand side of the vehicle as on the right-hand side.
• Drive carefully and slowly to the nearest quali-fied workshop and have the pop-up roof checked & in Introduction on page 221.
Additional information and warnings:
• Stowage 150
rTl The awning is a sun shade. lt is not suitable L!J to protect you from harsh weather.
• Close the awning if a storm is approaching and if it is snowing or raining heavily.
Page 228 of 486
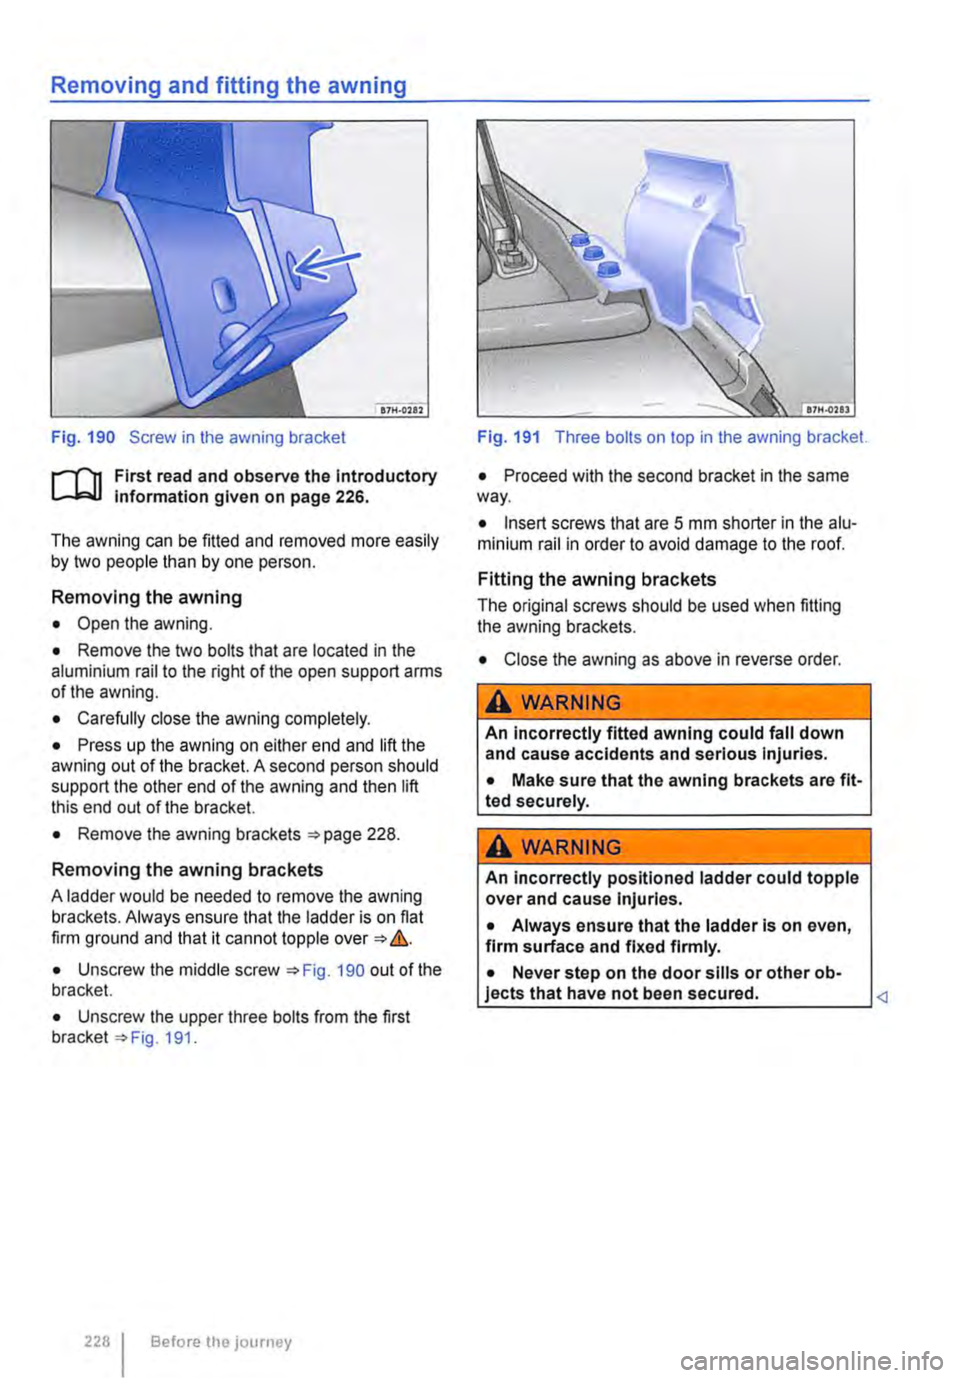
Fig. 190 Screw in the awning bracket
r--('n First read and observe the Introductory L-J.:.1.1 Information given on page 226.
The awning can be fitted and removed more easily by two people than by one person.
Removing the awning
• Open the awning.
• Remove the two bolts that are located in the aluminium rail to the right of the open support arms of the awning.
• Carefully close the awning completely.
• Press up the awning on either end and lift the awning out of the bracket. A second person should support the other end of the awning and then lift this end out of the bracket.
• Remove the awning brackets 228.
Removing the awning brackets
A ladder would be needed to remove the awning brackets. Always ensure that the ladder is on flat firm ground and that it cannot topple over &.
• Unscrew the middle screw 190 out of the bracket.
• Unscrew the upper three bolts from the first bracket 191.
228 I Before the journey
Fig. 191 Three bolts on top in the awning bracket.
• Proceed with the second bracket in the same way.
• Insert screws that are 5 mm shorter in the alu-minium rail in order to avoid damage to the roof.
Fitting the awning brackets
The original screws should be used when fitting the awning brackets.
• Close the awning as above in reverse order.
A WARNING
An incorrectly fitted awning could fall down and cause accidents and serious Injuries.
• Make sure that the awning brackets are fit-ted securely.
A WARNING
An incorrectly positioned ladder could topple over and cause Injuries.
• Always ensure that the ladder is on even, firm surface and fixed firmly.
• Never step on the door sills or other ob-jects that have not been secured.