2020 VOLKSWAGEN TRANSPORTER warning lights
[x] Cancel search: warning lightsPage 262 of 486
Flashes Possible cause Solution
The lock button in the selector lever is not Engage the selector lever lock 265. engaged. The vehicle cannot drive off.
Dual clutch gearbox DSG®. Drive to the nearest qualified workshop immedi-
/ ./ flashes alternately with selector lever dis-ately at a low engine speed to have the system play, e.g. D.
Several warning and indicator lamps will light up briefly as a functional check when the ignition is switched on. They will go out after a few seconds.
A WARNING
Failure to observe illuminated warning lamps and text messages can lead to your vehicle breaking down in traffic, and can cause acci-dent and serious injury.
• Never ignore any illuminated warning lamps or text messages.
Pedals
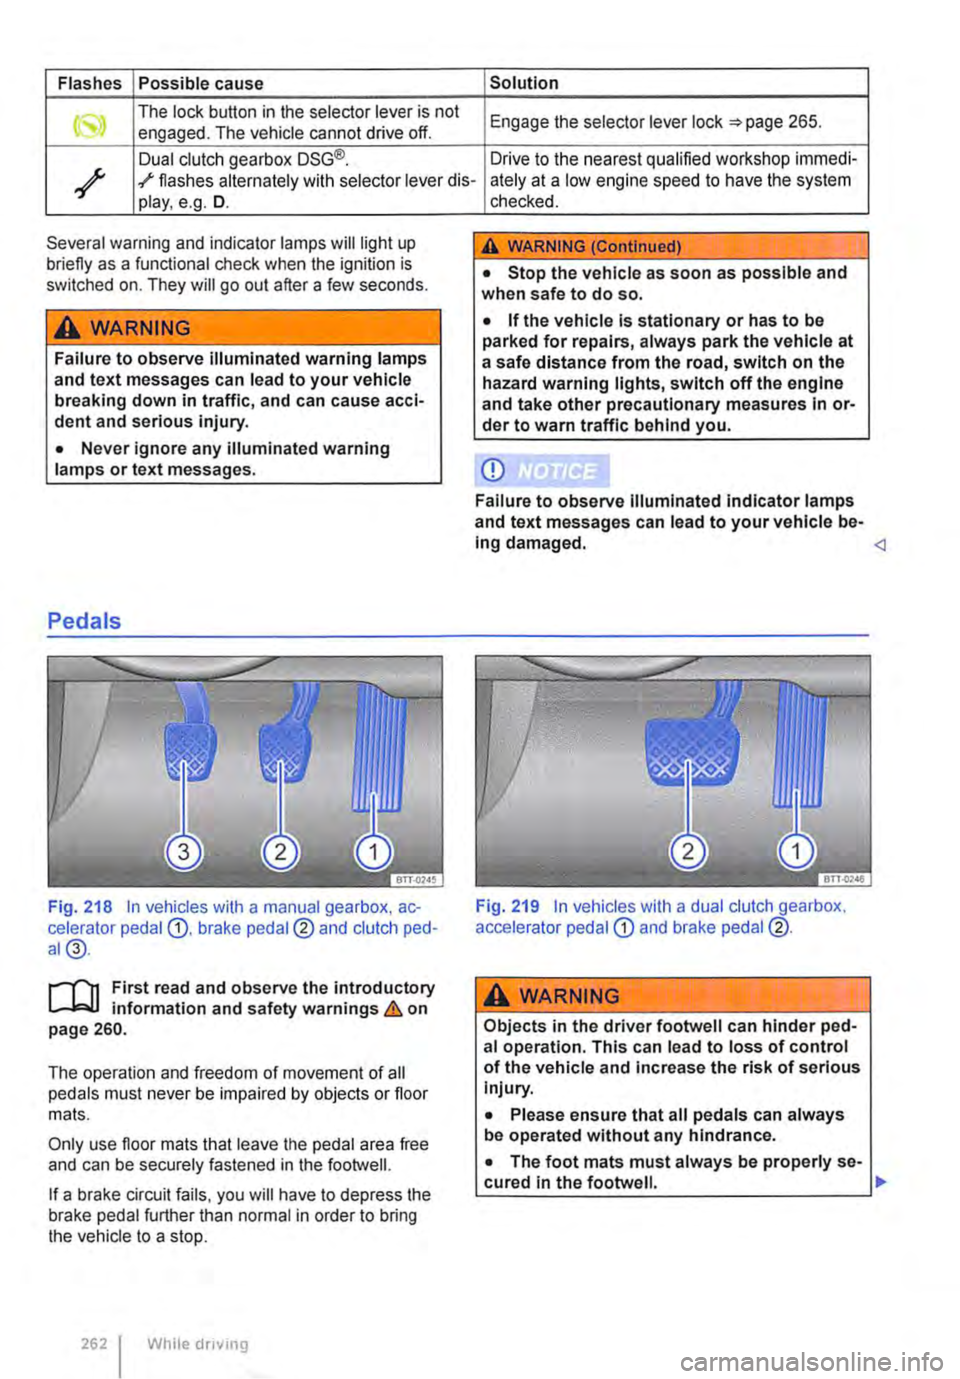
Fig. 218 In vehicles with a manual gearbox, ac-celerator pedal G), brake pedal@ and clutch ped-al@.
r-T'n First read and observe the introductory L-Wl information and safety warnings & on page 260.
The operation and freedom of movement of all pedals must never be impaired by objects or floor mats.
Only use floor mats that leave the pedal area free and can be securely fastened in the footwell.
If a brake circuit fails, you will have to depress the brake pedal further than normal in order to bring the vehicle to a stop.
262 I While driving
checked.
A WARNING (Continued)
• Stop the vehicle as soon as possible and when safe to do so.
• If the vehicle is stationary or has to be parked for repairs, always park the vehicle at a safe distance from the road, switch on the hazard warning lights, switch off the engine and take other precautionary measures In or-der to warn traffic behind you.
CD
Failure to observe Illuminated indicator lamps and text messages can lead to your vehicle be-Ing damaged.
A wARNING
Objects in the driver footwell can hinder ped-al operation. This can lead to loss of control of the vehicle and increase the risk of serious Injury.
• Please ensure that all pedals can always be operated without any hindrance.
• The foot mats must always be properly se-cured in the footwell. .,.
Page 269 of 486
Braking, stopping and parking
COl Introduction
This chapter contains information on the following subjects:
Warning and indicator lamps Handbrake ............................ .
Parking . . . . . . . ............. .
Information on the brakes ................ . Brake support systems .................. .
Switching the TCS on and off ............. .
Brake fluid ............................ .
270 271
272 272
274
276
277
The brake support systems are the anti-lock brake system (ASS), the Brake Assist system (SAS), the electronic differential lock (EDS), the traction control system (TCS) and the Electronic Stability Control (ESC).
Additional information and warnings:
• Towing a trailer 139
• Pull-away assist systems 282
• Wheels and tyres 367
• Accessories, modifications, repairs and renewal of parts 394
A WARNING
Driving with worn brake pads or with a faulty brake system can cause accidents and seri-ous Injuries.
• If the warning lamp 0 lights up either on its own or with a text message In the display of the Instrument cluster, go to a qualified workshop Immediately, have the brake pads checked and any worn brake pads replaced.
A WARNING
Incorrect parking can cause serious Injuries.
• Never remove the vehicle key from the lg-nltlon lock when the vehicle Is In motion. The steering lock may be activated and you will no longer be able to steer or control the vehl-cl e.
A WARNING (Continued)
• Never park the vehicle where parts of the exhaust system can come into contact with inflammable material underneath the vehicle, e.g. undergrowth, leaves, dry grass, spilt fuel.
• Always apply the handbrake when the ve-hicle Is parked.
• Never leave children or people requiring assistance alone In the vehicle. They could release the handbrake, move the selector lev-er or gearshift lever and thus set the vehicle In motion. This can lead to accidents and se-rious injuries.
• Always take all vehicle keys with you ev-ery time you leave the vehicle. The engine can be started and electrical equipment such as the window controls can be used which could cause serious injury.
• Never leave children or people requiring assistance alone in the vehicle. They could become trapped in the vehicle in an emergen-cy and may not be able to get themselves to safety. For example, locked vehicles may be subjected to very high or very low tempera-tures, according to season. This can cause serious Injuries and illness or fatalities, espe-cially for small children.
CD
• To avoid unintentional movement when parking the vehicle, first apply the handbrake and then remove your foot from the brake ped-al.
• Always take care when driving in car parks with protruding kerbstones or bollards. Objects that protrude from the ground can damage the bumper and other components when parking the vehicle. In order to avoid any damage, stop the vehicle before the wheels can touch the bollards or kerbs.
• Drive carefully through dips in the road, over driveways, ramps, kerbstones and other objects. Low-lying vehicle components such as the bumper, spoiler and parts of the running gear, engine or exhaust system could be dam-aged.
Starting the engine, changing gear and parking I 269
Page 271 of 486
A WARNING (Continued)
• If the brake warning lamp ID does not go out, or if it lights up when driving, the brake fluid level in the reservoir is too low or there is a fault in the brake system. Stop the vehi-cle Immediately and seek expert assistance 277, Brake fluid.
• If the brake warning lamp@ lights up to-gether with the ABS indicator lamp S, the control function of the ABS may have failed. This can cause the rear wheels to lock quick-ly when you brake. Locked rear wheels can lead to a loss of control of the vehicle. If pos-sible, reduce your speed and drive carefully at low speed to the nearest qualified work-shop in order to have the brake system tes-ted. Avoid sudden braking and driving ma-noeuvres on the way.
• The ABS Is not functioning correctly if the ABS indicator lampS does not go out or comes on while the vehicle is in motion. The
Handbrake
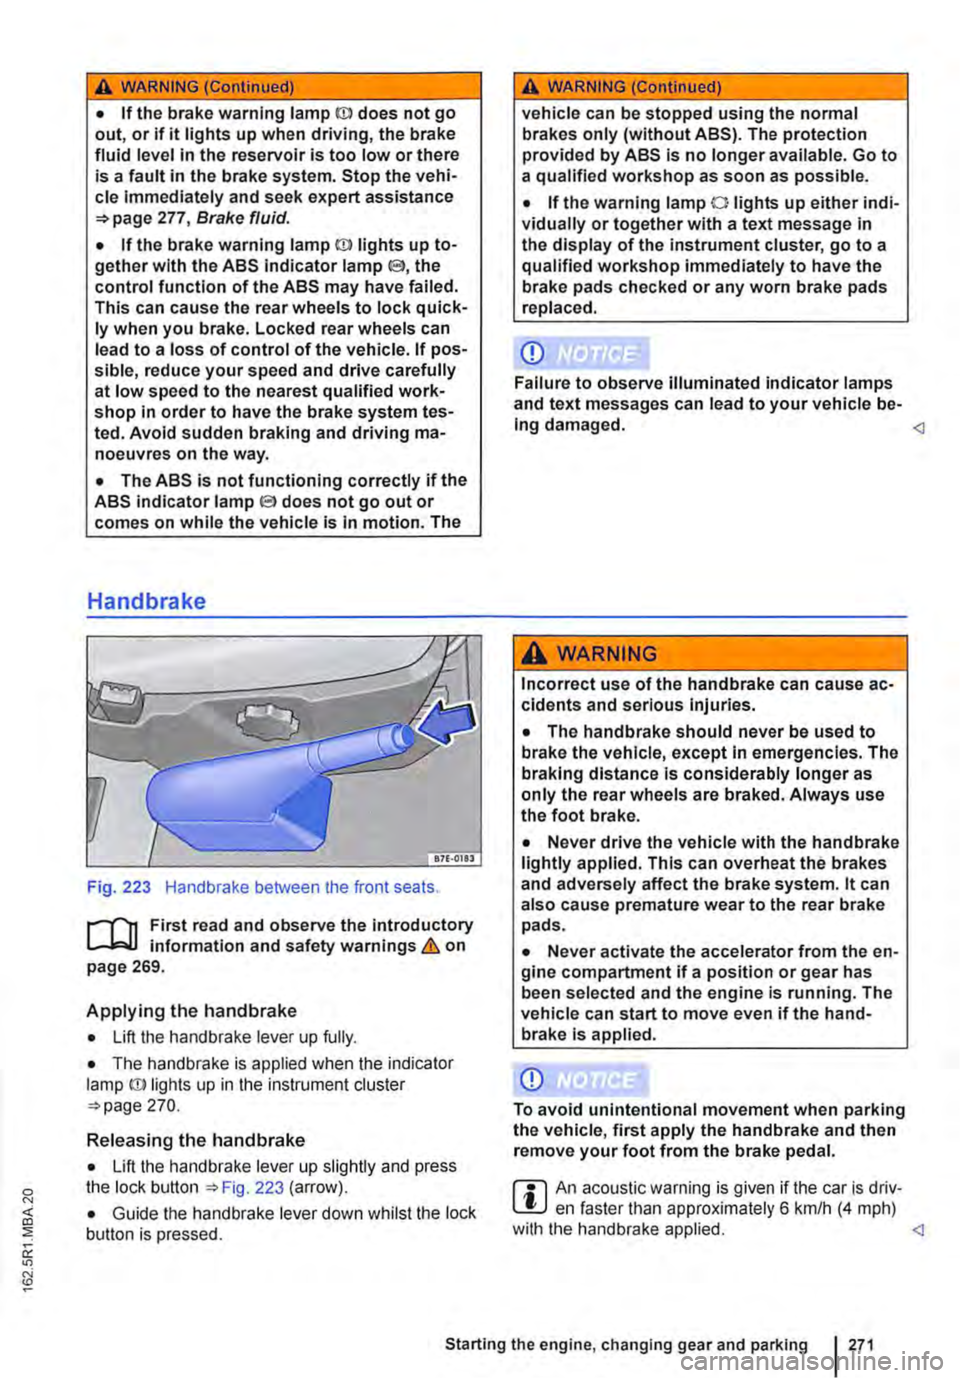
Fig. 223 Handbrake between the front seats.
r--fl1 First read and observe the introductory L-J,::.IJ information and safety warnings & on page 269.
Applying the handbrake
• Lift the handbrake lever up fully.
• The handbrake is applied when the indicator lamp ID lights up in the instrument cluster =-page 270.
Releasing the handbrake
• Lift the handbrake lever up slightly and press the lock button ::.Fig. 223 (arrow).
• Guide the handbrake lever down whilst the lock button is pressed.
A WARNING (Continued)
vehicle can be stopped using the normal brakes only (without ABS). The protection provided by ABS is no longer available. Go to a qualified workshop as soon as possible.
• If the warning lamp 0 lights up either indi-vidually or together with a text message in the display of the instrument cluster, go to a qualified workshop immediately to have the brake pads checked or any worn brake pads replaced.
CD
Failure to observe illuminated indicator lamps and text messages can lead to your vehicle be-Ing damaged.
Incorrect use of the handbrake can cause ac-cidents and serious Injuries.
• The handbrake should never be used to brake the vehicle, except in emergencies. The braking distance is considerably longer as only the rear wheels are braked. Always use the foot brake.
• Never drive the vehicle with the handbrake lightly applied. This can overheat the brakes and adversely affect the brake system. lt can also cause premature wear to the rear brake pads.
• Never activate the accelerator from the en-gine compartment if a position or gear has been selected and the engine is running. The vehicle can start to move even if the hand-brake Is applied.
CD
To avoid unintentional movement when parking the vehicle, first apply the handbrake and then remove your foot from the brake pedal.
r::l An acoustic warning is given if the car is driv-L.!:.J en faster than approximately 6 km/h (4 mph) with the handbrake applied.
Page 280 of 486
Saving fuel
1/100 km
-10°C
+20 oc
L----------------tkm 5 15 25 30
en-o11S
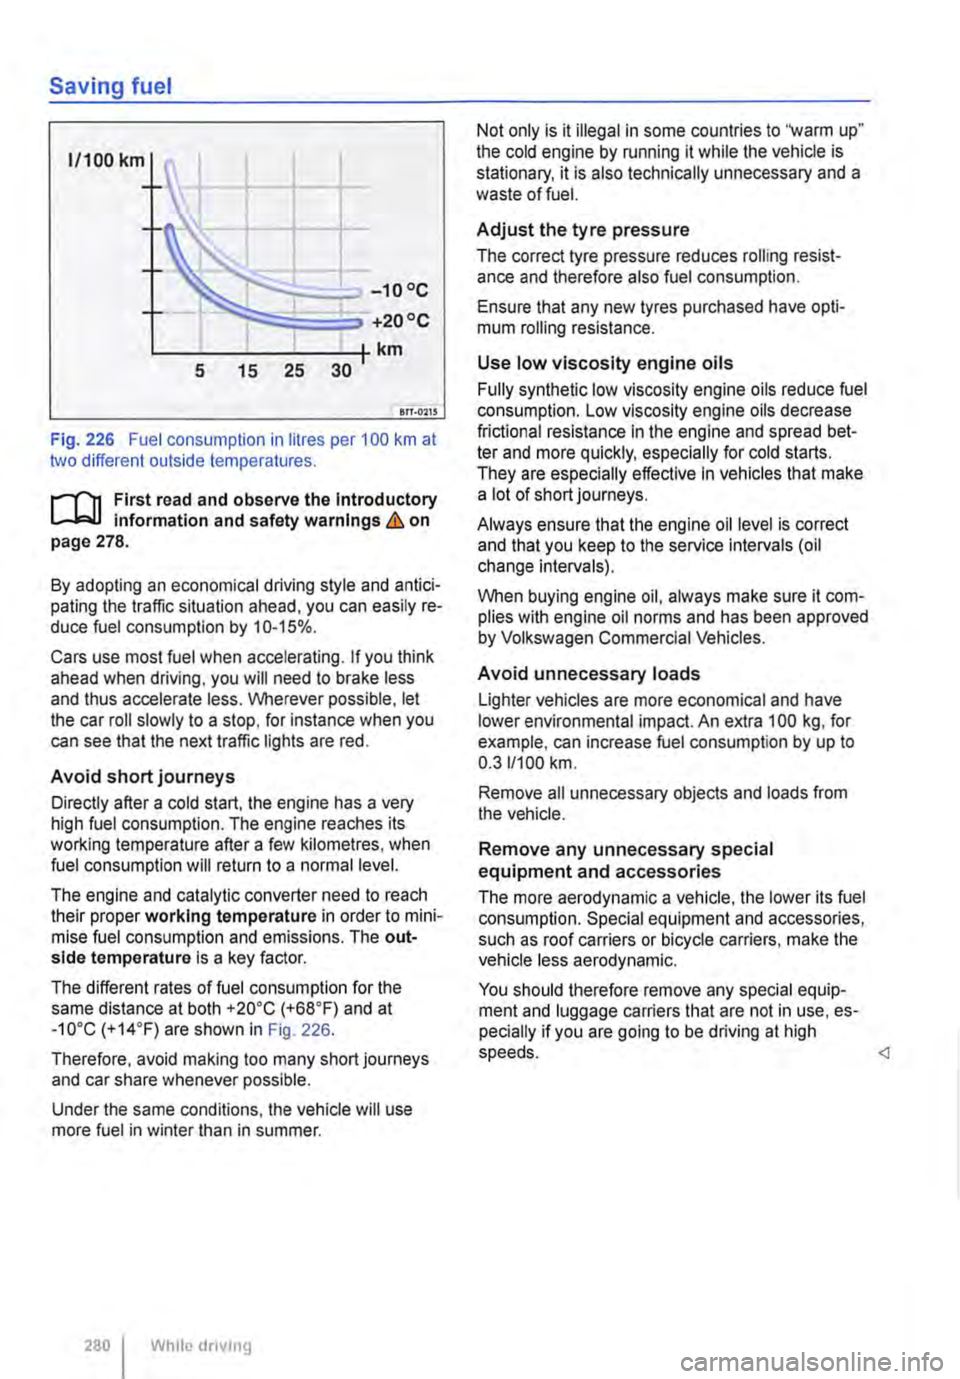
Fig. 226 Fuel consumption in litres per 100 km at two different outside temperatures.
r-1"'11 First read and observe the Introductory Information and safety warnings&. on page 278.
By adopting an economical driving style and antici-pating the traffic situation ahead, you can easily re-duce fuel consumption by 10-15%.
Cars use most fuel when accelerating. If you think ahead when driving, you will need to brake less and thus accelerate less. Wherever possible, let the car roll slowly to a stop, for instance when you can see that the next traffic lights are red.
Avoid short journeys
Directly after a cold start, the engine has a very high fuel consumption. The engine reaches its working temperature after a few kilometres, when fuel consumption will return to a normal level.
The engine and catalytic converter need to reach their proper working temperature in order to mini-mise fuel consumption and emissions. The out-side temperature is a key factor.
The different rates of fuel consumption for the same distance at both +20"C (+68"F) and at -10"C (+14"F) are shown in Fig. 226.
Therefore, avoid making too many short journeys and car share whenever possible.
Under the same conditions, the vehicle will use more fuel in winter than in summer.
280 I While dnvmg
Not only is it illegal in some countries to "warm up" the cold engine by running it while the vehicle is stationary, it is also technically unnecessary and a waste of fuel.
Adjust the tyre pressure
The correct tyre pressure reduces rolling resist-ance and therefore also fuel consumption.
Ensure that any new tyres purchased have opti-mum rolling resistance.
Use low viscosity engine oils
Fully synthetic low viscosity engine oils reduce fuel consumption. Low viscosity engine oils decrease frictional resistance in the engine and spread bet-ter and more quickly, especially for cold starts. They are especially effective In vehicles that make alotofshortjourneys.
Always ensure that the engine oil level is correct and that you keep to the service intervals (oil change intervals).
When buying engine oil, always make sure it com-plies with engine oil norms and has been approved by Volkswagen Commercial Vehicles.
Avoid unnecessary loads
Lighter vehicles are more economical and have lower environmental impact. An extra 100 kg, for example, can increase fuel consumption by up to 0.311100 km.
Remove all unnecessary objects and loads from the vehicle.
Remove any unnecessary special equipment and accessories
The more aerodynamic a vehicle, the lower its fuel consumption. Special equipment and accessories, such as roof carriers or bicycle carriers, make the vehicle less aerodynamic.
You should therefore remove any special equip-ment and luggage carriers that are not in use, es-pecially if you are going to be driving at high speeds.
Page 284 of 486
• On vehicles with Climatronic: if the temperature inside the vehicle substantially increases or de-creases.
• When the vehicle starts rolling or brake support is required.
• If the voltage of the vehicle battery falls.
Conditions that necessitate a manual key start
The engine has to be started manually with the ve-hicle key in the following conditions:
• If the driver unfastens their seat belt.
• If a vehicle door is opened.
• If the bonnet is opened.
Switching the start/stop system on and off manually
• Press the @ button in the centre console 227.
• If the start/stop system has been deactivated, the indicator lamp in the button lights up.
The engine will start immediately if the vehicle Is In stop mode when the system is switched off man-ually with the @ button.
Hill Hold Assist
r--T'n First read and observe the Introductory L-I=JJ information and safety warnings & on page 282.
A WARNING
The brake servo and the power steering will not function If the engine Is switched off.
• Never allow the vehicle to roll if the engine is switched off.
• The start/stop system must be switched off if work Is to be carried out In the engine compartment.
CD
If the start/stop system Is used in very high outside temperatures over a long period, the vehicle battery can be damaged.
m In some cases. it will be necessary to restart L!J the engine manually with the vehicle key. Fol-low any corresponding messages on the instru-ment cluster display.
m At low speeds, the engine can be started L!J again if it has stalled by immediately pressing the clutch pedal.
holds the vehicle when pulling away on
an incline.
The Hill Hold Assist function is automatically activated if the following conditions are met
Points 1 to 3 must be fulfilled at the same time·
Manual gearbox DSG® dual clutch gearbox
1. On an incline, the stationary vehicle must be held in position with the footbrake until the vehicle starts moving.
2. The engine is running smoothly.
3. The driver door is closed.
4. Fully depress the clutch pedal and move the gear stick to the first gear position if you want to The driving mode R, D or S has been selected. drive forwards up a hill or to the R position if you want to reverse up a hill.
In order to start moving, remove your foot from To start moving, remove your foot from the brake the brake pedal, then simultaneously release the pedal and press the accelerator immediately. clutch pedal (the clutch engages) and press the The brake will gradually be released as the accelerator. The brake will gradually be re-vehicle pulls away. leased as the clutch Is engaged.
284 I While driving
Page 285 of 486
The Hill Hold Assist function will be deactivated immediately:
Manual gearbox I DSG® dual clutch gearbox
1. As soon as one of the conditions indicated on page 284, The Hill Hold Assist function is automati-cally activated if the following conditions are met is not fulfilled.
2. If the vehicle does not pull away within 2 seconds.
3. If the engine is not running smoothly or there is an engine fault.
4. If the engine is switched off or has stalled. I If the engine is switched off.
Hill Descent Assist
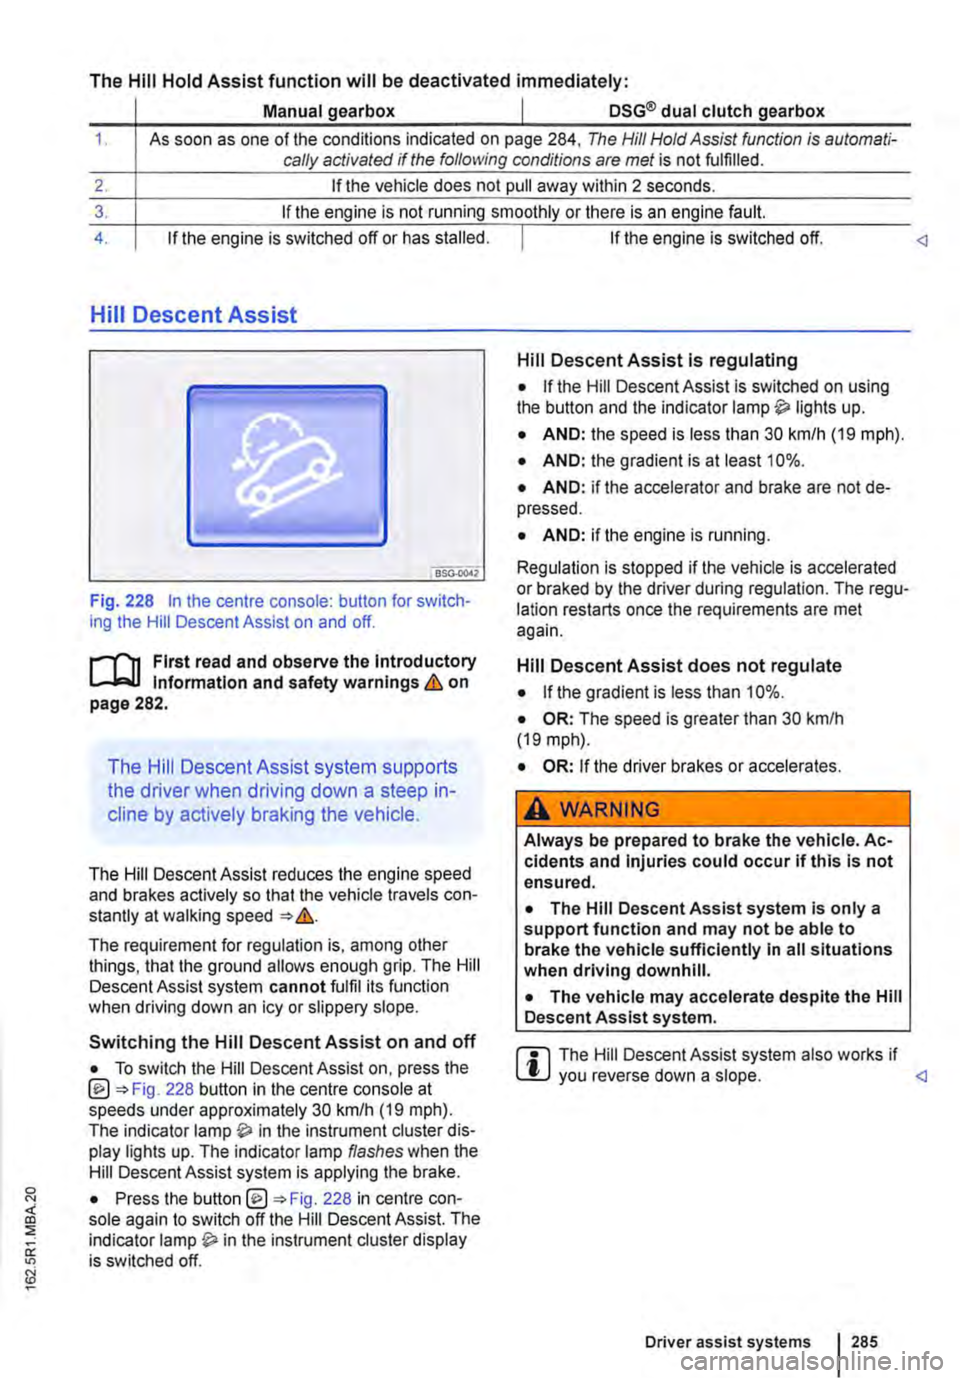
Fig. 228 In the centre console: button for switch-ing the Hill Descent Assist on and off.
l"'""'('n First read and observe the Introductory L-W.I Information and safety warnings & on page 282.
The Hill Descent Assist system supports
the driver when driving down a steep in-
cline by actively braking the vehicle.
The Hill Descent Assist reduces the engine speed and brakes actively so that the vehicle travels con-stantly at walking speed =>&.
The requirement for regulation is, among other things, that the ground allows enough grip. The Hill Descent Assist system cannot fulfil its function when driving down an icy or slippery slope.
Hill Descent Assist is regulating
• If the Hill Descent Assist is switched on using the button and the indicator lamp lights up.
• AND: the speed is less than 30 km/h (19 mph).
• AND: the gradient is at least 10%.
• AND: if the accelerator and brake are not de-pressed.
• AND: if the engine is running.
Regulation is stopped if the vehicle is accelerated or braked by the driver during regulation. The regu-lation restarts once the requirements are met again.
Hill Descent Assist does not regulate
• If the gradient is less than 10%.
• OR: The speed is greater than 30 km/h (19 mph).
• OR: If the driver brakes or accelerates.
A WARNING
Always be prepared to brake the vehicle. Ac-cidents and Injuries could occur if this is not ensured.
• The Hill Descent Assist system is only a support function and may not be able to brake the vehicle sufficiently In all situations when driving downhill.
• The vehicle may accelerate despite the Hill Descent Assist system.
• To switch the Hill Descent Assist on, press the @=>Fig. 228 button in the centre console at speeds under approximately 30 km/h (19 mph). The indicator in the instrument cluster dis-play lights up. The indicator lamp flashes when the Hill Descent Assist system is applying the brake.
r::l The Hill Descent Assist system also works if W you reverse down a slope.
Driver assist systems 285
Page 286 of 486
Rear axle differential lock
OSG-0041
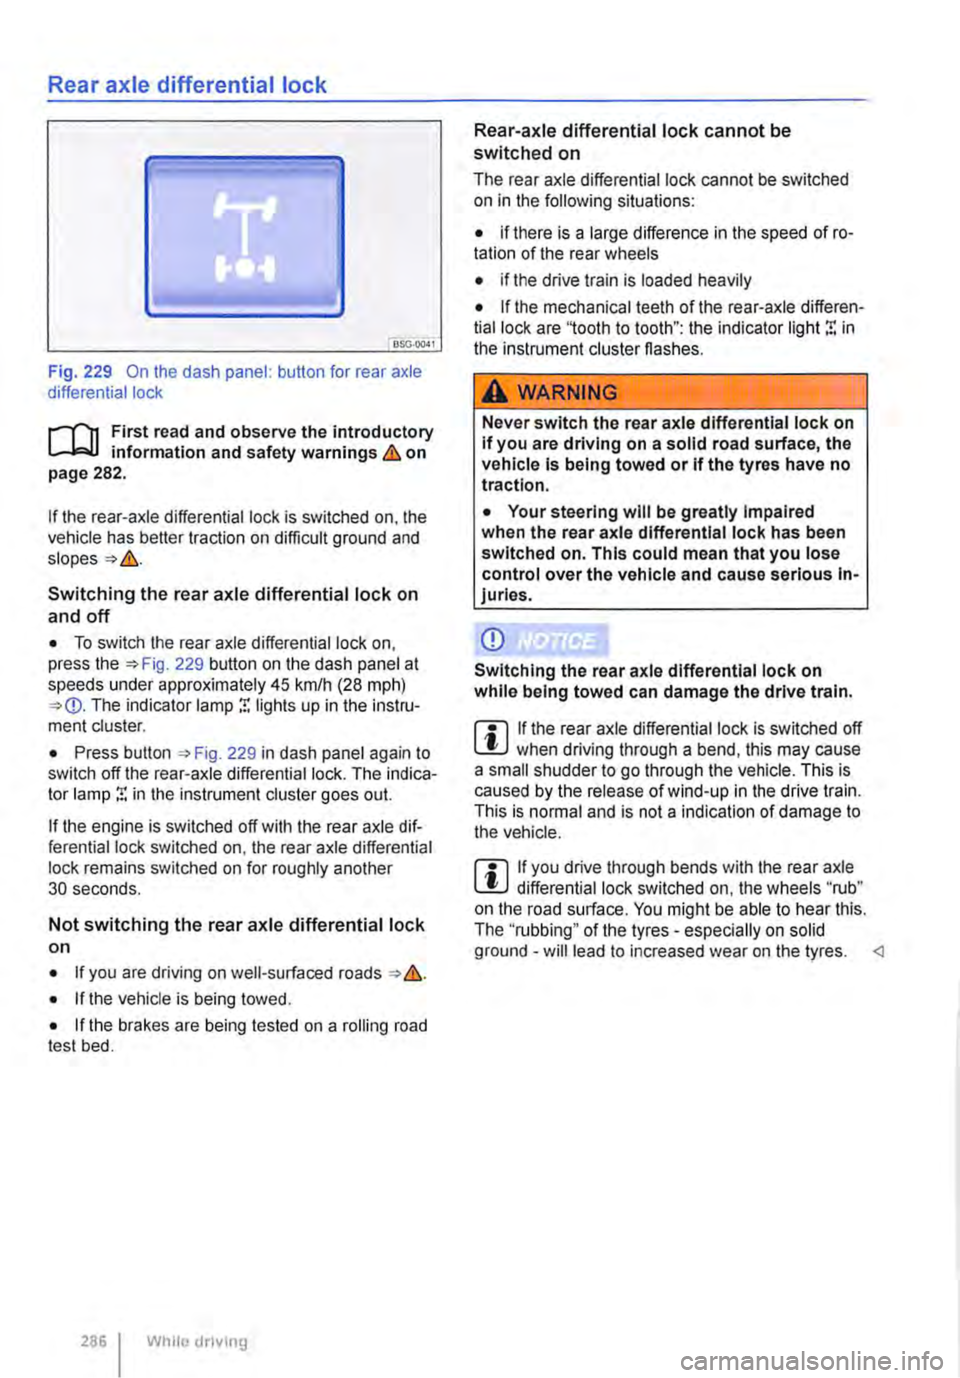
Fig. 229 On the dash panel: button for rear axle differential lock
i""('n First read and observe the introductory information and safety warnings & on page 282.
If the rear-axle differential lock is switched on, the vehicle has better traction on difficult ground and
Switching the rear axle differential lock on
and off
• To switch the rear axle differential lock on, press the 229 button on the dash panel at speeds under approximately 45 krnlh (28 mph) The indicator lamp r. lights up in the instru-ment cluster.
• Press button , Fig. 229 in dash panel again to switch off the rear-axle differential lock. The indica-tor lamp r. in the instrument cluster goes out.
If the engine is switched off with the rear axle dif-ferential lock switched on, the rear axle differential lock remains switched on for roughly another 30 seconds.
Not switching the rear axle differential lock on
• If you are driving on well-surfaced roads &.
• If the vehicle is being towed.
• If the brakes are being tested on a rolling road test bed.
286 I While dnving
Rear-axle differential lock cannot be switched on
The rear axle differential lock cannot be switched on in the following situations:
• if there is a large difference in the speed of ro-tation of the rear wheels
• if the drive train is loaded heavily
• If the mechanical teeth of the rear-axle differen-tial lock are '1ooth to tooth": the indicator light r. in the instrument cluster flashes.
A WARNING
Never switch the rear axle differential lock on If you are driving on a solid road surface, the vehicle is being towed or if the tyres have no traction.
• Your steering will be greatly Impaired when the rear axle differential lock has been switched on. This could mean that you lose control over the vehicle and cause serious In-juries.
CD
Switching the rear axle differential lock on while being towed can damage the drive train.
m If the rear axle differential lock is switched off W when driving through a bend, this may cause a small shudder to go through the vehicle. This is caused by the release of wind-up in the drive train. This is normal and is not a indication of damage to the vehicle.
m If you drive through bends with the rear axle W differential lock switched on, the wheels "rub" on the road surface. You might be able to hear this. The ''rubbing" of the tyres -especially on solid ground -will lead to increased wear on the tyres.
Page 289 of 486

m If there is a function fault in the ParkPilot, an W acoustic warning is emitted for approximately 3 seconds when switched on for the first time. The ParkPilot should be checked by a qualified work-shop immediately.
Fig. 230 In the centre console: button for switch-ing the ParkPilot on and off Fig. 231 In the front bumper: ParkPilot sensors.
r'l'11 First read and observe the Introductory Information and safety warnings & on page 287.
The Park Pilot uses ultrasound sensors to deter-mine the distance from the front or rear bumpers to an obstacle. There are 4 ultrasound sensors for the ParkPilot located in both the front and rear B bumpers.
Switching ParkPilot on and off
Function What to do when the Ignition is switched on
Switching on the ParkPilot Press button once. manually
Switching off the ParkPilot Press button again. manually
Switching off the ParkPilot Press a button, e.g. (RADIO!, on the factory-fitted radio or navigation system. display manually (sound OR: touch the 0 function button. output remains active)
Switching on the ParkPilot Select reverse gear or move the selector lever to position R. automatically
Switching off the ParkPilot Accelerate forwards to a speed greater than approximately 10-15 kmlh automatically (6-9 mph).
Temporarily muting ParkPi-lot (applies to certain Touch the@) function button. equipment levels):
Switching to the rear view Select reverse gear or move the selector lever to position R. camera system picture as OR: touch function button. required
The indicator lamp in the =:o Fig. 230 lights up while the function is active.
Driver assist systems 1289