Page 27 of 103
Radio27
Deactivation
To deactivate FM-DAB Linking, select
OPTIONS in the radio main menu and
then deselect FM-DAB Follow-up in
the Radio settings .
FM-DAB Linking will automatically be
deactivated when Alternative
frequency is deactivated.
Page 28 of 103
28External devicesExternal devicesGeneral information.....................28
Playing audio ............................... 29
Displaying pictures ....................... 30
Using smartphone applications ...31General information
A USB port is located in the centre
console.Caution
To protect the system, do not use
a USB hub.
Notice
The USB ports must always be kept clean and dry.
USB ports
An MP3 player, USB device, SD card (via USB connector / adapter) or
smartphone can be connected to the
USB port.
The Infotainment system can play
audio files or show picture files
contained in USB devices.
When connected to a USB port,
various functions of the devices
mentioned above can be operated via the controls and menus of the
Infotainment system.
Notice
Not all auxiliary devices are
supported by the Infotainment
system.
Connecting / disconnecting a device Connect one of the devices
mentioned above to a USB port. If
required, use the appropriate
connection cable. The music function
starts automatically.
Notice
If a non-readable USB device is
connected, a corresponding error
message appears and the
Infotainment system automatically
switches to the previous function.
To disconnect a USB device, select
another function and then remove the USB device.Caution
Avoid disconnecting the device
during playback. This may
damage the device or the
Infotainment system.
Page 30 of 103
30External devicesYou can have your music files sorted
according to different criteria. Two
options are available for browsing the
music files stored on the connected
USB device.Browsing via main menu
If you want to change the currently
active USB source, select
SOURCES and then select the
desired source. The respective main
menu is displayed.
Select the button showing the
currently selected sorting criteria, e.g. Sort: Album or Sort: Artist , and then
select the desired new sorting criteria.
A sorting process is performed.
Select List and then select the desired
track.
Playback of the selected track is
started.Browsing via device menu
Select OPTIONS and then select
Music files .
If you want to change the currently active USB source, select Other.
Select the desired sorting criteria, e.g.
Albums or Artists , and then select the
desired track.Playback of the selected track is
started.
Displaying picturesYou can view pictures stored on a USB device.
Activating the picture viewer Connecting the USB device 3 28.
If device already connected, but
picture viewer not active:
Press b, select OPTIONS and then
select Managing photos .
Select the desired picture.
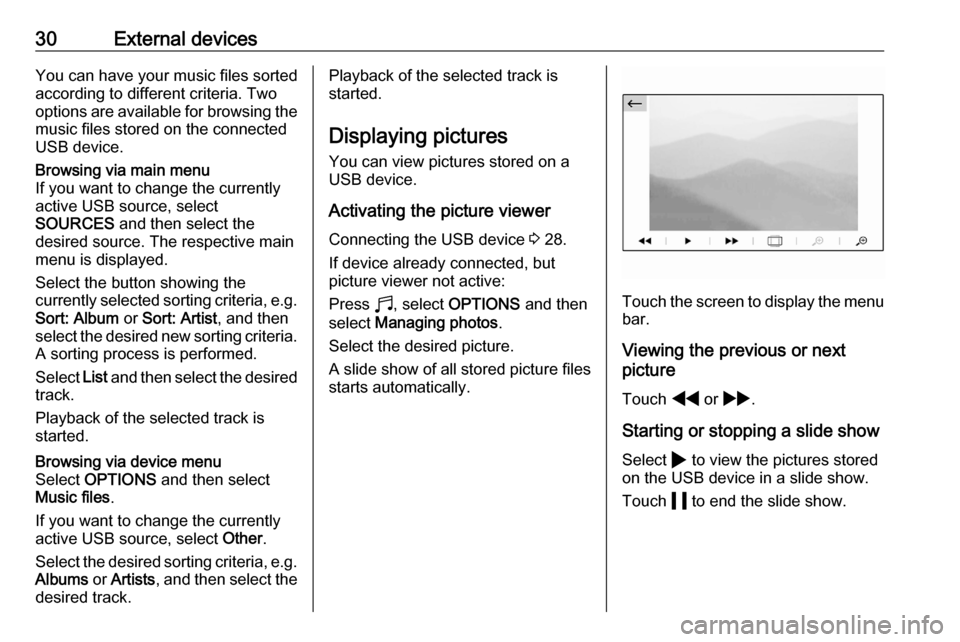
A slide show of all stored picture files
starts automatically.
Touch the screen to display the menu bar.
Viewing the previous or next
picture
Touch f or g .
Starting or stopping a slide show Select 4 to view the pictures stored
on the USB device in a slide show.
Touch 5 to end the slide show.
Page 34 of 103
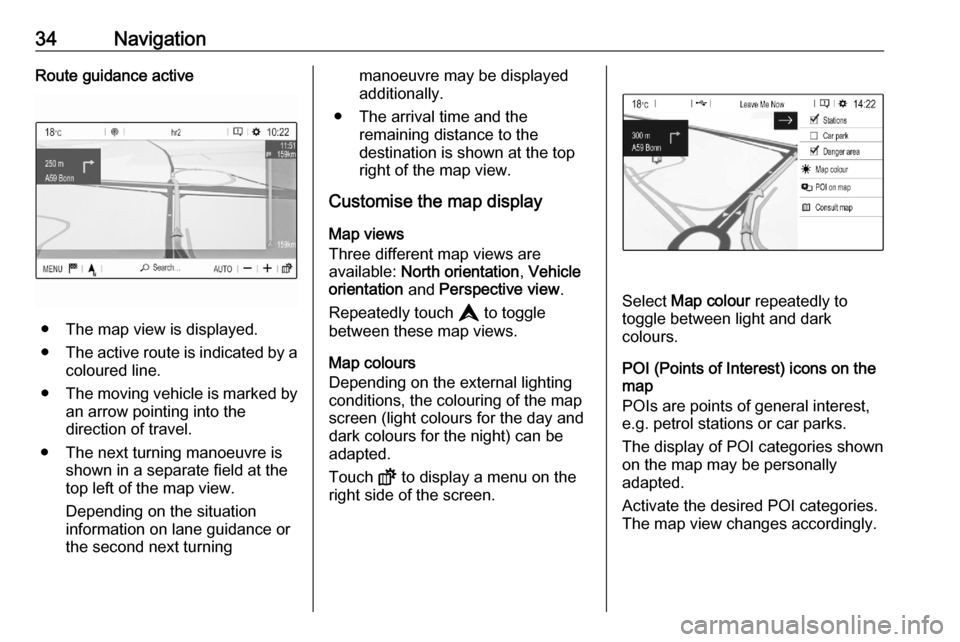
34NavigationRoute guidance active
● The map view is displayed.
● The active route is indicated by a
coloured line.
● The moving vehicle is marked by
an arrow pointing into the
direction of travel.
● The next turning manoeuvre is shown in a separate field at the
top left of the map view.
Depending on the situation
information on lane guidance or
the second next turning
manoeuvre may be displayed additionally.
● The arrival time and the remaining distance to the
destination is shown at the top
right of the map view.
Customise the map display
Map views
Three different map views are
available: North orientation , Vehicle
orientation and Perspective view .
Repeatedly touch L to toggle
between these map views.
Map colours
Depending on the external lighting
conditions, the colouring of the map
screen (light colours for the day and
dark colours for the night) can be
adapted.
Touch ! to display a menu on the
right side of the screen.
Select Map colour repeatedly to
toggle between light and dark
colours.
POI (Points of Interest) icons on the
map
POIs are points of general interest,
e.g. petrol stations or car parks.
The display of POI categories shown
on the map may be personally
adapted.
Activate the desired POI categories.
The map view changes accordingly.
Page 35 of 103
Navigation35Alternatively, select POI on map to
display a menu with a multitude of
POI categories and subcategories to
choose from. Activate the desired
POI categories.
Traffic events
Traffic events may be indicated on the
map. Additionally, information on
these events may be displayed in a
list.
Select Consult map to switch to an
alternative map display with new
menu options.
The map view is switched to North
orientation mode and and may
display a greater part of the route.
Touch the traffic jam icon to show
traffic events on the map. Touch Ï to
show a list with information on these
traffic events.
If you want to display a different map
section:
Touch + to show the area around the
current location.
Touch , to show the entire route.
Touch . to show the area around the
destination.
To return to the default navigation
view, touch 3.
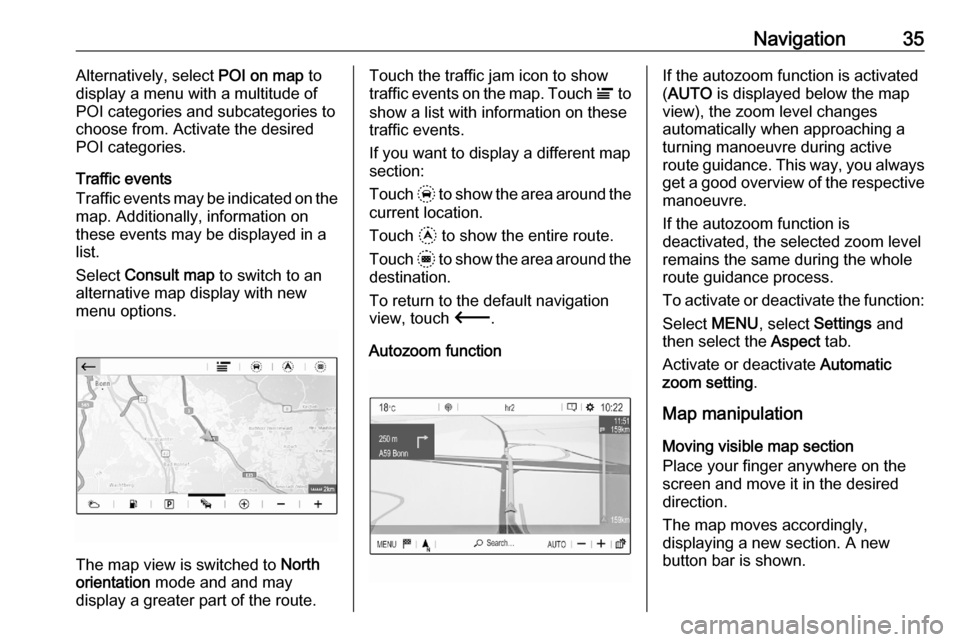
Autozoom functionIf the autozoom function is activated
( AUTO is displayed below the map
view), the zoom level changes
automatically when approaching a
turning manoeuvre during active
route guidance. This way, you always get a good overview of the respective
manoeuvre.
If the autozoom function is
deactivated, the selected zoom level
remains the same during the whole
route guidance process.
To activate or deactivate the function: Select MENU, select Settings and
then select the Aspect tab.
Activate or deactivate Automatic
zoom setting .
Map manipulation
Moving visible map section
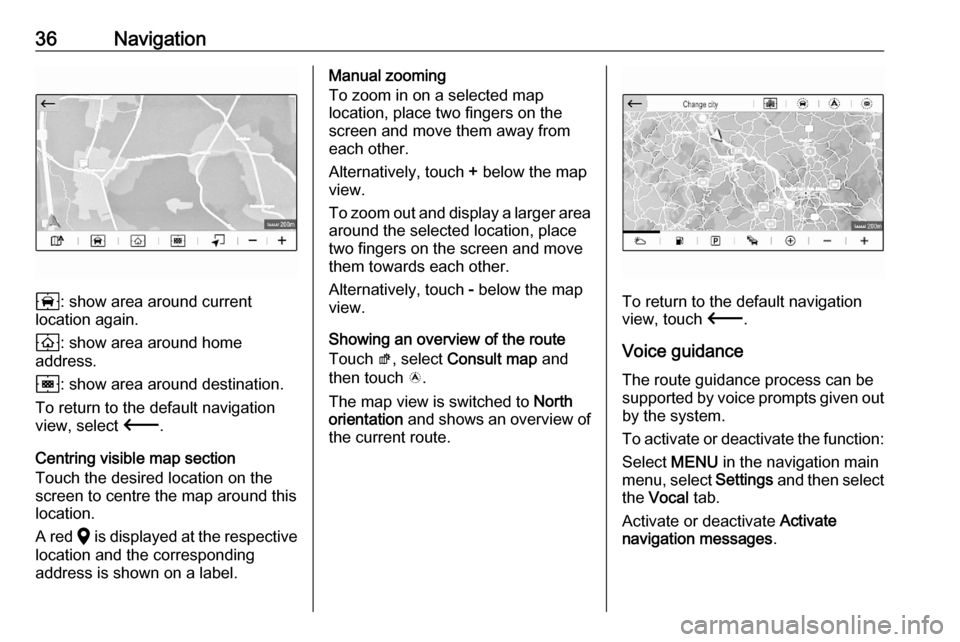
Place your finger anywhere on the
screen and move it in the desired
direction.
The map moves accordingly,
displaying a new section. A new
button bar is shown.
Page 36 of 103
36Navigation
8: show area around current
location again.
9 : show area around home
address.
0 : show area around destination.
To return to the default navigation
view, select 3.
Centring visible map section
Touch the desired location on the screen to centre the map around this
location.
A red K is displayed at the respective
location and the corresponding
address is shown on a label.
Manual zooming
To zoom in on a selected map
location, place two fingers on the
screen and move them away from
each other.
Alternatively, touch + below the map
view.
To zoom out and display a larger area around the selected location, place
two fingers on the screen and move
them towards each other.
Alternatively, touch - below the map
view.
Showing an overview of the route Touch ø, select Consult map and
then touch ö.
The map view is switched to North
orientation and shows an overview of
the current route.
To return to the default navigation
view, touch 3.
Voice guidance
The route guidance process can be
supported by voice prompts given out by the system.
To activate or deactivate the function: Select MENU in the navigation main
menu, select Settings and then select
the Vocal tab.
Activate or deactivate Activate
navigation messages .
Page 37 of 103
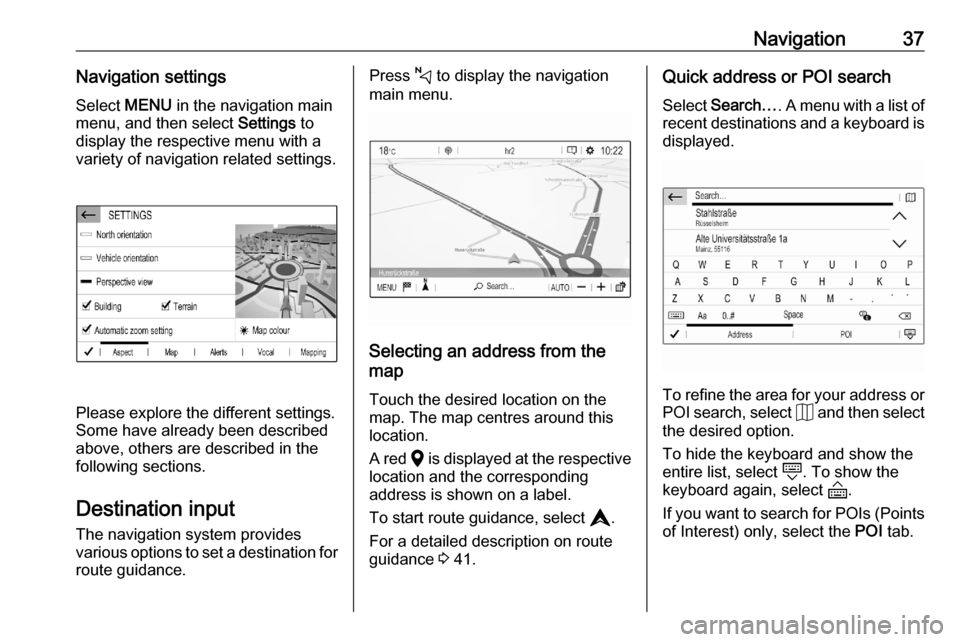
Navigation37Navigation settingsSelect MENU in the navigation main
menu, and then select Settings to
display the respective menu with a
variety of navigation related settings.
Please explore the different settings.
Some have already been described
above, others are described in the
following sections.
Destination input The navigation system provides
various options to set a destination for
route guidance.
Press c to display the navigation
main menu.
Selecting an address from the
map
Touch the desired location on themap. The map centres around this
location.
A red K is displayed at the respective
location and the corresponding
address is shown on a label.
To start route guidance, select L.
For a detailed description on route
guidance 3 41.
Quick address or POI search
Select Search… . A menu with a list of
recent destinations and a keyboard is
displayed.
To refine the area for your address or
POI search, select J and then select
the desired option.
To hide the keyboard and show the
entire list, select N. To show the
keyboard again, select O.
If you want to search for POIs (Points of Interest) only, select the POI tab.
Page 38 of 103
38NavigationEnter an address or search term. As
soon as characters are entered an
address search is performed and the
list of found addresses is updated
continuously.
Select the desired list item.
Depending on the current situation
and your selection, the navigation
system may react differently:
● If the selected list item is a valid destination address and route
guidance is currently not active:
The navigation main menu is
displayed again and route
guidance is started.
For a detailed description on
route guidance 3 41.
● If the selected list item is a valid destination address but route
guidance is already active:
A message is displayed and you
need to decide first if the old
destination should be replaced,
or if you want to add the selected
address as an intermediate
destination to a waypoint trip.
Detailed description on waypoint
trips, see below.Select the desired option.
● If the navigation system needs more detailed information for
route calculation:
Enter a further search term to refine your search.
Detailed address entry
Select MENU and then select Enter
address to display a keyboard for
address entry.
As soon as characters are entered,
an address search is started. Every additional character is considered inthe matching process and a list of
matching addresses is displayed.
Select the desired address or change
your input to initiate a new search.
Continue with the address entry until
the entire address you are searching for is found.
To start route guidance to the
respective address, confirm your
input.
For a detailed description on route
guidance 3 41.
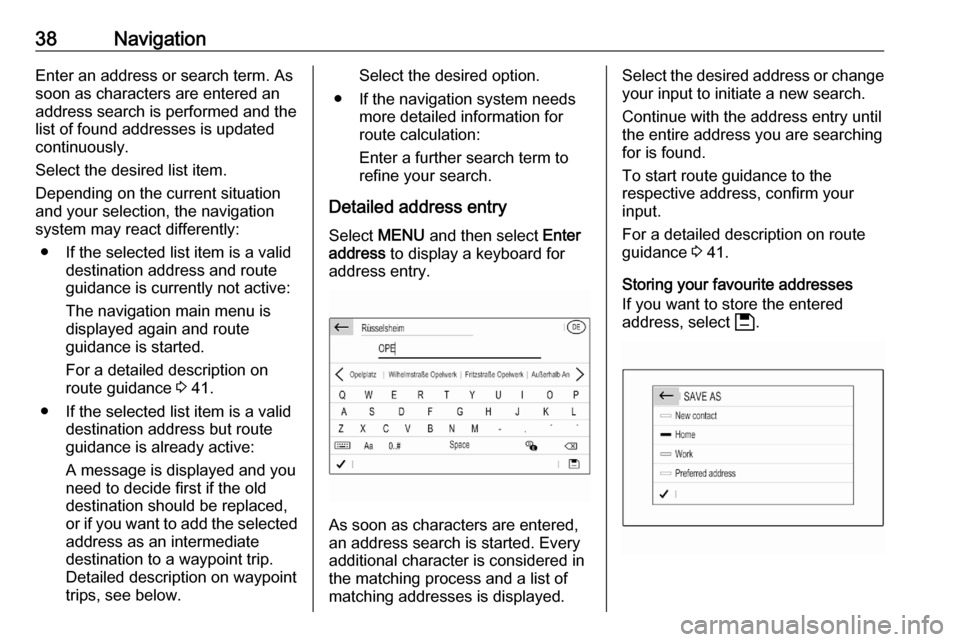
Storing your favourite addresses
If you want to store the entered
address, select 6.