2020 TOYOTA PROACE CITY navigation system
[x] Cancel search: navigation systemPage 225 of 272
225
TOYOTA Connect Nav
12
Navigation
Choice of a destination
To a new destination
Intuitive method:Press Navigation to display the main page.Press "Search…".
Enter an address or key words for your destination.Press "OK" to select the "Guidance criteria".OrGuided method:
NOTIC E
Before you can use the navigation feature, you must enter the "City", the "Street" (suggestions are displayed automatically when you begin typing), and the "Number" on the virtual keypad, or select an address from the "Contact" list or the address "History".
NOTIC E
If you do not confirm the house number, the navigation system will show one end of the street.
Press the "MENU" button to access the secondary page.Select "Enter address".
ThenSelect the Country
Select the keyboard “language”.
Change the keyboard "type" according to the selected "language": ABCDE; AZERTY; QWERTY or QWERTZ.Enter the "City", the "Street" and the "Number", and confirm by pressing on the displayed suggestions.Press "OK" to select the "Guidance criteria".And/orSelect "See on map" to choose the "Guidance criteria".Press "OK" to start guided navigation.
NOTIC E
Zoom in/out using the touch buttons or with two fingers on the screen.
To a recent destination
Press Navigation to display the main page.
Press the "MENU" button to access the secondary page.Select "My destinations".
Select the "Recent” tab.Select the address chosen in the list to display the "Guidance criteria”.Press "OK" to start guided navigation.
NOTIC E
Select "Position" to see the point of arrival on the map.
To "Home" or "My work"
Press Navigation to display the main page.Press the "MENU" button to access the secondary page.Select "My destinations".
Select the "Preferred” tab.Select "Home".
OrSelect "My work".
OrSelect a preset favourite destination.
Page 226 of 272
226
To a contact
Press Navigation to display the main page.Press the "MENU" button to access the secondary page.Select "My destinations".
Select the "Contact” tab.Select a contact in the list to start guided navigation.
To points of interest (POI)
Guided method:Points of interest (POI) are listed in different categories.Press Navigation to display the main page.Press the "MENU" button to access the secondary page.Select "Points of interest".
Select the "Travel", "leisure",
"Commercial", "Public" or "Geographic” tab.OrSelect "Search" to enter the name and address of a POI.Press "OK" to calculate the route.
OrIntuitive method:
NOTIC E
You can only select this method in order to use the service if a network connection is provided by the user via a smartphone.In that case, the system is automatically connected to the Internet, if network coverage permits.
Press Navigation to display the main page.Press the "MENU" button to access the secondary page.Select "Search".
Press on the mode shown in the bottom right of the screen (On-Board or Connected) to change "Database".Select the "Database" in "On-Board" mode (integrated into the map), or in "Connected" mode (connected to the Internet).Press the back arrow to confirm.
Enter an address or key words for your destination (POI).Press "OK" to start the search.
Select the "On the route", "Around the vehicle" or "At destination" tab to refine your search.Select the desired address to calculate the route.
To a point on the map
Press Navigation to display the main page.Explore the map by sliding a finger on the screen.Select the destination by pressing on the map.Tap the screen to place a marker and display the sub-menu.Press this button to start guided navigation.OrPress this button to save the displayed address.
NOTIC E
A long press on a point opens a list of nearby POIs.
To GPS coordinates
Press Navigation to display the main page.Explore the map by sliding a finger on the screen.Touch the screen with a finger to go to the next image.Press this button to display the world map.Using the grid, select the desired country or region by zooming.Press this button to display or enter the GPS coordinates.
Page 227 of 272
227
TOYOTA Connect Nav
12
A marker is displayed in the middle of the screen, with the "Latitude" and "Longitude" coordinates.Choose the type of coordinates:DMS for: Degrees, Minutes, Seconds.DD for: Degrees, Decimals.Press this button to start guided navigation.OrPress this button to save the displayed address.ORPress this button to enter the "Latitude" value using the virtual keypad.AndPress this button to enter the "Longitude" value using the virtual keypad.
TMC (Traffic Message
Channel)
Available in some countries.TMC (Traffic Message Channel) messages
are based on a European standard for traffic information broadcasting via the RDS system on FM radio, sending traffic information in real time. The TMC information is then displayed on a GPS Navigation system map and taken into account straight away when routes are calculated, to avoid accidents, traffic jams and closed roads.
NOTIC E
Danger zone alerts may or may not be displayed, depending on the applicable legislation and subscription to the corresponding service.
Connected navigation
Connected navigation
connection
Depending on version, vehicle trim level and subscription to online services and options.
Network connection provided by the
user
NOTIC E
For the list of suitable smartphones, visit the Brand's national website.
Activate and enter settings for sharing the smartphone connection.
NOTIC E
As processes and standards are constantly changing, we recommend you update the
smartphone operating system as well as the date and time on the smartphone and system, to ensure that the communication process between the smartphone and the system functions correctly.
USB connectionConnect the USB cable.The smartphone charges when connected by the USB cable.Bluetooth connectionActivate the Bluetooth function on the telephone and ensure that it is visible to all (see the "Connect-App" section).Wi-Fi connectionSelect a Wi-Fi network detected by the system and connect to it.
NOTIC E
This function is only available if it has been activated either via the "Notifications" or via the "Applications" menu.
Press "Notifications".
Select Wi-Fi to activate it.
ORPress Connect-App to display the main page.Press the "OPTIONS" button to access the secondary page.
Page 228 of 272
228
Select "Wi-Fi network connection".
Select the "Secured", "Not secured" or "Stored” tab.Select a network.
Using the virtual keypad, enter the Wi-Fi network "Key” and "Password".Press "OK" to establish a connection between the smartphone and the vehicle’s system.
NOTIC E
Usage restrictions:– With CarPlay®, connection sharing is only available with a Wi-Fi connection.– With MirrorLinkTM, connection sharing is only available with a USB connection.The quality of services depends on the quality of the network connection.
Authorize sending
information
Press Settings to display the main page.
Press the "OPTIONS" button to access the secondary page.Select "System configuration".
Select the "Private mode” tab.
ORPress "Notifications".
Press "Private mode".
THENActivate or deactivate:
– "No sharing (data, vehicle position)".– “Only data sharing"– "Sharing data and vehicle position"
Settings specific to
connected navigation
Press Navigation to display the main page.Press the "MENU" button to access the secondary page.Select "Settings".
Select the "Map” tab.
Activate or deactivate:– "Allow declaration of danger zones".– "Guidance to final destination on foot".These settings must be configured for each profile.Press “OK” to confirm your selection.
Select the "Alerts” tab.
Activate or deactivate:
– "Advise of car park nearby".– "Filling station alert".– “Risk areas alert" then press the warning icon (triangle) to configure alerts.– "Give an audible warning".– "Advise proximity of POI 1".– "Advise proximity of POI 2".Press “OK” to confirm your selection.
NOTIC E
The "Notifications", in the upper bar, can be accessed at any time.
NOTIC E
Danger zone alerts may or may not be displayed, depending on the applicable legislation and subscription to the corresponding service.
When "TOMTOM TRAFFIC” appears, the services are available.
NOTIC E
The services offered with connected navigation are as follows.A Connected Services pack:– Weather,
Page 232 of 272
232
NOTIC E
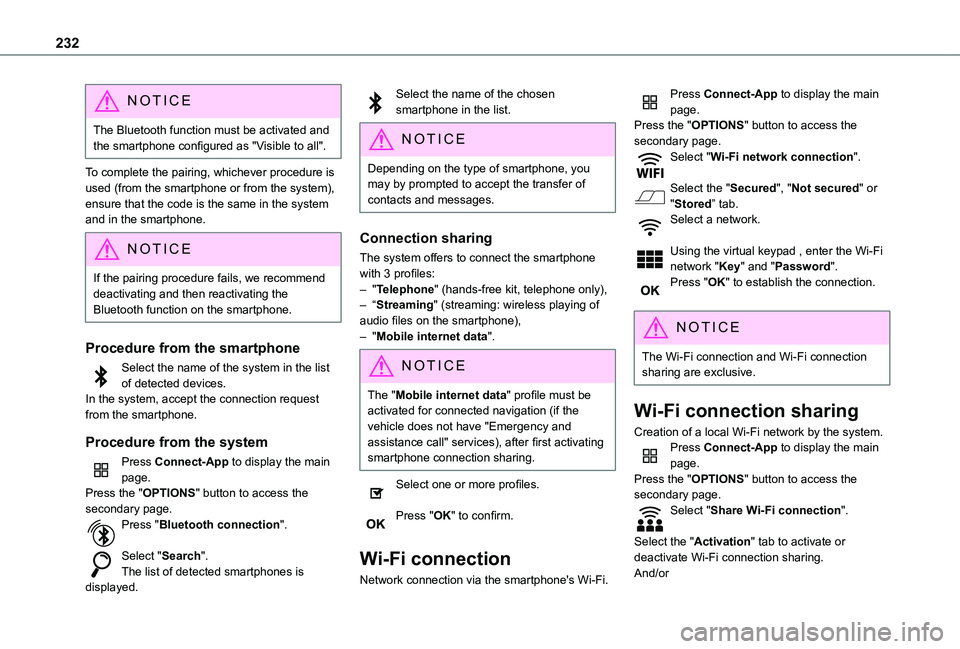
The Bluetooth function must be activated and the smartphone configured as "Visible to all".
To complete the pairing, whichever procedure is used (from the smartphone or from the system), ensure that the code is the same in the system and in the smartphone.
NOTIC E
If the pairing procedure fails, we recommend deactivating and then reactivating the Bluetooth function on the smartphone.
Procedure from the smartphone
Select the name of the system in the list of detected devices.In the system, accept the connection request from the smartphone.
Procedure from the system
Press Connect-App to display the main page.Press the "OPTIONS" button to access the secondary page.Press "Bluetooth connection".
Select "Search".The list of detected smartphones is displayed.
Select the name of the chosen smartphone in the list.
NOTIC E
Depending on the type of smartphone, you may by prompted to accept the transfer of contacts and messages.
Connection sharing
The system offers to connect the smartphone with 3 profiles:– "Telephone" (hands-free kit, telephone only),– “Streaming" (streaming: wireless playing of audio files on the smartphone),– "Mobile internet data".
NOTIC E
The "Mobile internet data" profile must be activated for connected navigation (if the vehicle does not have "Emergency and assistance call" services), after first activating smartphone connection sharing.
Select one or more profiles.
Press "OK" to confirm.
Wi-Fi connection
Network connection via the smartphone's Wi-Fi.
Press Connect-App to display the main page.Press the "OPTIONS" button to access the secondary page.Select "Wi-Fi network connection".
Select the "Secured", "Not secured" or "Stored” tab.Select a network.
Using the virtual keypad , enter the Wi-Fi network "Key" and "Password".Press "OK" to establish the connection.
NOTIC E
The Wi-Fi connection and Wi-Fi connection sharing are exclusive.
Wi-Fi connection sharing
Creation of a local Wi-Fi network by the system.Press Connect-App to display the main page.Press the "OPTIONS" button to access the secondary page.Select "Share Wi-Fi connection".
Select the "Activation" tab to activate or deactivate Wi-Fi connection sharing.And/or
Page 236 of 272
236
Information and advice
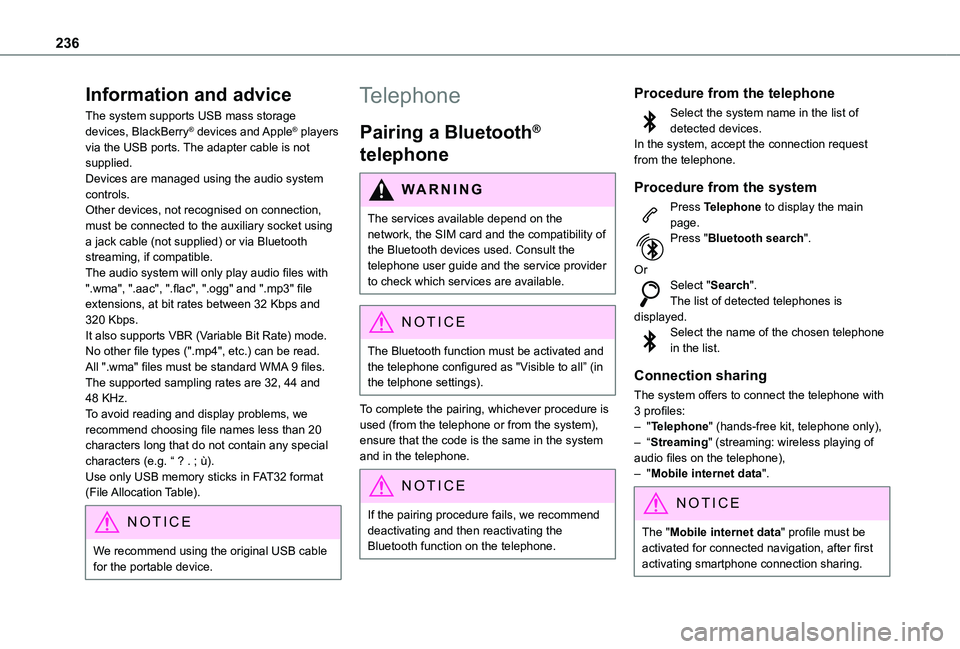
The system supports USB mass storage devices, BlackBerry® devices and Apple® players via the USB ports. The adapter cable is not supplied.Devices are managed using the audio system controls.Other devices, not recognised on connection, must be connected to the auxiliary socket using a jack cable (not supplied) or via Bluetooth streaming, if compatible.The audio system will only play audio files with ".wma", ".aac", ".flac", ".ogg" and ".mp3" file extensions, at bit rates between 32 Kbps and 320 Kbps.It also supports VBR (Variable Bit Rate) mode.No other file types (".mp4", etc.) can be read.All ".wma" files must be standard WMA 9 files.The supported sampling rates are 32, 44 and 48 KHz.To avoid reading and display problems, we recommend choosing file names less than 20
characters long that do not contain any special characters (e.g. “ ? . ; ù).Use only USB memory sticks in FAT32 format (File Allocation Table).
NOTIC E
We recommend using the original USB cable for the portable device.
Telephone
Pairing a Bluetooth®
telephone
WARNI NG
The services available depend on the network, the SIM card and the compatibility of
the Bluetooth devices used. Consult the telephone user guide and the service provider to check which services are available.
NOTIC E
The Bluetooth function must be activated and the telephone configured as "Visible to all” (in the telphone settings).
To complete the pairing, whichever procedure is used (from the telephone or from the system), ensure that the code is the same in the system and in the telephone.
NOTIC E
If the pairing procedure fails, we recommend deactivating and then reactivating the Bluetooth function on the telephone.
Procedure from the telephone
Select the system name in the list of detected devices.In the system, accept the connection request from the telephone.
Procedure from the system
Press Telephone to display the main page.Press "Bluetooth search".
OrSelect "Search".The list of detected telephones is displayed.Select the name of the chosen telephone in the list.
Connection sharing
The system offers to connect the telephone with 3 profiles:– "Telephone" (hands-free kit, telephone only),– “Streaming" (streaming: wireless playing of
audio files on the telephone),– "Mobile internet data".
NOTIC E
The "Mobile internet data" profile must be activated for connected navigation, after first activating smartphone connection sharing.
Page 241 of 272
241
TOYOTA Connect Nav
12
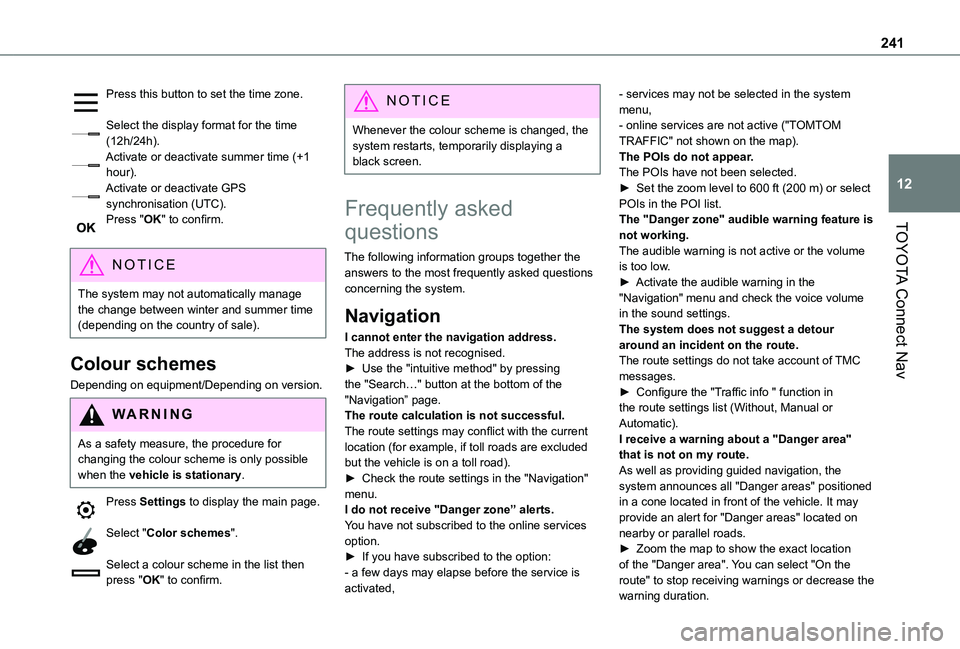
Press this button to set the time zone.
Select the display format for the time (12h/24h).Activate or deactivate summer time (+1 hour).Activate or deactivate GPS synchronisation (UTC).Press "OK" to confirm.
NOTIC E
The system may not automatically manage the change between winter and summer time (depending on the country of sale).
Colour schemes
Depending on equipment/Depending on version.
WARNI NG
As a safety measure, the procedure for changing the colour scheme is only possible when the vehicle is stationary.
Press Settings to display the main page.
Select "Color schemes".
Select a colour scheme in the list then press "OK" to confirm.
NOTIC E
Whenever the colour scheme is changed, the system restarts, temporarily displaying a black screen.
Frequently asked
questions
The following information groups together the answers to the most frequently asked questions concerning the system.
Navigation
I cannot enter the navigation address.The address is not recognised.► Use the "intuitive method" by pressing the "Search…" button at the bottom of the "Navigation” page.The route calculation is not successful.The route settings may conflict with the current
location (for example, if toll roads are excluded but the vehicle is on a toll road).► Check the route settings in the "Navigation" menu.I do not receive "Danger zone” alerts.You have not subscribed to the online services option.► If you have subscribed to the option:- a few days may elapse before the service is activated,
- services may not be selected in the system menu,- online services are not active ("TOMTOM TRAFFIC" not shown on the map).The POIs do not appear.The POIs have not been selected.► Set the zoom level to 600 ft (200 m) or select POIs in the POI list.The "Danger zone" audible warning feature is not working.The audible warning is not active or the volume is too low.► Activate the audible warning in the "Navigation" menu and check the voice volume in the sound settings.The system does not suggest a detour around an incident on the route.The route settings do not take account of TMC messages.► Configure the "Traffic info " function in the route settings list (Without, Manual or Automatic).I receive a warning about a "Danger area"
that is not on my route.As well as providing guided navigation, the system announces all "Danger areas" positioned in a cone located in front of the vehicle. It may provide an alert for "Danger areas" located on nearby or parallel roads.► Zoom the map to show the exact location of the "Danger area". You can select "On the route" to stop receiving warnings or decrease the
warning duration.
Page 242 of 272
242
Certain traffic jams along the route are not indicated in real time.On starting, a few minutes may elapse before the system begins to receive traffic information.► Wait until traffic information is being received correctly (traffic information icons shown on the map).In certain countries, only major routes (motorways, etc.) are listed for the traffic information.This is perfectly normal. The system is dependent on the traffic information available.The altitude is not displayed.On starting, GPS initialisation may take up to 3 minutes to receive more than 4 satellites correctly.► Wait until the system has started up completely so that there is GPS coverage by at least 4 satellites.Depending on the geographical environment (tunnel, etc.) or the weather, the conditions of reception of the GPS signal may vary.This behaviour is normal. The system is
dependent on the GPS signal reception conditions.My navigation is no longer connected.During start-up and in certain geographical areas, the connection may be unavailable.► Check that the online services are activated (settings, contract).
Radio
The reception quality of the tuned radio station gradually deteriorates or the station presets are not working (no sound, 87.5 MHz is displayed, etc.).The vehicle is too far from the selected station’s transmitter, or no transmitter is present in the geographical area.► Activate the "RDS" function by means of the short-cut menu to enable the system to check whether there is a more powerful transmitter in the geographical area.The aerial is missing or has been damaged (for example while entering a car wash or underground car park).► Have the aerial checked by a dealer.The environment (hills, buildings, tunnels, basement car parks, etc.) is blocking reception, including in RDS mode.This is a perfectly normal phenomenon, and is not indicative of an audio system malfunction.I cannot find some radio stations in the list of
stations received.The name of the radio station changes.The station is no longer received or its name has changed in the list.Some radio stations send other information in place of their name (the title of the song for example).The system interprets these details as the station name.
► Press the "Update list" button in the "Radio stations” secondary menu.
Media
Playback of my USB memory stick starts only after a very long wait (around 2 to 3 minutes).Some files supplied with the memory stick may greatly slow down access to reading the memory stick (multiplication by 10 of the cataloguing time).► Delete the files supplied with the memory stick and limit the number of sub-folders in the file structure on the memory stick.There may be an extended pause after inserting a USB stick.The system reads a variety of data (folder, title, artist, etc.). This can take from a few seconds to a few minutes.This is perfectly normal.Some characters in information about the currently playing media may not be displayed correctly.The audio system is unable to process certain
types of character.► Use standard characters to name tracks and folders.Playback of streaming files does not start.The connected device does not automatically launch playback.► Start playback from the device.Track names and playing times are not displayed on the audio streaming screen.