Page 159 of 220

wall outlet instead of using energy stored in
the Battery. For example, if you are sitting in
Model 3 and using the touchscreen while
parked and plugged in, Model 3 draws energy
from the wall outlet instead of the Battery.Caution: The connector end of the charge
cable can damage the paint if dropped
onto the vehicle.
During Charging
During charging, the charge port light (the Tesla "T" logo) pulses green, and thetouchscreen displays the charging status. The
frequency at which the charge port light
pulses slows down as the charge level
approaches full. When charging is complete,
the light stops pulsing and is solid green.
Note: If Model 3 is locked, the charge port
light does not light up.
If the charge port light turns red while
charging, a fault is detected. Check the
touchscreen for a message describing the
fault. A fault can occur due to something as
common as a power outage. If a power outage
occurs, charging resumes automatically when
power is restored.
Note: When charging, particularly at high
currents, the refrigerant compressor and fan
operate as needed to keep the Battery cool.
Therefore, it is normal to hear sounds during charging.
Note: Air conditioning performance is
generally not affected by charging. However,
under certain circumstances (for example, you
are charging at high currents during a
particularly warm day), the air coming from
the vents may not be as cool as expected and
a message displays on the touchscreen. This is
normal behavior and ensures that the Battery stays within an optimum temperature range
while charging to support longevity and optimum performance.
Warning: Never spray liquid at a high
velocity (for example, if using a pressure
washer) towards the charge port while
charging. Failure to follow these
instructions can result in serious injury or
damage to the vehicle, charging
equipment, or property.
Stopping Charging
Stop charging at any time by disconnecting
the charge cable or touching Stop Charging
on the touchscreen.
Note: To prevent unauthorized unplugging of
the charge cable, the charge cable latch remains locked and Model 3 must be unlockedor able to recognize your authenticated phone
before you can disconnect the charge cable.
However, in cold ambient temperatures below
41
Page 161 of 220
2.Adjust the charge limit by touching Set
Limit , and drag the arrow to move the
charge limit setting. The setting you
choose applies to immediate and
scheduled charging sessions.
3. The current automatically sets to the
maximum current available from the
attached charge cable, unless it was
previously reduced to a lower level. If
needed, touch - or + to change the current
(for example, you may want to reduce the
current if you are concerned about
overloading a domestic wiring circuit
shared by other equipment). It is not
possible to set the charging current to a
level that exceeds the maximum available
from the attached charge cable. When
you change the current, Model 3
remembers the location. If you charge at
the same location, you do not need to change it again.
Note: If Model 3 is charging and detects
unexpected
Page 163 of 220
Maintenance
Maintenance Schedule
Service Intervals
Your vehicle should generally be serviced on an as-needed basis. However, Tesla
recommends the following maintenance items
and intervals, as applicable to your vehicle, to ensure continued reliability and efficiency of
your Model 3.
Page 166 of 220
Checking and Adjusting Tire PressuresFollow these steps when tires are cold andModel 3 has been stationary for over three
hours:
1. Refer to the Tire and Loading Information
label located on the driver’s center door
pillar for the target tire pressure.
2. Remove the valve cap.
3. Firmly press an accurate tire pressure
gauge onto the valve to measure pressure.
4. If required, add or remove air to reach the
recommended pressure.
Note: You can release air by pressing the
metal stem in the center of the valve.
5. Re-check pressure using the accurate tire
gauge.
6. Repeat steps 3 and 4 as necessary until
the tire pressure is correct.
7. Reinstall the valve cap to prevent dirt from
entering. Periodically check the valve for
damage and leaks.Inspecting and Maintaining Tires
Regularly inspect the tread and side walls for
any sign of distortion (bulges), foreign objects,
cuts or wear.Warning: Do not drive Model 3 if a tire is
damaged, excessively worn, or in
Page 167 of 220

Punctured Tires
A puncture eventually causes the tire to lose pressure, which is why it is important to check
tire pressures frequently. Permanently repair
or replace punctured or damaged tires as
soon as possible.
Your tubeless tires may not leak when
penetrated, provided the object remains in the tire. If, however, you feel a sudden vibration or
ride disturbance while driving, or you suspect a tire is damaged, immediately reduce yourspeed. Drive slowly, while avoiding heavy
braking or sharp steering and, when safe to do so, stop the vehicle. Arrange to have Model 3
transported to a Tesla Service Center, or to a nearby tire repair center.
Note: In some cases, you can temporarily
repair small tire punctures (under 1/4” (6
mm)) using an optional tire repair kit available from Tesla. This allows you to slowly drive
Model 3 to Tesla or to a nearby tire repair
facility.Warning: Do not drive with a punctured
tire that has not been repaired, even if the puncture has not caused the tire to
de
Page 168 of 220
Asymmetric Tires
Model 3 tires are asymmetric and must be
mounted on the wheel with the correct
sidewall facing outward. The sidewall of the
tire is marked with the word OUTSIDE. When
new tires are installed, make sure that the tires
are correctly mounted on the wheels.Warning: Road holding is seriously
impaired if the tires are incorrectly
installed on the wheels.
Removing and Installing Aero Covers
If your Model 3 is equipped with aero covers,
you must remove them to access the lug nuts.
To remove an aero cover:
1. Grasp the aero cover firmly with both
hands.
2. Pull the aero cover toward you to release
the retaining clips.
To install an aero cover:
1. Align the aero cover into position so that
the notch at the base of the Tesla "T" is aligned with the tire
Page 169 of 220

Removing and Installing Lug Nut Covers
If your Model 3 is equipped with lug nut covers, you must remove them to access the
lug nuts.
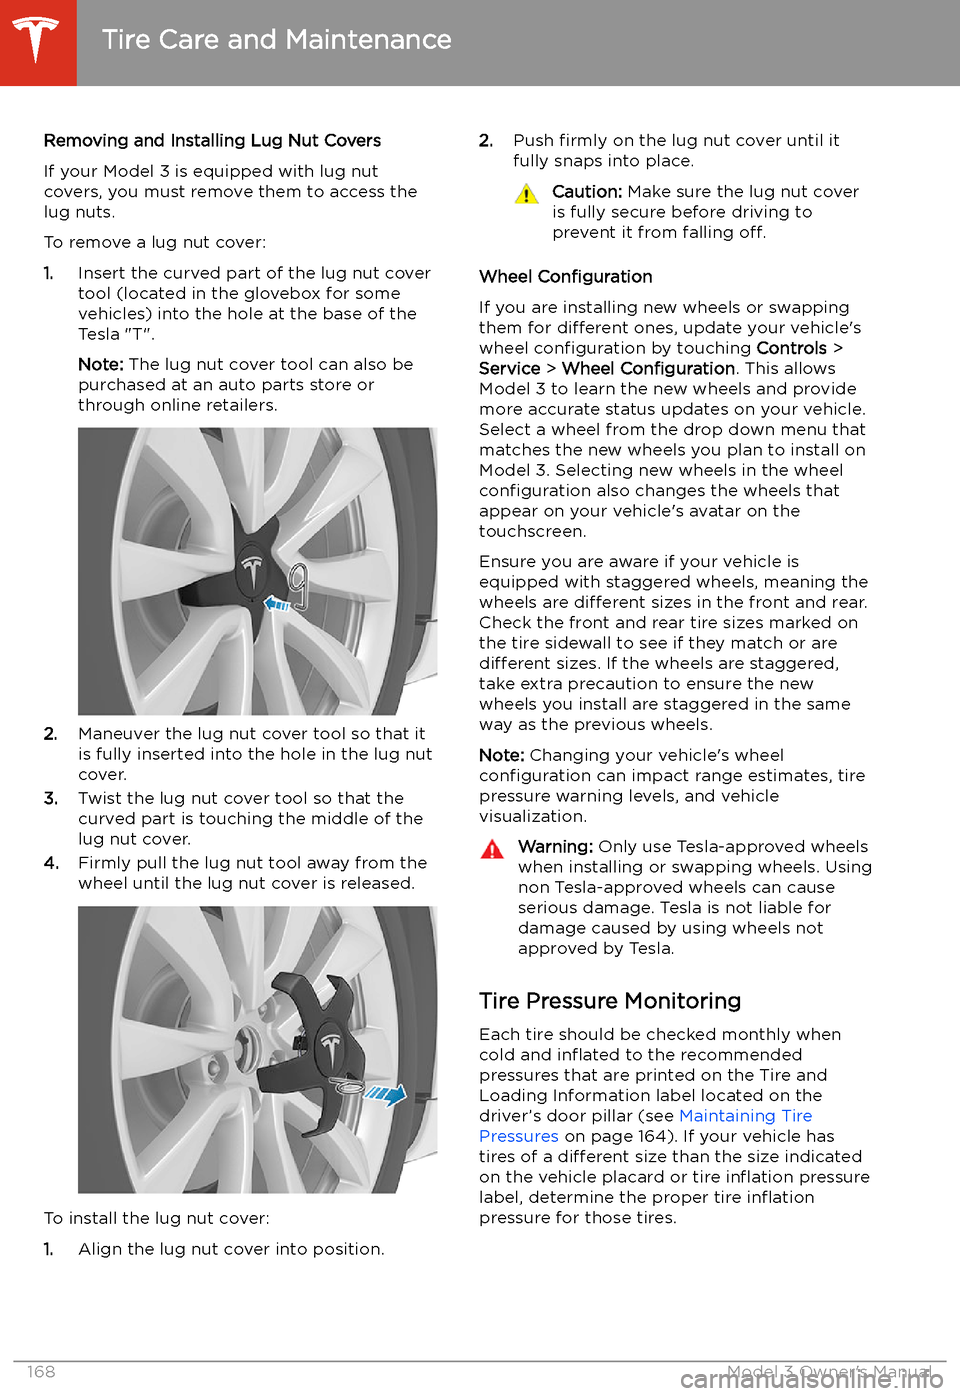
To remove a lug nut cover:
1. Insert the curved part of the lug nut cover
tool (located in the glovebox for some
vehicles) into the hole at the base of the
Tesla "T".
Note: The lug nut cover tool can also be
purchased at an auto parts store or
through online retailers.
2. Maneuver the lug nut cover tool so that it
is fully inserted into the hole in the lug nut
cover.
3. Twist the lug nut cover tool so that the
curved part is touching the middle of the
lug nut cover.
4. Firmly pull the lug nut tool away from the
wheel until the lug nut cover is released.
To install the lug nut cover:
1. Align the lug nut cover into position.
2.
Push firmly on the lug nut cover until it
fully snaps into place.Caution: Make sure the lug nut cover
is fully secure before driving to
prevent it from falling off.
Wheel Configuration
If you are installing new wheels or swapping
them for different ones, update your vehicle
Page 171 of 220

TPMS malfunctions can occur for a variety of
reasons, including installing replacement or
alternate tires or wheels that prevent the
TPMS from functioning properly. Always check
the TPMS malfunction indicator light after replacing one or more tires or wheels on yourvehicle to ensure that the replacement tires or
wheels allow the TPMS to continue to function
properly.
Note: If a tire has been replaced or repaired
using a different tire sealant than the one
available from Tesla, and a low tire pressure is
detected, it is possible that the tire sensor has
been damaged. Contact Tesla to have the fault repaired as soon as possible.Seasonal Tire Types
Summer Tires
Your vehicle may be originally equipped with high performance summer tires or all season
tires. Tesla recommends using winter tires if
driving in cold temperatures or on roads
where snow or ice may be present. Contact
Tesla for winter tire recommendations.Warning: In cold temperatures or on snow
or ice, summer tires do not provide
adequate traction. Selecting and installing the appropriate tires for winter conditions
is important to ensure the safety and
optimum performance of your Model 3.
All-Season Tires
Your Model 3 may be originally equipped with all-season tires. These tires are designed to
provide adequate traction in most conditions
year-round, but may not provide the same level of traction as winter tires in snowy or icy
conditions. All-season tires can be identified
by “ALL SEASON" and/or "M+S” (mud and
snow) on the tire sidewall.
Winter Tires
Use winter tires to increase traction in snowy
or icy conditions. When installing winter tires,
always install a complete set of four tires at
the same time. Winter tires must be the same
diameter, brand, construction and tread
pattern on all four wheels. Contact Tesla for
winter tire recommendations.
Winter tires can be identified by a
mountain/snow