2020 SUZUKI JIMNY display
[x] Cancel search: displayPage 17 of 421

1. Instrument cluster
(P.2-15, 2-25)/ VIEW C Information display (P.2-18, 2-28) 2. Windshield wiper and washer lever (P.2-67)/ Rear window wiper/ washer switch (P.2-69) 3. Audio (if equipped) (P.5-31) 4. Hazard warning switch (P.2-67) 5. Ignition switch (P.3-2) 6. Gearshift lever (P.3-8) 7. Transfer lever (P.3-16) 8. Electric window control (Driver's door) (if e~ipped) (P.2-11) 9. ESP OFF switch (P.3-58) 10. Hill descent control switch (P.3-59) 11. Electric window control (Passenger's door) (if equipped) (P.2-11) 12. USB socket (if equipped) (P.5-7) 13. Accessory socket (P.5-6) 14. Heating and air conditioning system (P.5-16) / Heated rear window switch/ Heated outside rearview mirrors switch (if equipped) (P.2-71)
1 2 3 4
7 6 12 13
ILLUSTRATED TABLE OF CONTENTS
14
~m0~
-P-~ ¥ -1-
8 9 10 11
78RB01007
Page 71 of 421

BEFORE DRIVING
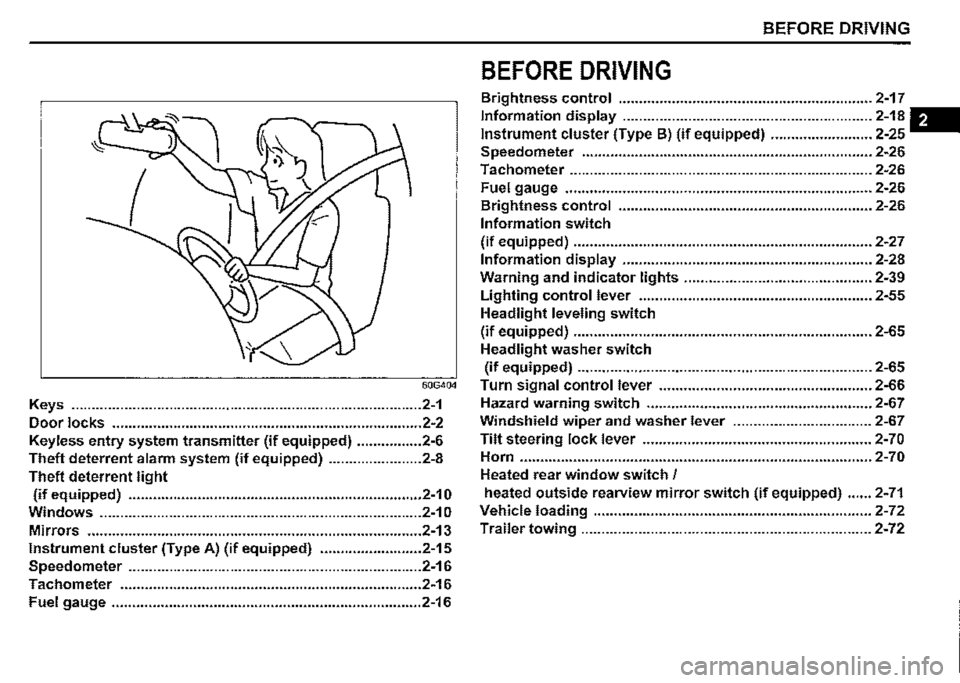
BEFORE DRIVING
Brightness control .............................................................. 2-17
Information display ............................................................. 2-18 -
Instrument cluster (Type B) (if equipped) ......................... 2-25
Speedometer ....................................................................... 2-26
Tachometer .......................................................................... 2-26
Fuel gauge ........................................................................... 2-26
Brightness control .............................................................. 2-26
Information switch
(if equipped) ......................................................................... 2-27
Information display ............................................................. 2-28
Warning and indicator lights .............................................. 2-39
Lighting control lever ......................................................... 2-55
Headlight leveling switch
(if equipped) ......................................................................... 2-65
Headlight washer switch
(if equipped) ........................................................................ 2-65
60G404 Turn signal control lever .................................................... 2-66
Keys ...................................................................................... 2-1 Hazard warning switch ....................................................... 2-67
Door locks ............................................................................ 2-2 Windshield wiper and washer lever .................................. 2-67
Keyless entry system transmitter (if equipped) ................ 2-6 Tilt steering lock lever ........................................................ 2-70
Theft deterrent alarm system (if equipped) ....................... 2-8 Horn ...................................................................................... 2-70
Theft deterrent light Heated rear window switch /
(if equipped) ........................................................................ 2-10 heated outside rearview mirror switch (if equipped) ...... 2-71
Windows ............................................................................... 2-1 o Vehicle loading .................................................................... 2-72
Mirrors .................................................................................. 2-13 Trailer towing ....................................................................... 2-72
Instrument cluster (Type A) (if equipped) ......................... 2-15
Speedometer ........................................................................ 2-16
Tachometer .......................................................................... 2-16
Fuel gauge ............................................................................ 2-16
Page 72 of 421

BEFORE DRIVING
Keys
54G489
Your vehicle comes with a pair of identical keys. Keep one of the keys as a spare key in a safe place. One key can open all of the locks on the vehicle.
The key identification number is stamped on a metal tag provided with the keys or on the keys. Keep the tag in a safe place. If you lose your keys, you will need this number to have new keys made. Write the number below for your future reference.
I KEY NUMBER:
2-1
Immobilizer system
This system is designed to help prevent vehicle theft by electronically disabling the engine starting system. The engine can be started only with your vehicle's original immobilizer ignition key, which has an electronic identification code programmed in it. The key communicates the identification code to the vehicle when the ignition switch is turned to "ON" position. If you need to make spare keys, see a SUZUKI dealer. The vehicle must be programmed with the correct identification code for the spare. A key made by an ordinary locksmith will not work.
80JM122
If the immobilizer warning light blinks when the ignition switch is in "ON" position, the engine will not start.
NOTICE
Do not modify or remove the immobilizer system. If modified or removed, the system cannot be properly operated.
NOTE: If the immobilizer system warning light blinks or comes on, a message may be shown on the information display. This immobilizer system is maintenancefree.
It this light blinks, turn the ignition switch to "LOCK" position, and then turn it back to "ON" position. It the light still blinks after the ignition switch is turned back to "ON" position, there may be something wrong with your key or with the immobilizer system. Ask a SUZUKI dealer to have the system inspected.
Page 77 of 421

Keyless entry system
transmitter (if equipped)
(2)
79MH0237
(1) LOCK button (2) UNLOCK button
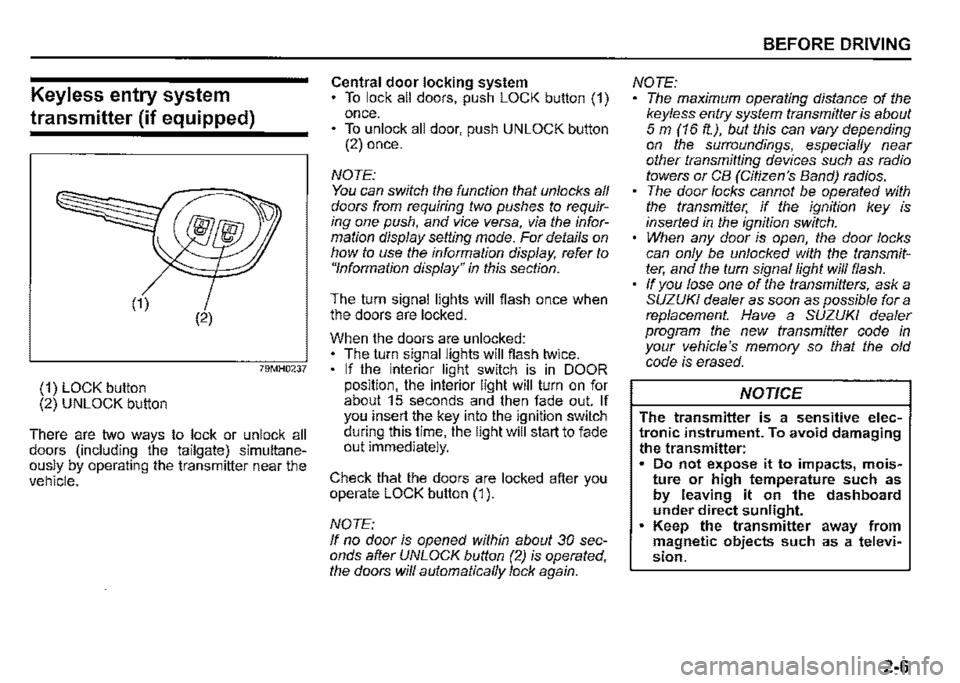
There are two ways to lock or unlock all doors (including the tailgate) simultaneously by operating the transmitter near the vehicle.
Central door locking system To lock all doors, push LOCK button (1) once. • To unlock all door, push UNLOCK button (2) once.
NOTE: You can switch the function that unlocks all doors from requiring two pushes to requiring one push, and vice versa, via the information display setting mode. For details on how to use the information display, refer to "Information display" in this section.
The turn signal lights will flash once when the doors are locked.
When the doors are unlocked: The turn signal lights will flash twice. If the interior light switch is in DOOR position, the interior light will turn on for about 15 seconds and then fade out. If you insert the key into the ignition switch during this time, the light will start to fade out immediately.
Check that the doors are locked after you operate LOCK button (1 ).
NOTE: If no door is opened within about 30 seconds after UNLOCK button (2) is operated, the doors will automatically lock again.
BEFORE DRIVING
NOTE: The maximum operating distance of the keyless entry system transmitter is about 5 m (16 ft.), but this can vary depending on the surroundings, especially near other transmitting devices such as radio towers or CB (Citizen's Band) radios. The door locks cannot be operated with the transmitter, if the ignition key is inserted in the ignition switch. When any door is open, the door locks can only be unlocked with the transmitter, and the turn signal light will flash. If you lose one of the transmitters, ask a SUZUKI dealer as soon as possible for a replacement. Have a SUZUKI dealer program the new transmitter code in your vehicle's memory so that the old code is erased.
NOTICE
The transmitter is a sensitive electronic instrument. To avoid damaging the transmitter: Do not expose it to impacts, moisture or high temperature such as by leaving it on the dashboard under direct sunlight. Keep the transmitter away from magnetic objects such as a television.
2-6
Page 86 of 421

BEFORE DRIVING
Instrument cluster (Type A) (if equipped)
1. Speedometer 2. Tachometer 3. Information display 4. Trip meter selector knob 5. Indicator selector knob 6. Warning and indicator lights
6 1
4 6 3 6 5
· 78RB20203
2-15
Page 88 of 421

BEFORE DRIVING
Brightness control
000000_
78RB02091
,:!>J 100-16□ MPH ,.
(1)
78RB02031
2-17
When the ignition switch is turned "ON", the instrument panel lights come on.
Your vehicle has a system to automatically dim the brightness of the instrument panel lights when the position lights or headlights
are on.
When the position lights and/or head lights are turned "ON", you can adjust the brightness of the instrument cluster lights in seven levels of intensity.
To increase the brightness of the instrument panel lights, turn the indicator selector knob (1) clockwise.
To reduce the brightness of the instrument panel lights, turn the indicator selector knob (1) counterclockwise.
A WARNING
Do not adjust the brightness of the instrument panel lights while driving. Otherwise, you could lose control of
the vehicle.
NOTE: ff you do not tum the knob within several seconds, the brightness control display will be cance/ed automatically. When you reconnect the lead-acid battery, the brightness of the instrument panel fights wi/1 be reinitialized. Readjust the brightness according to your prefer
ence.
NOTE: If you adjust to the maximum brightness level when the position fights or headlights are on, the following functions will be cancelled. The function which automatically dims the brightness of instrument panel fights The function which operates with the brightness control, except maximum brightness level
Page 89 of 421

Information display
Information display is shown when the ignition switch is turned to "ON" position.
,□
~
~ 160
(1) t=
(1) Trip meter selector knob (2) Indicator selector knob
(2)
78RB02032
~ I (A) (B) 0
= (C)
~
(D)
(E)
(F)
(3) Information display
~(3)
BEFORE DRIVING
The information display shows the following information.
Display (A) Temperature
Display (B) Clock
Display (C) Speed limiter (if equipped)
Display (D) . Selector position (for Automatic transmission vehicles) I Gearshift indicator (if equipped) I Rear passenger's seat belt 1asso20,a reminder (if equipped)
Display (E) Trip meter I Odometer I Fuel consumption I Driving range
Display (F) Fuel gauge
2-18
Page 90 of 421

BEFORE DRIVING
Clock
The display (B) shows the time.
To change the lime indication: 1) Push the trip meter selector knob (1) and the indicator selector knob (2) together. 2) To change the hour indication, turn _the indicator selector knob (2) left or nght repeatedly when the hour indication · blinks. To change the hour indication quickly, turn and hold the indicator selector knob (2). To set the hour indication, push the indicator selector knob (2) and the minute indication will blink. 3) To change the minute indication, turn the indicator selector knob (2) left or right repeatedly when the minute indication blinks. To change the minute indication quickly, turn and hold the indicator selector knob (2). To set the minute indication, push the indicator selector knob (2).
To select 12124H format, refer to "Setting mode"-in this section.
A WARNING
If you attempt to adjust the display while driving, you could lose control of the vehicle. Do not attempt to adjust the display while driving.
2-19
Thermometer
The display (A) shows the thermometer. The thermometer indicates the outside temperature.
, ,:la)
Cocl#}
78RB02089
If the outside temperature drops to freezing condition, the mark (a) will appear on the display.
NOTE: The outside temperature indication is not the actual outside temperature when driving at low speed, or when stopped. If there is something wrong with the thermometer, or just after the ignition switch is tumed to "ON" position, the display may not indicate the outside temperature.
When the display (E) shows the driving range, you can change the unit of temperature. To change the unit of temperature, while pushing and holding the trip meter selector knob (1 ), turn the indicator selector knob (2).
-----------
2 5 oc (Initial setting)
78RB02092
Selector position (for Automatic
transmission vehicles)/ Gearshift
indicator (if equipped)/ Rear pas
senger's seat belt reminder (if equipped)
I EXAMPLE
□ 52RM21360