Page 14 of 132

Head Restraint Adjustment
Pull the head restraint up to raise it. To lower it,
push it down while pressing the release button
on the top of the seatback. Each head restraint
should be adjusted so that the center of the
head restraint is closest to the top of the
occupant’s ears. This adjustment should be
made for any seating position, front or rear,
that has a new occupant.
You can adjust the angle of the front head
restraints by tilting them forward. You will hear
a click when the restraint is locked. Pulling the
head restraint as far forward as it will go will
allow it to return to the fully upright position.
Seatbelt Adjuster
Always position the seatbelt adjuster so the
shoulder belt passes over the middle of your
shoulder without touching your neck. Pull the
adjuster out and slide it up or down. Release
the adjuster and make sure it is locked in
place.
TILT AND TELESCOPIC STEERING COLUMN
Pull the lever down firmly to unlock, then adjust the
height and lengthwise position of the column. Push
the lever firmly back up to lock the column in place.
GETTING COMFORTABLE
12
Page 24 of 132
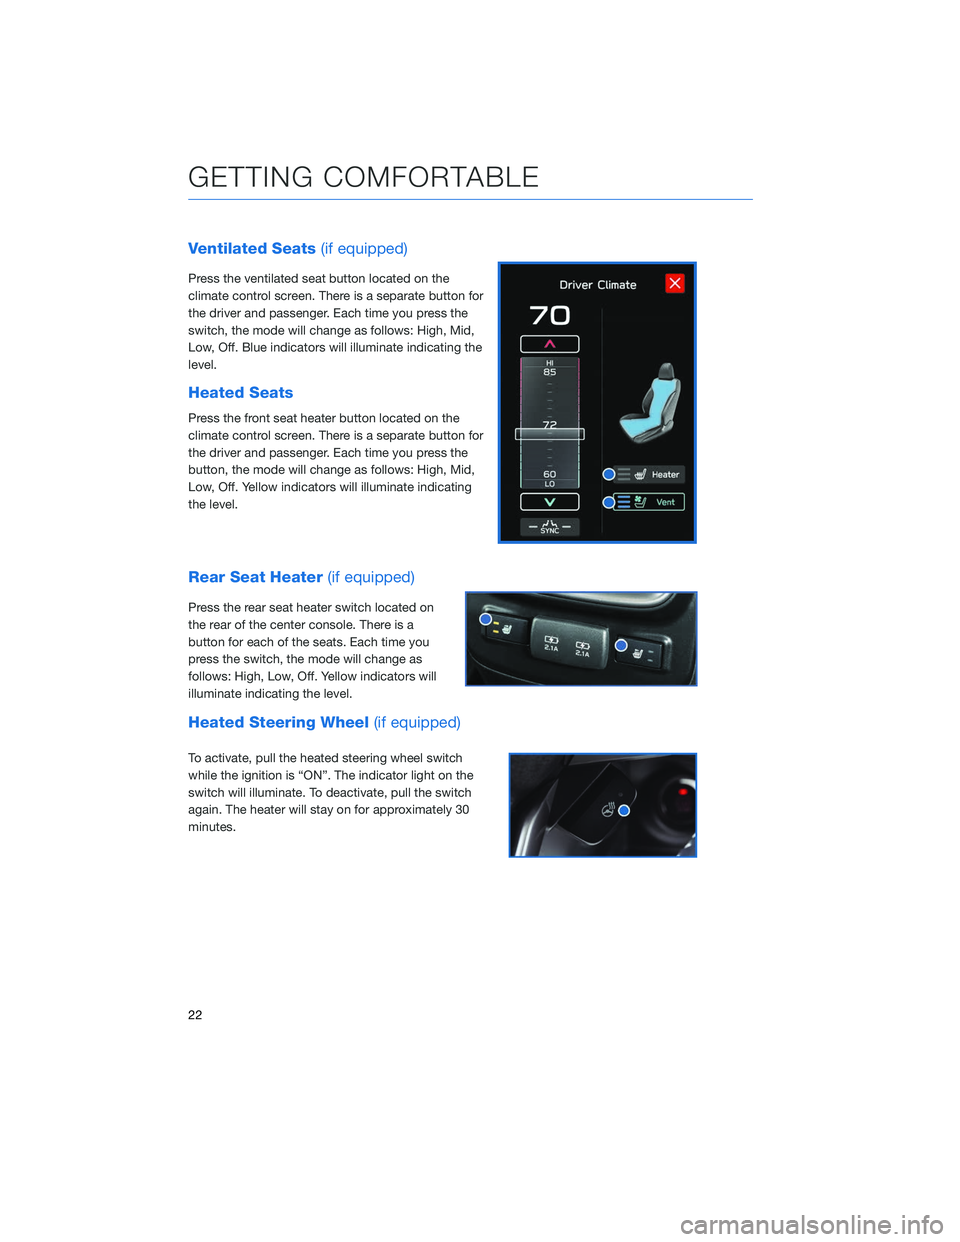
Ventilated Seats(if equipped)
Press the ventilated seat button located on the
climate control screen. There is a separate button for
the driver and passenger. Each time you press the
switch, the mode will change as follows: High, Mid,
Low, Off. Blue indicators will illuminate indicating the
level.
Heated Seats
Press the front seat heater button located on the
climate control screen. There is a separate button for
the driver and passenger. Each time you press the
button, the mode will change as follows: High, Mid,
Low, Off. Yellow indicators will illuminate indicating
the level.
Rear Seat Heater (if equipped)
Press the rear seat heater switch located on
the rear of the center console. There is a
button for each of the seats. Each time you
press the switch, the mode will change as
follows: High, Low, Off. Yellow indicators will
illuminate indicating the level.
Heated Steering Wheel (if equipped)
To activate, pull the heated steering wheel switch
while the ignition is “ON”. The indicator light on the
switch will illuminate. To deactivate, pull the switch
again. The heater will stay on for approximately 30
minutes.
GETTING COMFORTABLE
22
Page 25 of 132
ACCESSORY CONNECTIONS
Power Outlets (12V)
Power outlets (12V) are located in the front center console and in the cargo area. Electrical
power is available for use with in-vehicle electrical appliances with a maximum power
rating of 120W.
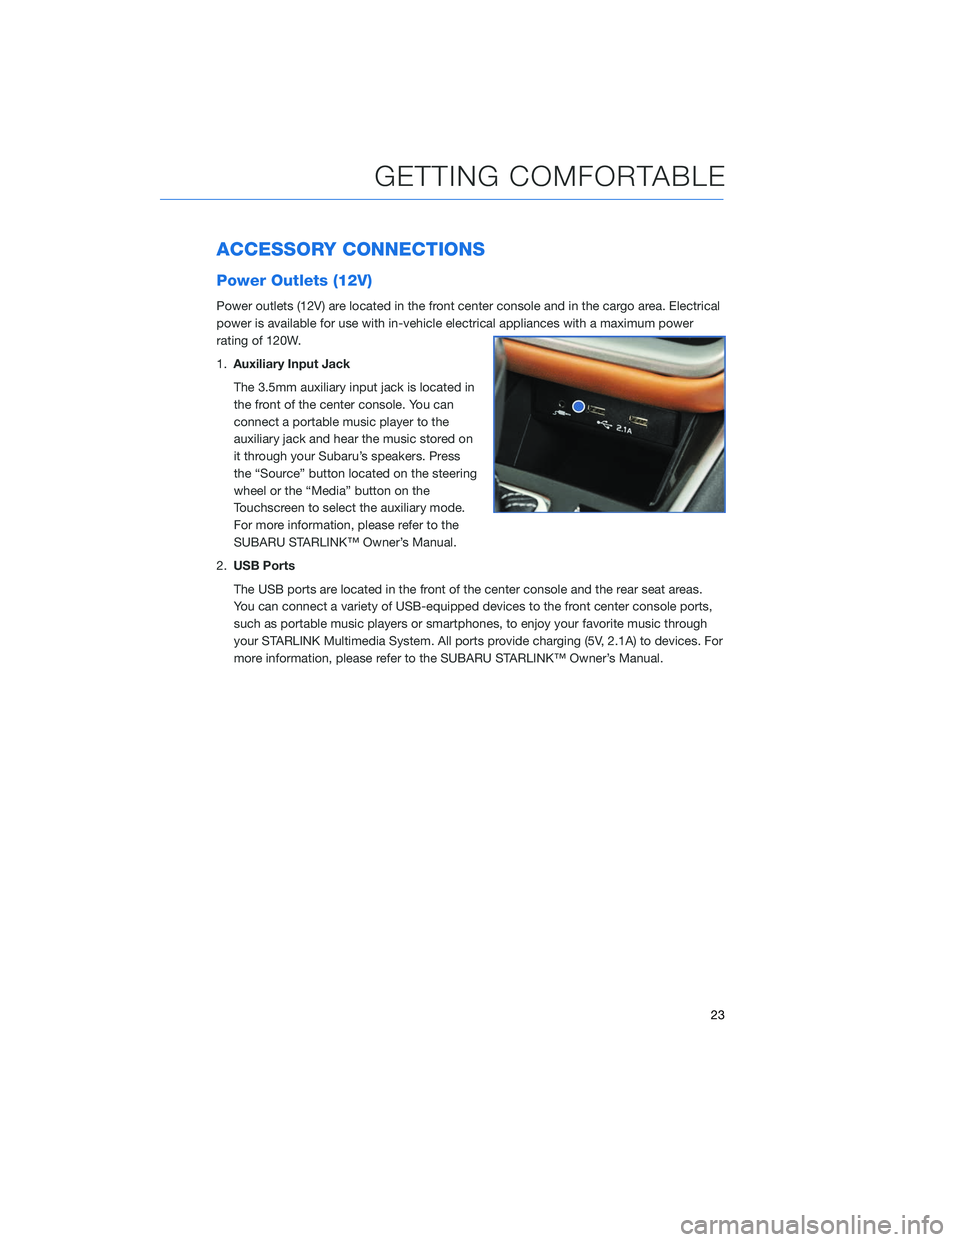
1.Auxiliary Input Jack
The 3.5mm auxiliary input jack is located in
the front of the center console. You can
connect a portable music player to the
auxiliary jack and hear the music stored on
it through your Subaru’s speakers. Press
the “Source” button located on the steering
wheel or the “Media” button on the
Touchscreen to select the auxiliary mode.
For more information, please refer to the
SUBARU STARLINK™ Owner’s Manual.
2. USB Ports
The USB ports are located in the front of the center console and the rear seat areas.
You can connect a variety of USB-equipped devices to the front center console ports,
such as portable music players or smartphones, to enjoy your favorite music through
your STARLINK Multimedia System. All ports provide charging (5V, 2.1A) to devices. For
more information, please refer to the SUBARU STARLINK™ Owner’s Manual.
GETTING COMFORTABLE
23
Page 33 of 132
DRIVING THE VEHICLE
Automatic Transmission Shift Mode
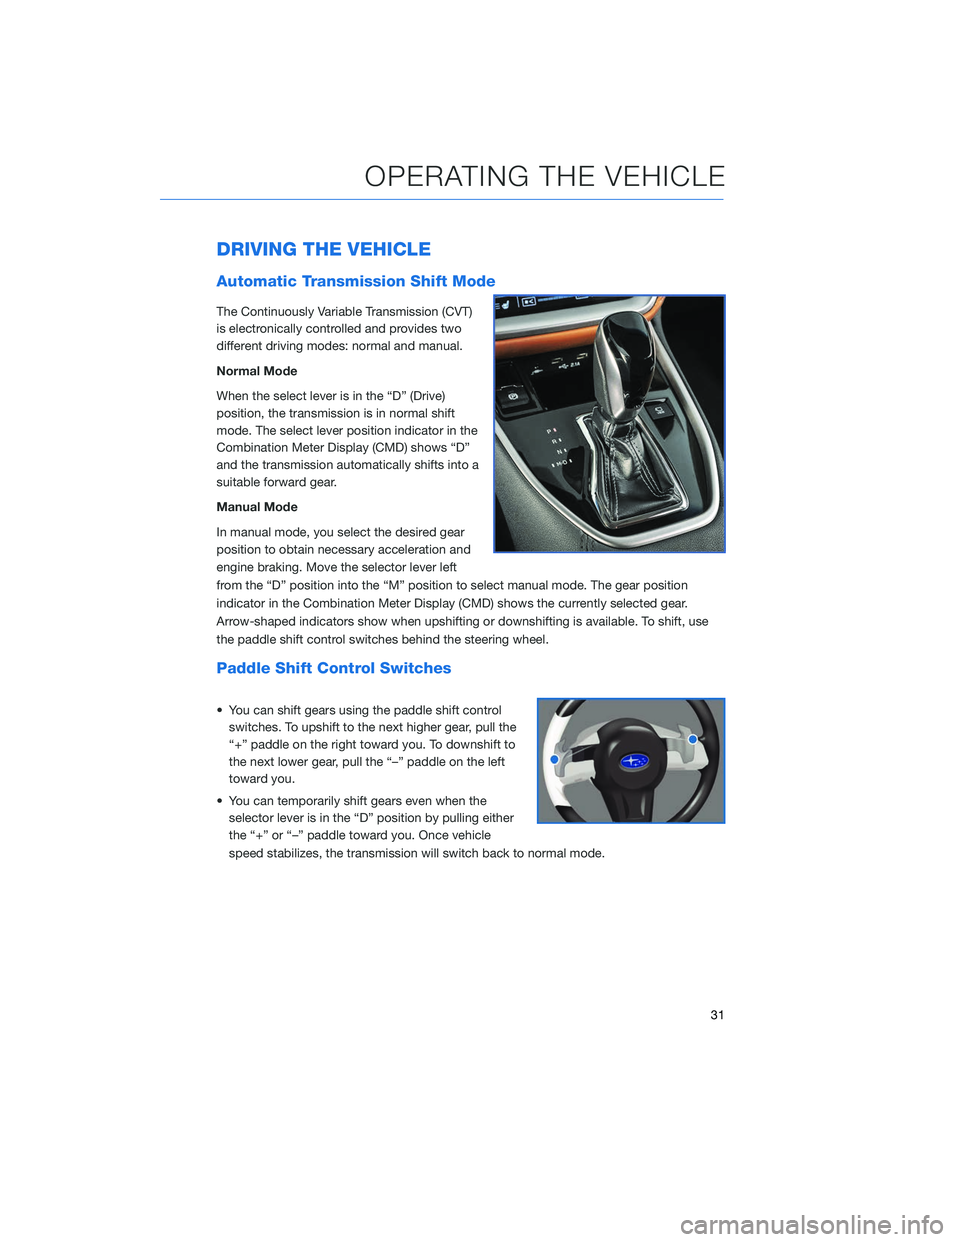
The Continuously Variable Transmission (CVT)
is electronically controlled and provides two
different driving modes: normal and manual.
Normal Mode
When the select lever is in the “D” (Drive)
position, the transmission is in normal shift
mode. The select lever position indicator in the
Combination Meter Display (CMD) shows “D”
and the transmission automatically shifts into a
suitable forward gear.
Manual Mode
In manual mode, you select the desired gear
position to obtain necessary acceleration and
engine braking. Move the selector lever left
from the “D” position into the “M” position to select manual mode. The gear position
indicator in the Combination Meter Display (CMD) shows the currently selected gear.
Arrow-shaped indicators show when upshifting or downshifting is available. To shift, use
the paddle shift control switches behind the steering wheel.
Paddle Shift Control Switches
• You can shift gears using the paddle shift controlswitches. To upshift to the next higher gear, pull the
“+” paddle on the right toward you. To downshift to
the next lower gear, pull the “–” paddle on the left
toward you.
• You can temporarily shift gears even when the selector lever is in the “D” position by pulling either
the “+” or “–” paddle toward you. Once vehicle
speed stabilizes, the transmission will switch back to normal mode.
OPERATING THE VEHICLE
31
Page 35 of 132
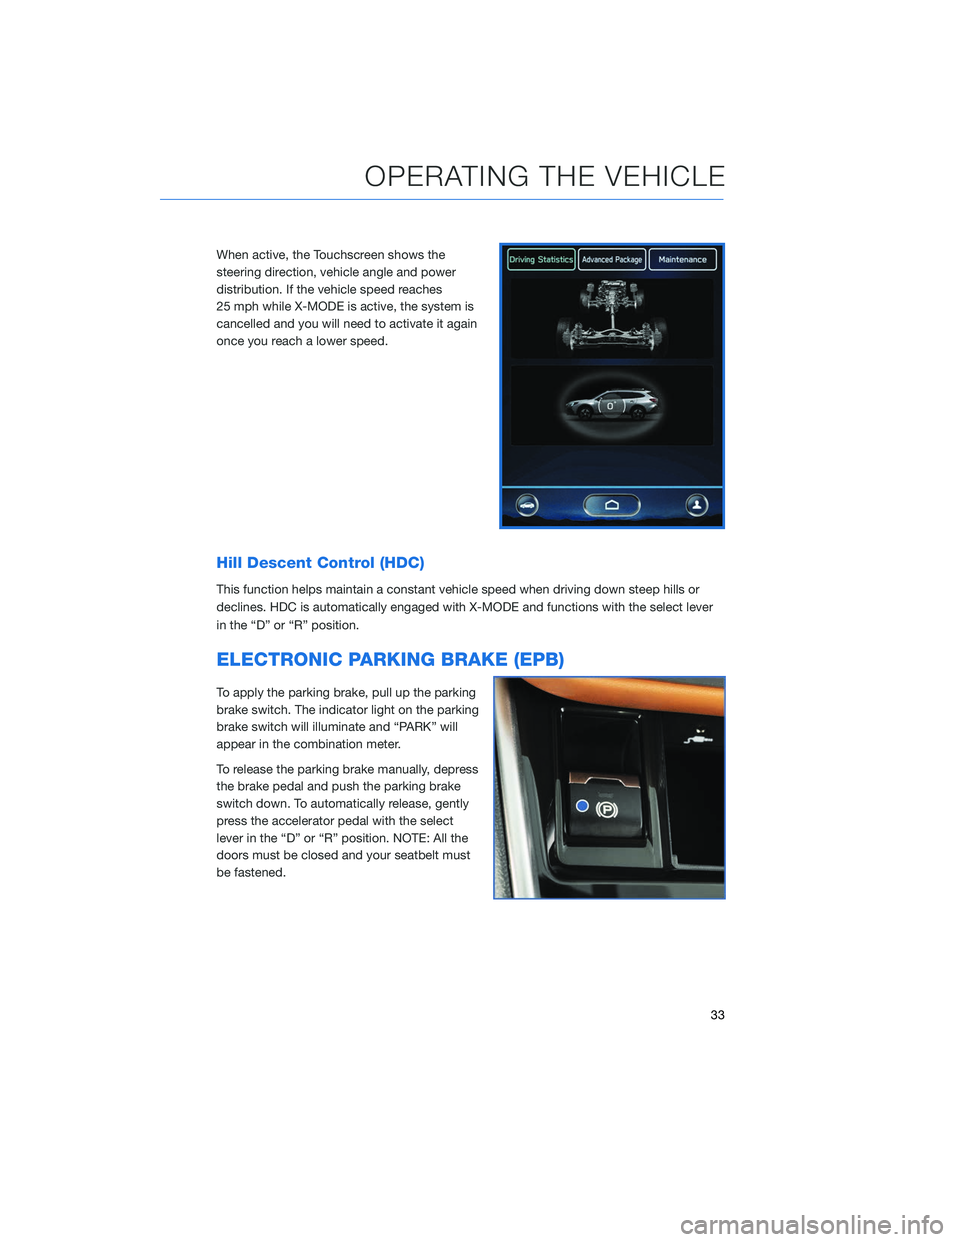
When active, the Touchscreen shows the
steering direction, vehicle angle and power
distribution. If the vehicle speed reaches
25 mph while X-MODE is active, the system is
cancelled and you will need to activate it again
once you reach a lower speed.
Hill Descent Control (HDC)
This function helps maintain a constant vehicle speed when driving down steep hills or
declines. HDC is automatically engaged with X-MODE and functions with the select lever
in the “D” or “R” position.
ELECTRONIC PARKING BRAKE (EPB)
To apply the parking brake, pull up the parking
brake switch. The indicator light on the parking
brake switch will illuminate and “PARK” will
appear in the combination meter.
To release the parking brake manually, depress
the brake pedal and push the parking brake
switch down. To automatically release, gently
press the accelerator pedal with the select
lever in the “D” or “R” position. NOTE: All the
doors must be closed and your seatbelt must
be fastened.
OPERATING THE VEHICLE
33
Page 57 of 132
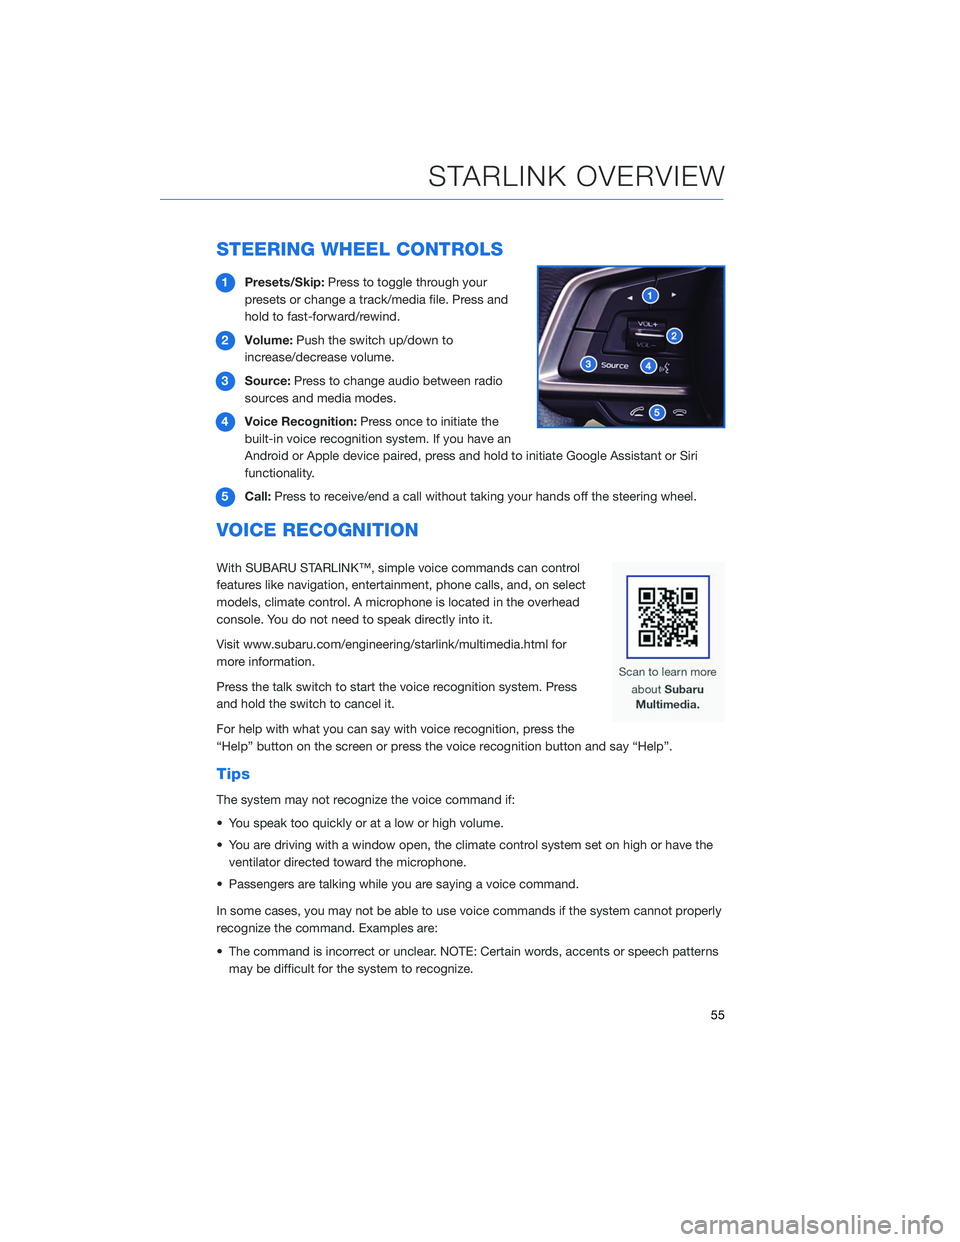
STEERING WHEEL CONTROLS
1Presets/Skip: Press to toggle through your
presets or change a track/media file. Press and
hold to fast-forward/rewind.
2 Volume: Push the switch up/down to
increase/decrease volume.
3 Source: Press to change audio between radio
sources and media modes.
4 Voice Recognition: Press once to initiate the
built-in voice recognition system. If you have an
Android or Apple device paired, press and hold to initiate Google Assistant or Siri
functionality.
5 Call: Press to receive/end a call without taking your hands off the steering wheel.
VOICE RECOGNITION
With SUBARU STARLINK™, simple voice commands can control
features like navigation, entertainment, phone calls, and, on select
models, climate control. A microphone is located in the overhead
console. You do not need to speak directly into it.
Visit www.subaru.com/engineering/starlink/multimedia.html for
more information.
Press the talk switch to start the voice recognition system. Press
and hold the switch to cancel it.
For help with what you can say with voice recognition, press the
“Help” button on the screen or press the voice recognition button and say “Help”.
Tips
The system may not recognize the voice command if:
• You speak too quickly or at a low or high volume.
• You are driving with a window open, the climate control system set on high or have the
ventilator directed toward the microphone.
• Passengers are talking while you are saying a voice command.
In some cases, you may not be able to use voice commands if the system cannot properly
recognize the command. Examples are:
• The command is incorrect or unclear. NOTE: Certain words, accents or speech patterns may be difficult for the system to recognize.
STARLINK OVERVIEW
55
Page 71 of 132
PAIRING A PHONE
Using a Bluetooth®connection with the Touchscreen allows you to
use the voice recognition system to make and receive calls. It
provides access to your phone book on your phone and can read
incoming text messages as well as reply via voice recognition. It
remembers your driver profile when your phone pairs via
Bluetooth
®.
For instructions on how to pair your phone to the Touchscreen, see
page 110 for Android devices or page 113 for Apple devices.
Visit www.subaru.com/engineering/starlink/multimedia.html for
complete details on what is available by connecting a phone to the
Touchscreen.
MAKING A CALL
You can make a call through voice recognition
by touching the “Voice Recognition Switch” on
the steering wheel to start or stop the voice
recognition system. After pressing the “Voice
PHONE
69
Page 73 of 132
RECEIVING A CALL
To receive a call, press the “Talk” switch on the
steering wheel or the “Talk” button on the
Touchscreen.
PHONE
71