2020 Ram ProMaster lock
[x] Cancel search: lockPage 163 of 264

SERVICING AND MAINTENANCE161
The cabin air filter is located in the fresh air inlet
in the engine compartment. Perform the
following procedure to replace the filter:
1. Remove the two screws that secure the
filter retainer to the fresh air inlet, and
remove the filter retainer.
Accessing Air Filter
2. Remove and replace the cabin air filter from the filter retainer. Removing Air Filter
3. Install the cabin air filter/filter retainer back into the fresh air inlet. When installing the
filter retainer make sure the retainer is fully
engaged.
4. Install the two screws back into the assembly to secure the filter retainer to the
fresh air inlet.Body Lubrication
Locks and all body pivot points, including such
items as seat tracks, door hinge pivot points
and rollers, liftgate, tailgate, decklid, sliding
doors and hood hinges, should be lubricated
periodically with a lithium based grease, such
as Mopar Spray White Lube to ensure quiet,
easy operation and to protect against rust and
wear. Prior to the application of any lubricant,
the parts concerned should be wiped clean to
remove dust and grit; after lubricating, excess
oil and grease should be removed. Particular
attention should also be given to hood latching
components to ensure proper function. When
performing other underhood services, the hood
latch release mechanism, and safety catch
should be cleaned and lubricated.
The external lock cylinders should be lubricated
twice a year, preferably in the Autumn and
Spring. Apply a small amount of a high quality
lubricant, such as Mopar Lock Cylinder Lubri -
cant directly into the lock cylinder.
1 — Screw Locations
2 — Fresh Air Inlet
1 — Fresh Air Inlet
2 — A/C Air Filter
3 — A/C Air Filter Retainer
7
20_VF_OM_EN_US_t.book Page 161
Page 201 of 264
MULTIMEDIA199
UCONNECT SETTINGS
The Uconnect system uses a combination of
buttons on the touchscreen and buttons on the
faceplate located on the center of the instru -
ment panel that allows you to access and
change the customer programmable features.
Many features can vary by vehicle.
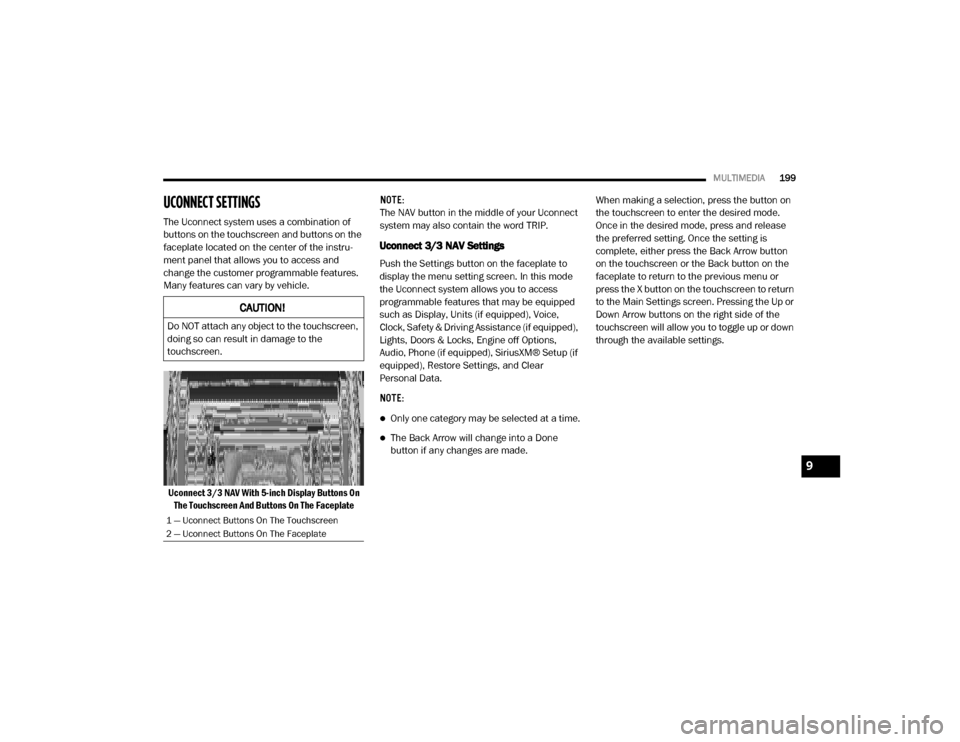
Uconnect 3/3 NAV With 5-inch Display Buttons On The Touchscreen And Buttons On The Faceplate NOTE:
The NAV button in the middle of your Uconnect
system may also contain the word TRIP.
Uconnect 3/3 NAV Settings
Push the Settings button on the faceplate to
display the menu setting screen. In this mode
the Uconnect system allows you to access
programmable features that may be equipped
such as Display, Units (if equipped), Voice,
Clock, Safety & Driving Assistance (if equipped),
Lights, Doors & Locks, Engine off Options,
Audio, Phone (if equipped), SiriusXM® Setup (if
equipped), Restore Settings, and Clear
Personal Data.
NOTE:
Only one category may be selected at a time.
The Back Arrow will change into a Done
button if any changes are made.
When making a selection, press the button on
the touchscreen to enter the desired mode.
Once in the desired mode, press and release
the preferred setting. Once the setting is
complete, either press the Back Arrow button
on the touchscreen or the Back button on the
faceplate to return to the previous menu or
press the X button on the touchscreen to return
to the Main Settings screen. Pressing the Up or
Down Arrow buttons on the right side of the
touchscreen will allow you to toggle up or down
through the available settings.
CAUTION!
Do NOT attach any object to the touchscreen,
doing so can result in damage to the
touchscreen.
1 — Uconnect Buttons On The Touchscreen
2 — Uconnect Buttons On The Faceplate
9
20_VF_OM_EN_US_t.book Page 199
Page 204 of 264
202MULTIMEDIA
Clock & Date
After pressing the Clock & Date button on the touchscreen, the following settings will be available:
Safety/Assistance — If Equipped
After pressing the Safety/Assistance button on the touchscreen, the following settings will be available:
Setting Name Selectable Options
Set Time And Format — If
Equipped12h
24hAMPM
Show Time Status — If
Equipped On
Off
Set Date Day MonthYear
NOTE:
By selecting this setting, the day and month can be updated. The selectable days range from 1–31 (depending on month). The selectable months
consist of Jan/Feb/March/April/May/June/July/Aug/Sept/Oct/Nov/Dec.
Sync Time — If Equipped On Off
NOTE:
When this setting is selected, the time will set automatically based upon GPS location.
Setting Name Selectable Options
ParkView Backup Camera DelayOnOff
NOTE:
The “ParkView Backup Camera Delay” setting determines whether or not the screen will display the rear view image for up to 10 seconds after the
vehicle is shifted out of REVERSE. This delay will be canceled if the vehicle’s speed exceeds 8 mph (13 km/h), the transmission is shifted into PARK,
or the ignition is switched to the OFF position.
ParkView Backup Camera With
Rear Door — If Equipped On
Off
20_VF_OM_EN_US_t.book Page 202
Page 205 of 264

MULTIMEDIA203
Lights — If Equipped
After pressing the Lights button on the touchscreen, the following settings will be available:
Doors & Locks
After pressing the Doors & Locks button on the touchscreen, the following settings will be available:
Engine Off Options
After pressing the Engine Off Options button on the touchscreen, the following settings will be available:
Setting Name Selectable Options
Daytime Running LightsOnOff
NOTE:
When the “Daytime Running Lights” feature is selected, the daytime running lights can be turned On or Off. This feature is only available if allowed by
law in the country of the vehicle purchase.
Setting Name Selectable Options
Auto Door LocksYesNo
NOTE:
When this feature is selected, all doors will lock automatically when the vehicle reaches a speed of 12 mph (20 km/h). Horn w/ Lock Off1st Press2nd Press
Setting Name Selectable Options
Radio Off Delay0 sec 20 min
9
20_VF_OM_EN_US_t.book Page 203
Page 209 of 264

MULTIMEDIA207
Restore Settings — If Equipped
After pressing the Restore Settings button on the touchscreen, the following settings will be available:
Clear Personal Data
After pressing the Clear Personal Data button
on the touchscreen, the following settings will
be available:
Setting Name Selectable Options
Restore Settings to DefaultYesNo
NOTE:
When this feature is selected, it will reset the Display, Clock, Audio, and Radio Settings to their default settings. Once the settings are restored, a
pop-up appears stating “settings reset to default”. Press the okay button on the touchscreen to exit.
Setting Name Selectable Options
Clear Personal DataYesNo
NOTE:
When this feature is selected, it will remove personal data including Bluetooth® devices and presets.
9
20_VF_OM_EN_US_t.book Page 207
Page 212 of 264
210MULTIMEDIA
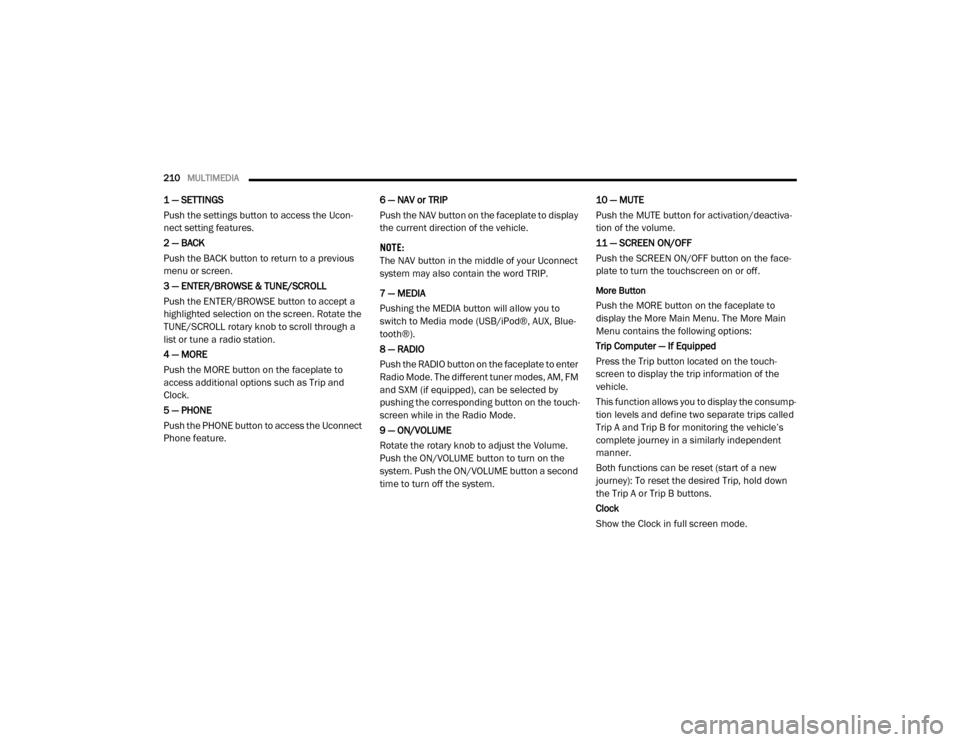
1 — SETTINGS
Push the settings button to access the Ucon -
nect setting features.
2 — BACK
Push the BACK button to return to a previous
menu or screen.
3 — ENTER/BROWSE & TUNE/SCROLL
Push the ENTER/BROWSE button to accept a
highlighted selection on the screen. Rotate the
TUNE/SCROLL rotary knob to scroll through a
list or tune a radio station.
4 — MORE
Push the MORE button on the faceplate to
access additional options such as Trip and
Clock.
5 — PHONE
Push the PHONE button to access the Uconnect
Phone feature. 6 — NAV or TRIP
Push the NAV button on the faceplate to display
the current direction of the vehicle.
NOTE:
The NAV button in the middle of your Uconnect
system may also contain the word TRIP.
7 — MEDIA
Pushing the MEDIA button will allow you to
switch to Media mode (USB/iPod®, AUX, Blue
-
tooth®).
8 — RADIO
Push the RADIO button on the faceplate to enter
Radio Mode. The different tuner modes, AM, FM
and SXM (if equipped), can be selected by
pushing the corresponding button on the touch -
screen while in the Radio Mode.
9 — ON/VOLUME
Rotate the rotary knob to adjust the Volume.
Push the ON/VOLUME button to turn on the
system. Push the ON/VOLUME button a second
time to turn off the system. 10 — MUTE
Push the MUTE button for activation/deactiva
-
tion of the volume.
11 — SCREEN ON/OFF
Push the SCREEN ON/OFF button on the face -
plate to turn the touchscreen on or off.
More Button
Push the MORE button on the faceplate to
display the More Main Menu. The More Main
Menu contains the following options:
Trip Computer — If Equipped
Press the Trip button located on the touch-
screen to display the trip information of the
vehicle.
This function allows you to display the consump -
tion levels and define two separate trips called
Trip A and Trip B for monitoring the vehicle’s
complete journey in a similarly independent
manner.
Both functions can be reset (start of a new
journey): To reset the desired Trip, hold down
the Trip A or Trip B buttons.
Clock
Show the Clock in full screen mode.
20_VF_OM_EN_US_t.book Page 210
Page 213 of 264
MULTIMEDIA211
Radio Mode
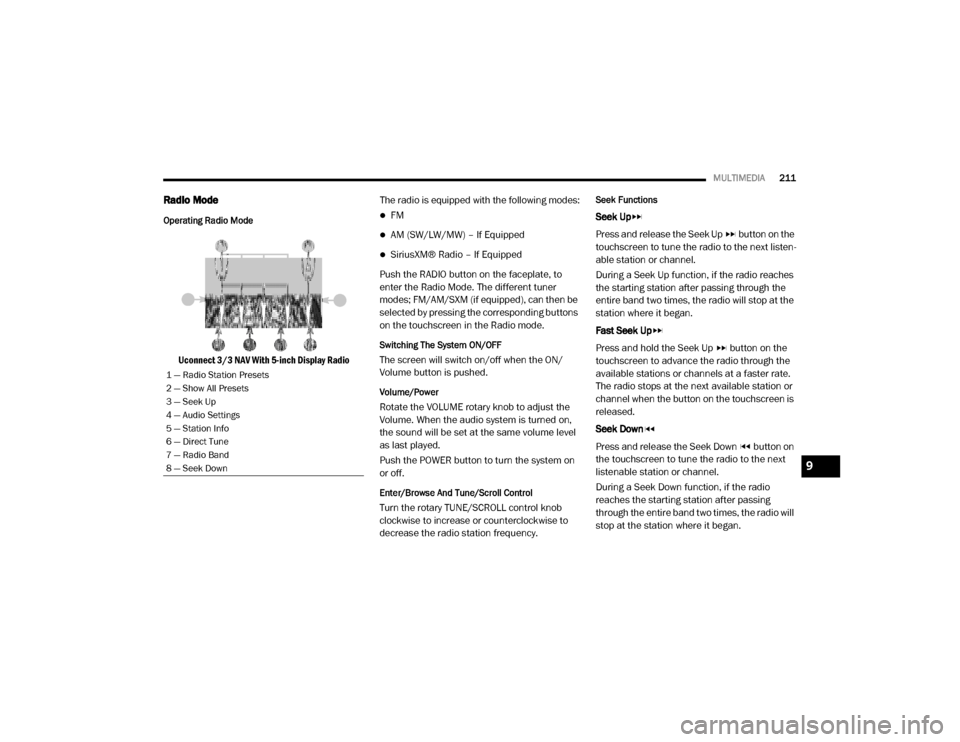
Operating Radio Mode
Uconnect 3/3 NAV With 5-inch Display Radio The radio is equipped with the following modes:
FM
AM (SW/LW/MW) – If Equipped
SiriusXM® Radio – If Equipped
Push the RADIO button on the faceplate, to
enter the Radio Mode. The different tuner
modes; FM/AM/SXM (if equipped), can then be
selected by pressing the corresponding buttons
on the touchscreen in the Radio mode.
Switching The System ON/OFF
The screen will switch on/off when the ON/
Volume button is pushed.
Volume/Power
Rotate the VOLUME rotary knob to adjust the
Volume. When the audio system is turned on,
the sound will be set at the same volume level
as last played.
Push the POWER button to turn the system on
or off.
Enter/Browse And Tune/Scroll Control
Turn the rotary TUNE/SCROLL control knob
clockwise to increase or counterclockwise to
decrease the radio station frequency.
Seek Functions
Seek Up
Press and release the Seek Up button on the
touchscreen to tune the radio to the next listen -
able station or channel.
During a Seek Up function, if the radio reaches
the starting station after passing through the
entire band two times, the radio will stop at the
station where it began.
Fast Seek Up
Press and hold the Seek Up button on the
touchscreen to advance the radio through the
available stations or channels at a faster rate.
The radio stops at the next available station or
channel when the button on the touchscreen is
released.
Seek Down
Press and release the Seek Down button on
the touchscreen to tune the radio to the next
listenable station or channel.
During a Seek Down function, if the radio
reaches the starting station after passing
through the entire band two times, the radio will
stop at the station where it began.
1 — Radio Station Presets
2 — Show All Presets
3 — Seek Up
4 — Audio Settings
5 — Station Info
6 — Direct Tune
7 — Radio Band
8 — Seek Down
9
20_VF_OM_EN_US_t.book Page 211
Page 228 of 264
226MULTIMEDIA
Current Route Menu
Clear Route
Press the button to clear the currently
planned route. The Current Route Menu will
close and the screen will return to the map view.
Find Alternative
Press the button while driving on a planned
route to show up to three alternative routes on
the map view. Each alternative route shows the
difference in travel time in a balloon.
Select your chosen route by tapping on the time
balloon.
Press “Let’s GO.” Guidance to your destination
will automatically begin, and the guidance view
appears automatically as you begin driving.
Avoid Blocked Road
Press the button to avoid an unexpected
obstacle that is blocking the road on your route.
A new route will be found that avoids blocked
roads.
You may be shown a maximum of two alterna -
tives depending on the road network between
you and your destination.
The new route is shown on the map view with
the difference in travel time in a balloon. Select the new route by pressing the time
balloon. Guidance to your destination will
resume avoiding blocked roads, and the guid
-
ance view will appear automatically as you
begin driving.
NOTE:
It may not be possible to find an alternative
route around the blocked road if none exists.
Avoid Part Of Route
Press the button to avoid part of the current
route.
You are shown a list of the sections that make
up your current route.
Select the section of the route you want to
avoid. A pop-up menu will appear on the map
showing the location of the instruction.
To avoid the chosen section of the route, select
“Avoid.” A new route is planned that will avoid
your chosen route sections, and the new route
will appear in map view.
NOTE:
To avoid more sections of the route, repeat the
steps above. It may not be possible to find an
alternative route around the section if none
exists. Avoid Toll Roads and More
Select the button to avoid some types of
route features that are on your currently
planned route. These include ferries, toll roads
and unpaved roads.
Show Instructions
Press the button to see a list of turn-by-turn
instructions for your planned route.
The instructions include the following informa
-
tion:
Current location
Street names
Up to two road numbers shown in road signs
(if available)
An instruction arrow
An instruction description
The distance between two consecutive
instructions
Exit number
The full addresses of stops on your route
20_VF_OM_EN_US_t.book Page 226