2020 Ram ProMaster key
[x] Cancel search: keyPage 219 of 264
MULTIMEDIA217
Main Functions
The buttons on the display can be used to:
Compose phone numbers (using the graphic
keypad on the display)
Display and call the contacts in the mobile
phone phonebook
Display and call contacts from the “recent
calls” menu
Pair phones/audio devices to make access
and connection easier and quicker
Transfer calls from the system to the mobile
phone and vice versa
Deactivate the microphone audio for private
conversations
The mobile phone audio is transmitted through
the vehicle’s audio system. The system auto -
matically mutes the radio when the Phone func -
tion is used.
Connecting/Disconnecting A Mobile Phone Or
Bluetooth® Device
Pairing A Phone
Uconnect 3/3 NAV
1. Activate the Bluetooth® on your mobile phone.
2. Push the PHONE button on the radio face -
plate.
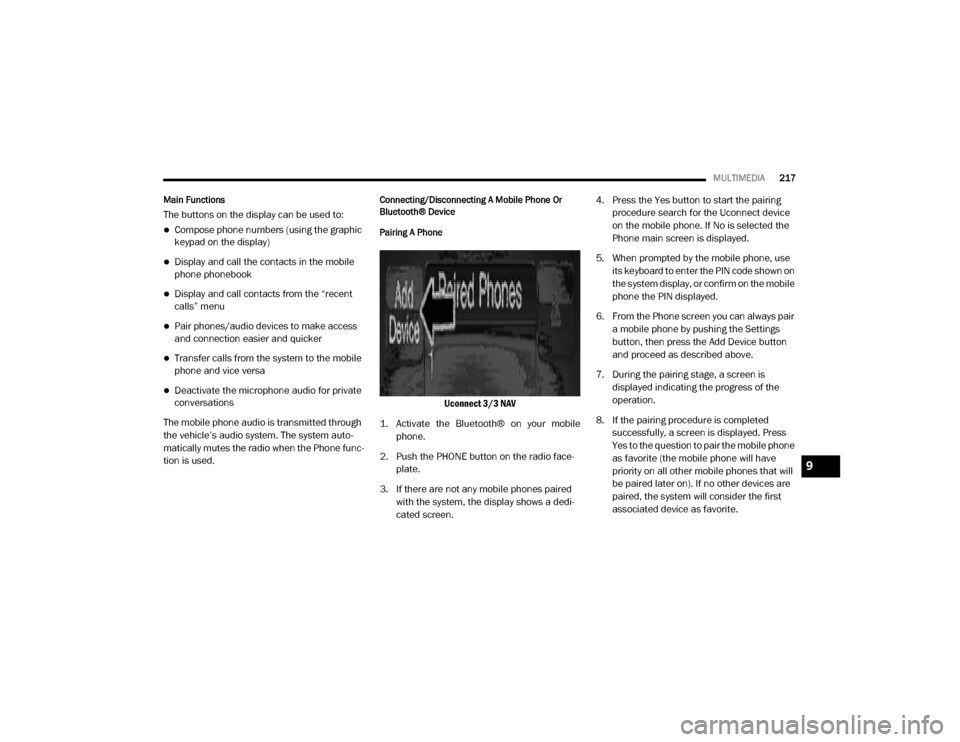
3. If there are not any mobile phones paired with the system, the display shows a dedi -
cated screen. 4. Press the Yes button to start the pairing
procedure search for the Uconnect device
on the mobile phone. If No is selected the
Phone main screen is displayed.
5. When prompted by the mobile phone, use its keyboard to enter the PIN code shown on
the system display, or confirm on the mobile
phone the PIN displayed.
6. From the Phone screen you can always pair a mobile phone by pushing the Settings
button, then press the Add Device button
and proceed as described above.
7. During the pairing stage, a screen is displayed indicating the progress of the
operation.
8. If the pairing procedure is completed successfully, a screen is displayed. Press
Yes to the question to pair the mobile phone
as favorite (the mobile phone will have
priority on all other mobile phones that will
be paired later on). If no other devices are
paired, the system will consider the first
associated device as favorite.
9
20_VF_OM_EN_US_t.book Page 217
Page 221 of 264
MULTIMEDIA219
NOTE:
If supported, the download and update begin
as soon as the Bluetooth® wireless phone
connection is made to the Uconnect Phone,
for example, after you start the vehicle.
You may be asked for permission to initiate
the phonebook download.
A maximum of 2,000 contact names with six
numbers per contact will be downloaded and
updated every time a phone is connected to
the Uconnect Phone.
Depending on the maximum number of
entries downloaded, there may be a short
delay before the latest downloaded names
can be used. Until then, if available, the previ -
ously downloaded phonebook is available for
use.
Only the phonebook of the currently
connected mobile phone is accessible.
Only the mobile phone’s phonebook is down -
loaded. SIM card phonebook is not part of
the mobile phonebook.
This downloaded phonebook cannot be
edited or deleted on the Uconnect Phone.
These can only be edited on the mobile
phone. The changes are transferred and
updated to Uconnect Phone on the next
phone connection.
Making A Phone Call
Dialing The Phone Number Using The Keyboard
Icon On The Display
Enter the phone number using the graphic
keypad displayed.
Proceed as follows:
1. Press the Keyboard icon on the display and
use the number buttons to enter the
number.
2. Press the Call button to make a call.
Call By Saying A Phonebook Name Or Phone
Number
1. Push the VR button or Phone button (if enabled) on the steering wheel.
2. After the BEEP, say “dial” (or “call” a full name or phone number). Recent Calls
The list of the last calls made for each of the
following call types can be displayed:
Calls received
Calls made
Calls without a reply
All calls
To access these types of calls, press the Recent
Calls button on the Phone menu main screen.
Making A Second Call While Current Call Is In
Progress
When a phone conversation is active, a second
phone call can be made as follows:
Select the number/contact from the list of
recent calls.
Select the contact from the phonebook.
Press the Hold button and dial the number
using the graphic keyboard of the display.
Redial
To call the number/contact of last call made,
press the Redial button.9
20_VF_OM_EN_US_t.book Page 219
Page 223 of 264
MULTIMEDIA221
SMS Message Reader Activation/Deactivation
The SMS message automatic reading function
can be activated/deactivated by pressing the
corresponding button on the display, which is
shown after pressing the phone selection
button.
NOTE:
On some mobile phones, to make the SMS
voice reading function available, the SMS notifi -
cation option on the phone must be enabled,
this option is usually available on the phone, in
the Bluetooth® connections menu for a device
registered as Uconnect. After enabling this func -
tion on the mobile phone, it must be discon -
nected and reconnected with the system to
make it effective.
SMS Message Options
Preset SMS messages are stored in the system
and can be sent to answer a received message
or as a new message.Navigation Mode — If Equipped
Operating Navigation Mode — If Equipped
Planning A Route
Using the search bar provides a wide range of
ways to find places and then navigate to them.
You can search your destination in different
ways:
A specific address
A partial address
A type of place
A zip code
A city to navigate to a city center
A Point of Interest (POI) near your current
location
Latitude and longitude coordinates Using Search
Press the Search button in the Main menu
to start searching. The search screen will open,
displaying the keyboard and the following
buttons:
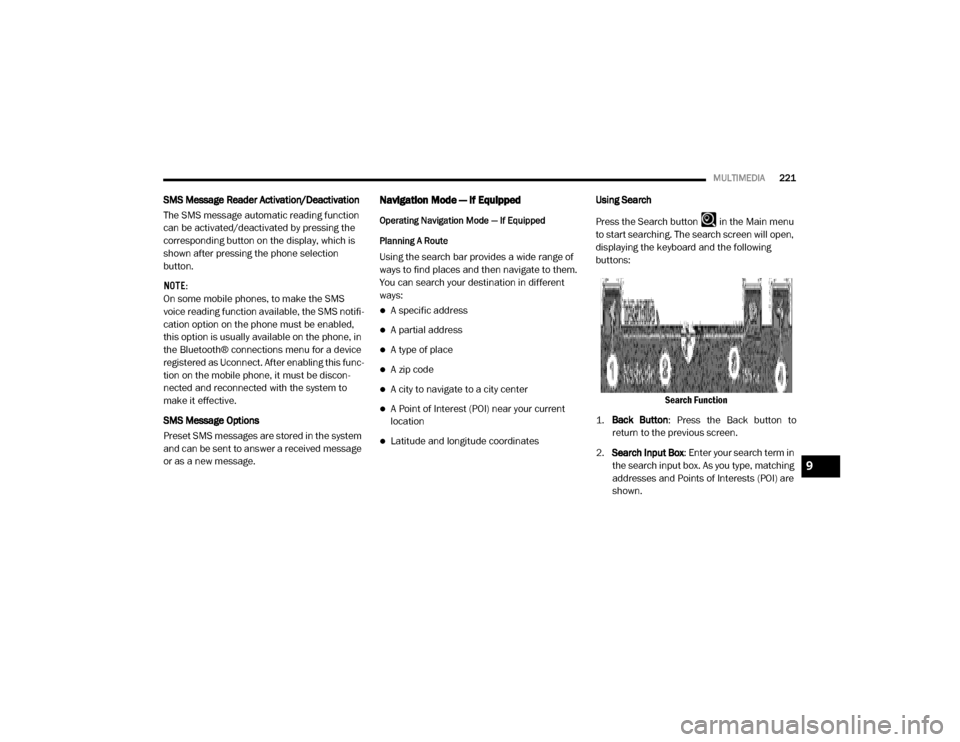
Search Function
1. Back Button : Press the Back button to
return to the previous screen.
2. Search Input Box : Enter your search term in
the search input box. As you type, matching
addresses and Points of Interests (POI) are
shown.
9
20_VF_OM_EN_US_t.book Page 221
Page 224 of 264
222MULTIMEDIA
3.Type Of Search: Press this button to change
the type of search to any of the following:
Whole Map: Select this option to search
your current map with no limit to the
search radius. Your current location is
the center of the search. The results are
ranked by exact match.
Near Me: Select this option to search with
your current GPS location as the search
center. The results are ranked by
distance.
In Town or City: Select this option to use
a town or city as the center of your
se arch. Enter the town or city name using
the keyboard on the touchscreen. When
you have selected the town or city from
the results list, you can search for an
address or POI in that city.
Along Route: When a route has been
planned, you can select this option to
search along your route for a specific type
of location, such as a POI category. When
prompted, enter the type of location and
then select it in the right-hand column to
carry out the search.
Near Destination: When a route has been
planned, you can select this option to use
your destination as the center of your
search.
Latitude Longitude: Select this option to
enter a pair of latitude and longitude
coordinates.
NOTE:
By default, the current map is searched. Once
you have used search, the last search type you
selected is used.
4. View Button : Press this button to return to
the map view or guidance view.
5. Show/Hide Keyboard : Press this button to
show or hide the keyboard.
6. List/Map Button : Select this button to
switch between showing the results in a list
or showing the results on the map. 7.
Keyboard Layout Button : Press this button
to change your keyboard layout to another
language.
8. 123?! Button : Press this button to use
numbers and symbols on your keyboard.
Select the =\< button to toggle between the
numbers and more symbols. Select the ABC
button to go back to the general keyboard.
Planning A Route — Searching For A City Center
When planning a route to a city center, you can
search for a town, city or postal code.
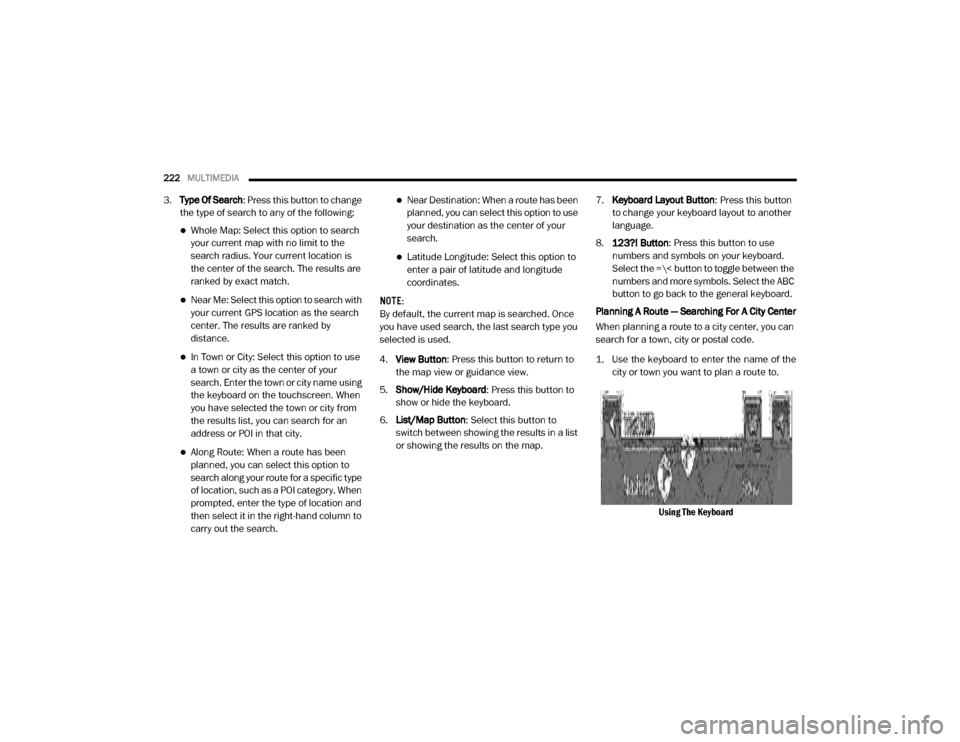
1. Use the keyboard to enter the name of the city or town you want to plan a route to.
Using The Keyboard
20_VF_OM_EN_US_t.book Page 222
Page 225 of 264
MULTIMEDIA223
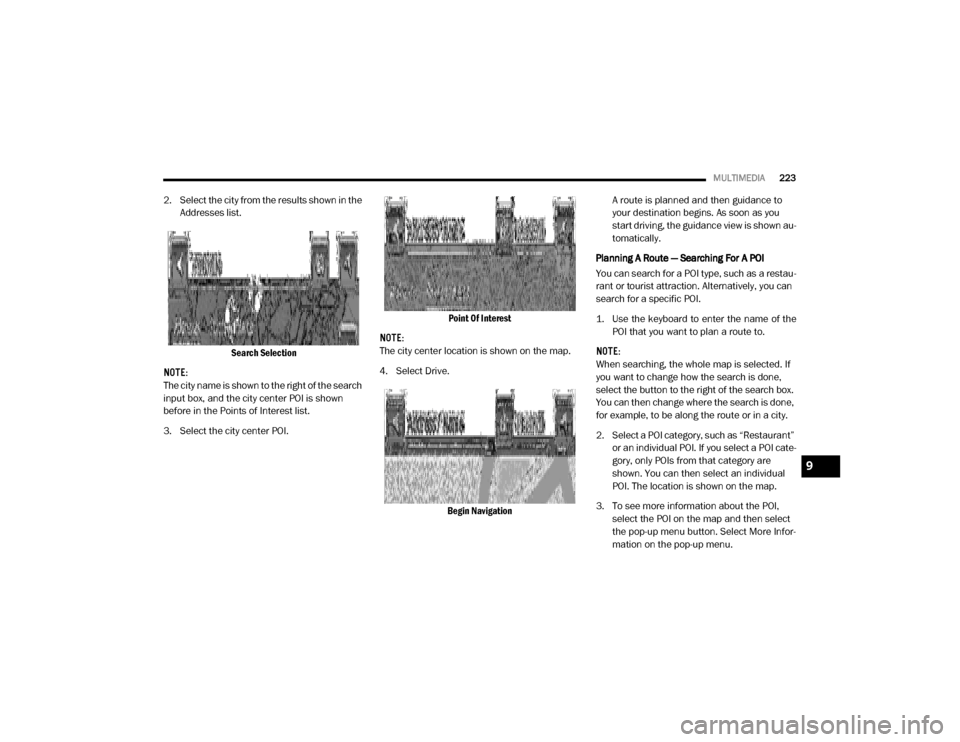
2. Select the city from the results shown in the
Addresses list.
Search Selection
NOTE:
The city name is shown to the right of the search
input box, and the city center POI is shown
before in the Points of Interest list.
3. Select the city center POI. Point Of Interest
NOTE:
The city center location is shown on the map.
4. Select Drive.
Begin Navigation A route is planned and then guidance to
your destination begins. As soon as you
start driving, the guidance view is shown au
-
tomatically.
Planning A Route — Searching For A POI
You can search for a POI type, such as a restau -
rant or tourist attraction. Alternatively, you can
search for a specific POI.
1. Use the keyboard to enter the name of the POI that you want to plan a route to.
NOTE:
When searching, the whole map is selected. If
you want to change how the search is done,
select the button to the right of the search box.
You can then change where the search is done,
for example, to be along the route or in a city.
2. Select a POI category, such as “Restaurant” or an individual POI. If you select a POI cate -
gory, only POIs from that category are
shown. You can then select an individual
POI. The location is shown on the map.
3. To see more information about the POI, select the POI on the map and then select
the pop-up menu button. Select More Infor -
mation on the pop-up menu.
9
20_VF_OM_EN_US_t.book Page 223
Page 236 of 264
234MULTIMEDIA
Using POIs To Plan A Route
When you plan a route, you can use a POI for the
destination or as a stop along the route.
Using Search
1. Select “Search” on the Main Menu to begin
a search. The search screen will open,
displaying the keyboard. Enter the name of
your desired destination. Your search
results will be displayed in two lists.
Addresses and city matches are shown in
the list called “Addresses.” POIs, types of
POIs, and Places are shown in the list called
“Points of Interest.” You can also select a
POI category to only see POI search results
from that category.
2. Select the desired POI. The location will appear on the map. From here, you can
save the POI to “My Places,” use this POI as
a starting point, begin navigation to this
destination, or view more details about this
POI. By pressing “More Information,” you
can view the phone number and full
address of the POI.
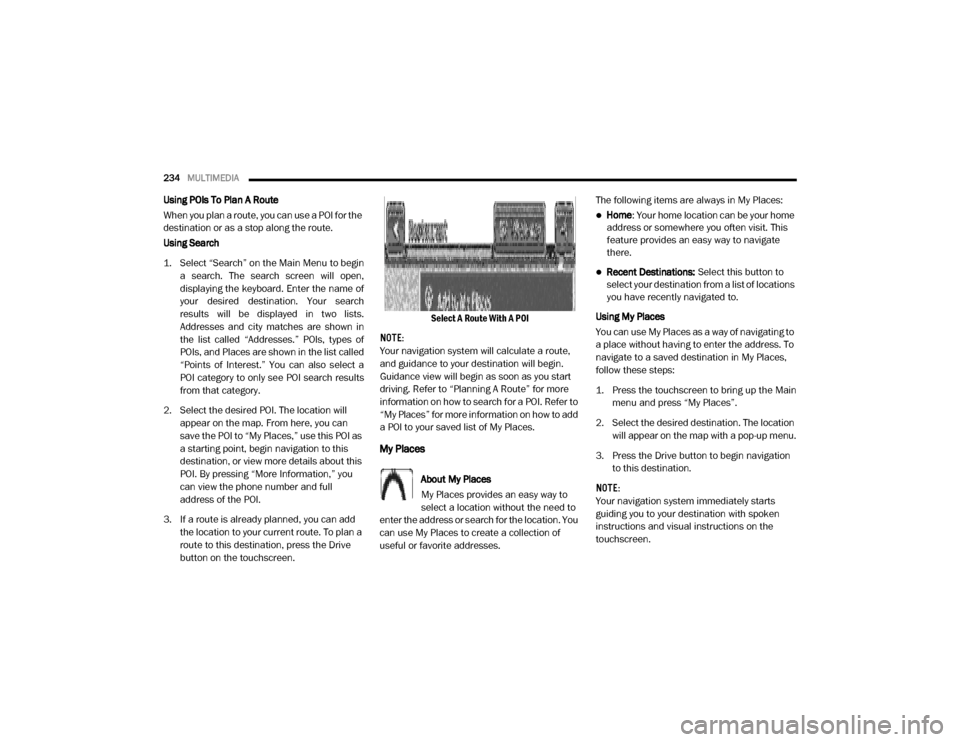
3. If a route is already planned, you can add the location to your current route. To plan a
route to this destination, press the Drive
button on the touchscreen. Select A Route With A POI
NOTE:
Your navigation system will calculate a route,
and guidance to your destination will begin.
Guidance view will begin as soon as you start
driving. Refer to “Planning A Route” for more
information on how to search for a POI. Refer to
“My Places” for more information on how to add
a POI to your saved list of My Places.
My Places
About My Places
My Places provides an easy way to
select a location without the need to
enter the address or search for the location. You
can use My Places to create a collection of
useful or favorite addresses. The following items are always in My Places:
Home
: Your home location can be your home
address or somewhere you often visit. This
feature provides an easy way to navigate
there.
Recent Destinations: Select this button to
select your destination from a list of locations
you have recently navigated to.
Using My Places
You can use My Places as a way of navigating to
a place without having to enter the address. To
navigate to a saved destination in My Places,
follow these steps:
1. Press the touchscreen to bring up the Main menu and press “My Places”.
2. Select the desired destination. The location will appear on the map with a pop-up menu.
3. Press the Drive button to begin navigation to this destination.
NOTE:
Your navigation system immediately starts
guiding you to your destination with spoken
instructions and visual instructions on the
touchscreen.
20_VF_OM_EN_US_t.book Page 234
Page 237 of 264
MULTIMEDIA235
Adding A Location To My Places
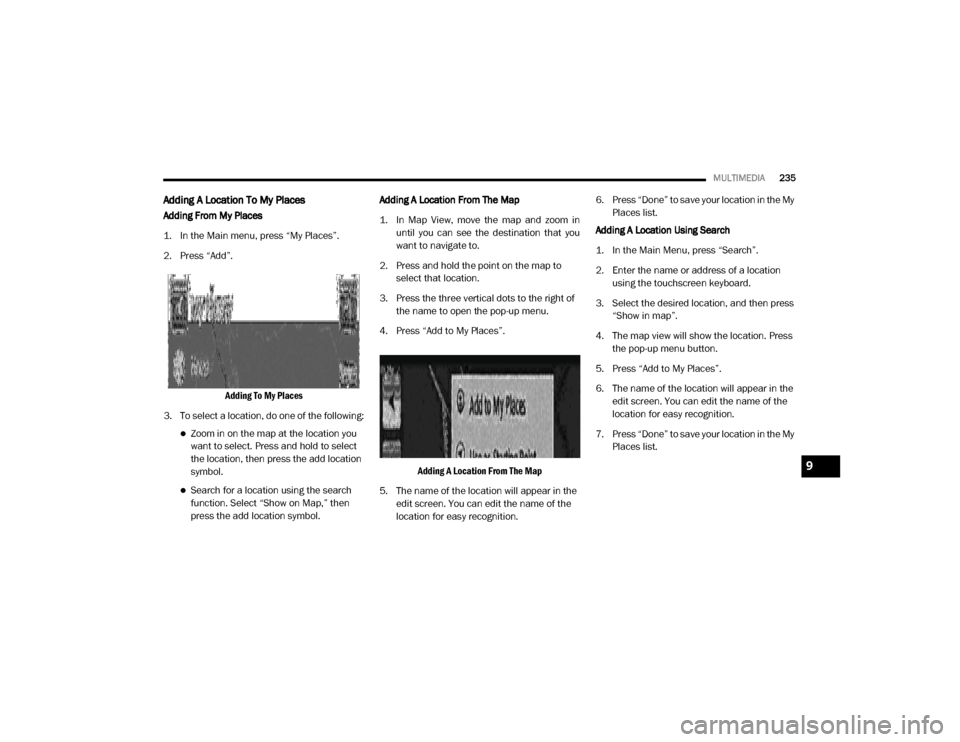
Adding From My Places
1. In the Main menu, press “My Places”.
2. Press “Add”.
Adding To My Places
3. To select a location, do one of the following:
Zoom in on the map at the location you
want to select. Press and hold to select
the location, then press the add location
symbol.
Search for a location using the search
function. Select “Show on Map,” then
press the add location symbol. Adding A Location From The Map
1. In Map View, move the map and zoom in
until you can see the destination that you
want to navigate to.
2. Press and hold the point on the map to select that location.
3. Press the three vertical dots to the right of the name to open the pop-up menu.
4. Press “Add to My Places”.
Adding A Location From The Map
5. The name of the location will appear in the edit screen. You can edit the name of the
location for easy recognition. 6. Press “Done” to save your location in the My
Places list.
Adding A Location Using Search
1. In the Main Menu, press “Search”.
2. Enter the name or address of a location using the touchscreen keyboard.
3. Select the desired location, and then press “Show in map”.
4. The map view will show the location. Press the pop-up menu button.
5. Press “Add to My Places”.
6. The name of the location will appear in the edit screen. You can edit the name of the
location for easy recognition.
7. Press “Done” to save your location in the My Places list.
9
20_VF_OM_EN_US_t.book Page 235
Page 243 of 264
MULTIMEDIA241
Le présent appareil est conforme aux CNR
d`Innovation, Science and Economic Develop -
ment applicables aux appareils radio exempts
de licence. L'exploitation est autorisée aux deux
conditions suivantes:
1. l'appareil ne doit pas produire de brouillage, et
2. l'utilisateur de l'appareil doit accepter tout brouillage radioélectrique subi, même si le
brouillage est susceptible d'en comprom -
ettre le fonctionnement.
La operación de este equipo está sujeta a las
siguientes dos condiciones:
1. es posible que este equipo o dispositivo no cause interferencia perjudicial y
2. este equipo o dispositivo debe aceptar cual -
quier interferencia, incluyendo la que
pueda causar su operación no deseada.
NOTE:
Changes or modifications not expressly
approved by the party responsible for compli -
ance could void the user’s authority to operate
the equipment. NOTE:
This equipment has been tested and found to
comply with the limits for a Class B digital
device, pursuant to Part 15 of the FCC Rules.
These limits are designed to provide reason
-
able protection against harmful interference
in a residential installation. This equipment
generates, uses and can radiate radio
frequency energy and, if not installed and
used in accordance with the instructions,
may cause harmful interference to radio
communications. However, there is no guar -
antee that interference will not occur in a
particular installation.
If this equipment does cause harmful inter -
ference to radio or television reception,
which can be determined by turning the
equipment off and on, the user is encour -
aged to try to correct the interference by one
or more of the following measures:
a. Increase the separation between the equipment and receiver.
b. Consult an authorized dealer or an expe -
rienced radio technician for help.
UCONNECT VOICE RECOGNITION
Introducing Uconnect
Start using Uconnect Voice Recognition (VR)
with these helpful quick tips. It provides the key
Voice Commands and tips you need to know to
control your Uconnect system.
Get Started
1. Visit UconnectPhone.com to check mobile
device and feature compatibility and to find
phone pairing instructions.
2. Reduce background noise. Wind and passenger conversations are examples of
noise that may impact recognition.
3. Speak clearly at a normal pace and volume while facing straight ahead. The micro -
phone is positioned in the dome lamp and
aimed at the driver.
4. Each time you give a Voice Command, you must first push either the VR or Phone
button , wait until after the beep, then
say your Voice Command.
9
20_VF_OM_EN_US_t.book Page 241