2020 Ram ProMaster reset
[x] Cancel search: resetPage 213 of 264

MULTIMEDIA211
Radio Mode
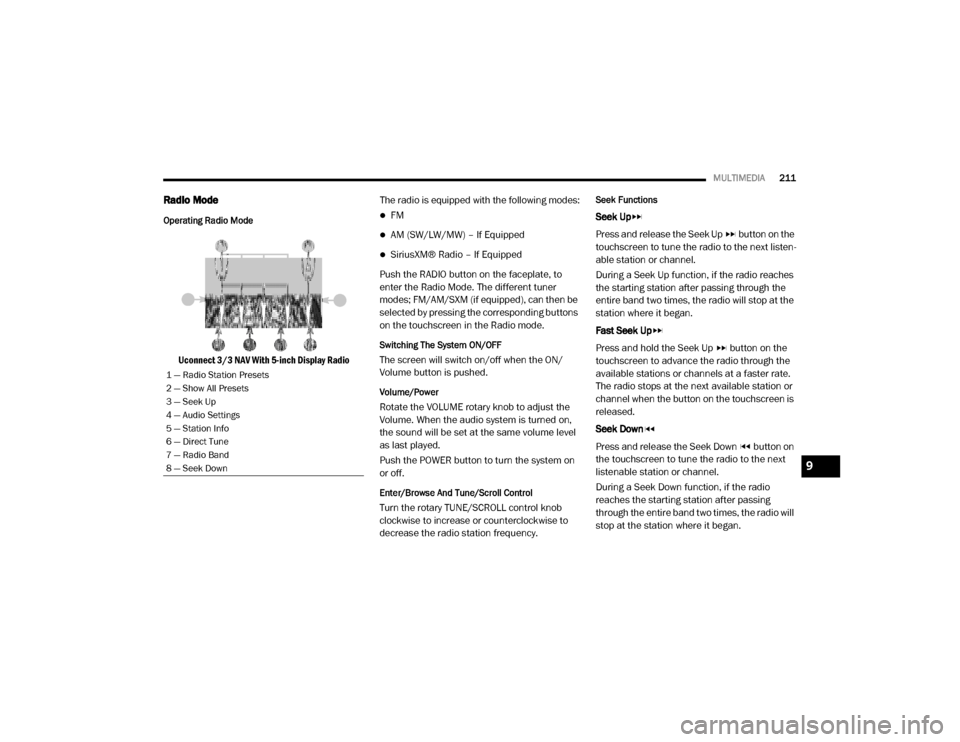
Operating Radio Mode
Uconnect 3/3 NAV With 5-inch Display Radio The radio is equipped with the following modes:
FM
AM (SW/LW/MW) – If Equipped
SiriusXM® Radio – If Equipped
Push the RADIO button on the faceplate, to
enter the Radio Mode. The different tuner
modes; FM/AM/SXM (if equipped), can then be
selected by pressing the corresponding buttons
on the touchscreen in the Radio mode.
Switching The System ON/OFF
The screen will switch on/off when the ON/
Volume button is pushed.
Volume/Power
Rotate the VOLUME rotary knob to adjust the
Volume. When the audio system is turned on,
the sound will be set at the same volume level
as last played.
Push the POWER button to turn the system on
or off.
Enter/Browse And Tune/Scroll Control
Turn the rotary TUNE/SCROLL control knob
clockwise to increase or counterclockwise to
decrease the radio station frequency.
Seek Functions
Seek Up
Press and release the Seek Up button on the
touchscreen to tune the radio to the next listen -
able station or channel.
During a Seek Up function, if the radio reaches
the starting station after passing through the
entire band two times, the radio will stop at the
station where it began.
Fast Seek Up
Press and hold the Seek Up button on the
touchscreen to advance the radio through the
available stations or channels at a faster rate.
The radio stops at the next available station or
channel when the button on the touchscreen is
released.
Seek Down
Press and release the Seek Down button on
the touchscreen to tune the radio to the next
listenable station or channel.
During a Seek Down function, if the radio
reaches the starting station after passing
through the entire band two times, the radio will
stop at the station where it began.
1 — Radio Station Presets
2 — Show All Presets
3 — Seek Up
4 — Audio Settings
5 — Station Info
6 — Direct Tune
7 — Radio Band
8 — Seek Down
9
20_VF_OM_EN_US_t.book Page 211
Page 215 of 264

MULTIMEDIA213
If the screen displays Acquiring Signal, you may
need to change the vehicle’s position to receive
a signal. In most cases, the satellite radio does
not receive a signal in underground parking
garages or tunnels.
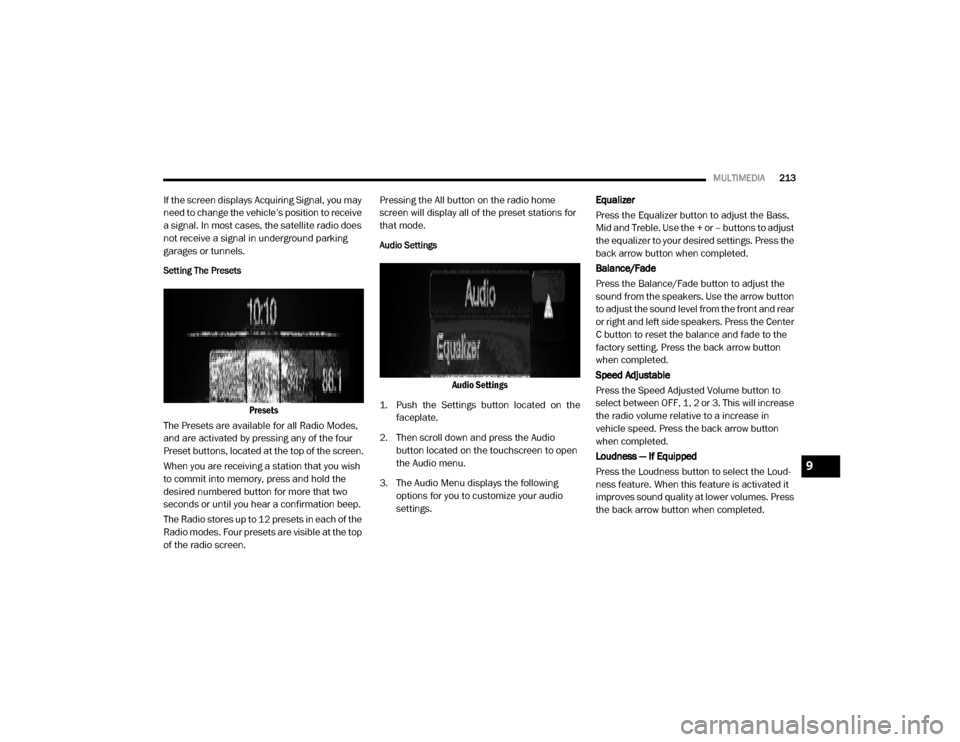
Setting The Presets
Presets
The Presets are available for all Radio Modes,
and are activated by pressing any of the four
Preset buttons, located at the top of the screen.
When you are receiving a station that you wish
to commit into memory, press and hold the
desired numbered button for more that two
seconds or until you hear a confirmation beep.
The Radio stores up to 12 presets in each of the
Radio modes. Four presets are visible at the top
of the radio screen. Pressing the All button on the radio home
screen will display all of the preset stations for
that mode.
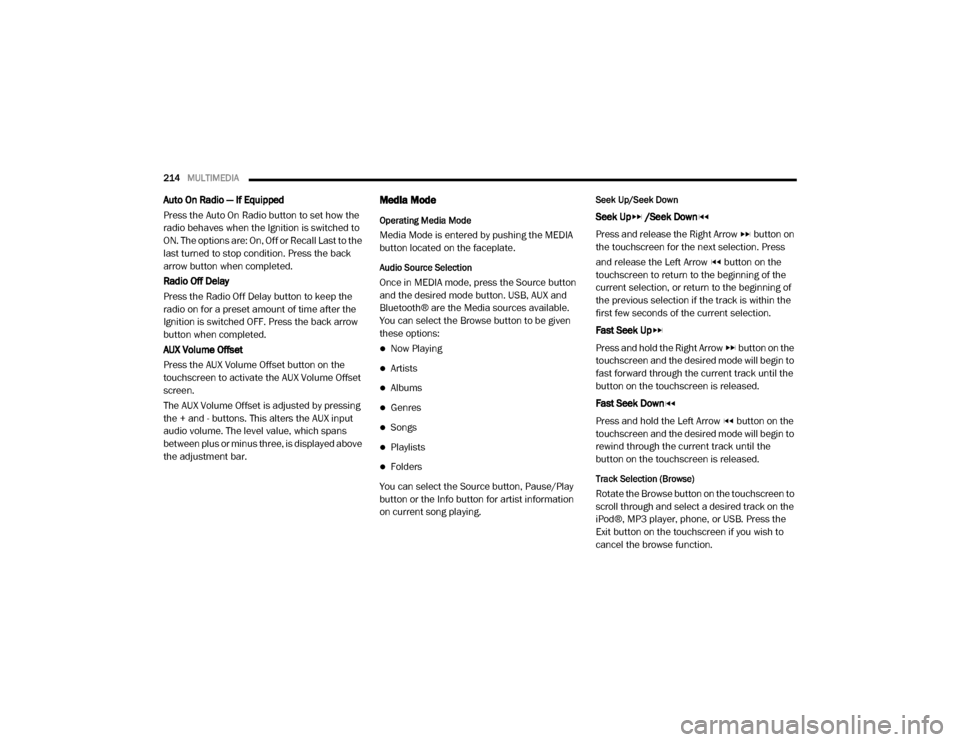
Audio Settings
Audio Settings
1. Push the Settings button located on the faceplate.
2. Then scroll down and press the Audio button located on the touchscreen to open
the Audio menu.
3. The Audio Menu displays the following options for you to customize your audio
settings. Equalizer
Press the Equalizer button to adjust the Bass,
Mid and Treble. Use the + or – buttons to adjust
the equalizer to your desired settings. Press the
back arrow button when completed.
Balance/Fade
Press the Balance/Fade button to adjust the
sound from the speakers. Use the arrow button
to adjust the sound level from the front and rear
or right and left side speakers. Press the Center
C button to reset the balance and fade to the
factory setting. Press the back arrow button
when completed.
Speed Adjustable
Press the Speed Adjusted Volume button to
select between OFF, 1, 2 or 3. This will increase
the radio volume relative to a increase in
vehicle speed. Press the back arrow button
when completed.
Loudness — If Equipped
Press the Loudness button to select the Loud
-
ness feature. When this feature is activated it
improves sound quality at lower volumes. Press
the back arrow button when completed.
9
20_VF_OM_EN_US_t.book Page 213
Page 216 of 264

214MULTIMEDIA
Auto On Radio — If Equipped
Press the Auto On Radio button to set how the
radio behaves when the Ignition is switched to
ON. The options are: On, Off or Recall Last to the
last turned to stop condition. Press the back
arrow button when completed.
Radio Off Delay
Press the Radio Off Delay button to keep the
radio on for a preset amount of time after the
Ignition is switched OFF. Press the back arrow
button when completed.
AUX Volume Offset
Press the AUX Volume Offset button on the
touchscreen to activate the AUX Volume Offset
screen.
The AUX Volume Offset is adjusted by pressing
the + and - buttons. This alters the AUX input
audio volume. The level value, which spans
between plus or minus three, is displayed above
the adjustment bar.Media Mode
Operating Media Mode
Media Mode is entered by pushing the MEDIA
button located on the faceplate.
Audio Source Selection
Once in MEDIA mode, press the Source button
and the desired mode button. USB, AUX and
Bluetooth® are the Media sources available.
You can select the Browse button to be given
these options:
Now Playing
Artists
Albums
Genres
Songs
Playlists
Folders
You can select the Source button, Pause/Play
button or the Info button for artist information
on current song playing.
Seek Up/Seek Down
Seek Up /Seek Down
Press and release the Right Arrow button on
the touchscreen for the next selection. Press
and release the Left Arrow button on the
touchscreen to return to the beginning of the
current selection, or return to the beginning of
the previous selection if the track is within the
first few seconds of the current selection.
Fast Seek Up
Press and hold the Right Arrow button on the
touchscreen and the desired mode will begin to
fast forward through the current track until the
button on the touchscreen is released.
Fast Seek Down
Press and hold the Left Arrow button on the
touchscreen and the desired mode will begin to
rewind through the current track until the
button on the touchscreen is released.
Track Selection (Browse)
Rotate the Browse button on the touchscreen to
scroll through and select a desired track on the
iPod®, MP3 player, phone, or USB. Press the
Exit button on the touchscreen if you wish to
cancel the browse function.
20_VF_OM_EN_US_t.book Page 214
Page 223 of 264

MULTIMEDIA221
SMS Message Reader Activation/Deactivation
The SMS message automatic reading function
can be activated/deactivated by pressing the
corresponding button on the display, which is
shown after pressing the phone selection
button.
NOTE:
On some mobile phones, to make the SMS
voice reading function available, the SMS notifi -
cation option on the phone must be enabled,
this option is usually available on the phone, in
the Bluetooth® connections menu for a device
registered as Uconnect. After enabling this func -
tion on the mobile phone, it must be discon -
nected and reconnected with the system to
make it effective.
SMS Message Options
Preset SMS messages are stored in the system
and can be sent to answer a received message
or as a new message.Navigation Mode — If Equipped
Operating Navigation Mode — If Equipped
Planning A Route
Using the search bar provides a wide range of
ways to find places and then navigate to them.
You can search your destination in different
ways:
A specific address
A partial address
A type of place
A zip code
A city to navigate to a city center
A Point of Interest (POI) near your current
location
Latitude and longitude coordinates Using Search
Press the Search button in the Main menu
to start searching. The search screen will open,
displaying the keyboard and the following
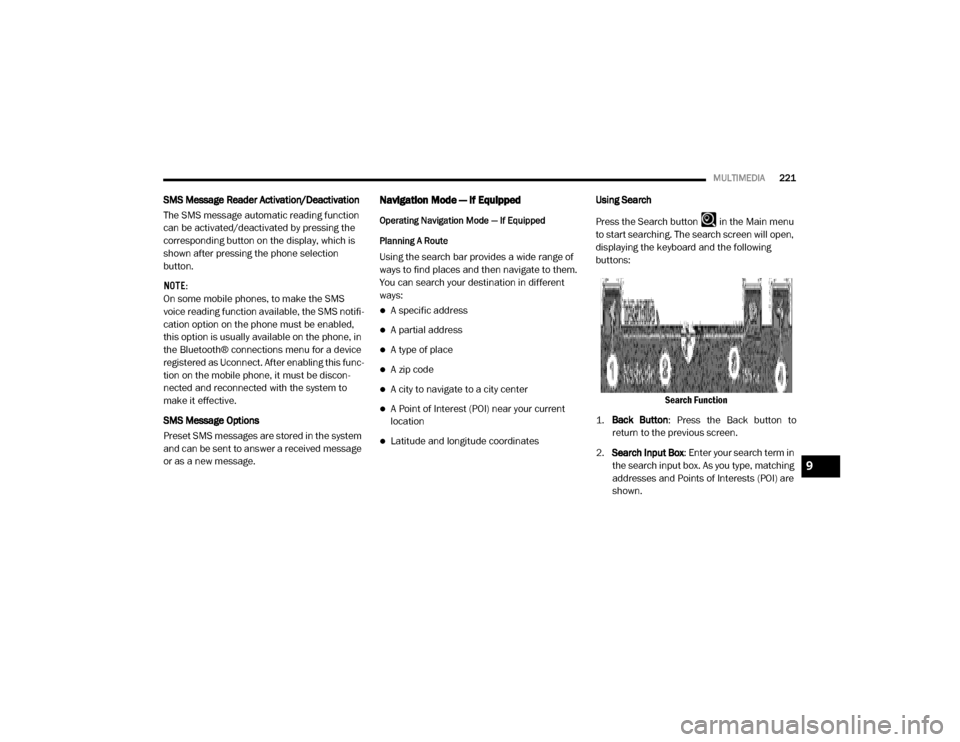
buttons:
Search Function
1. Back Button : Press the Back button to
return to the previous screen.
2. Search Input Box : Enter your search term in
the search input box. As you type, matching
addresses and Points of Interests (POI) are
shown.
9
20_VF_OM_EN_US_t.book Page 221
Page 235 of 264

MULTIMEDIA233
Shortest Route
You can choose whether you would like the
navigation system to chose the shortest
route by distance to the destination.
Most Eco-Friendly Route
You can choose whether you would like the
navigation system to chose the route that will
consume the least amount of energy.
Avoid Interstate Highways
You can choose whether you would like the
navigation system to avoid all highways while
navigating to the destination.
Sounds And Warnings
Select this setting to change the following
sounds and warnings:
Warning Type : You can choose the type of
warnings you want to hear when you are
driving:
Warning Sounds: Hear only warning
sounds
None: No warning sounds are given
Safety Warnings : You can change settings for
whether you want to be warned, never
warned, or warned only if you are speeding.
The following options are available:
When speeding: This warning is given
when you exceed the speed limit by more
than 3 mph (5 km/h). When you are
speeding, the speed panel also turns red
in the guidance view.
Driver Safety: Select this setting to make some features locked while the vehicle is
in motion.
NOTE:
This feature increases safety by minimizing
driver distraction. When driver safety is on, a
message tells you when the lock is enabled.
System
Select this setting to reset all other settings.
Selecting “Reset” will delete all saved places
and settings and restore the standard settings.
This includes the language, voice settings,
warning settings, and theme. NOTE:
This is not a software update and will not affect
the version of the software application installed
on your Uconnect system.
Points Of Interest
About Points Of Interest
Points Of Interest (POI), are useful places on the
map.
Here are some examples:
Restaurants
Hotels
Museums
Parking lots
Gas stations
Emergency Services
9
20_VF_OM_EN_US_t.book Page 233
Page 256 of 264

254
Electronic Stability Program(ESP) Indicator
................................. 48, 59Exterior...................................... 23, 91Hazard Warning Flasher..................... 123Headlights........................................ 23High Beam........................................ 24Illuminated Entry................................ 27Interior............................................. 25Malfunction Indicator (Check Engine)...... 51Park.......................................... 24, 53Passing............................................ 24Security Alarm................................... 49Service........................................... 123Tire Pressure Monitoring (TPMS)............ 61Traction Control.................................. 59Turn Signals.......................... 23, 53, 91Warning Instrument Cluster Descriptions................... 48, 53
Loading Vehicle
............................. 112, 113Capacities....................................... 113Tires.............................................. 173
Locks
Automatic Door............................ 14, 15
Low Tire Pressure System
............................ 61
Lubrication, Body
................................... 161
Lug Nuts/Bolts
...................................... 191
M
Maintenance Free Battery
.......................... 157
Maintenance Schedule
............................. 152
Malfunction Indicator Light (Check Engine)
.. 51, 55
Manual
Service........................................... 249
Methanol
............................................. 193
Mirrors
.................................................21Electric Remote.................................. 22Exterior Folding.................................. 22Heated............................................. 23Outside............................................21Rearview..........................................21
Modifications/Alterations
Vehicle...............................................8
Monitor, Tire Pressure System
.......................61
Mopar Parts
..........................................248
MP3 Control
......................................... 238
Multi-Function Control Lever
......................... 23
N
New Vehicle Break-In Period
......................... 93
O
Occupant Restraints
................................. 64
Octane Rating, Gasoline (Fuel)
.................... 192
Oil Change Indicator
................................. 44Reset.............................................. 44
Oil Filter, Change
................................... 159
Oil Filter, Selection
................................. 159
Oil Pressure Light
..................................... 49
Oil, Engine
....................................158, 195Capacity........................................ 195Change Interval............................... 158Dipstick......................................... 157Disposal........................................ 159Filter...................................... 159, 195Filter Disposal................................. 159Identification Logo............................ 159Materials Added To.......................... 159Pressure Warning Light....................... 49Recommendation.....................158, 195Synthetic........................................ 159Viscosity................................. 159, 195
Onboard Diagnostic System
......................... 54
Operating Precautions
............................... 54
Operator Manual
Owner's Manual............................ 8, 249
Outside Rearview Mirrors
............................ 21
Overheating, Engine
................................ 147
20_VF_OM_EN_US_t.book Page 254