2020 Ram ProMaster phone
[x] Cancel search: phonePage 230 of 264
228MULTIMEDIA
The following example shows how to use voice
control to plan a journey to your Home address:
1. Push the Voice Recognition button on the
steering wheel to turn on the microphone.
A screen will pop up with examples of
commands.
NOTE:
Press the Help button in the Main menu then
press “What can I say?” to see a full list of
commands.
2. When you hear a beep, say a command of your choice. For example, you can say “Navi -
gate home”.
NOTE:
For accurate results, speak normally without
trying to articulate words in an unnatural way. If
there is excessive road noise, for example, you
may need to speak directly into the microphone.
3. If the command is correct, say “Yes”. NOTE:
If the command is incorrect, say “No” and
repeat the command after you hear the prompt
and tone again. Your navigation system plans a
route from your current location to your destina-
tion. To stop your navigation system from
listening out for further commands, say
“Cancel”.
Guidance View
About Guidance View
The guidance view is used to guide you along
the route to your destination. As soon as you
start driving, your navigation system will imme
-
diately start guiding you to your destination with
spoken instructions and visual instructions on
the touchscreen. You can also see your current
location and details along your route, including
3D buildings in some cities. The guidance view
is normally in 3D. To show a 2D map with the
map moving in your direction of travel, change
the 2D and 3D default settings. Refer to
“Settings” within this section for more informa -
tion. NOTE:
When you have planned a route and the 3D
guidance view is shown, select the switch view
button to change to the map view and use the
interactive features.
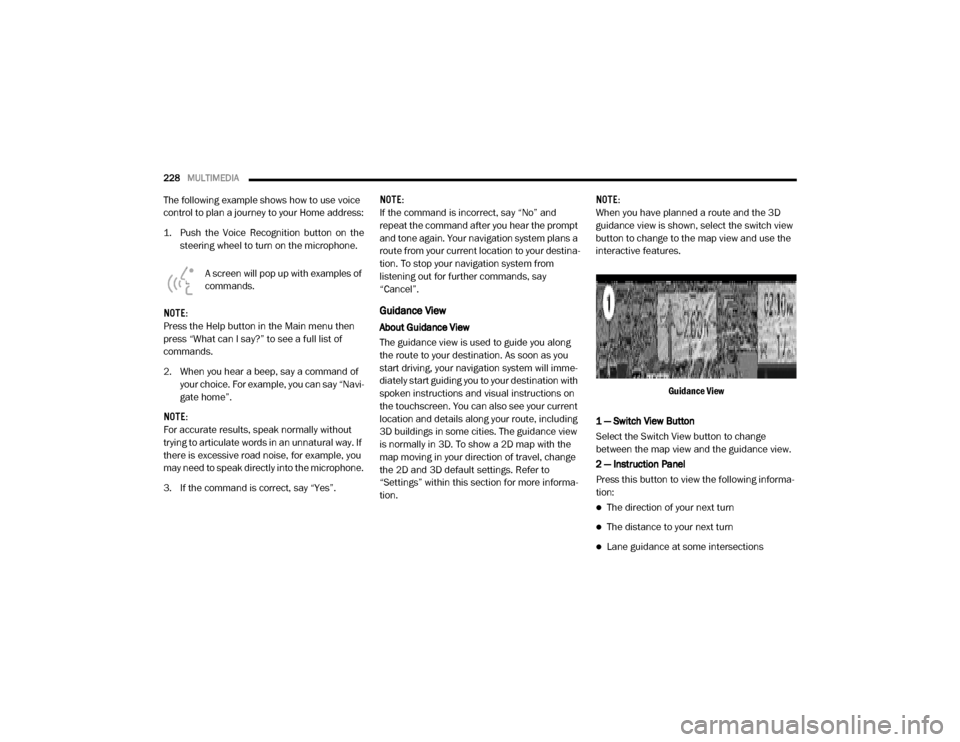
Guidance View
1 — Switch View Button
Select the Switch View button to change
between the map view and the guidance view.
2 — Instruction Panel
Press this button to view the following informa -
tion:
The direction of your next turn
The distance to your next turn
Lane guidance at some intersections
20_VF_OM_EN_US_t.book Page 228
Page 236 of 264
234MULTIMEDIA
Using POIs To Plan A Route
When you plan a route, you can use a POI for the
destination or as a stop along the route.
Using Search
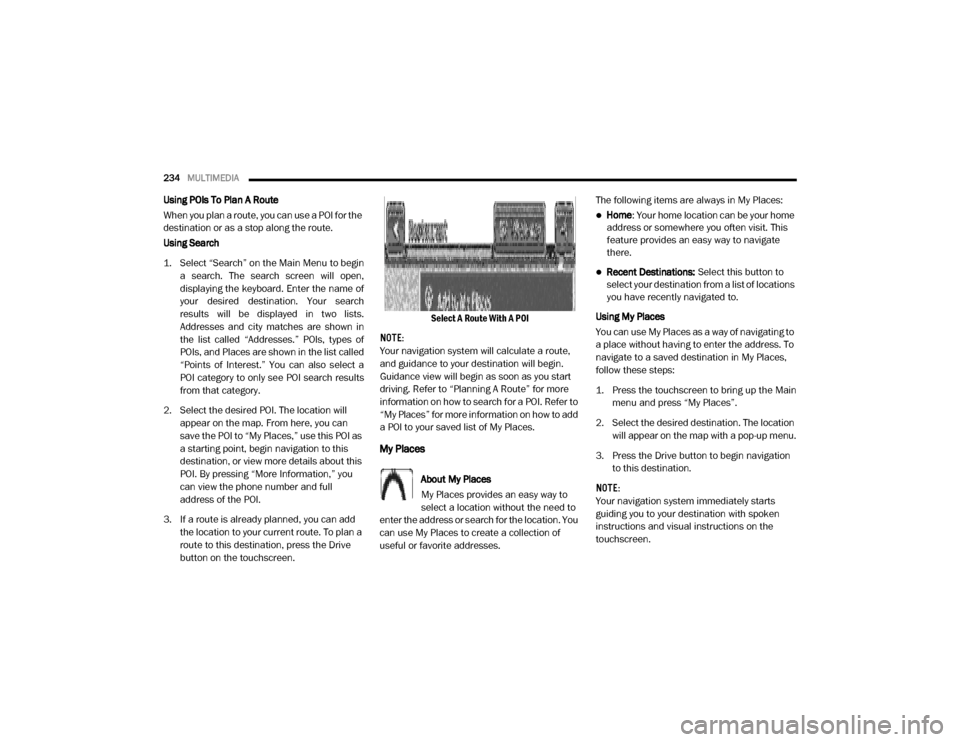
1. Select “Search” on the Main Menu to begin
a search. The search screen will open,
displaying the keyboard. Enter the name of
your desired destination. Your search
results will be displayed in two lists.
Addresses and city matches are shown in
the list called “Addresses.” POIs, types of
POIs, and Places are shown in the list called
“Points of Interest.” You can also select a
POI category to only see POI search results
from that category.
2. Select the desired POI. The location will appear on the map. From here, you can
save the POI to “My Places,” use this POI as
a starting point, begin navigation to this
destination, or view more details about this
POI. By pressing “More Information,” you
can view the phone number and full
address of the POI.
3. If a route is already planned, you can add the location to your current route. To plan a
route to this destination, press the Drive
button on the touchscreen. Select A Route With A POI
NOTE:
Your navigation system will calculate a route,
and guidance to your destination will begin.
Guidance view will begin as soon as you start
driving. Refer to “Planning A Route” for more
information on how to search for a POI. Refer to
“My Places” for more information on how to add
a POI to your saved list of My Places.
My Places
About My Places
My Places provides an easy way to
select a location without the need to
enter the address or search for the location. You
can use My Places to create a collection of
useful or favorite addresses. The following items are always in My Places:
Home
: Your home location can be your home
address or somewhere you often visit. This
feature provides an easy way to navigate
there.
Recent Destinations: Select this button to
select your destination from a list of locations
you have recently navigated to.
Using My Places
You can use My Places as a way of navigating to
a place without having to enter the address. To
navigate to a saved destination in My Places,
follow these steps:
1. Press the touchscreen to bring up the Main menu and press “My Places”.
2. Select the desired destination. The location will appear on the map with a pop-up menu.
3. Press the Drive button to begin navigation to this destination.
NOTE:
Your navigation system immediately starts
guiding you to your destination with spoken
instructions and visual instructions on the
touchscreen.
20_VF_OM_EN_US_t.book Page 234
Page 240 of 264
238MULTIMEDIA
STEERING WHEEL AUDIO CONTROLS
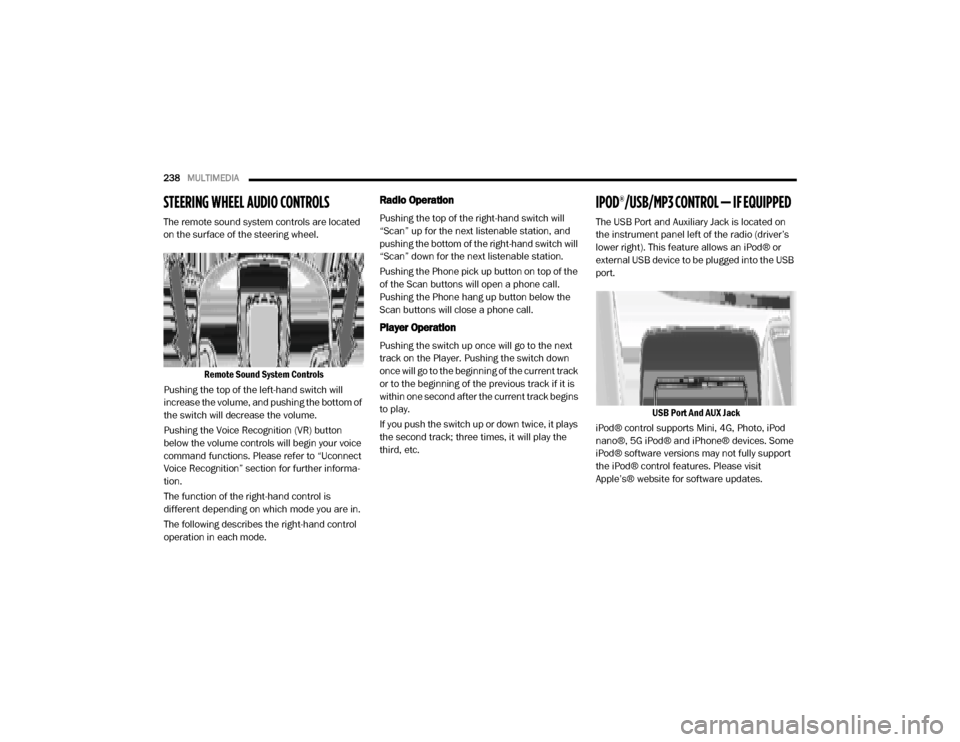
The remote sound system controls are located
on the surface of the steering wheel.
Remote Sound System Controls
Pushing the top of the left-hand switch will
increase the volume, and pushing the bottom of
the switch will decrease the volume.
Pushing the Voice Recognition (VR) button
below the volume controls will begin your voice
command functions. Please refer to “Uconnect
Voice Recognition” section for further informa -
tion.
The function of the right-hand control is
different depending on which mode you are in.
The following describes the right-hand control
operation in each mode.
Radio Operation
Pushing the top of the right-hand switch will
“Scan” up for the next listenable station, and
pushing the bottom of the right-hand switch will
“Scan” down for the next listenable station.
Pushing the Phone pick up button on top of the
of the Scan buttons will open a phone call.
Pushing the Phone hang up button below the
Scan buttons will close a phone call.
Player Operation
Pushing the switch up once will go to the next
track on the Player. Pushing the switch down
once will go to the beginning of the current track
or to the beginning of the previous track if it is
within one second after the current track begins
to play.
If you push the switch up or down twice, it plays
the second track; three times, it will play the
third, etc.
IPOD®/USB/MP3 CONTROL — IF EQUIPPED
The USB Port and Auxiliary Jack is located on
the instrument panel left of the radio (driver’s
lower right). This feature allows an iPod® or
external USB device to be plugged into the USB
port.
USB Port And AUX Jack
iPod® control supports Mini, 4G, Photo, iPod
nano®, 5G iPod® and iPhone® devices. Some
iPod® software versions may not fully support
the iPod® control features. Please visit
Apple’s® website for software updates.
20_VF_OM_EN_US_t.book Page 238
Page 242 of 264

240MULTIMEDIA
Interference Statement
This device complies with Part 15, 22, 24, and
27 of the FCC and Industry Canada
licence-exempt RSS standard(s). Operation is
subject to the following two conditions:(1) This
device may not cause interference, and(2) This
device must accept any interference, including
interference that may cause undesired opera -
tion of the device.
RF Exposure
This equipment complies with FCC and IC radia-
tion exposure limits set forth for an uncontrolled
environment. The antenna should be installed
and operated with minimum distance of 20 cm
between the radiator and your body.
Cet appareil est conforme aux limites d'exposi -
tion aux rayonnements de la IC pour environne -
ment non contrôlé. L'antenne doit être installé
de façon à garder une distance minmale de 20
centimètres entre la source de rayonnements
et votre corps.RADIO OPERATION AND MOBILE PHONES
Under certain conditions, the mobile phone
being on in your vehicle can cause erratic or
noisy performance from your radio. This condi -
tion may be lessened or eliminated by relo -
cating the mobile phone. This condition is not
harmful to the radio. If your radio performance
does not satisfactorily “clear” by the reposi -
tioning of the phone, it is recommended that the
radio volume be turned down or off during
mobile phone operation when not using Ucon -
nect (if equipped).
Regulatory And Safety Information
USA/CANADA
Exposure to Radio Frequency Radiation
The radiated output power of the internal wire -
less radio is far below the FCC and IC radio
frequency exposure limits. Nevertheless, the
wireless radio will be used in such a manner
that the radio is 8 inch (20 cm) or further from
the human body.
The internal wireless radio operates within
guidelines found in radio frequency safety stan -
dards and recommendations, which reflect the
consensus of the scientific community. The radio manufacturer believes the internal
wireless radio is safe for use by consumers. The
level of energy emitted is far less than the elec
-
tromagnetic energy emitted by wireless devices
such as mobile phones. However, the use of
wireless radios may be restricted in some situa-
tions or environments, such as aboard
airplanes. If you are unsure of restrictions, you
are encouraged to ask for authorization before
turning on the wireless radio.
The following regulatory statement applies to all
Radio Frequency (RF) devices equipped in this
vehicle:
This device complies with Part 15 of the FCC
Rules and with Innovation, Science and
Economic Development Canada license-exempt
RSS standard(s). Operation is subject to the
following two conditions:
1. This device may not cause harmful interfer -
ence, and
2. This device must accept any interference received, including interference that may
cause undesired operation.
20_VF_OM_EN_US_t.book Page 240
Page 243 of 264
MULTIMEDIA241
Le présent appareil est conforme aux CNR
d`Innovation, Science and Economic Develop -
ment applicables aux appareils radio exempts
de licence. L'exploitation est autorisée aux deux
conditions suivantes:
1. l'appareil ne doit pas produire de brouillage, et
2. l'utilisateur de l'appareil doit accepter tout brouillage radioélectrique subi, même si le
brouillage est susceptible d'en comprom -
ettre le fonctionnement.
La operación de este equipo está sujeta a las
siguientes dos condiciones:
1. es posible que este equipo o dispositivo no cause interferencia perjudicial y
2. este equipo o dispositivo debe aceptar cual -
quier interferencia, incluyendo la que
pueda causar su operación no deseada.
NOTE:
Changes or modifications not expressly
approved by the party responsible for compli -
ance could void the user’s authority to operate
the equipment. NOTE:
This equipment has been tested and found to
comply with the limits for a Class B digital
device, pursuant to Part 15 of the FCC Rules.
These limits are designed to provide reason
-
able protection against harmful interference
in a residential installation. This equipment
generates, uses and can radiate radio
frequency energy and, if not installed and
used in accordance with the instructions,
may cause harmful interference to radio
communications. However, there is no guar -
antee that interference will not occur in a
particular installation.
If this equipment does cause harmful inter -
ference to radio or television reception,
which can be determined by turning the
equipment off and on, the user is encour -
aged to try to correct the interference by one
or more of the following measures:
a. Increase the separation between the equipment and receiver.
b. Consult an authorized dealer or an expe -
rienced radio technician for help.
UCONNECT VOICE RECOGNITION
Introducing Uconnect
Start using Uconnect Voice Recognition (VR)
with these helpful quick tips. It provides the key
Voice Commands and tips you need to know to
control your Uconnect system.
Get Started
1. Visit UconnectPhone.com to check mobile
device and feature compatibility and to find
phone pairing instructions.
2. Reduce background noise. Wind and passenger conversations are examples of
noise that may impact recognition.
3. Speak clearly at a normal pace and volume while facing straight ahead. The micro -
phone is positioned in the dome lamp and
aimed at the driver.
4. Each time you give a Voice Command, you must first push either the VR or Phone
button , wait until after the beep, then
say your Voice Command.
9
20_VF_OM_EN_US_t.book Page 241
Page 244 of 264
242MULTIMEDIA
5. You can interrupt the help message or
system prompts by pushing the VR or the
Phone button and saying a Voice
Command from current category.
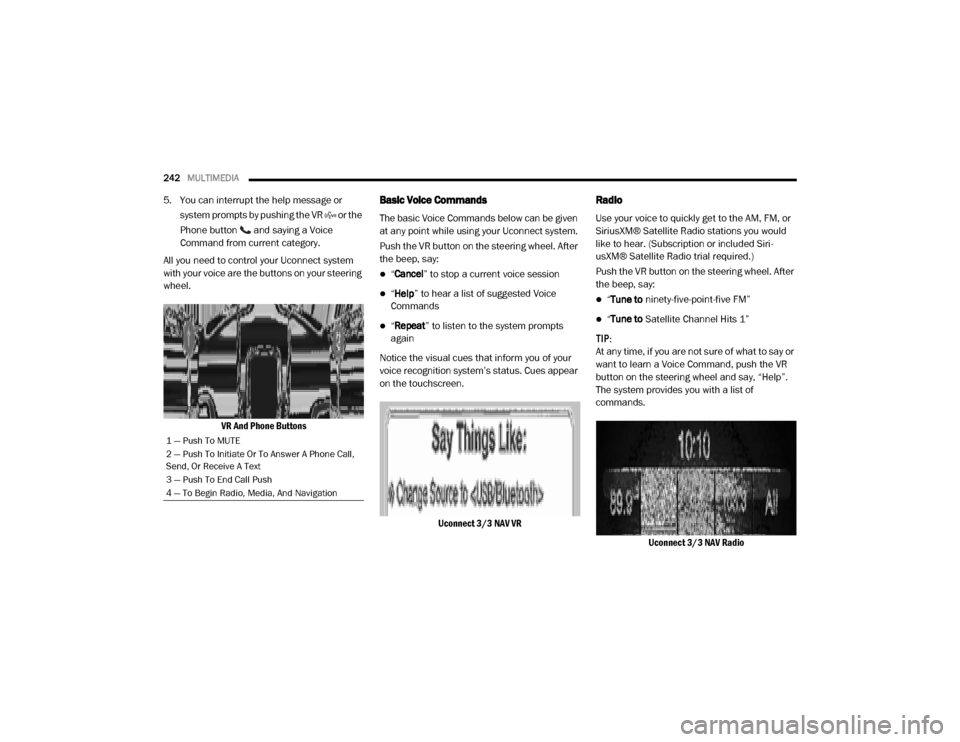
All you need to control your Uconnect system
with your voice are the buttons on your steering
wheel.
VR And Phone ButtonsBasic Voice Commands
The basic Voice Commands below can be given
at any point while using your Uconnect system.
Push the VR button on the steering wheel. After
the beep, say:
“Cancel ” to stop a current voice session
“Help ” to hear a list of suggested Voice
Commands
“ Repeat ” to listen to the system prompts
again
Notice the visual cues that inform you of your
voice recognition system’s status. Cues appear
on the touchscreen.
Uconnect 3/3 NAV VR
Radio
Use your voice to quickly get to the AM, FM, or
SiriusXM® Satellite Radio stations you would
like to hear. (Subscription or included Siri -
usXM® Satellite Radio trial required.)
Push the VR button on the steering wheel. After
the beep, say:
“ Tune to ninety-five-point-five FM”
“Tune to Satellite Channel Hits 1”
TIP:
At any time, if you are not sure of what to say or
want to learn a Voice Command, push the VR
button on the steering wheel and say, “Help”.
The system provides you with a list of
commands.
Uconnect 3/3 NAV Radio
1 — Push To MUTE
2 — Push To Initiate Or To Answer A Phone Call,
Send, Or Receive A Text
3 — Push To End Call Push
4 — To Begin Radio, Media, And Navigation
20_VF_OM_EN_US_t.book Page 242
Page 245 of 264
MULTIMEDIA243
Media
Uconnect offers connections via USB, Blue -
tooth®, and Auxiliary ports. Voice operation is
only available for connected USB and iPod®
devices.
Push the VR button on the steering wheel. After
the beep, say one of the following commands
and follow the prompts to switch your media
source or choose an artist.
“ Change source to Bluetooth®”
“Change source to iPod®”
“Change source to USB”
“Play artist Beethoven”; “ Play album
Greatest Hits”; “ Play song Moonlight
Sonata”; “ Play genre Classical” TIP:
Press the Browse button on the touchscreen to
see all of the music on your iPod® or USB
device. Your Voice Command must match
exactly
how the artist, album, song, and genre
information is displayed.
Uconnect 3/3 NAV Media
Phone
Making and answering hands-free phone calls
is easy with Uconnect. When the Phonebook
button is illuminated for the Uconnect system,
your system is ready. Check Uconnect-
Phone.com for mobile phone compatibility and
pairing instructions.
Push the VR button or Phone button (if
enabled). After the beep, say one of the
following commands:
“ Call John Smith”
“Dial 123-456-7890 and follow the system
prompts”
“ Redial (call previous outgoing phone
number)”
“ Call back (call previous incoming phone
number)”
9
20_VF_OM_EN_US_t.book Page 243
Page 246 of 264
244MULTIMEDIA
TIP:
When providing a Voice Command, push the VR
button or Phone button (if enabled) and say
“Call ”, then pronounce the name exactly as it
appears in your phone book. When a contact
has multiple phone numbers, you can say “ Call
John Smith work”.
Uconnect 3/3 NAV PhoneVoice Text Reply
Uconnect will announce incoming text
messages. Push the VR button or Phone button
(if enabled) and say “Listen ”. (Must have
compatible mobile phone paired to Uconnect
system.)
1. Once an incoming text message is read to
you, push the VR button or Phone button
(if enabled). After the beep, say “Reply”.
2. Listen to the Uconnect prompts. After the beep, repeat one of the pre-defined
messages and follow the system prompts. * Only use the numbering listed. Otherwise, the
system will not transpose the message.
TIP:
Your mobile phone must have the full imple
-
mentation of the Message Access Profile (MAP)
to take advantage of this feature. For details
about MAP, visit UconnectPhone.com . Apple®
iPhone® iOS 6 or later supports reading
incoming text messages only.
PRE-DEFINED VOICE TEXT REPLY
RESPONSES
Yes. Stuck in
traffic.See you later.
No. Start without
me.I’ll be late.
Okay. Where are you?I will be <5,
10, 15, 20,
25, 30, 45,
60> minutes
late.*
Call me. Are you there
yet?
I’ll call you
later.I need
directions.See you in
<5, 10, 15,
20, 25, 30,
45, 60> of
minutes.*
I’m on my
way.
Can’t talk
right now.
I’m lost. Thanks.
PRE-DEFINED VOICE TEXT REPLY
RESPONSES
20_VF_OM_EN_US_t.book Page 244