2020 Ram ProMaster change time
[x] Cancel search: change timePage 164 of 264

162SERVICING AND MAINTENANCE
(Continued)
Windshield Wiper Blades
Clean the rubber edges of the wiper blades and
the windshield periodically with a sponge or soft
cloth and a mild nonabrasive cleaner. This will
remove accumulations of salt or road film.
Operation of the wipers on dry glass for long
periods may cause deterioration of the wiper
blades. Always use washer fluid when using the
wipers to remove salt or dirt from a dry wind -
shield.
Avoid using the wiper blades to remove frost or
ice from the windshield. Keep the blade rubber
out of contact with petroleum products such as
engine oil, gasoline, etc.
NOTE:
Life expectancy of wiper blades varies
depending on geographical area and frequency
of use. Poor performance of blades may be
present with chattering, marks, water lines or
wet spots. If any of these conditions are
present, clean the wiper blades or replace as
necessary.
Exhaust System
The best protection against carbon monoxide
entry into the vehicle body is a properly main -
tained engine exhaust system.
If you notice a change in the sound of the
exhaust system; or if the exhaust fumes can be
detected inside the vehicle; or when the under -
side or rear of the vehicle is damaged; have an
authorized technician inspect the complete
exhaust system and adjacent body areas for
broken, damaged, deteriorated, or misposi -
tioned parts. Open seams or loose connections
could permit exhaust fumes to seep into the
passenger compartment. In addition, have the
exhaust system inspected each time the vehicle
is raised for lubrication or oil change. Replace
as required.
WARNING!
Exhaust gases can injure or kill. They
contain carbon monoxide (CO), which is
colorless and odorless. Breathing it can
make you unconscious and can eventually
poison you. To avoid breathing CO, refer to
“Safety Tips” in “Safety” for further informa -
tion.
A hot exhaust system can start a fire if you
park over materials that can burn. Such
materials might be grass or leaves coming
into contact with your exhaust system. Do
not park or operate your vehicle in areas
where your exhaust system can contact
anything that can burn.
CAUTION!
The catalytic converter requires the use of
unleaded fuel only. Leaded gasoline will
destroy the effectiveness of the catalyst as
an emissions control device and may seri -
ously reduce engine performance and
cause serious damage to the engine.
Damage to the catalytic converter can
result if your vehicle is not kept in proper
operating condition. In the event of engine
malfunction, particularly involving engine
misfire or other apparent loss of perfor -
mance, have your vehicle serviced
promptly. Continued operation of your
vehicle with a severe malfunction could
cause the converter to overheat, resulting
in possible damage to the converter and
vehicle.
WARNING!
(Continued)
20_VF_OM_EN_US_t.book Page 162
Page 169 of 264

SERVICING AND MAINTENANCE167
Automatic Transmission (3.6L Gasoline
Engine Only)
Selection Of Lubricant
It is important to use the proper transmission
fluid to ensure optimum transmission perfor-
mance and life. Use only the manufacturer’s
specified transmission fluid. Refer to “Fluids
And Lubricants” in “Technical Specifications”. It
is important to maintain the transmission fluid
at the correct level using the recommended
fluid. No chemical flushes should be used in any
transmission; only the approved lubricant
should be used.
Special Additives
The manufacturer strongly recommends
against using any special additives in the trans -
mission. Automatic Transmission Fluid (ATF) is
an engineered product and its performance
may be impaired by supplemental additives.
Therefore, do not add any fluid additives to the
transmission. The only exception to this policy is
the use of special dyes for diagnosing fluid
leaks in six-speed transmissions. Avoid using
transmission sealers as they may adversely
affect seals.To avoid contamination from foreign matter
or moisture, use only new brake fluid or
fluid that has been in a tightly closed
container. Keep the master cylinder reser -
voir cap secured at all times. Brake fluid in
a open container absorbs moisture from
the air resulting in a lower boiling point. This
may cause it to boil unexpectedly during
hard or prolonged braking, resulting in
sudden brake failure. This could result in a
collision.
Overfilling the brake fluid reservoir can
result in spilling brake fluid on hot engine
parts, causing the brake fluid to catch fire.
Brake fluid can also damage painted and
vinyl surfaces, care should be taken to
avoid its contact with these surfaces.
Do not allow petroleum based fluid to
contaminate the brake fluid. Brake seal
components could be damaged, causing
partial or complete brake failure. This could
result in a collision.
WARNING!
(Continued)
CAUTION!
Using a transmission fluid other than the
manufacturer’s recommended fluid may
cause deterioration in transmission shift
quality and/or torque converter shudder, and
will require more frequent fluid and filter
changes. Refer to “Fluids And Lubricants” in
“Technical Specifications” for fluid
specifications.
CAUTION!
Do not use chemical flushes in your
transmission as the chemicals can damage
your transmission components. Such damage
is not covered by the New Vehicle Limited
Warranty.
7
20_VF_OM_EN_US_t.book Page 167
Page 201 of 264
MULTIMEDIA199
UCONNECT SETTINGS
The Uconnect system uses a combination of
buttons on the touchscreen and buttons on the
faceplate located on the center of the instru -
ment panel that allows you to access and
change the customer programmable features.
Many features can vary by vehicle.
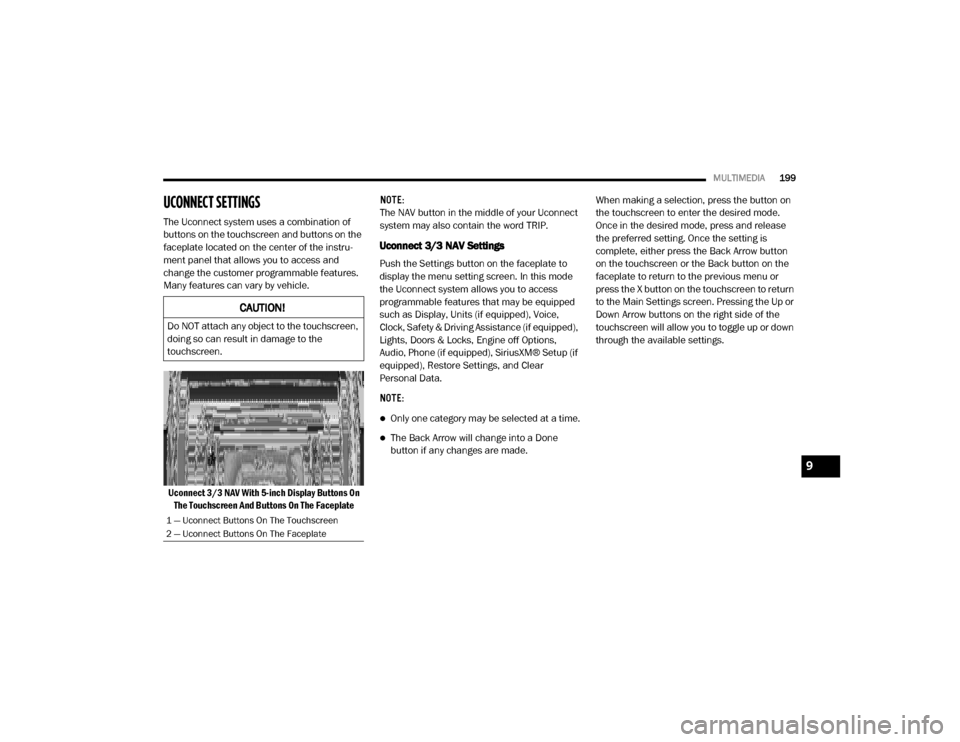
Uconnect 3/3 NAV With 5-inch Display Buttons On The Touchscreen And Buttons On The Faceplate NOTE:
The NAV button in the middle of your Uconnect
system may also contain the word TRIP.
Uconnect 3/3 NAV Settings
Push the Settings button on the faceplate to
display the menu setting screen. In this mode
the Uconnect system allows you to access
programmable features that may be equipped
such as Display, Units (if equipped), Voice,
Clock, Safety & Driving Assistance (if equipped),
Lights, Doors & Locks, Engine off Options,
Audio, Phone (if equipped), SiriusXM® Setup (if
equipped), Restore Settings, and Clear
Personal Data.
NOTE:
Only one category may be selected at a time.
The Back Arrow will change into a Done
button if any changes are made.
When making a selection, press the button on
the touchscreen to enter the desired mode.
Once in the desired mode, press and release
the preferred setting. Once the setting is
complete, either press the Back Arrow button
on the touchscreen or the Back button on the
faceplate to return to the previous menu or
press the X button on the touchscreen to return
to the Main Settings screen. Pressing the Up or
Down Arrow buttons on the right side of the
touchscreen will allow you to toggle up or down
through the available settings.
CAUTION!
Do NOT attach any object to the touchscreen,
doing so can result in damage to the
touchscreen.
1 — Uconnect Buttons On The Touchscreen
2 — Uconnect Buttons On The Faceplate
9
20_VF_OM_EN_US_t.book Page 199
Page 206 of 264
204MULTIMEDIA
Audio
After pressing the Audio button on the touchscreen, the following settings will be available:
Setting Name Selectable Options
Equalizer+ –
NOTE:
When in this display, you may adjust the “Bass”, “Mid”, and “Treble” settings. Adjust the settings with the + and – setting buttons on the touchscreen
or by selecting any point on the scale between the + and – buttons on the touchscreen. Bass/Mid/Treble also allow you to simply slide your finger up
or down to change the setting as well as press directly on the desired setting.
Balance — If Equipped Speaker Icon Arrow Buttons
NOTE:
When in this display, you may adjust the “Balance” (if equipped) of the audio by using the Arrow button on the touchscreen to adjust the sound level
of the right and left side speakers. Press the Speaker icon on the touchscreen to reset the balance to the factory setting.
Speed Adjusted Volume Off 12 3
NOTE:
The “Speed Adjusted Volume” feature increases or decreases volume relative to vehicle speed.
Surround Sound — If Equipped On Off
Loudness — If Equipped On Off
NOTE:
The “Loudness” feature improves sound quality at lower volumes when enabled.
Auto-On Radio — If Equipped On Off Recall Last
NOTE:
Press the Auto-On Radio button on the touchscreen to set how the radio behaves when the ignition is switched to ON/RUN.
20_VF_OM_EN_US_t.book Page 204
Page 214 of 264
212MULTIMEDIA
Fast Seek Down
Press and hold the Seek Down button on the
touchscreen to advance the radio through the
available stations or channel at a faster rate.
The radio stops at the next available station or
channel when the button on the touchscreen is
released.
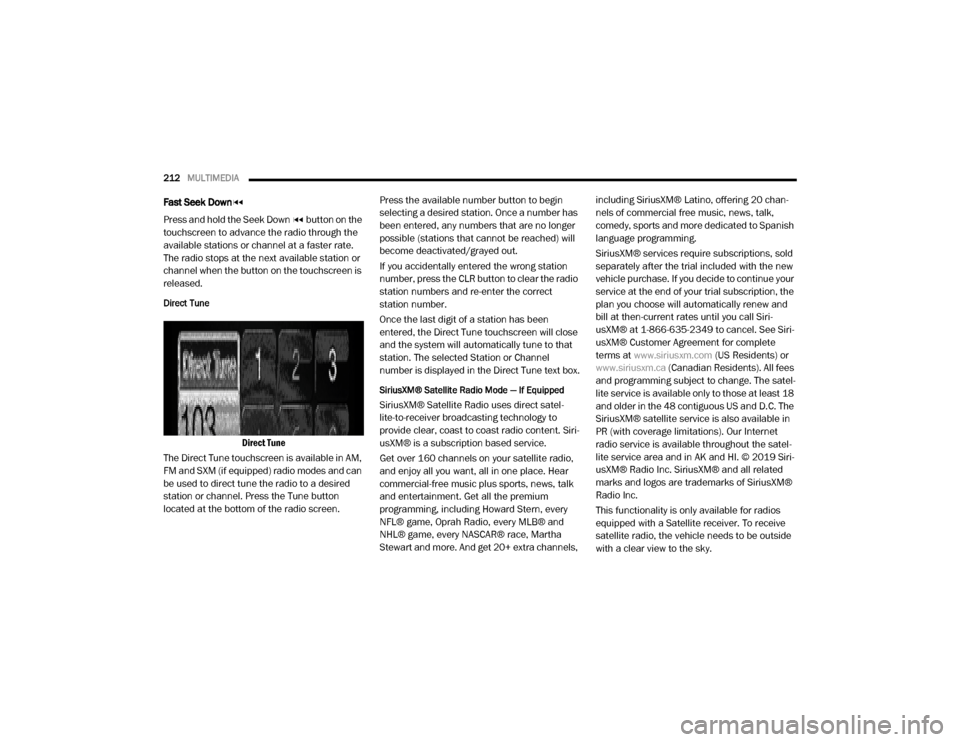
Direct Tune
Direct Tune
The Direct Tune touchscreen is available in AM,
FM and SXM (if equipped) radio modes and can
be used to direct tune the radio to a desired
station or channel. Press the Tune button
located at the bottom of the radio screen. Press the available number button to begin
selecting a desired station. Once a number has
been entered, any numbers that are no longer
possible (stations that cannot be reached) will
become deactivated/grayed out.
If you accidentally entered the wrong station
number, press the CLR button to clear the radio
station numbers and re-enter the correct
station number.
Once the last digit of a station has been
entered, the Direct Tune touchscreen will close
and the system will automatically tune to that
station. The selected Station or Channel
number is displayed in the Direct Tune text box.
SiriusXM® Satellite Radio Mode — If Equipped
SiriusXM® Satellite Radio uses direct satel
-
lite-to-receiver broadcasting technology to
provide clear, coast to coast radio content. Siri -
usXM® is a subscription based service.
Get over 160 channels on your satellite radio,
and enjoy all you want, all in one place. Hear
commercial-free music plus sports, news, talk
and entertainment. Get all the premium
programming, including Howard Stern, every
NFL® game, Oprah Radio, every MLB® and
NHL® game, every NASCAR® race, Martha
Stewart and more. And get 20+ extra channels, including SiriusXM® Latino, offering 20 chan
-
nels of commercial free music, news, talk,
comedy, sports and more dedicated to Spanish
language programming.
SiriusXM® services require subscriptions, sold
separately after the trial included with the new
vehicle purchase. If you decide to continue your
service at the end of your trial subscription, the
plan you choose will automatically renew and
bill at then-current rates until you call Siri -
usXM® at 1-866-635-2349 to cancel. See Siri -
usXM® Customer Agreement for complete
terms at www.siriusxm.com (US Residents) or
www.siriusxm.ca (Canadian Residents). All fees
and programming subject to change. The satel-
lite service is available only to those at least 18
and older in the 48 contiguous US and D.C. The
SiriusXM® satellite service is also available in
PR (with coverage limitations). Our Internet
radio service is available throughout the satel -
lite service area and in AK and HI. © 2019 Siri -
usXM® Radio Inc. SiriusXM® and all related
marks and logos are trademarks of SiriusXM®
Radio Inc.
This functionality is only available for radios
equipped with a Satellite receiver. To receive
satellite radio, the vehicle needs to be outside
with a clear view to the sky.
20_VF_OM_EN_US_t.book Page 212
Page 215 of 264
MULTIMEDIA213
If the screen displays Acquiring Signal, you may
need to change the vehicle’s position to receive
a signal. In most cases, the satellite radio does
not receive a signal in underground parking
garages or tunnels.
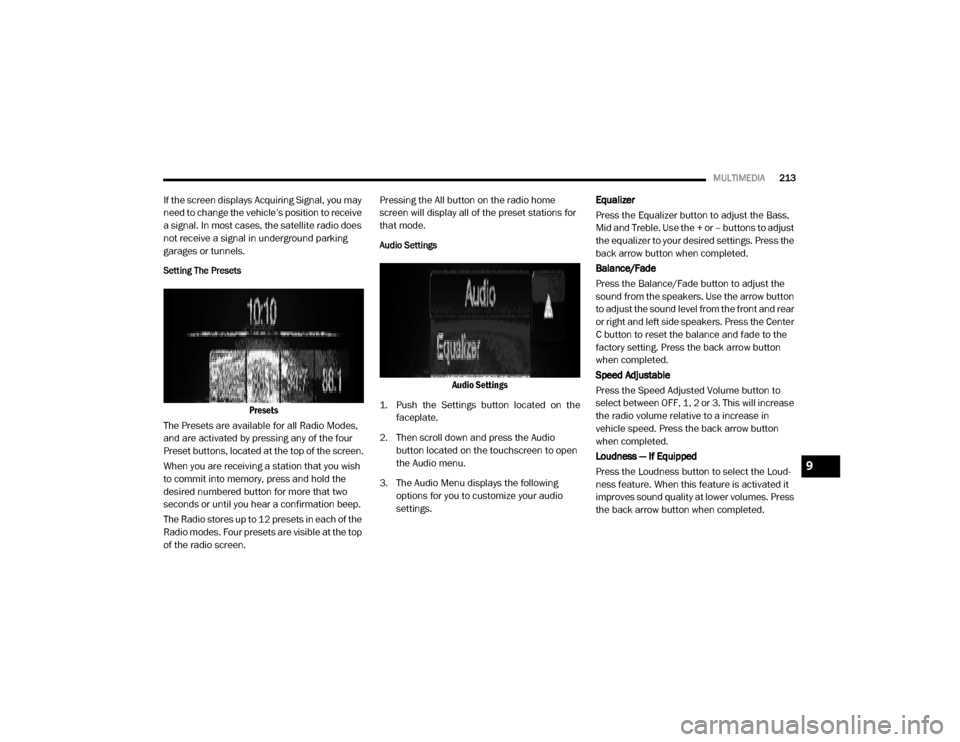
Setting The Presets
Presets
The Presets are available for all Radio Modes,
and are activated by pressing any of the four
Preset buttons, located at the top of the screen.
When you are receiving a station that you wish
to commit into memory, press and hold the
desired numbered button for more that two
seconds or until you hear a confirmation beep.
The Radio stores up to 12 presets in each of the
Radio modes. Four presets are visible at the top
of the radio screen. Pressing the All button on the radio home
screen will display all of the preset stations for
that mode.
Audio Settings
Audio Settings
1. Push the Settings button located on the faceplate.
2. Then scroll down and press the Audio button located on the touchscreen to open
the Audio menu.
3. The Audio Menu displays the following options for you to customize your audio
settings. Equalizer
Press the Equalizer button to adjust the Bass,
Mid and Treble. Use the + or – buttons to adjust
the equalizer to your desired settings. Press the
back arrow button when completed.
Balance/Fade
Press the Balance/Fade button to adjust the
sound from the speakers. Use the arrow button
to adjust the sound level from the front and rear
or right and left side speakers. Press the Center
C button to reset the balance and fade to the
factory setting. Press the back arrow button
when completed.
Speed Adjustable
Press the Speed Adjusted Volume button to
select between OFF, 1, 2 or 3. This will increase
the radio volume relative to a increase in
vehicle speed. Press the back arrow button
when completed.
Loudness — If Equipped
Press the Loudness button to select the Loud
-
ness feature. When this feature is activated it
improves sound quality at lower volumes. Press
the back arrow button when completed.
9
20_VF_OM_EN_US_t.book Page 213
Page 217 of 264
MULTIMEDIA215
Repeat
Press the Repeat button on the touchscreen to
repeat the song selection. To cancel repeat,
press the Repeat button on the touchscreen a
second time.
Shuffle
Press the Shuffle button on the touchscreen to
play the selections on the USB/iPod® or Blue -
tooth® device in random order to provide an
interesting change of pace. Press the Shuffle
button on the touchscreen a second time to
turn this feature off.
Audio
Refer to “Operating Radio Mode” in this section
for the adjustable audio settings.
Info
Press the Info button to display the current
track information. Press the X button to cancel
this feature.
USB Mode
USB Mode is entered by either inserting a USB
Jump Drive cable into the USB port, or by
pushing the MEDIA button located on the face -
plate. Once in “Media Mode”, press the Source
button on the touchscreen and select “USB”. NOTE:
The system supports only FAT32 or ExFAT
formatted USB devices. The system does not
support devices with a capacity higher than
64GB. The system does not support USB hubs
connected to the USB port of the vehicle.
Connect your multimedia device directly to the
USB port, using the specific connection cable
for the device if necessary.
Inserting USB Device
Gently insert the USB/device into the USB Port.
If you insert a USB device with the ignition ON,
the unit will switch to USB mode and begin to
play when you insert the device. The display will
show the track number and index time in
minutes and seconds. Play will begin at the start
of track 1.
Browse
Press the Browse button on the touchscreen to
select Artist, Albums, Genres, Songs, Playlists or
Folders from the USB device. Once the desired
selection is made you can chose from the avail
-
able media by pressing the button on the touch -
screen. Press the Exit button on the
touchscreen if you wish to cancel the browse
function.
Bluetooth® Mode
Bluetooth® Streaming Audio (BTSA) or Blue -
tooth® Mode is entered by pairing a Bluetooth®
device containing music to the Uconnect
system.
Before proceeding, the Bluetooth® device must
be paired with the Uconnect Phone to communi -
cate with the Uconnect system.
See the pairing procedure within this manual.
Once the Bluetooth® device is paired to the
Uconnect system, push the MEDIA button
located on the faceplate. Once in Media Mode,
press the Source button on the touchscreen
and select Bluetooth®.
NOTE:
For mobile phone compatibility and pairing
instructions, please visit UconnectPhone.com.
9
20_VF_OM_EN_US_t.book Page 215
Page 221 of 264
MULTIMEDIA219
NOTE:
If supported, the download and update begin
as soon as the Bluetooth® wireless phone
connection is made to the Uconnect Phone,
for example, after you start the vehicle.
You may be asked for permission to initiate
the phonebook download.
A maximum of 2,000 contact names with six
numbers per contact will be downloaded and
updated every time a phone is connected to
the Uconnect Phone.
Depending on the maximum number of
entries downloaded, there may be a short
delay before the latest downloaded names
can be used. Until then, if available, the previ -
ously downloaded phonebook is available for
use.
Only the phonebook of the currently
connected mobile phone is accessible.
Only the mobile phone’s phonebook is down -
loaded. SIM card phonebook is not part of
the mobile phonebook.
This downloaded phonebook cannot be
edited or deleted on the Uconnect Phone.
These can only be edited on the mobile
phone. The changes are transferred and
updated to Uconnect Phone on the next
phone connection.
Making A Phone Call
Dialing The Phone Number Using The Keyboard
Icon On The Display
Enter the phone number using the graphic
keypad displayed.
Proceed as follows:
1. Press the Keyboard icon on the display and
use the number buttons to enter the
number.
2. Press the Call button to make a call.
Call By Saying A Phonebook Name Or Phone
Number
1. Push the VR button or Phone button (if enabled) on the steering wheel.
2. After the BEEP, say “dial” (or “call” a full name or phone number). Recent Calls
The list of the last calls made for each of the
following call types can be displayed:
Calls received
Calls made
Calls without a reply
All calls
To access these types of calls, press the Recent
Calls button on the Phone menu main screen.
Making A Second Call While Current Call Is In
Progress
When a phone conversation is active, a second
phone call can be made as follows:
Select the number/contact from the list of
recent calls.
Select the contact from the phonebook.
Press the Hold button and dial the number
using the graphic keyboard of the display.
Redial
To call the number/contact of last call made,
press the Redial button.9
20_VF_OM_EN_US_t.book Page 219