2020 Ram ProMaster clock
[x] Cancel search: clockPage 140 of 264

138IN CASE OF EMERGENCY
Rear Lifting Point
Rear Jacking Location
NOTE:
The front jacking location is located behind the
front tire and in front of the driver/passenger
door. 3. Place the wrench handle and lug bolt
adapter on the jack screw and turn clock -
wise until the jack head is properly engaged
in the described location. Do not raise the
vehicle until you are sure the jack is
securely engaged.
4. Raise the vehicle by turning the jack screw clockwise, using the wrench handle and lug
bolt adapter. Raise the vehicle only until the
tire just clears the surface and enough
clearance is obtained to install the spare
tire. Minimum tire lift provides maximum
stability. 5. Remove the wheel lug bolts. For vehicles
with wheel covers, remove the cover from
the wheel by hand. Do not pry the wheel
cover off. Then pull the wheel off the hub.
6. Install the spare tire. Lightly tighten the wheel lug bolts.
Mounting Spare Tire
WARNING!
Being under a jacked-up vehicle is
dangerous. The vehicle could slip off the jack
and fall on you. You could be crushed. Never
get any part of your body under a vehicle that
is on a jack. If you need to get under a raised
vehicle, take it to a service center where it
can be raised on a lift.
WARNING!
Raising the vehicle higher than necessary can
make the vehicle less stable. It could slip off
the jack and hurt someone near it. Raise the
vehicle only enough to remove the tire.
20_VF_OM_EN_US_t.book Page 138
Page 141 of 264

IN CASE OF EMERGENCY139
NOTE:
Do not install the wheel cover on the spare tire.
7. Lower the vehicle by turning the jack screw
counterclockwise.
8. Refer to “Wheel And Tire Torque Specifica -
tions” in “Technical Specifications” for
proper wheel lug bolt torque.
9. Lower the jack to its fully-closed position.
10. Stow the damaged wheel/spare tire with the cable and wheel spacer before driving
the vehicle. 11. Install the winch extension and
rotate the
wrench handle clockwise until the winch
mechanism operator hears “3 clicks” from
the device to indicate the wheel is properly
stowed under the vehicle.
12. Stow the jack, jack handle and winch handle tools back in the storage compartment.
13. Check the spare tire pressure as soon as possible. Correct the tire pressure, as
required.
For vehicles with aluminum wheels:
The center cap must be pushed out from the
rear to install the retainer and stow the tire.
Wheel Covers
The wheel covers on the vehicle are held in
place by the wheel lug bolts and can be
removed after the wheel lug bolts are taken off.
TIRE SERVICE KIT — IF EQUIPPED
Small punctures up to 1/4 inch (6 mm) in the
tire tread can be sealed with Tire Service Kit.
Foreign objects (e.g., screws or nails) should not
be removed from the tire. Tire Service Kit can be
used in outside temperatures down to approxi -
mately -4°F (-20°C).
This kit will provide a temporary tire seal,
allowing you to drive your vehicle up to
100 miles (160 km) with a maximum speed of 50 mph (80 km/h).
Tire Service Kit Storage
The Tire Service Kit is located under the
passenger seat or the driver side door.
WARNING!
To avoid the risk of forcing the vehicle off the
jack, do not tighten the wheel nuts fully until
the vehicle has been lowered. Failure to
follow this warning may result in serious
injury.
CAUTION!
Be sure to mount the spare tire with the valve
stem facing outward. The vehicle could be
damaged if the spare tire is mounted
incorrectly.
WARNING!
A loose tire or jack thrown forward in a
collision or hard stop could endanger the
occupants of the vehicle. Always stow the jack
parts and the spare tire in the places
provided. Have the deflated (flat) tire repaired
or replaced immediately.
CAUTION!
Use a back-and-forth motion to remove the
hub cap. Do not use a twisting motion when
removing the hub cap, damage to the hub
cap finish may occur.
6
20_VF_OM_EN_US_t.book Page 139
Page 201 of 264

MULTIMEDIA199
UCONNECT SETTINGS
The Uconnect system uses a combination of
buttons on the touchscreen and buttons on the
faceplate located on the center of the instru -
ment panel that allows you to access and
change the customer programmable features.
Many features can vary by vehicle.
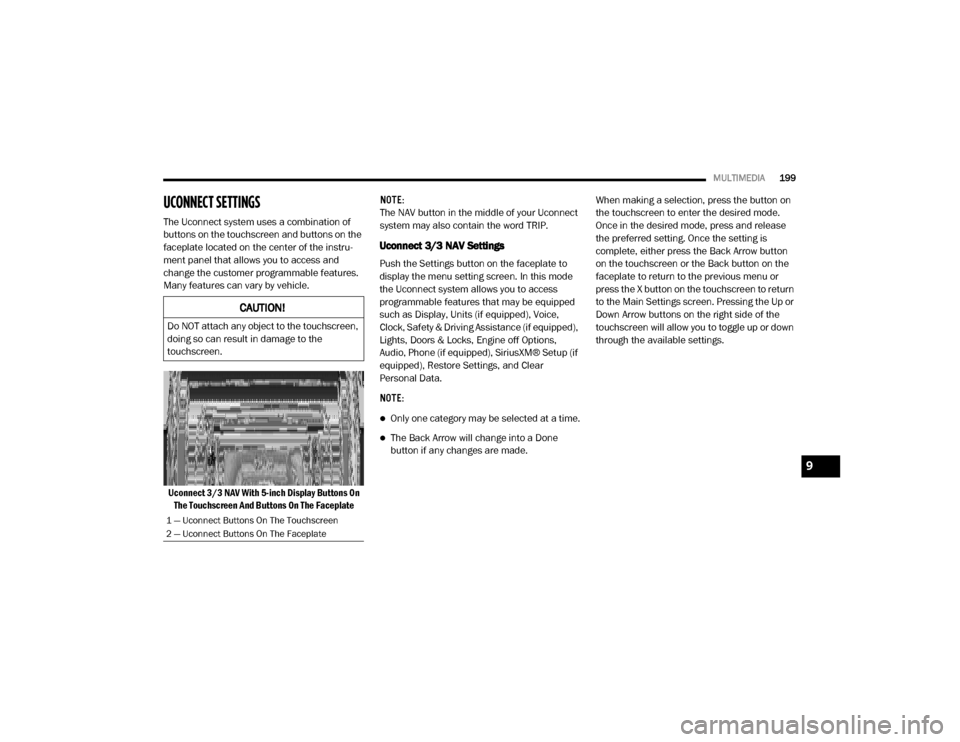
Uconnect 3/3 NAV With 5-inch Display Buttons On The Touchscreen And Buttons On The Faceplate NOTE:
The NAV button in the middle of your Uconnect
system may also contain the word TRIP.
Uconnect 3/3 NAV Settings
Push the Settings button on the faceplate to
display the menu setting screen. In this mode
the Uconnect system allows you to access
programmable features that may be equipped
such as Display, Units (if equipped), Voice,
Clock, Safety & Driving Assistance (if equipped),
Lights, Doors & Locks, Engine off Options,
Audio, Phone (if equipped), SiriusXM® Setup (if
equipped), Restore Settings, and Clear
Personal Data.
NOTE:
Only one category may be selected at a time.
The Back Arrow will change into a Done
button if any changes are made.
When making a selection, press the button on
the touchscreen to enter the desired mode.
Once in the desired mode, press and release
the preferred setting. Once the setting is
complete, either press the Back Arrow button
on the touchscreen or the Back button on the
faceplate to return to the previous menu or
press the X button on the touchscreen to return
to the Main Settings screen. Pressing the Up or
Down Arrow buttons on the right side of the
touchscreen will allow you to toggle up or down
through the available settings.
CAUTION!
Do NOT attach any object to the touchscreen,
doing so can result in damage to the
touchscreen.
1 — Uconnect Buttons On The Touchscreen
2 — Uconnect Buttons On The Faceplate
9
20_VF_OM_EN_US_t.book Page 199
Page 204 of 264

202MULTIMEDIA
Clock & Date
After pressing the Clock & Date button on the touchscreen, the following settings will be available:
Safety/Assistance — If Equipped
After pressing the Safety/Assistance button on the touchscreen, the following settings will be available:
Setting Name Selectable Options
Set Time And Format — If
Equipped12h
24hAMPM
Show Time Status — If
Equipped On
Off
Set Date Day MonthYear
NOTE:
By selecting this setting, the day and month can be updated. The selectable days range from 1–31 (depending on month). The selectable months
consist of Jan/Feb/March/April/May/June/July/Aug/Sept/Oct/Nov/Dec.
Sync Time — If Equipped On Off
NOTE:
When this setting is selected, the time will set automatically based upon GPS location.
Setting Name Selectable Options
ParkView Backup Camera DelayOnOff
NOTE:
The “ParkView Backup Camera Delay” setting determines whether or not the screen will display the rear view image for up to 10 seconds after the
vehicle is shifted out of REVERSE. This delay will be canceled if the vehicle’s speed exceeds 8 mph (13 km/h), the transmission is shifted into PARK,
or the ignition is switched to the OFF position.
ParkView Backup Camera With
Rear Door — If Equipped On
Off
20_VF_OM_EN_US_t.book Page 202
Page 209 of 264

MULTIMEDIA207
Restore Settings — If Equipped
After pressing the Restore Settings button on the touchscreen, the following settings will be available:
Clear Personal Data
After pressing the Clear Personal Data button
on the touchscreen, the following settings will
be available:
Setting Name Selectable Options
Restore Settings to DefaultYesNo
NOTE:
When this feature is selected, it will reset the Display, Clock, Audio, and Radio Settings to their default settings. Once the settings are restored, a
pop-up appears stating “settings reset to default”. Press the okay button on the touchscreen to exit.
Setting Name Selectable Options
Clear Personal DataYesNo
NOTE:
When this feature is selected, it will remove personal data including Bluetooth® devices and presets.
9
20_VF_OM_EN_US_t.book Page 207
Page 212 of 264

210MULTIMEDIA
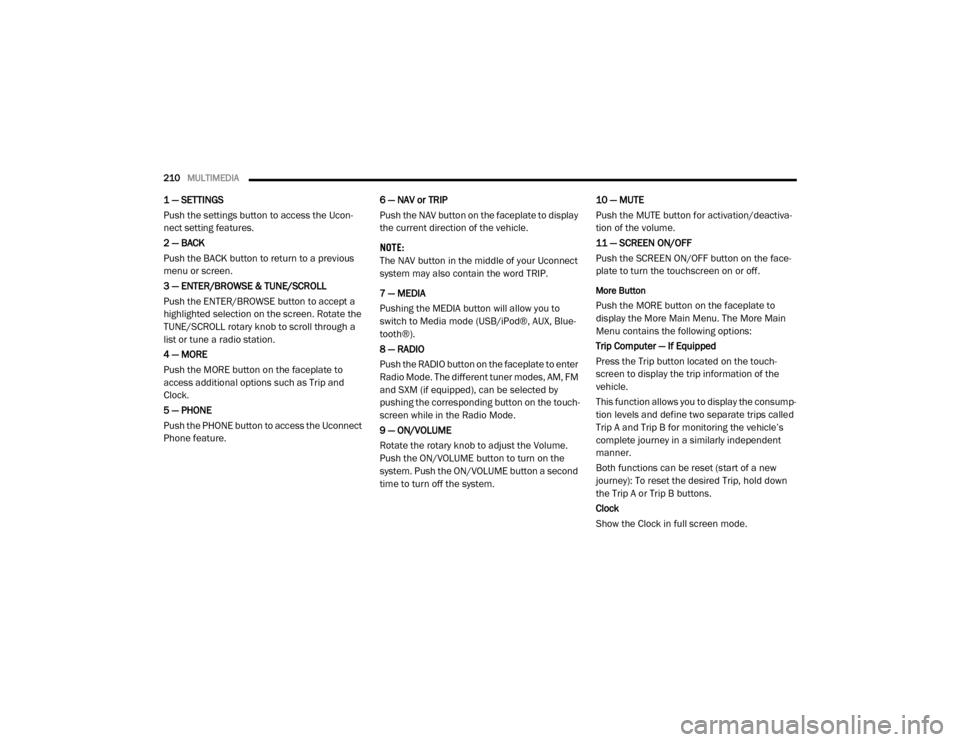
1 — SETTINGS
Push the settings button to access the Ucon -
nect setting features.
2 — BACK
Push the BACK button to return to a previous
menu or screen.
3 — ENTER/BROWSE & TUNE/SCROLL
Push the ENTER/BROWSE button to accept a
highlighted selection on the screen. Rotate the
TUNE/SCROLL rotary knob to scroll through a
list or tune a radio station.
4 — MORE
Push the MORE button on the faceplate to
access additional options such as Trip and
Clock.
5 — PHONE
Push the PHONE button to access the Uconnect
Phone feature. 6 — NAV or TRIP
Push the NAV button on the faceplate to display
the current direction of the vehicle.
NOTE:
The NAV button in the middle of your Uconnect
system may also contain the word TRIP.
7 — MEDIA
Pushing the MEDIA button will allow you to
switch to Media mode (USB/iPod®, AUX, Blue
-
tooth®).
8 — RADIO
Push the RADIO button on the faceplate to enter
Radio Mode. The different tuner modes, AM, FM
and SXM (if equipped), can be selected by
pushing the corresponding button on the touch -
screen while in the Radio Mode.
9 — ON/VOLUME
Rotate the rotary knob to adjust the Volume.
Push the ON/VOLUME button to turn on the
system. Push the ON/VOLUME button a second
time to turn off the system. 10 — MUTE
Push the MUTE button for activation/deactiva
-
tion of the volume.
11 — SCREEN ON/OFF
Push the SCREEN ON/OFF button on the face -
plate to turn the touchscreen on or off.
More Button
Push the MORE button on the faceplate to
display the More Main Menu. The More Main
Menu contains the following options:
Trip Computer — If Equipped
Press the Trip button located on the touch-
screen to display the trip information of the
vehicle.
This function allows you to display the consump -
tion levels and define two separate trips called
Trip A and Trip B for monitoring the vehicle’s
complete journey in a similarly independent
manner.
Both functions can be reset (start of a new
journey): To reset the desired Trip, hold down
the Trip A or Trip B buttons.
Clock
Show the Clock in full screen mode.
20_VF_OM_EN_US_t.book Page 210
Page 213 of 264

MULTIMEDIA211
Radio Mode
Operating Radio Mode
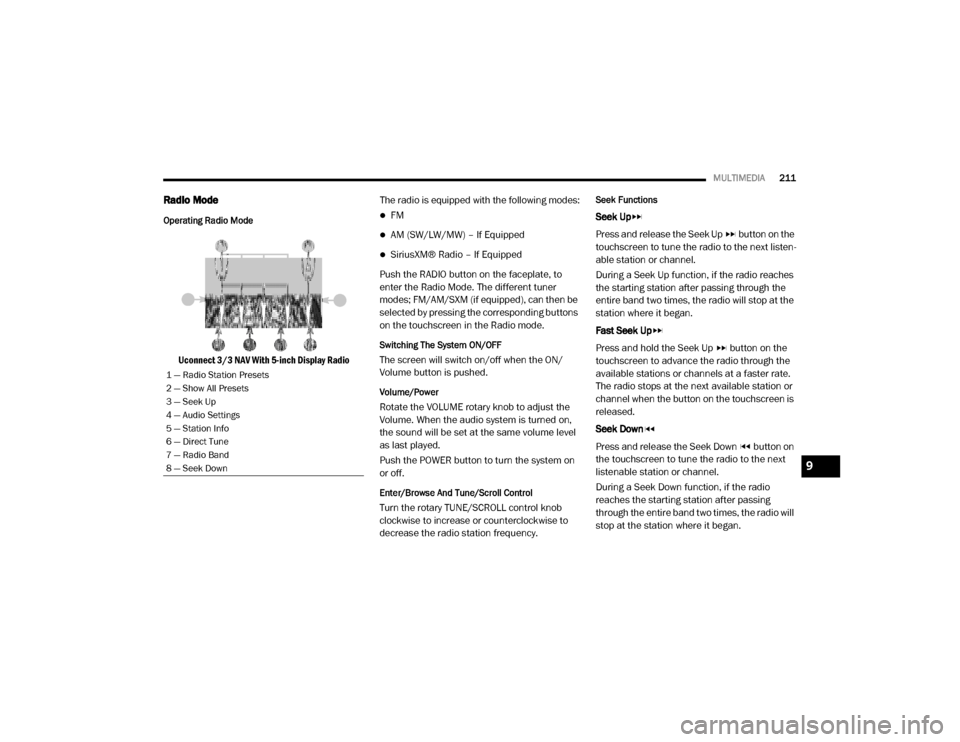
Uconnect 3/3 NAV With 5-inch Display Radio The radio is equipped with the following modes:
FM
AM (SW/LW/MW) – If Equipped
SiriusXM® Radio – If Equipped
Push the RADIO button on the faceplate, to
enter the Radio Mode. The different tuner
modes; FM/AM/SXM (if equipped), can then be
selected by pressing the corresponding buttons
on the touchscreen in the Radio mode.
Switching The System ON/OFF
The screen will switch on/off when the ON/
Volume button is pushed.
Volume/Power
Rotate the VOLUME rotary knob to adjust the
Volume. When the audio system is turned on,
the sound will be set at the same volume level
as last played.
Push the POWER button to turn the system on
or off.
Enter/Browse And Tune/Scroll Control
Turn the rotary TUNE/SCROLL control knob
clockwise to increase or counterclockwise to
decrease the radio station frequency.
Seek Functions
Seek Up
Press and release the Seek Up button on the
touchscreen to tune the radio to the next listen -
able station or channel.
During a Seek Up function, if the radio reaches
the starting station after passing through the
entire band two times, the radio will stop at the
station where it began.
Fast Seek Up
Press and hold the Seek Up button on the
touchscreen to advance the radio through the
available stations or channels at a faster rate.
The radio stops at the next available station or
channel when the button on the touchscreen is
released.
Seek Down
Press and release the Seek Down button on
the touchscreen to tune the radio to the next
listenable station or channel.
During a Seek Down function, if the radio
reaches the starting station after passing
through the entire band two times, the radio will
stop at the station where it began.
1 — Radio Station Presets
2 — Show All Presets
3 — Seek Up
4 — Audio Settings
5 — Station Info
6 — Direct Tune
7 — Radio Band
8 — Seek Down
9
20_VF_OM_EN_US_t.book Page 211