2020 Ram ProMaster buttons
[x] Cancel search: buttonsPage 213 of 264
MULTIMEDIA211
Radio Mode
Operating Radio Mode
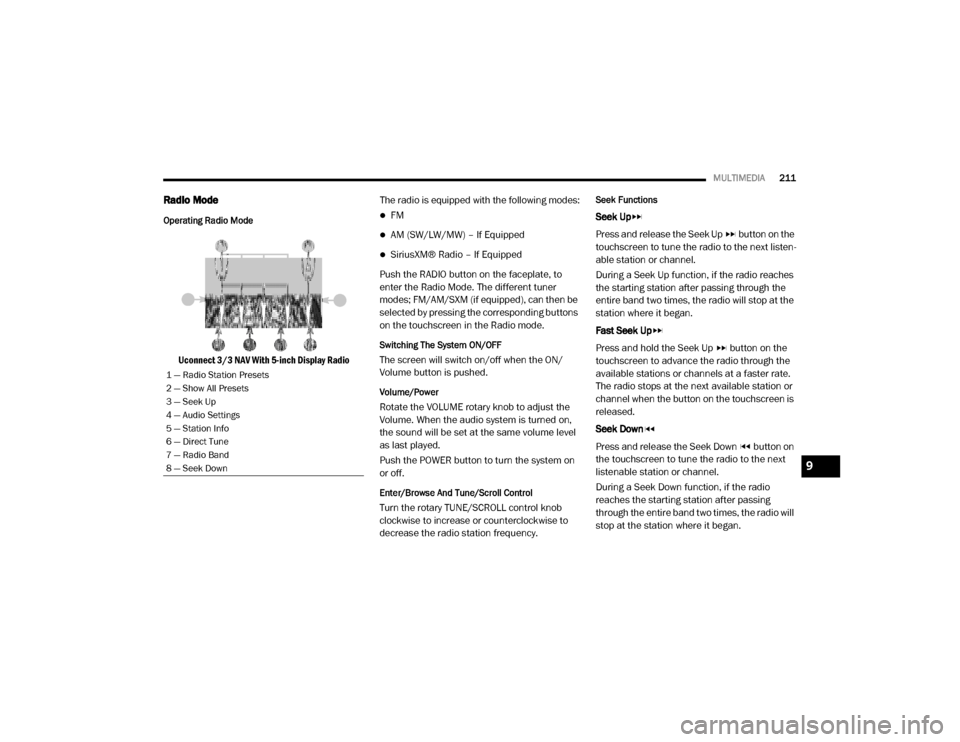
Uconnect 3/3 NAV With 5-inch Display Radio The radio is equipped with the following modes:
FM
AM (SW/LW/MW) – If Equipped
SiriusXM® Radio – If Equipped
Push the RADIO button on the faceplate, to
enter the Radio Mode. The different tuner
modes; FM/AM/SXM (if equipped), can then be
selected by pressing the corresponding buttons
on the touchscreen in the Radio mode.
Switching The System ON/OFF
The screen will switch on/off when the ON/
Volume button is pushed.
Volume/Power
Rotate the VOLUME rotary knob to adjust the
Volume. When the audio system is turned on,
the sound will be set at the same volume level
as last played.
Push the POWER button to turn the system on
or off.
Enter/Browse And Tune/Scroll Control
Turn the rotary TUNE/SCROLL control knob
clockwise to increase or counterclockwise to
decrease the radio station frequency.
Seek Functions
Seek Up
Press and release the Seek Up button on the
touchscreen to tune the radio to the next listen -
able station or channel.
During a Seek Up function, if the radio reaches
the starting station after passing through the
entire band two times, the radio will stop at the
station where it began.
Fast Seek Up
Press and hold the Seek Up button on the
touchscreen to advance the radio through the
available stations or channels at a faster rate.
The radio stops at the next available station or
channel when the button on the touchscreen is
released.
Seek Down
Press and release the Seek Down button on
the touchscreen to tune the radio to the next
listenable station or channel.
During a Seek Down function, if the radio
reaches the starting station after passing
through the entire band two times, the radio will
stop at the station where it began.
1 — Radio Station Presets
2 — Show All Presets
3 — Seek Up
4 — Audio Settings
5 — Station Info
6 — Direct Tune
7 — Radio Band
8 — Seek Down
9
20_VF_OM_EN_US_t.book Page 211
Page 215 of 264
MULTIMEDIA213
If the screen displays Acquiring Signal, you may
need to change the vehicle’s position to receive
a signal. In most cases, the satellite radio does
not receive a signal in underground parking
garages or tunnels.
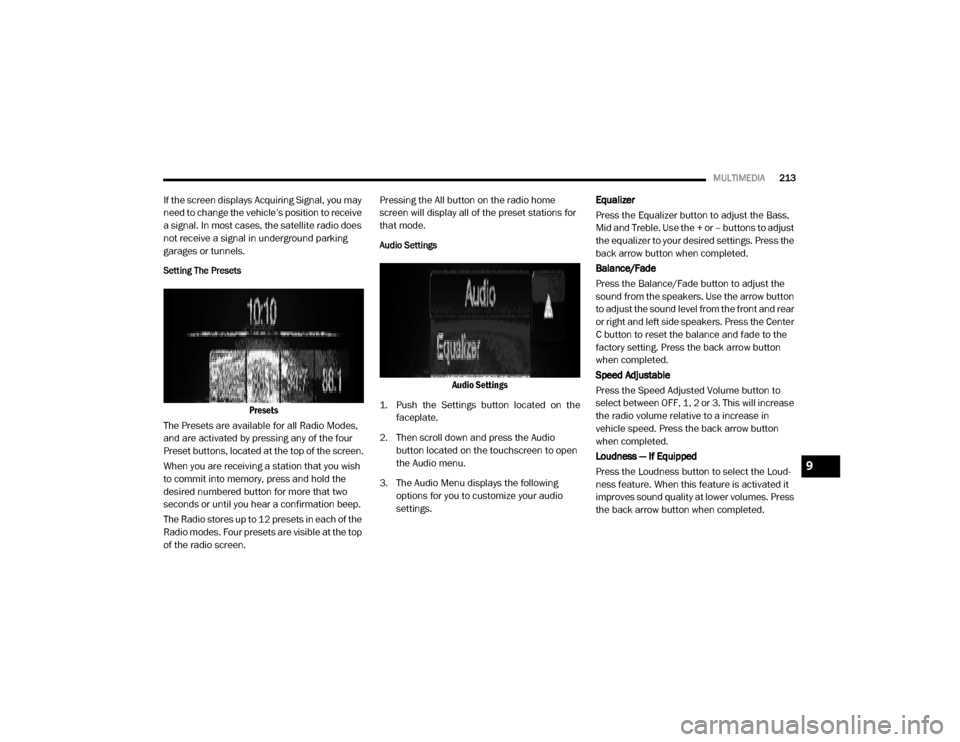
Setting The Presets
Presets
The Presets are available for all Radio Modes,
and are activated by pressing any of the four
Preset buttons, located at the top of the screen.
When you are receiving a station that you wish
to commit into memory, press and hold the
desired numbered button for more that two
seconds or until you hear a confirmation beep.
The Radio stores up to 12 presets in each of the
Radio modes. Four presets are visible at the top
of the radio screen. Pressing the All button on the radio home
screen will display all of the preset stations for
that mode.
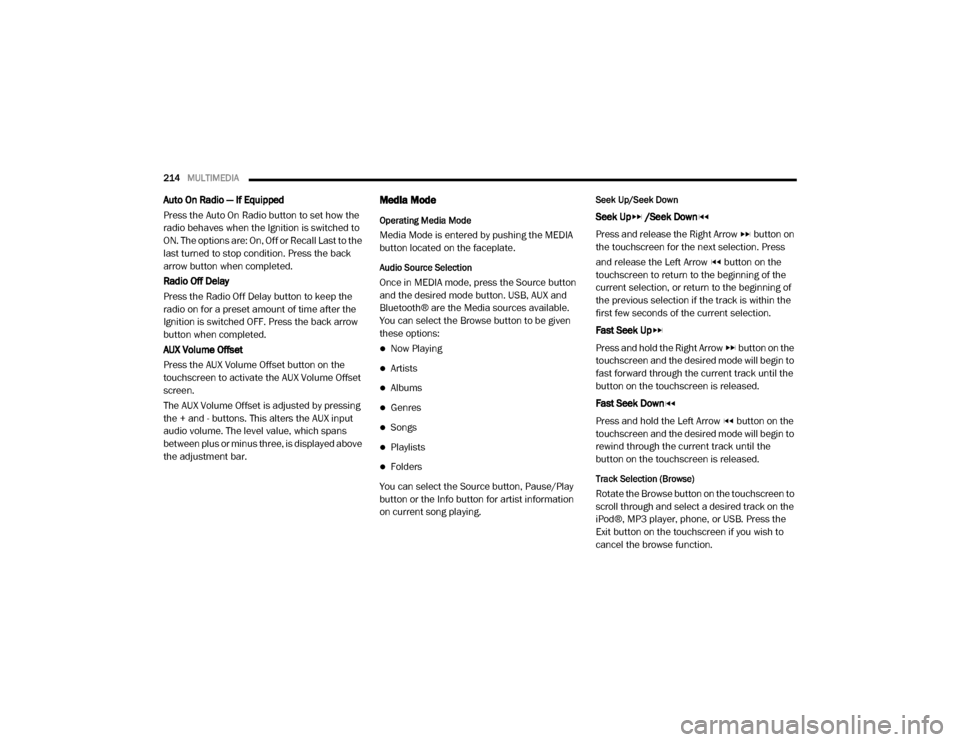
Audio Settings
Audio Settings
1. Push the Settings button located on the faceplate.
2. Then scroll down and press the Audio button located on the touchscreen to open
the Audio menu.
3. The Audio Menu displays the following options for you to customize your audio
settings. Equalizer
Press the Equalizer button to adjust the Bass,
Mid and Treble. Use the + or – buttons to adjust
the equalizer to your desired settings. Press the
back arrow button when completed.
Balance/Fade
Press the Balance/Fade button to adjust the
sound from the speakers. Use the arrow button
to adjust the sound level from the front and rear
or right and left side speakers. Press the Center
C button to reset the balance and fade to the
factory setting. Press the back arrow button
when completed.
Speed Adjustable
Press the Speed Adjusted Volume button to
select between OFF, 1, 2 or 3. This will increase
the radio volume relative to a increase in
vehicle speed. Press the back arrow button
when completed.
Loudness — If Equipped
Press the Loudness button to select the Loud
-
ness feature. When this feature is activated it
improves sound quality at lower volumes. Press
the back arrow button when completed.
9
20_VF_OM_EN_US_t.book Page 213
Page 216 of 264
214MULTIMEDIA
Auto On Radio — If Equipped
Press the Auto On Radio button to set how the
radio behaves when the Ignition is switched to
ON. The options are: On, Off or Recall Last to the
last turned to stop condition. Press the back
arrow button when completed.
Radio Off Delay
Press the Radio Off Delay button to keep the
radio on for a preset amount of time after the
Ignition is switched OFF. Press the back arrow
button when completed.
AUX Volume Offset
Press the AUX Volume Offset button on the
touchscreen to activate the AUX Volume Offset
screen.
The AUX Volume Offset is adjusted by pressing
the + and - buttons. This alters the AUX input
audio volume. The level value, which spans
between plus or minus three, is displayed above
the adjustment bar.Media Mode
Operating Media Mode
Media Mode is entered by pushing the MEDIA
button located on the faceplate.
Audio Source Selection
Once in MEDIA mode, press the Source button
and the desired mode button. USB, AUX and
Bluetooth® are the Media sources available.
You can select the Browse button to be given
these options:
Now Playing
Artists
Albums
Genres
Songs
Playlists
Folders
You can select the Source button, Pause/Play
button or the Info button for artist information
on current song playing.
Seek Up/Seek Down
Seek Up /Seek Down
Press and release the Right Arrow button on
the touchscreen for the next selection. Press
and release the Left Arrow button on the
touchscreen to return to the beginning of the
current selection, or return to the beginning of
the previous selection if the track is within the
first few seconds of the current selection.
Fast Seek Up
Press and hold the Right Arrow button on the
touchscreen and the desired mode will begin to
fast forward through the current track until the
button on the touchscreen is released.
Fast Seek Down
Press and hold the Left Arrow button on the
touchscreen and the desired mode will begin to
rewind through the current track until the
button on the touchscreen is released.
Track Selection (Browse)
Rotate the Browse button on the touchscreen to
scroll through and select a desired track on the
iPod®, MP3 player, phone, or USB. Press the
Exit button on the touchscreen if you wish to
cancel the browse function.
20_VF_OM_EN_US_t.book Page 214
Page 219 of 264
MULTIMEDIA217
Main Functions
The buttons on the display can be used to:
Compose phone numbers (using the graphic
keypad on the display)
Display and call the contacts in the mobile
phone phonebook
Display and call contacts from the “recent
calls” menu
Pair phones/audio devices to make access
and connection easier and quicker
Transfer calls from the system to the mobile
phone and vice versa
Deactivate the microphone audio for private
conversations
The mobile phone audio is transmitted through
the vehicle’s audio system. The system auto -
matically mutes the radio when the Phone func -
tion is used.
Connecting/Disconnecting A Mobile Phone Or
Bluetooth® Device
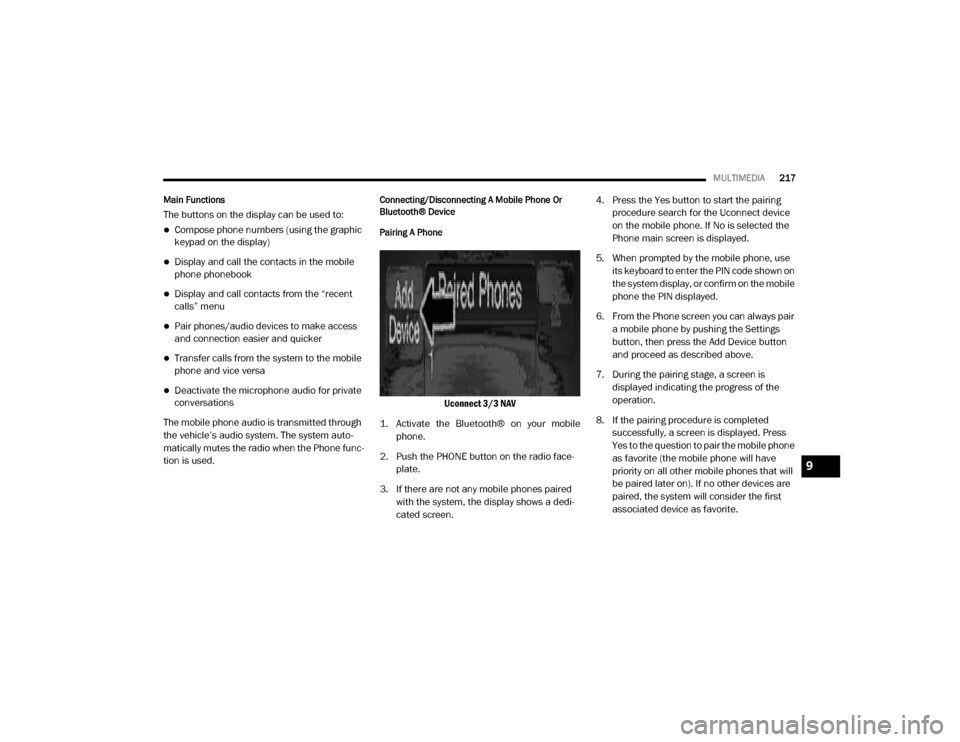
Pairing A Phone
Uconnect 3/3 NAV
1. Activate the Bluetooth® on your mobile phone.
2. Push the PHONE button on the radio face -
plate.
3. If there are not any mobile phones paired with the system, the display shows a dedi -
cated screen. 4. Press the Yes button to start the pairing
procedure search for the Uconnect device
on the mobile phone. If No is selected the
Phone main screen is displayed.
5. When prompted by the mobile phone, use its keyboard to enter the PIN code shown on
the system display, or confirm on the mobile
phone the PIN displayed.
6. From the Phone screen you can always pair a mobile phone by pushing the Settings
button, then press the Add Device button
and proceed as described above.
7. During the pairing stage, a screen is displayed indicating the progress of the
operation.
8. If the pairing procedure is completed successfully, a screen is displayed. Press
Yes to the question to pair the mobile phone
as favorite (the mobile phone will have
priority on all other mobile phones that will
be paired later on). If no other devices are
paired, the system will consider the first
associated device as favorite.
9
20_VF_OM_EN_US_t.book Page 217
Page 221 of 264
MULTIMEDIA219
NOTE:
If supported, the download and update begin
as soon as the Bluetooth® wireless phone
connection is made to the Uconnect Phone,
for example, after you start the vehicle.
You may be asked for permission to initiate
the phonebook download.
A maximum of 2,000 contact names with six
numbers per contact will be downloaded and
updated every time a phone is connected to
the Uconnect Phone.
Depending on the maximum number of
entries downloaded, there may be a short
delay before the latest downloaded names
can be used. Until then, if available, the previ -
ously downloaded phonebook is available for
use.
Only the phonebook of the currently
connected mobile phone is accessible.
Only the mobile phone’s phonebook is down -
loaded. SIM card phonebook is not part of
the mobile phonebook.
This downloaded phonebook cannot be
edited or deleted on the Uconnect Phone.
These can only be edited on the mobile
phone. The changes are transferred and
updated to Uconnect Phone on the next
phone connection.
Making A Phone Call
Dialing The Phone Number Using The Keyboard
Icon On The Display
Enter the phone number using the graphic
keypad displayed.
Proceed as follows:
1. Press the Keyboard icon on the display and
use the number buttons to enter the
number.
2. Press the Call button to make a call.
Call By Saying A Phonebook Name Or Phone
Number
1. Push the VR button or Phone button (if enabled) on the steering wheel.
2. After the BEEP, say “dial” (or “call” a full name or phone number). Recent Calls
The list of the last calls made for each of the
following call types can be displayed:
Calls received
Calls made
Calls without a reply
All calls
To access these types of calls, press the Recent
Calls button on the Phone menu main screen.
Making A Second Call While Current Call Is In
Progress
When a phone conversation is active, a second
phone call can be made as follows:
Select the number/contact from the list of
recent calls.
Select the contact from the phonebook.
Press the Hold button and dial the number
using the graphic keyboard of the display.
Redial
To call the number/contact of last call made,
press the Redial button.9
20_VF_OM_EN_US_t.book Page 219
Page 222 of 264
220MULTIMEDIA
Answering An Incoming Call
Call Controls
The buttons on the display allow the following
phone call functions to be managed:
Answer
End
Ignore
Put on hold/resume
Deactivate/activate the microphone
Transfer the call
Switch from one call to the other
Conference/merge two active calls
Answering Or Ignoring A Call With No Call
Currently In Progress
When an incoming call rings or is announced on
Uconnect, push the Answer button on the touch -
screen or push the PHONE button on the
steering wheel. Answering Or Ignoring An Incoming Call With A
Call Currently In Progress
When an incoming call rings or is announced on
Uconnect, push the Answer button on the touch
-
screen or push the PHONE button on the
steering wheel to answer the call and put the
ongoing call on hold.
NOTE:
Not all mobile phones may support the manage -
ment of an incoming call when another phone
conversation is active.
Ending A Call
Press the End button on the touchscreen or the
PHONE button on the steering wheel controls to
end a call in progress.
Only the ongoing call is ended and any call on
hold becomes the new active call.
Depending on the type of mobile phone, if the
ongoing call is ended by the caller, the call on
hold may not be activated automatically.
Uconnect Phone Features
Mute/Unmute
1. During a call, push the Voice Recognition (VR) button on the steering wheel.
2. After the BEEP, say “mute” (or “mute off”).
Reading Messages
The system can read the messages received by
the mobile phone.
To use this function the mobile phone must
support the SMS exchange function via Blue -
tooth®.
If this function is not supported by the phone,
the corresponding message button is deacti -
vated (grayed out) or may only accept incoming
messages.
When a text message is received, the display
will show a screen where the options "Listen",
"Call" or "Ignore" can be selected.
Press the message button to access the list of
SMS messages received by the mobile phone
(the list displays a maximum of 60 messages
received).
20_VF_OM_EN_US_t.book Page 220
Page 223 of 264
MULTIMEDIA221
SMS Message Reader Activation/Deactivation
The SMS message automatic reading function
can be activated/deactivated by pressing the
corresponding button on the display, which is
shown after pressing the phone selection
button.
NOTE:
On some mobile phones, to make the SMS
voice reading function available, the SMS notifi -
cation option on the phone must be enabled,
this option is usually available on the phone, in
the Bluetooth® connections menu for a device
registered as Uconnect. After enabling this func -
tion on the mobile phone, it must be discon -
nected and reconnected with the system to
make it effective.
SMS Message Options
Preset SMS messages are stored in the system
and can be sent to answer a received message
or as a new message.Navigation Mode — If Equipped
Operating Navigation Mode — If Equipped
Planning A Route
Using the search bar provides a wide range of
ways to find places and then navigate to them.
You can search your destination in different
ways:
A specific address
A partial address
A type of place
A zip code
A city to navigate to a city center
A Point of Interest (POI) near your current
location
Latitude and longitude coordinates Using Search
Press the Search button in the Main menu
to start searching. The search screen will open,
displaying the keyboard and the following
buttons:
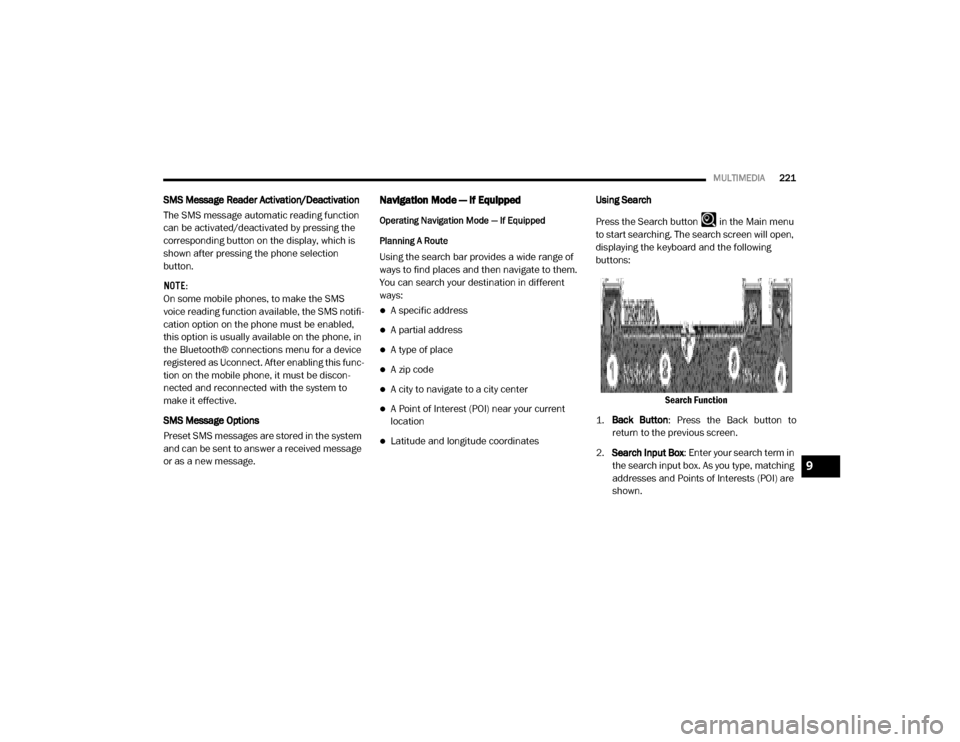
Search Function
1. Back Button : Press the Back button to
return to the previous screen.
2. Search Input Box : Enter your search term in
the search input box. As you type, matching
addresses and Points of Interests (POI) are
shown.
9
20_VF_OM_EN_US_t.book Page 221
Page 231 of 264
MULTIMEDIA229
3 — Route Bar
The Route Bar is shown when you have planned
a route. The Route Bar contains arrival informa-
tion, such as the estimated time of arrival, the
length of time to drive to the destination from
your current location, and information about the
next stop, if you have stops on your route. The
bottom of the Route Bar represents your current
location and shows the distance to the next
stop on your route.
4 — Current Location
This symbol shows your current location. Press
this symbol, or the speed panel, to mark your
current location.
5 — Speed Panel
Press this button to view the following informa -
tion (if available):
The speed limit at your location
The name of the street you are driving on NOTE:
If you drive more than 3 mph (5 km/h) over the
speed limit, the Speed Panel turns red. If you
drive less than 3 mph (5 km/h) over the speed
limit, the Speed Panel turns orange.
6 — Main Menu Button
Press the Main Menu Button to show the Main
Menu.
7 — Zoom Buttons
Press the zoom in + button to zoom in and the
zoom out – button to zoom out.
Advanced Lane Guidance
About Lane Guidance
NOTE:
Lane guidance is not available for all intersec
-
tions or in all countries.
Your navigation system helps you prepare for
highway exits and junctions by showing the
correct driving lane for your planned route. As you approach an exit or junction, the lane you
need is shown on the screen and in the instruc
-
tion panel.
Using Lane Guidance
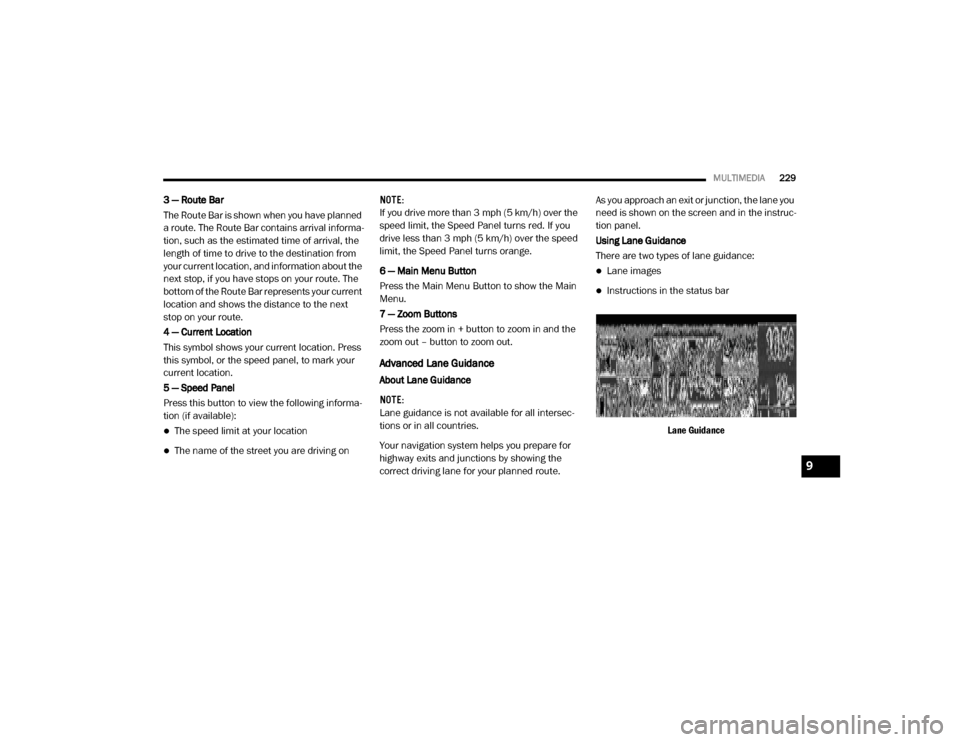
There are two types of lane guidance:
Lane images
Instructions in the status bar
Lane Guidance
9
20_VF_OM_EN_US_t.book Page 229