2020 Ram ProMaster City tire pressure
[x] Cancel search: tire pressurePage 107 of 350

104 SAFETY
27 psi (186 kPa), but the TPMS Warning Light will still be on.
In this situation, the TPMS Warning Light will turn off only
after the tires are inflated to the vehicle’s recommended cold
placard pressure value.NOTE:
• The TPMS is not intended to replace normal tire care and
maintenance or to provide warning of a tire failure or
condition.
• The TPMS should not be used as a tire pressure gauge while adjusting your tire pressure.
• Driving on a significantly under-inflated tire causes the tire to overheat and can lead to tire failure. Under-inflation
also reduces fuel efficiency and tire tread life, and may
affect the vehicle’s handling and stopping ability.
• The TPMS is not a substitute for proper tire maintenance, and it is the driver’s responsibility to maintain correct tire
pressure using an accurate tire pressure gauge, even if
under-inflation has not reached the level to trigger illumi -
nation of the TPMS Warning Light.
• Seasonal temperature changes will affect tire pressure, and the TPMS will monitor the actual tire pressure in the tire.
CAUTION!
• The TPMS has been optimized for the original equip -
ment tires and wheels. TPMS pressures and warning
have been established for the tire size equipped on
your vehicle. Undesirable system operation or sensor
damage may result when using replacement equipment
that is not of the same size, type, and/or style. After -
market wheels can cause sensor damage.
• Using aftermarket tire sealants may cause the Tire Pres -
sure Monitoring System (TPMS) sensor to become
inoperable. After using an aftermarket tire sealant it is
recommended that you take your vehicle to an autho -
rized dealership to have your sensor function checked.
• After inspecting or adjusting the tire pressure always reinstall the valve stem cap. This will prevent moisture
and dirt from entering the valve stem, which could
damage the TPMS sensor.
2020_RAM_PROMASTER_CITY_OM_USA=GUID-7B6A7FCA-79B0-423F-95C5-ED2A949C3D13=1=en=.book Page 104
Page 108 of 350

SAFETY 105
Base SystemThis is the TPMS warning indicator located in the
instrument cluster.
The TPMS uses wireless technology with wheel rim
mounted electronic sensors to monitor tire pressure levels.
Sensors, mounted to each wheel as part of the valve stem,
transmit tire pressure readings to the Receiver Module.
NOTE:
It is particularly important for you to check the tire pressure
in all of the tires on your vehicle regularly and to maintain
the proper pressure.
The TPMS consists of the following components:
• Receiver Module
• Four Tire Pressure Monitoring sensors
• Tire Pressure Monitoring System Warning Light
Tire Pressure Monitoring Low Pressure Warnings
The Tire Pressure Monitoring System Warning Light will
illuminate in the instrument cluster, an audible chime will be
activated, and the “Check tire pressure” text message will
display when one or more of the four active road tire pres -
sures are low. Should this occur, you should stop as soon as possible, check the inflation pressure of each tire on your
vehicle, and inflate each tire to the vehicle’s recommended
cold placard pressure value. The system will automatically
update and the Tire Pressure Monitoring Light will extin
-
guish once the updated tire pressures have been received.
The vehicle may need to be driven for up to 20 minutes
above 15 mph (24 km/h) to receive this information.
Check TPMS Warnings
The Tire Pressure Monitoring Warning Light will flash on
and off for 75 seconds and remain on solid when a system
fault is detected, an audible chime will be activated and a
proper text message will be displayed. If the ignition key is
cycled, this sequence will repeat providing the system fault
still exists. The Tire Pressure Monitoring Warning Light will
turn off when the fault condition no longer exists. A system
fault can occur with any of the following scenarios:
1. Jamming due to electronic devices or driving next to facil -
ities emitting the same radio frequencies as the TPM
sensors.
2. Installing some form of aftermarket window tinting that affects radio wave signals.
3. Snow or ice around the wheels or wheel housings.
4
2020_RAM_PROMASTER_CITY_OM_USA=GUID-7B6A7FCA-79B0-423F-95C5-ED2A949C3D13=1=en=.book Page 105
Page 109 of 350

106 SAFETY
4. Using tire chains on the vehicle.
5. Using wheels/tires not equipped with TPM sensors.
NOTE:
Your vehicle can be equipped with either Tire Service Kit,
compact spare tire or regular size spare tire (with or without
original TPMS sensor).
1. Tire Service Kit (original tire sealant – if equipped): Afterfixing the punctured tire with original tire sealant, the
original situation will be restored, so system will turn off
the telltale during the normal drive.
2. Compact Spare Tire – (if equipped): The compact spare wheel is not equipped with TPMS sensor. So when
mounted, during the normal drive the system will turn
on the telltale (flashing for approximately 75 seconds then
remains solid). This condition persists until a wheel
equipped with original TPMS sensor has been mounted
on the vehicle. 3. Regular size spare tire (not equipped with TPMS sensor):
When mounted, during the normal drive the system will
turn on the telltale (flashing for approximately 75 seconds
then remains solid). This condition persists until a wheel
equipped with original TPMS sensor has been mounted
on the vehicle. Then the system will be restored and the
telltale will turn off during the normal drive.
4. Regular size spare tire (equipped with TPMS sensor): When mounted, the telltale will turn off during the
normal drive.
5. In all the above cases please check the replacement tire inflation pressure before driving your vehicle.
6. In case of tire replacement, if the vehicle is driven for short periods of time, then the system can take a while to
be restored.
NOTE:
For a correct Tire Pressure Monitoring behavior, please wait
for about 20 minutes in key-off during each tire substitution.
2020_RAM_PROMASTER_CITY_OM_USA=GUID-7B6A7FCA-79B0-423F-95C5-ED2A949C3D13=1=en=.book Page 106
Page 159 of 350

156 SAFETY
Periodic Safety Checks You Should Make Outside
The Vehicle
Tires
Examine tires for excessive tread wear and uneven wear
patterns. Check for stones, nails, glass, or other objects
lodged in the tread or sidewall. Inspect the tread for cuts and
cracks. Inspect sidewalls for cuts, cracks, and bulges. Check
the wheel bolts for tightness. Check the tires (including
spare) for proper cold inflation pressure.
Lights
Have someone observe the operation of brake lights and
exterior lights while you work the controls. Check turn signal
and high beam indicator lights on the instrument panel.
Door Latches
Check for proper closing, latching, and locking.
Fluid Leaks
Check area under the vehicle after overnight parking for
fuel, coolant, oil, or other fluid leaks. Also, if gasoline fumes
are detected or if fuel, or brake fluid leaks are suspected, the
cause should be located and corrected immediately.
• NEVER place any objects under the floor mat (e.g.,
towels, keys, etc.). These objects could change the posi -
tion of the floor mat and may cause interference with
the accelerator, brake, or clutch pedals.
• If the vehicle carpet has been removed and re-installed, always properly attach carpet to the floor and check the
floor mat fasteners are secure to the vehicle carpet.
Fully depress each pedal to check for interference with
the accelerator, brake, or clutch pedals then re-install
the floor mats.
• It is recommended to only use mild soap and water to clean your floor mats. After cleaning, always check
your floor mat has been properly installed and is
secured to your vehicle using the floor mat fasteners by
lightly pulling mat.
WARNING! (Continued)
2020_RAM_PROMASTER_CITY_OM_USA=GUID-7B6A7FCA-79B0-423F-95C5-ED2A949C3D13=1=en=.book Page 156
Page 186 of 350

STARTING AND OPERATING 183
Gross Vehicle Weight Rating (GVWR)
The GVWR is the total allowable weight of your vehicle. This
includes driver, passengers, and cargo. The total load must
be limited so that you do not exceed the GVWR.
Gross Axle Weight Rating (GAWR)
The GAWR is the maximum capacity of the front and rear
axles. Distribute the load over the front and rear axles evenly.
Make sure that you do not exceed either front or rear GAWR.
Tire Size
The tire size on the Vehicle Certification Label represents the
actual tire size on your vehicle. Replacement tires must be
equal to the load capacity of this tire size.
Rim Size
This is the rim size that is appropriate for the tire size listed.
Inflation Pressure
This is the cold tire inflation pressure for your vehicle for all
loading conditions up to full GAWR.
Curb Weight
The curb weight of a vehicle is defined as the total weight of
the vehicle with all fluids, including vehicle fuel, at full
capacity conditions, and with no occupants or cargo loaded
into the vehicle. The front and rear curb weight values are
determined by weighing your vehicle on a commercial scale
before any occupants or cargo are added.
Overloading
The load carrying components (axle, springs, tires, wheels,
etc.) of your vehicle will provide satisfactory service as long
as you do not exceed the GVWR and the front and rear
GAWR.
The best way to figure out the total weight of your vehicle is
to weigh it when it is fully loaded and ready for operation.
Weigh it on a commercial scale to ensure that it is not over
the GVWR.
WARNING!
Because the front wheels steer the vehicle, it is important
that you do not exceed the maximum front or rear
GAWR. A dangerous driving condition can result if
either rating is exceeded. You could lose control of the
vehicle and have a collision.5
2020_RAM_PROMASTER_CITY_OM_USA=GUID-7B6A7FCA-79B0-423F-95C5-ED2A949C3D13=1=en=.book Page 183
Page 194 of 350

STARTING AND OPERATING 191
Towing Requirements — Tires
• Do not attempt to tow a trailer while using a compact sparetire.
• Do not drive more than 50 mph (80 km/h) when towing while using a full size spare tire.
• Proper tire inflation pressures are essential to the safe and satisfactory operation of your vehicle. Refer to “Tires” in
“Servicing And Maintenance” for proper tire inflation
procedures.
• Check the trailer tires for proper tire inflation pressures before trailer usage.
• Check for signs of tire wear or visible tire damage before towing a trailer. Refer to “Tires” in “Servicing And Main -
tenance” for the proper inspection procedure.
• When replacing tires, refer to “Tires” in “Servicing And Maintenance” for the proper tire replacement procedures.
Replacing tires with a higher load carrying capacity will
not increase the vehicle's GVWR and GAWR limits. Towing Requirements — Trailer Brakes
• Do
not interconnect the hydraulic brake system or vacuum
system of your vehicle with that of the trailer. This could
cause inadequate braking and possible personal injury.
• An electronically actuated trailer brake controller is required when towing a trailer with electronically actu -
ated brakes. When towing a trailer equipped with a
hydraulic surge actuated brake system, an electronic brake
controller is not required.
• Trailer brakes are recommended for trailers over 1,000 lbs (453 kg) and required for trailers in excess of 2,000 lbs (907 kg).
WARNING!
• Do not connect trailer brakes to your vehicle's hydraulic brake lines. It can overload your brake
system and cause it to fail. You might not have brakes
when you need them and could have an accident.
• Towing any trailer will increase your stopping distance. When towing, you should allow for addi -
tional space between your vehicle and the vehicle in
front of you. Failure to do so could result in an accident.
5
2020_RAM_PROMASTER_CITY_OM_USA=GUID-7B6A7FCA-79B0-423F-95C5-ED2A949C3D13=1=en=.book Page 191
Page 226 of 350

IN CASE OF EMERGENCY 223
Mounting Spare Tire7. Lower the vehicle by turning the jack screw to the left.
Refer to “Torque Specifications” in “Technical Specifica -
tions” for proper wheel lug bolt torque.
8. Lower the jack to its fully-closed position.
9. Stow the cable and wheel spacer before driving the vehicle. Refer to “Vehicles With Alloy Wheels” in this
section for instructions on stowing alloy wheels.
10. Stow the jack and tools under the driver’s seat.
11. Check the spare tire pressure as soon as possible. Correct the tire pressure, as required.
12. When you place the spare tire back on the winch or if you carry the tire in need of repair on the winch, always check
that the tire is properly secured under the vehicle by pushing
on the stowed tire under the rear bumper at the back of the
vehicle. If the tire has motion when pushed, use the tools to
re-tighten the winch until a loud click is heard.
WARNING!
To avoid the risk of forcing the vehicle off the jack, do
not fully tighten the wheel bolts until the vehicle has
been lowered. Failure to follow this warning may result
in serious injury.
CAUTION!
Be sure to mount the spare tire with the valve stem facing
outward. The vehicle could be damaged if the spare tire
is mounted incorrectly.
WARNING!
A loose tire or jack thrown forward in a collision or hard
stop could endanger the occupants of the vehicle.
Always stow the jack parts and the spare tire in the
places provided. Have the deflated (flat) tire repaired or
replaced immediately.
6
2020_RAM_PROMASTER_CITY_OM_USA=GUID-7B6A7FCA-79B0-423F-95C5-ED2A949C3D13=1=en=.book Page 223
Page 231 of 350
228 IN CASE OF EMERGENCY
(Continued)
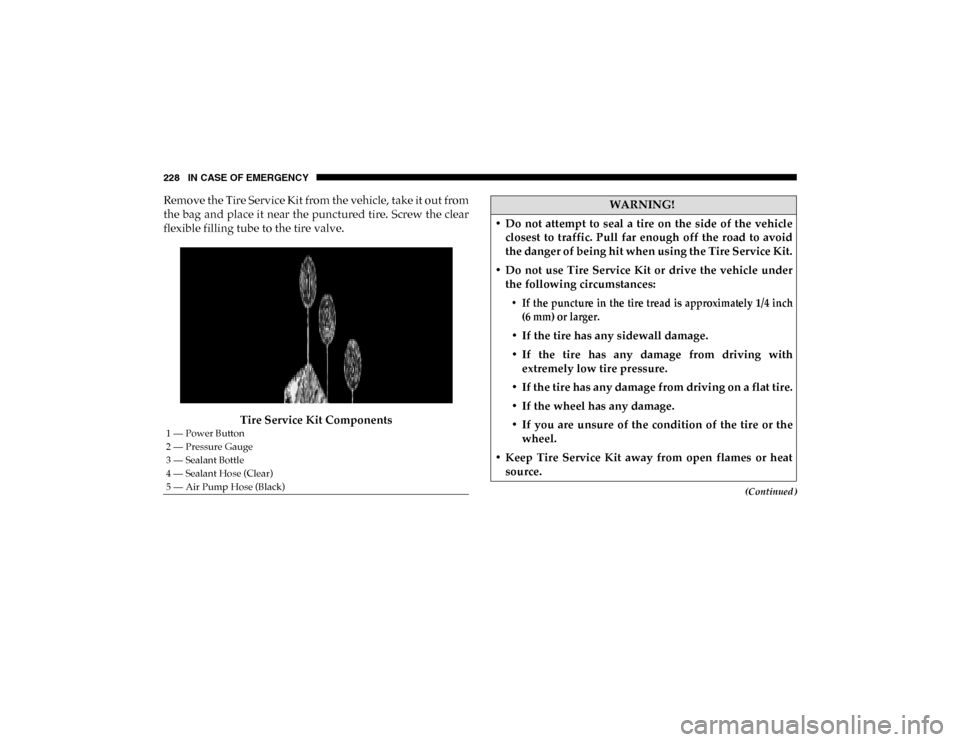
Remove the Tire Service Kit from the vehicle, take it out from
the bag and place it near the punctured tire. Screw the clear
flexible filling tube to the tire valve.Tire Service Kit Components
1 — Power Button
2 — Pressure Gauge
3 — Sealant Bottle
4 — Sealant Hose (Clear)
5 — Air Pump Hose (Black)
WARNING!
• Do not attempt to seal a tire on the side of the vehicle closest to traffic. Pull far enough off the road to avoid
the danger of being hit when using the Tire Service Kit.
• Do not use Tire Service Kit or drive the vehicle under the following circumstances:
• If the puncture in the tire tread is approximately 1/4 inch (6 mm) or larger.
• If the tire has any sidewall damage.
• If the tire has any damage from driving with extremely low tire pressure.
• If the tire has any damage from driving on a flat tire.
• If the wheel has any damage.
• If you are unsure of the condition of the tire or the wheel.
• Keep Tire Service Kit away from open flames or heat source.
2020_RAM_PROMASTER_CITY_OM_USA=GUID-7B6A7FCA-79B0-423F-95C5-ED2A949C3D13=1=en=.book Page 228