Page 498 of 568
496MULTIMEDIA
Power Side Steps — If Equipped
After pressing the Power Side Steps button on the touchscreen, the following setting will be available:Passive Entry — If Equipped
On Off
NOTE:
The “Passive Entry” feature allows you to lock and unlock the vehicle’s door(s) without having to push the key fob Lock or Unlock buttons. Personal Settings Linked To Key Fob — If Equipped On
Off
NOTE:
The “Personal Settings Linked To Key Fob” feature provides automatic driver seat positioning to enhance driver mobility when entering and exiting
the vehicle.
The seats return to the memorized seat location (if “Personal Settings Linked To Key Fob” is set to On) when the key fob is used to unlock the door.
Setting Name Selectable Options
Setting NameSelectable Options
Power Side StepsAutomaticStow
20_DJD2_OM_EN_USC_t.book Page 496
Page 505 of 568

MULTIMEDIA503
Restore Default Settings
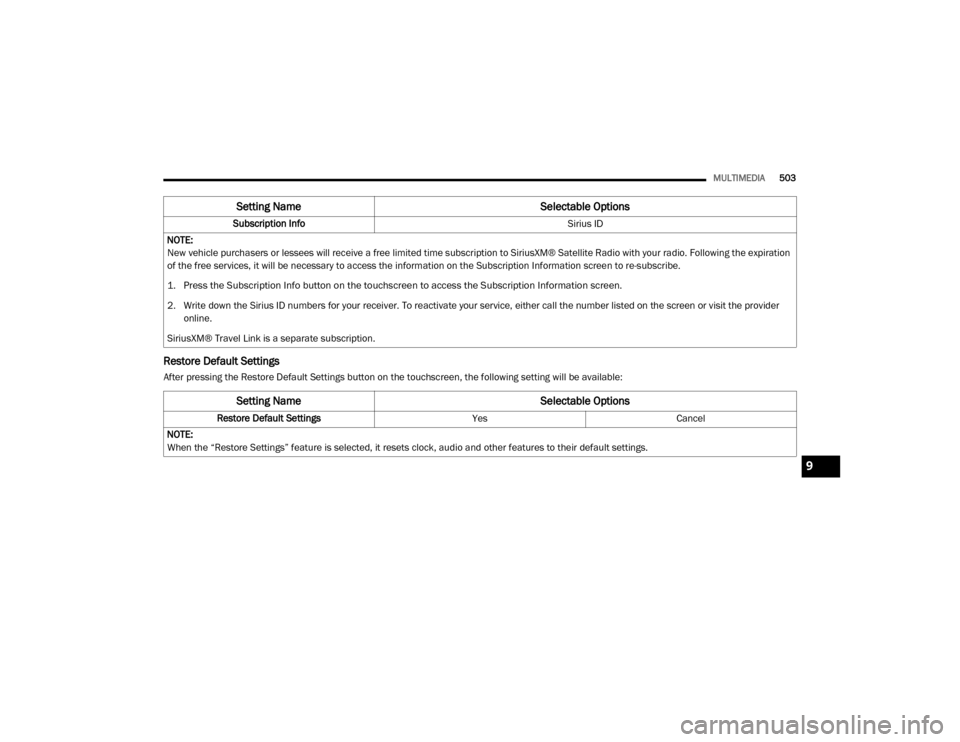
After pressing the Restore Default Settings button on the touchscreen, the following setting will be available:Subscription Info
Sirius ID
NOTE:
New vehicle purchasers or lessees will receive a free limited time subscription to SiriusXM® Satellite Radio with your radio. Following the expiration
of the free services, it will be necessary to access the information on the Subscription Information screen to re-subscribe.
1. Press the Subscription Info button on the touchscreen to access the Subscription Information screen.
2. Write down the Sirius ID numbers for your receiver. To reactivate your service, either call the number listed on the screen or visit the provider online.
SiriusXM® Travel Link is a separate subscription.
Setting Name Selectable Options
Setting NameSelectable Options
Restore Default SettingsYesCancel
NOTE:
When the “Restore Settings” feature is selected, it resets clock, audio and other features to their default settings.
9
20_DJD2_OM_EN_USC_t.book Page 503
Page 507 of 568

MULTIMEDIA505
UCONNECT 4C NAV WITH 12-INCH
D
ISPLAY SETTINGS
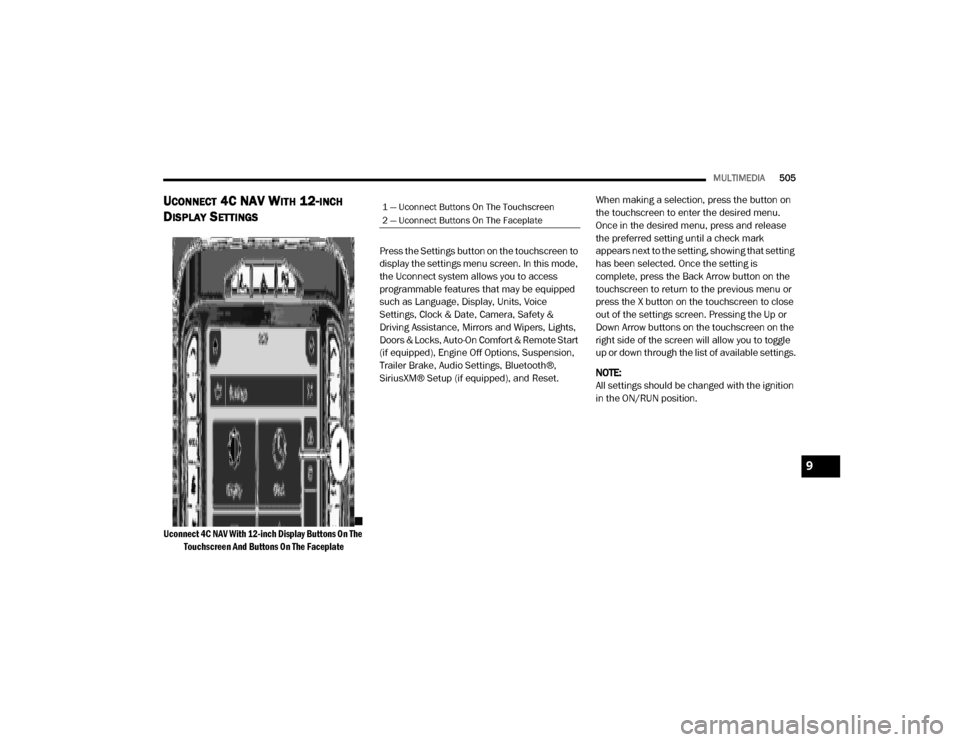
Uconnect 4C NAV With 12-inch Display Buttons On The
Touchscreen And Buttons On The Faceplate
Press the Settings button on the touchscreen to
display the settings menu screen. In this mode,
the Uconnect system allows you to access
programmable features that may be equipped
such as Language, Display, Units, Voice
Settings, Clock & Date, Camera, Safety &
Driving Assistance, Mirrors and Wipers, Lights,
Doors & Locks, Auto-On Comfort & Remote Start
(if equipped), Engine Off Options, Suspension,
Trailer Brake, Audio Settings, Bluetooth®,
SiriusXM® Setup (if equipped), and Reset.
When making a selection, press the button on
the touchscreen to enter the desired menu.
Once in the desired menu, press and release
the preferred setting until a check mark
appears next to the setting, showing that setting
has been selected. Once the setting is
complete, press the Back Arrow button on the
touchscreen to return to the previous menu or
press the X button on the touchscreen to close
out of the settings screen. Pressing the Up or
Down Arrow buttons on the touchscreen on the
right side of the screen will allow you to toggle
up or down through the list of available settings.
NOTE:
All settings should be changed with the ignition
in the ON/RUN position.
1 — Uconnect Buttons On The Touchscreen
2 — Uconnect Buttons On The Faceplate
9
20_DJD2_OM_EN_USC_t.book Page 505
Page 510 of 568
508MULTIMEDIA
Voice Settings
After pressing the Voice Settings button on the touchscreen, the following settings will be available:
Clock
After pressing the Clock button on the touchscreen, the following settings will be available:Pressure
psikPa bar
Power — If Equipped HP (US)HP (UK) Kw
Temperature °F °C
Torque — If Equipped lb-ft Nm
Setting Name Selectable Options
Setting NameSelectable Options
Voice Response LengthBrief Detailed
Show Command List Neverw/Help Always
Setting Name Selectable Options
Sync Time With GPS — If Equipped OnOff
Set Time Hours +–
Set Time Minutes +–
Set Time Format AM
PM
12 hrs 24 hrs
Show Time in Status Bar — If Equipped OnOff
20_DJD2_OM_EN_USC_t.book Page 508
Page 515 of 568

MULTIMEDIA513
Headlight Illumination On Approach –+
NOTE:
When the “Headlight Illumination On Approach” feature is selected, the headlights will activate and remain on for 0, 30, 60, or 90 seconds when the
doors are unlocked with the key fob. Headlights With Wipers — If Equipped OnOff
NOTE:
When the “Headlights With Wipers” feature is selected, and the headlight switch is in the AUTO position, the headlights turn on approximately 10
seconds after the wipers are turned on. The headlights also turn off when the wipers are turned off if they were turned on by this feature. Auto Dim High Beams — If Equipped OnOff
NOTE:
When the “Auto Dim High Beams” feature is selected, the high beam headlights deactivate automatically under certain conditions. Daytime Running Lights OnOff
NOTE:
When the “Daytime Running Lights” feature is selected, the daytime running lights can be turned On or Off. This feature is only available if allowed by
law in the country of the vehicle purchase. Steering Directed Lights OnOff
NOTE:
When the “Steering Directed Lights” feature is selected, the headlights turn with the direction of the steering wheel.
Setting Name Selectable Options
9
20_DJD2_OM_EN_USC_t.book Page 513
Page 516 of 568

514MULTIMEDIA
Doors & Locks
After pressing the Doors & Locks button on the touchscreen, the following settings will be available:Flash Lights with Lock
OnOff
NOTE:
When the “Flash Lights With Lock” feature is selected, the exterior lamps flash when the doors are locked or unlocked with the key fob. This feature
may be selected with or without the “Sound Horn With Lock” feature selected. Rear Guidance Lights w/ Cargo Lights— If Equipped On
Off
NOTE:
When the “Rear Guidance Lights w/ Cargo Lights” feature is selected, the lights in the cargo and bed of the truck will come on either when the head -
light switch is pressed, or the button on the back bed of the truck is pressed.
Setting Name Selectable Options
Setting NameSelectable Options
Auto Door LocksOn Off
Auto Unlock On Exit OnOff
NOTE:
When the “Auto Unlock On Exit” feature is selected, all doors unlock when the vehicle is stopped, the transmission is in the PARK or NEUTRAL position,
and the driver's door is opened. Flash Lights With Lock OnOff
NOTE:
When the “Flash Lights With Lock” feature is selected, the front and rear turn signals flash when the doors are locked or unlocked with the key fob.
This feature may be selected with or without the “Sound Horn With Lock” feature selected. Sound Horn with Lock — If Equipped Off1st Press 2nd Press
20_DJD2_OM_EN_USC_t.book Page 514
Page 517 of 568

MULTIMEDIA515
Sound Horn With Remote Start OnOff
1st Press Of Key Fob Unlocks Driver Door All Doors
NOTE:
When “1st Press Of Key Fob Unlocks: Driver Door” is programmed, only the driver's door unlocks on the first press of the key fob unlock button.
You must push the key fob unlock button twice to unlock the passengers’ doors.
When “All Doors” is programmed, all of the doors unlock on the first push of the key fob unlock button.
If the vehicle is programmed “1st Press Of Key Fob Unlocks: All Doors”, all doors unlock no matter which Passive Entry equipped door handle is
grasped. If “1st Press Of Key Fob Unlocks: Driver Door” is programmed, only the driver’s door unlocks when the driver’s door is grasped.
With Passive Entry, if “1st Press Of Key Fob Unlocks: Driver Door” is programmed pushing the handle more than once only results in the driver’s
door opening. If “Driver Door” is programmed, once the driver’s door is opened, the interior door lock/unlock switch can be used to unlock all doors
(or use key fob). Passive Entry — If Equipped OnOff
NOTE:
The “Passive Entry” feature allows you to lock and unlock the vehicle’s door(s) without having to push the key fob lock or unlock buttons. Personal Settings Linked To Key Fob — If Equipped On
Off
NOTE:
The “Personal Settings Linked To Key Fob” feature provides automatic driver seat positioning to enhance driver mobility when entering and exiting
the vehicle.
The seats return to the memorized seat location (if “Personal Settings Linked To Key Fob” is set to On) when the key fob is used to unlock the door.
Setting Name Selectable Options
9
20_DJD2_OM_EN_USC_t.book Page 515
Page 528 of 568

526MULTIMEDIA
RADIO MODE
Operating Radio Mode
Radio Mode
The radio is equipped with the following modes:
FM
AM
SiriusXM® Radio – If Equipped
Push the RADIO button on the faceplate, to
enter the Radio Mode. The different tuner
modes – FM/AM/SXM (if equipped) – can then
be selected by pressing the corresponding
buttons on the touchscreen in the Radio mode.
VOLUME/POWER Knob
Rotate the VOLUME/POWER rotary knob to
adjust the Volume. When the audio system is
turned on, the sound will be set at the same
volume level as last played.
Push the VOLUME/POWER button to turn the
system on or off.
MUTE Button
Push the MUTE button to mute the system.
Push the MUTE button again to unmute the
system.
TUNE/SCROLL Control
Turn the rotary TUNE/SCROLL control knob
clockwise to increase or counterclockwise to
decrease the radio station frequency. Push the
ENTER/BROWSE button to choose a selection.
Seek Functions
Seek Up
Press and release the Seek Up button on the
touchscreen to tune the radio to the next
listenable station or channel.
During a Seek Up function, if the radio reaches
the starting station after passing through the
entire band two times, the radio will stop at the
station where it began.
Fast Seek Up
Press and hold the Seek Up button on the
touchscreen to advance the radio through the
available stations or channels at a faster rate.
The radio stops at the next available station or
channel when the button on the touchscreen is
released.
1 — Station Presets
2 — All Presets
3 — Seek Up
4 — Audio
5 — Info
6 — Tune
7 — AM/FM/SXM
8 — Seek Down
20_DJD2_OM_EN_USC_t.book Page 526