Page 134 of 674
132 GETTING TO KNOW YOUR VEHICLE
NOTE:
400 Watts is the maximum for the inverter, not each outlet. If
three outlets are in use, 400 Watts is shared amongst the
devices plugged in.
If equipped, a 115 Volt (400 Watts Maximum) inverter may
be located inside the ram box of your vehicle. The inverter
can be turned on by the Instrument Panel Power Inverter
switch located to the left of the steering wheel. The RamBox
inverter can power cellular phones, electronics and other low
power devices requiring power up to 400 Watts. Certain
high-end video game consoles exceed this power limit, as
will most power tools.
The Instrument Panel Power Inverter switch is only found on
vehicles equipped with a RamBox. The switch only controls
on/off operation of the power outlet in the RamBox; it does
not control on/off operation of the power outlets located
inside the cabin of the vehicle.Ram Box Power Inverter
2020_DT_1500_OM_US.book Page 132
Page 135 of 674
GETTING TO KNOW YOUR VEHICLE 133
Instrument Panel Power Inverter Switch
If equipped with a front bench seat, there may be a 115 Volt
(400 Watts Maximum) inverter located to the right of the
center stack, just below the climate controls. This inverter can
power cellular phones, electronics and other low power
devices requiring power up to 400 Watts. Certain high-end
video game consoles exceed this power limit, as will most
power tools. Center Stack Power Inverter
To turn on the power outlet, simply plug in the device. The
outlet turns off when the device is unplugged.
NOTE:
• The Center Stack Power Inverter is only available on vehi -
cles equipped with a front bench seat.
• The Power Inverter only turns on if the ignition is in the ACC or ON/RUN position.
• Due to built-in overload protection, the power inverter shuts down if the power rating is exceeded.
2
2020_DT_1500_OM_US.book Page 133
Page 136 of 674

134 GETTING TO KNOW YOUR VEHICLE
Wireless Charging Pad — If Equipped
Wireless Charging PadYour vehicle may be equipped with a 15W 3A Qi wireless
charging pad located inside of the center console just below
the CD player (if equipped). This charging pad is designed to
wirelessly charge your Qi enabled mobile phone. Qi is a stan
-
dard that uses magnetic induction to transfer power to your
mobile device.
Your mobile phone must be designed for Qi wireless
charging. If the phone is not equipped with Qi wireless
charging functionality, an aftermarket sleeve or a specialized
back plate can be purchased from your mobile phone
provider or an local electronics retailer. Please see your
phone’s owner’s manual for further information.
The wireless charging pad is equipped with an anti-slip mat,
an adjustable cradle to hold your mobile phone in place and
an LED indicator light.
WARNING!
To avoid serious injury or death:
• Do not insert any objects into the receptacles.
• Do not touch with wet hands.
• Close the lid when not in use.
• If this outlet is mishandled, it may cause an electric shock and failure.
CAUTION!
The key fob should not be placed on the charging pad or
within 15 cm (150 mm) of it. Doing so can cause excessive
heat buildup and damage to the fob. Placing the fob in
close proximity of the charging pad blocks the fob from
being detected by the vehicle and prevents the vehicle
from starting.
2020_DT_1500_OM_US.book Page 134
Page 174 of 674

172 GETTING TO KNOW YOUR INSTRUMENT PANEL
Audio
Push and release the up or down arrow button until the
Audio Menu icon/title is highlighted in the instrument
cluster display. This menu will display the audio source
information, including the Song name, Artist name, and
audio source with an accompanying graphic.
Phone Call Status
When a call is incoming, a Phone Call Status pop-up will
display on the screen. The pop-up will remain until the
phone is answered or ignored.
NOTE:
The call status will temporarily replace the previous media
source information displayed on the screen. When the
pop-up is no longer displayed, the display will return to the
last used screen. Stored Messages
Push and release the
up or down arrow button until the
Messages Menu item is highlighted. This feature shows the
number of stored warning messages. Push and release the
right or left arrow buttons to cycle through stored messages.
Screen Setup
NOTE:
The Screen Setup feature can only be used while the vehicle
is in PARK (P).
Push and release the up or down arrow button until the
Screen Setup Menu Icon/Title is highlighted in the instru-
ment cluster display. Push and release the OK button to
enter the sub-menus and follow the prompts on the screen as
needed. The Screen Setup feature allows you to change what
information is displayed in the instrument cluster as well as
the location that information is displayed.
2020_DT_1500_OM_US.book Page 172
Page 561 of 674

MULTIMEDIA 559
NOTE:
• FCA US LLC or your dealer may contact you directlyregarding software updates.
• To help further improve vehicle security and minimize the potential risk of a security breach, vehicle owners should:
• Routinely check www.driveuconnect.com (U.S. Resi-
dents) or www.driveuconnect.ca (Canadian Residents)
to learn about available Uconnect software updates.
• Only connect and use trusted media devices (e.g. personal mobile phones, USBs, CDs).
Privacy of any wireless and wired communications cannot
be assured. Third parties may unlawfully intercept informa -
tion and private communications without your consent. For
further information, refer to “Data Collection & Privacy” in
your Uconnect Owner’s Manual Supplement or “Onboard
Diagnostic System (OBD II) Cybersecurity” in “Getting To
Know Your Instrument Panel”.UCONNECT SETTINGS
The Uconnect system uses a combination of buttons on the
touchscreen and buttons on the faceplate located on the
center of the instrument panel that allows you to access and
change the customer programmable features. Many features
can vary by vehicle.
Uconnect 3 Settings
Uconnect 3 With 5-inch Display Buttons On The Touchscreen And Buttons On The Faceplate
1 — Uconnect Buttons On The Touchscreen
2 — Uconnect Buttons On The Faceplate
9
2020_DT_1500_OM_US.book Page 559
Page 562 of 674

560 MULTIMEDIA
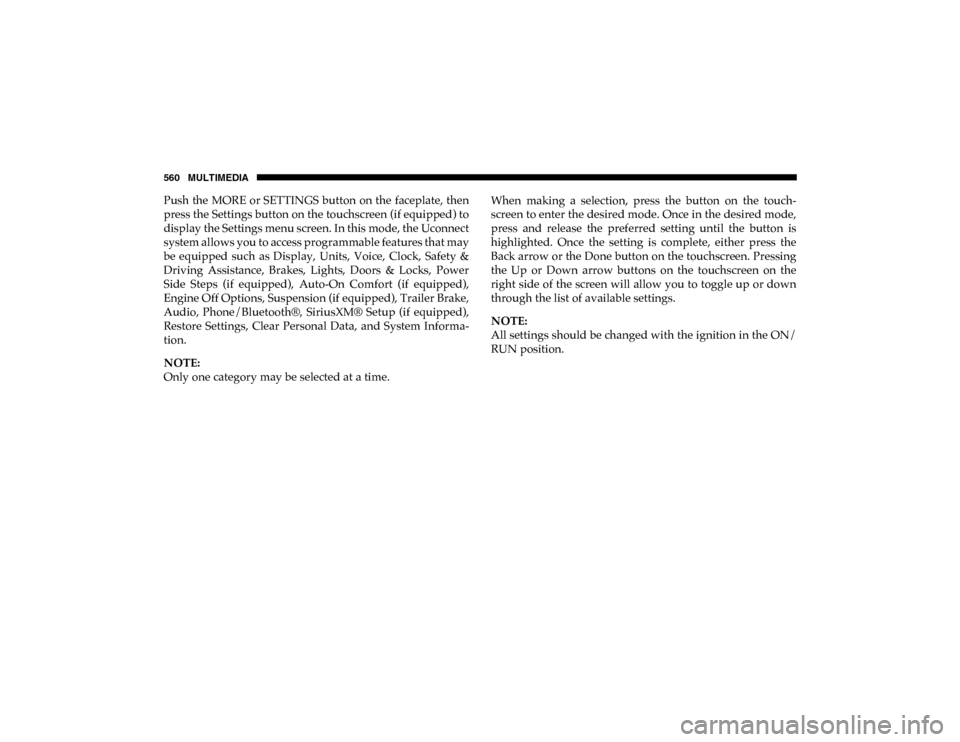
Push the MORE or SETTINGS button on the faceplate, then
press the Settings button on the touchscreen (if equipped) to
display the Settings menu screen. In this mode, the Uconnect
system allows you to access programmable features that may
be equipped such as Display, Units, Voice, Clock, Safety &
Driving Assistance, Brakes, Lights, Doors & Locks, Power
Side Steps (if equipped), Auto-On Comfort (if equipped),
Engine Off Options, Suspension (if equipped), Trailer Brake,
Audio, Phone/Bluetooth®, SiriusXM® Setup (if equipped),
Restore Settings, Clear Personal Data, and System Informa-
tion.
NOTE:
Only one category may be selected at a time. When making a selection, press the button on the touch
-
screen to enter the desired mode. Once in the desired mode,
press and release the preferred setting until the button is
highlighted. Once the setting is complete, either press the
Back arrow or the Done button on the touchscreen. Pressing
the Up or Down arrow buttons on the touchscreen on the
right side of the screen will allow you to toggle up or down
through the list of available settings.
NOTE:
All settings should be changed with the ignition in the ON/
RUN position.
2020_DT_1500_OM_US.book Page 560
Page 575 of 674
MULTIMEDIA 573
Phone/Bluetooth®
After pressing the Phone/Bluetooth® button on the touchscreen, the following settings will be available:AUX Volume Offset
— If Equipped On
Off
NOTE:
The “AUX Volume Offset” feature provides the ability to tune the audio level for portable devices connected through the
AUX input. Loudness — If Equipped On
Off
NOTE:
The “Loudness” feature improves sound quality at lower volumes. Setting Name
Selectable Options
Setting NameSelectable Options
Paired Phones List of Paired Phones
NOTE:
The “Paired Phones” feature shows which phones are paired to the Phone/Bluetooth® system. For further information, refer
to the Uconnect Owner’s Manual Supplement.
9
2020_DT_1500_OM_US.book Page 573
Page 578 of 674

576 MULTIMEDIA
Uconnect 4/4C/4C NAV Settings
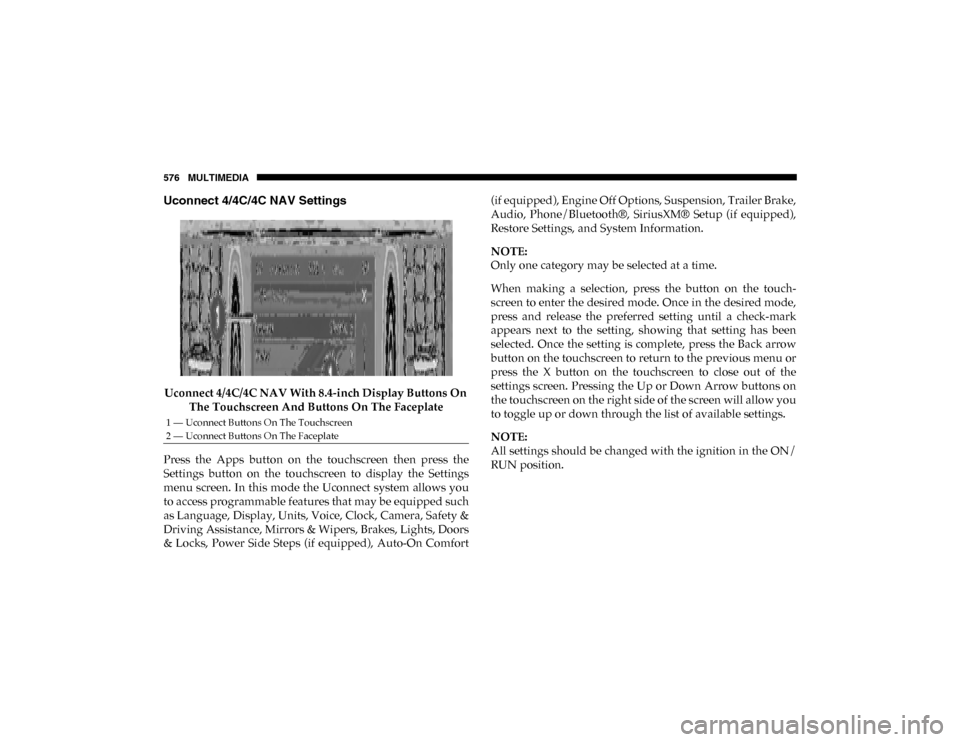
Uconnect 4/4C/4C NAV With 8.4-inch Display Buttons On The Touchscreen And Buttons On The Faceplate
Press the Apps button on the touchscreen then press the
Settings button on the touchscreen to display the Settings
menu screen. In this mode the Uconnect system allows you
to access programmable features that may be equipped such
as Language, Display, Units, Voice, Clock, Camera, Safety &
Driving Assistance, Mirrors & Wipers, Brakes, Lights, Doors
& Locks, Power Side Steps (if equipped), Auto-On Comfort (if equipped), Engine Off Options, Suspension, Trailer Brake,
Audio, Phone/Bluetooth®, SiriusXM® Setup (if equipped),
Restore Settings, and System Information.
NOTE:
Only one category may be selected at a time.
When making a selection, press the button on the touch
-
screen to enter the desired mode. Once in the desired mode,
press and release the preferred setting until a check-mark
appears next to the setting, showing that setting has been
selected. Once the setting is complete, press the Back arrow
button on the touchscreen to return to the previous menu or
press the X button on the touchscreen to close out of the
settings screen. Pressing the Up or Down Arrow buttons on
the touchscreen on the right side of the screen will allow you
to toggle up or down through the list of available settings.
NOTE:
All settings should be changed with the ignition in the ON/
RUN position.
1 — Uconnect Buttons On The Touchscreen
2 — Uconnect Buttons On The Faceplate
2020_DT_1500_OM_US.book Page 576