2020 PEUGEOT 5008 brake
[x] Cancel search: brakePage 150 of 308
148
Driving
Malfunction
In the event of a fault with the system, you
are alerted by the fixed illumination of this
warning lamp, accompanied by the display of a
message and an audible signal.
Contact a PEUGEOT dealer or a qualified
workshop to have the system checked.
Distraction detection
Refer to the General recommendations on the
use of driving and manoeuvring aids .
Take a break in case of feeling tired or at least
every 2 hours.
Depending on version, the function comprises
either the "Driver Attention Alert" system alone
or combined with the "Driver Attention Alert by
camera" system.
These systems are in no way designed to keep the driver awake or to prevent
the driver from falling asleep at the wheel.
It is the driver’s responsibility to stop if feeling
tired.
Activation / Deactivation
It is set via the vehicle
configuration menu.
The state of the system stays in the memory
when the ignition is switched off.
Operation
Depending on the degree of risk of collision
detected by the system and the alert threshold
chosen by the driver, several different levels
of alert may be triggered and displayed in the
instrument panel.
They take account of the vehicle dynamics, the
speed of your vehicle and the one in front, the
environmental conditions and the operation of
the vehicle (cornering, actions on the pedals,
etc.) to trigger the alert at the best moment.
Level 1 (orange): visual alert only,
signalling that the vehicle in front is very
close.
The message "
Vehicle close" is displayed.
Level 2 (red): visual and audible alert,
signalling that a collision is imminent.
The message "
Brake!" is displayed.
Where the speed of your vehicle is too
high approaching another vehicle, the
first level of alert may not be displayed: the
level 2 alert may be displayed directly.
Important: the level
1 alert is never displayed
for a stationary obstacle or when the " Close"
trigger threshold has been selected.
Intelligent emergency
braking assistance
If the driver brakes, but not sufficiently to avoid a
collision, this system will supplement the braking,
within the limits of the laws of physics. This assistance will only be provided if the driver
presses the brake pedal.
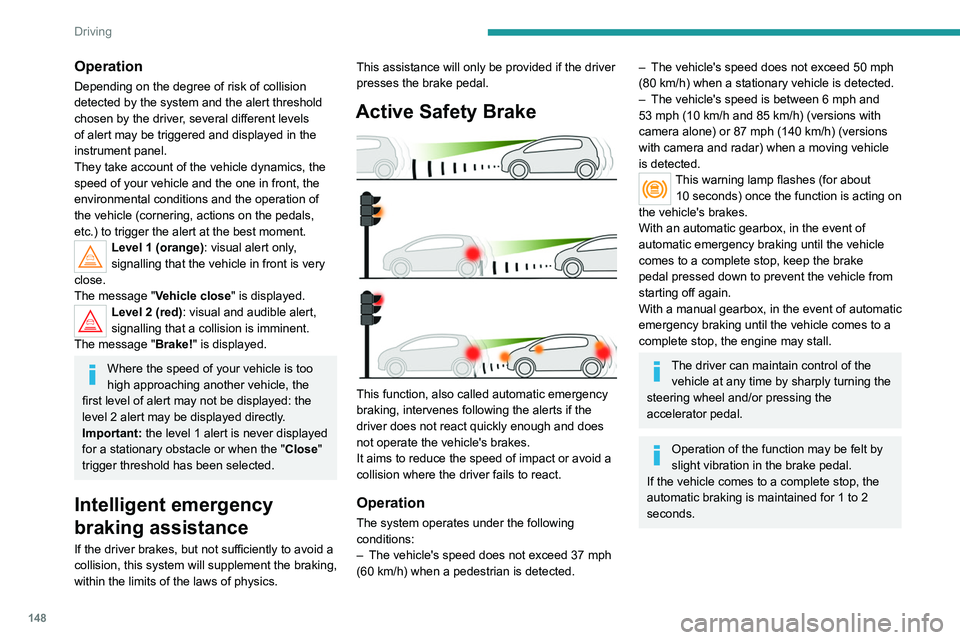
Active Safety Brake
This function, also called automatic emergency
braking, intervenes following the alerts if the
driver does not react quickly enough and does
not operate the vehicle's brakes.
It aims to reduce the speed of impact or avoid a
collision where the driver fails to react.
Operation
The system operates under the following
conditions:
–
The vehicle's speed does not exceed 37 mph
(60 km/h) when a pedestrian is detected.
– The vehicle's speed does not exceed 50 mph
(80 km/h) when a stationary vehicle is detected.
–
The vehicle's speed is between 6 mph and
53 mph (10
km/h and 85 km/h) (versions with
camera alone) or 87 mph (140 km/h) (versions
with camera and radar) when a moving vehicle
is detected.
This warning lamp flashes (for about 10 seconds) once the function is acting on
the vehicle's brakes.
With an automatic gearbox, in the event of
automatic emergency braking until the vehicle
comes to a complete stop, keep the brake
pedal pressed down to prevent the vehicle from
starting off again.
With a manual gearbox, in the event of automatic
emergency braking until the vehicle comes to a
complete stop, the engine may stall.
The driver can maintain control of the vehicle at any time by sharply turning the
steering wheel and/or pressing the
accelerator pedal.
Operation of the function may be felt by
slight vibration in the brake pedal.
If the vehicle comes to a complete stop, the
automatic braking is maintained for 1 to 2
seconds.
Page 152 of 308
150
Driving
Operation
Once the system identifies a risk of the vehicle
involuntarily crossing one of the lane markings
detected, it makes the correction to the trajectory
required to return the vehicle to its initial path.
The driver will notice a turning movement of the
steering wheel.
This warning lamp flashes during trajectory correction.
The driver can prevent the correction by keeping a firm grip on the wheel (during
an avoiding manoeuvre, for example).
The correction is interrupted if the direction
indicators are operated.
Driving situations and related alerts
To receive all the necessary information on the instrument panel, first select the " DRIVING" display mode.
The table below describes the alerts and messages displayed in different driving situations.
These alerts are not displayed sequentially.
Function status Indicator lamp Display and/or associated
messageComments
OFF
(grey)
Function deactivated.
The following situations may interfere
with the operation of the system or
prevent it from working:
–
lane markings absent, worn, hidden (snow
,
mud) or multiple (roadworks);
–
close to the vehicle ahead (lane markings
not detected);
–
roads that are narrow
, winding, etc.
Lane Departure Warning
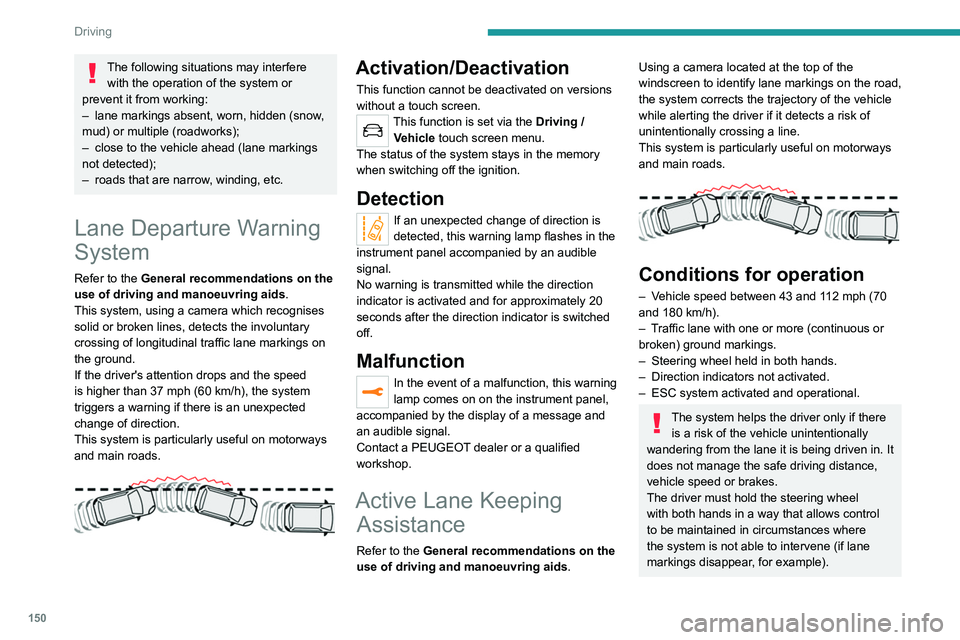
System
Refer to the General recommendations on the
use of driving and manoeuvring aids .
This system, using a camera which recognises
solid or broken lines, detects the involuntary
crossing of longitudinal traffic lane markings on
the ground.
If the driver's attention drops and the speed
is higher than 37 mph (60
km/h), the system
triggers a warning if there is an unexpected
change of direction.
This system is particularly useful on motorways
and main roads.
Activation/Deactivation
This function cannot be deactivated on versions
without a touch screen.
This function is set via the Driving /
V ehicle touch screen menu.
The status of the system stays in the memory
when switching off the ignition.
Detection
If an unexpected change of direction is
detected, this warning lamp flashes in the
instrument panel accompanied by an audible
signal.
No warning is transmitted while the direction
indicator is activated and for approximately 20
seconds after the direction indicator is switched
off.
Malfunction
In the event of a malfunction, this warning
lamp comes on on the instrument panel,
accompanied by the display of a message and
an audible signal.
Contact a PEUGEOT dealer or a qualified
workshop.
Active Lane Keeping Assistance
Refer to the General recommendations on the
use of driving and manoeuvring aids .
Using a camera located at the top of the
windscreen to identify lane markings on the road,
the system corrects the trajectory of the vehicle
while alerting the driver if it detects a risk of
unintentionally crossing a line.
This system is particularly useful on motorways
and main roads.
Conditions for operation
– Vehicle speed between 43 and 112 mph (70
and 180
km/h).
–
T
raffic lane with one or more (continuous or
broken) ground markings.
–
Steering wheel held in both hands.
–
Direction indicators not activated.
–
ESC system activated and operational.
The system helps the driver only if there is a risk of the vehicle unintentionally
wandering from the lane it is being driven in. It
does not manage the safe driving distance,
vehicle speed or brakes.
The driver must hold the steering wheel
with both hands in a way that allows control
to be maintained in circumstances where
the system is not able to intervene (if lane
markings disappear, for example).
Page 154 of 308
152
Driving
Operating limits
The system goes into standby automatically in
the following cases:
– ESC deactivated or operation triggered.
– Speed below 43 mph (70 km/h) or greater
than 112 mph (180 km/h),
– Electrical connection of a trailer.
– Use of a"space-saver" spare wheel detected
(as detection is not immediate, deactivation of
the system is recommended).
– Dynamic driving style detected, pressure on
the brake or accelerator pedal.
– Driving where there are no lane markings.
– Activation of the direction indicators.
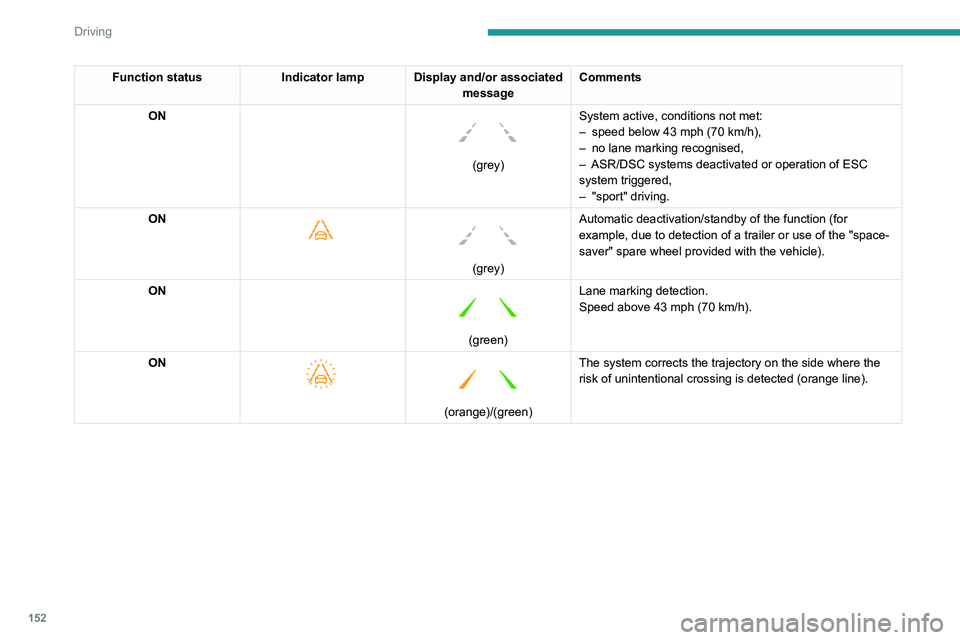
Function status Indicator lamp Display and/or associated
messageComments
ON
(grey) System active, conditions not met:
–
speed below 43 mph (70
km/h),
–
no lane marking recognised,
–
ASR/DSC systems deactivated or operation of ESC
system triggered,
–
"sport" driving.
ON
(grey)
Automatic deactivation/standby of the function (for
example, due to detection of a trailer or use of the "space-
saver" spare wheel provided with the vehicle).
ON
(green) Lane marking detection.
Speed above 43 mph (70
km/h).
ON
(orange)/(green)
The system corrects the trajectory on the side where the
risk of unintentional crossing is detected (orange line).
Page 155 of 308
153
Driving
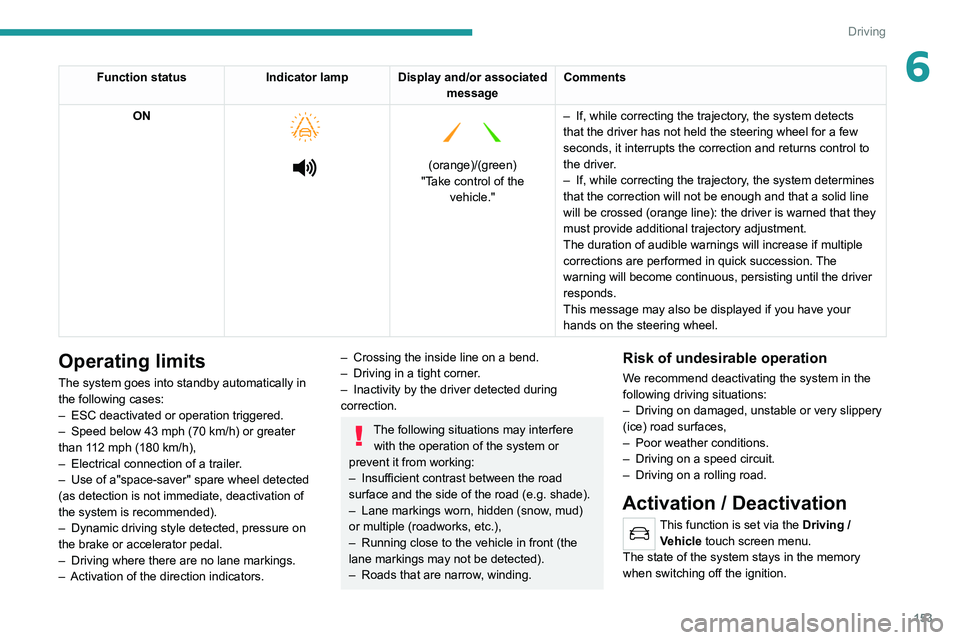
6Function statusIndicator lamp Display and/or associated
messageComments
ON
(orange)/(green)
"Take control of the vehicle." –
If, while correcting the trajectory
, the system detects
that the driver has not held the steering wheel for a few
seconds, it interrupts the correction and returns control to
the driver.
– If, while correcting the trajectory , the system determines
that the correction will not be enough and that a solid line
will be crossed (orange line): the driver is warned that they
must provide additional trajectory adjustment.
The duration of audible warnings will increase if multiple
corrections are performed in quick succession. The
warning will become continuous, persisting until the driver
responds.
This message may also be displayed if you have your
hands on the steering wheel.
Operating limits
The system goes into standby automatically in
the following cases:
–
ESC deactivated or operation triggered.
–
Speed below 43 mph (70
km/h) or greater
than 112 mph (180
km/h),
–
Electrical connection of a trailer
.
–
Use of a"space-saver" spare wheel detected
(as detection is not immediate, deactivation of
the system is recommended).
–
Dynamic driving style detected, pressure on
the brake or accelerator pedal.
–
Driving where there are no lane markings.
–
Activation of the direction indicators.
– Crossing the inside line on a bend.
– Driving in a tight corner .
–
Inactivity by the driver detected during
correction.
The following situations may interfere with the operation of the system or
prevent it from working:
–
Insufficient contrast between the road
surface and the side of the road (e.g. shade).
–
Lane markings worn, hidden (snow
, mud)
or multiple (roadworks, etc.),
–
Running close to the vehicle in front (the
lane markings may not be detected).
–
Roads that are narrow
, winding.
Risk of undesirable operation
We recommend deactivating the system in the
following driving situations:
–
Driving on damaged, unstable or very slippery
(ice) road surfaces,
–
Poor weather conditions.
–
Driving on a speed circuit.
–
Driving on a rolling road.
Activation / Deactivation
This function is set via the Driving /
V ehicle touch screen menu.
The state of the system stays in the memory
when switching off the ignition.
Page 163 of 308

161
Driving
6180° view
The 180° view assists with exiting from a parking
space in forward gear, making it possible to
see the approach of vehicles, pedestrians and
cyclists.
This view is not recommended for carrying out a
complete manoeuvre.
It consists of 3 areas: left A, centre B and right
C.
This view is available only from the view
selection menu.
Park Assist
Refer to the General recommendations on the
use of driving and manoeuvring aids .
This system provides active parking assistance:
it detects a parking space then operates the
steering system to park in this space.
With a
manual gearbox, the driver manages the
accelerator, brakes, gears and clutch.
With an automatic gearbox (EAT6/EAT8), the
driver manages the accelerator, brakes and
gears.
During phases of entry into and exit from a
parking space, the system provides visual and
audible information to the driver in order to make
the manoeuvres safe. Several forward and
reverse manoeuvres may be required.
At any time, the driver can take back control by
holding the steering wheel.
The Park Assist system provides assistance for
the following manoeuvres:
A. Entry into a "parallel" parking space
B. Exit from a "parallel" parking space
C. Entry into a "bay" parking space
The Park Assist system cannot operate
with the engine switched off.
When Park Assist is activated, it prevents
Stop & Start from going into STOP mode. In
STOP mode, activation of Park Assist restarts
the engine.
The Park Assist system takes control of the steering for a maximum of 4
manoeuvring cycles. It is deactivated after
these 4 cycles. If the vehicle is not positioned
correctly, take back control to complete the
manoeuvre.
The sequence of manoeuvres and the driving instructions are displayed in the
instrument panel.
The assistance is activated: the display of this symbol and a speed limit
indicate that the steering manoeuvres are
controlled by the system: do not touch the
steering wheel.
The assistance is deactivated: the display of this symbol indicates that the
steering manoeuvres are no longer controlled
by the system: take over the steering.
Activation of Park Assist deactivates the Blind Spot Monitoring System.
The Parking sensors function is not available during parking space
measurement. It intervenes later when
manoeuvring to warn that the vehicle is
approaching an obstacle: the audible signal
Page 179 of 308
177
Practical information
7Fitting directly to the roof
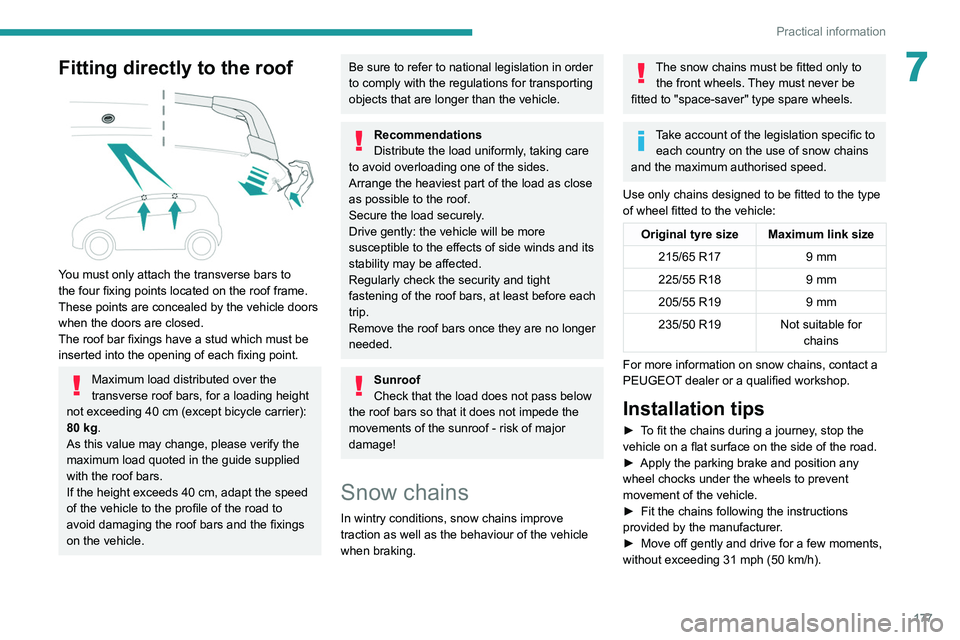
You must only attach the transverse bars to
the four fixing points located on the roof frame.
These points are concealed by the vehicle doors
when the doors are closed.
The roof bar fixings have a stud which must be
inserted into the opening of each fixing point.
Maximum load distributed over the
transverse roof bars, for a loading height
not exceeding 40 cm (except bicycle carrier):
80 kg.
As this value may change, please verify the
maximum load quoted in the guide supplied
with the roof bars.
If the height exceeds 40 cm, adapt the speed
of the vehicle to the profile of the road to
avoid damaging the roof bars and the fixings
on the vehicle.
Be sure to refer to national legislation in order
to comply with the regulations for transporting
objects that are longer than the vehicle.
Recommendations
Distribute the load uniformly, taking care
to avoid overloading one of the sides.
Arrange the heaviest part of the load as close
as possible to the roof.
Secure the load securely.
Drive gently: the vehicle will be more
susceptible to the effects of side winds and its
stability may be affected.
Regularly check the security and tight
fastening of the roof bars, at least before each
trip.
Remove the roof bars once they are no longer
needed.
Sunroof
Check that the load does not pass below
the roof bars so that it does not impede the
movements of the sunroof - risk of major
damage!
Snow chains
In wintry conditions, snow chains improve
traction as well as the behaviour of the vehicle
when braking.
The snow chains must be fitted only to the front wheels. They must never be
fitted to "space-saver" type spare wheels.
Take account of the legislation specific to each country on the use of snow chains
and the maximum authorised speed.
Use only chains designed to be fitted to the type
of wheel fitted to the vehicle:
Original tyre size Maximum link size 215/65 R17 9 mm
225/55 R18 9 mm
205/55 R19 9 mm
235/50 R19 Not suitable for
chains
For more information on snow chains, contact a
PEUGEOT dealer or a qualified workshop.
Installation tips
► To fit the chains during a journey, stop the
vehicle on a flat surface on the side of the road.
►
Apply the parking brake and position any
wheel chocks under the wheels to prevent
movement of the vehicle.
►
Fit the chains following the instructions
provided by the manufacturer
.
►
Move off gently and drive for a few moments,
without exceeding 31
mph (50 km/h).
Page 182 of 308
180
Practical information
8.Engine oil filler cap
9. Engine oil dipstick
10. Priming pump*
11 . Degassing screw*
The Diesel fuel system operates under
very high pressure.
All work on this circuit must be carried out
only by a PEUGEOT dealer or a qualified
workshop.
Checking levels
Check all of the following levels regularly in
accordance with the manufacturer's service
schedule. Top them up if required, unless
otherwise indicated.
If a level drops significantly, have the
corresponding system checked by a PEUGEOT
dealer or a qualified workshop.
The fluids must comply with the manufacturer's requirements and with
the vehicle's engine.
Take care when working under the bonnet, as certain areas of the engine
may be extremely hot (risk of burns) and the
cooling fan could start at any time (even with
the ignition off).
* Depending on engine.
Take care with objects or clothing that
could be caught in the blades of the fan!
Opening
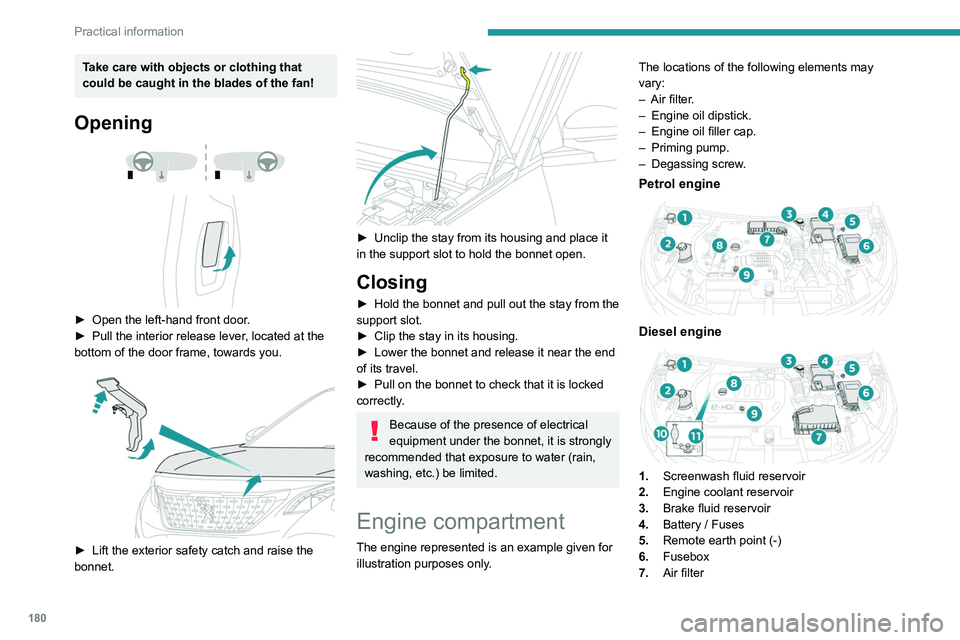
► Open the left-hand front door .
► Pull the interior release lever , located at the
bottom of the door frame, towards you.
► Lift the exterior safety catch and raise the
bonnet.
► Unclip the stay from its housing and place it
in the support slot to hold the bonnet open.
Closing
► Hold the bonnet and pull out the stay from the
support slot.
►
Clip the stay in its housing.
►
Lower the bonnet and release it near the end
of its travel.
►
Pull on the bonnet to check that it is locked
correctly
.
Because of the presence of electrical
equipment under the bonnet, it is strongly
recommended that exposure to water (rain,
washing, etc.) be limited.
Engine compartment
The engine represented is an example given for
illustration purposes only. The locations of the following elements may
vary:
–
Air filter
.
–
Engine oil dipstick.
–
Engine oil filler cap.
–
Priming pump.
–
Degassing screw
.
Petrol engine
Diesel engine
1.
Screenwash fluid reservoir
2. Engine coolant reservoir
3. Brake fluid reservoir
4. Battery / Fuses
5. Remote earth point (-)
6. Fusebox
7. Air filter
Page 184 of 308
182
Practical information
For more information on the Indicators and in
particular the AdBlue range indicators, refer to
the corresponding section.
To avoid the vehicle being immobilised in
accordance with regulations, you must top up the
AdBlue tank.
For more information on AdBlue
® (BlueHDi),
and in particular the supply of AdBlue, refer to
the corresponding section.
Checks
Unless otherwise indicated, check these
components in accordance with the
manufacturer's service schedule and according
to your engine.
Otherwise, have them checked by a PEUGEOT
dealer or a qualified workshop.
Only use products recommended by
PEUGEOT or products of equivalent
quality and specification.
In order to optimise the operation of
components as important as those in the
braking system, PEUGEOT selects and offers
very specific products.
12 V battery
The battery does not require any maintenance.
However, check regularly that the terminals
are correctly tightened (versions without quick
(or available from your PEUGEOT dealer and
qualified workshops).
Use of non-recommended oil may invalidate
the contractual warranty in the event of
engine failure.
Topping up the engine oil level
For the location of the engine oil filler cap, please
refer to the corresponding under-bonnet engine
compartment illustration.
►
Add oil in small quantities, avoiding any spills
on engine components (risk of fire).
►
W
ait a few minutes before checking the level
again using the dipstick.
►
T
op up the level if necessary.
►
After checking the level, carefully screw the
oil filler cap back on
and replace the dipstick in
its tube.
Within 30 minutes of adding oil, the oil
level indication in the instrument panel
when the ignition is switched on is not valid.
Brake fluid
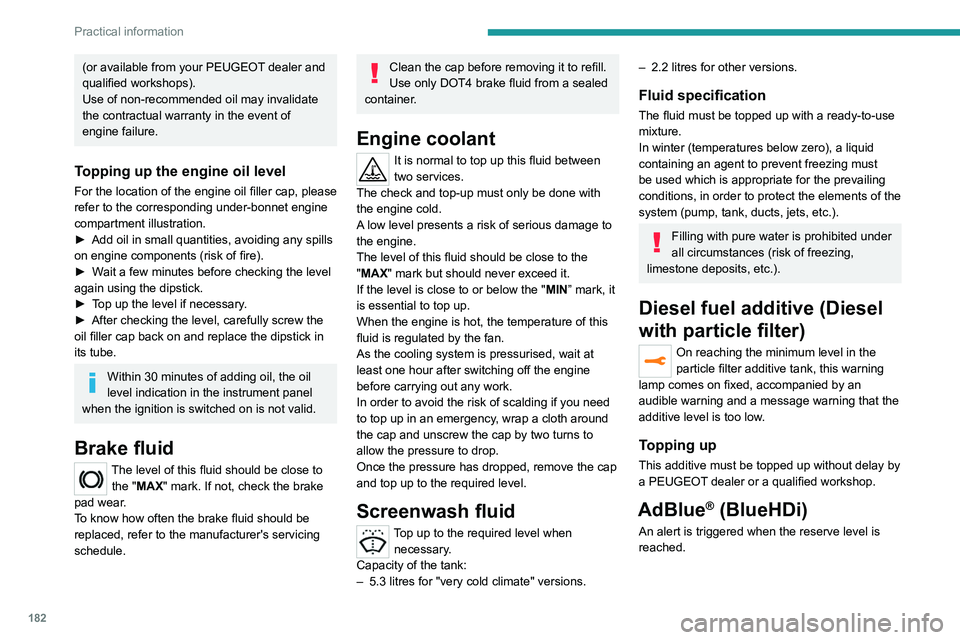
The level of this fluid should be close to the "MAX" mark. If not, check the brake
pad wear.
To know how often the brake fluid should be
replaced, refer to the manufacturer's servicing
schedule.
Clean the cap before removing it to refill.
Use only DOT4 brake fluid from a sealed
container.
Engine coolant
It is normal to top up this fluid between
two services.
The check and top-up must only be done with
the engine cold.
A low level presents a risk of serious damage to
the engine.
The level of this fluid should be close to the
"MAX" mark but should never exceed it.
If the level is close to or below the " MIN” mark, it
is essential to top up.
When the engine is hot, the temperature of this
fluid is regulated by the fan.
As the cooling system is pressurised, wait at
least one hour after switching off the engine
before carrying out any work.
In order to avoid the risk of scalding if you need
to top up in an emergency, wrap a cloth around
the cap and unscrew the cap by two turns to
allow the pressure to drop.
Once the pressure has dropped, remove the cap
and top up to the required level.
Screenwash fluid
Top up to the required level when necessary.
Capacity of the tank:
–
5.3 litres for "very cold climate" versions.
– 2.2 litres for other versions.
Fluid specification
The fluid must be topped up with a ready-to-use
mixture.
In winter (temperatures below zero), a liquid
containing an agent to prevent freezing must
be used which is appropriate for the prevailing
conditions, in order to protect the elements of the
system (pump, tank, ducts, jets, etc.).
Filling with pure water is prohibited under
all circumstances (risk of freezing,
limestone deposits, etc.).
Diesel fuel additive (Diesel
with particle filter)
On reaching the minimum level in the
particle filter additive tank, this warning
lamp comes on fixed, accompanied by an
audible warning and a message warning that the
additive level is too low.
Topping up
This additive must be topped up without delay by
a PEUGEOT dealer or a qualified workshop.
AdBlue® (BlueHDi)
An alert is triggered when the reserve level is
reached.