2020 PEUGEOT 5008 fuel
[x] Cancel search: fuelPage 30 of 308
28
Access
Remote control / Key
Remote control function
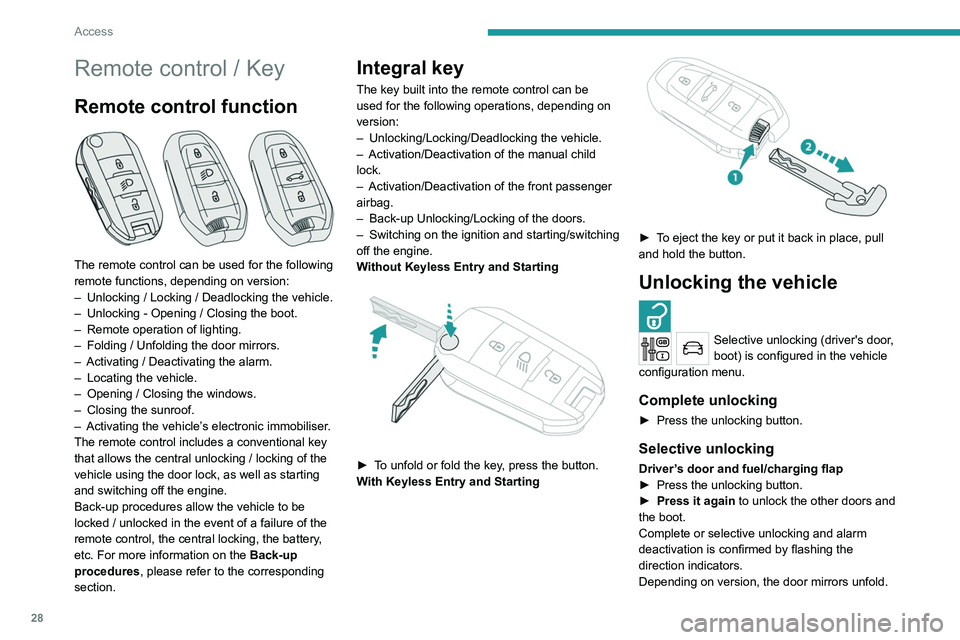
The remote control can be used for the following
remote functions, depending on version:
–
Unlocking / Locking / Deadlocking the vehicle.
–
Unlocking - Opening / Closing the boot.
–
Remote operation of lighting.
–
Folding / Unfolding the door mirrors.
–
Activating / Deactivating the alarm.
–
Locating the vehicle.
–
Opening / Closing the windows.
–
Closing the sunroof.
–
Activating the vehicle’
s electronic immobiliser.
The remote control includes a conventional key
that allows the central unlocking / locking of the
vehicle using the door lock, as well as starting
and switching off the engine.
Back-up procedures allow the vehicle to be
locked / unlocked in the event of a failure of the
remote control, the central locking, the battery,
etc. For more information on the Back-up
procedures, please refer to the corresponding
section.
Integral key
The key built into the remote control can be
used for the following operations, depending on
version:
–
Unlocking/Locking/Deadlocking the vehicle.
–
Activation/Deactivation of the manual child
lock.
–
Activation/Deactivation of the front passenger
airbag.
–
Back-up Unlocking/Locking of the doors.
–
Switching on the ignition and starting/switching
off the engine.
W
ithout Keyless Entry and Starting
► To unfold or fold the key, press the button.
With Keyless Entry and Starting
► To eject the key or put it back in place, pull
and hold the button.
Unlocking the vehicle
Selective unlocking (driver's door,
boot) is configured in the vehicle
configuration menu.
Complete unlocking
► Press the unlocking button.
Selective unlocking
Driver’s door and fuel/charging flap
► Press the unlocking button.
►
Press it again
to unlock the other doors and
the boot.
Complete or selective unlocking and alarm
deactivation is confirmed by flashing the
direction indicators.
Depending on version, the door mirrors unfold.
Selective unlocking and opening of
the tailgate
By default, selective unlocking of the tailgate
is deactivated and its motorised operation is
activated.
► Press and hold this button to unlock
the boot and trigger the motorised
opening of the tailgate.
The doors and fuel filler flap remain locked.
If selective unlocking of the tailgate is
deactivated, pressing the button unlocks
the whole vehicle.
If motorised operation of the tailgate is
deactivated, pressing the button releases
the tailgate.
To lock the vehicle, it is necessary to close
the tailgate again.
Locking the vehicle
Normal locking
► Press the locking button.
The locking, and the activation of the alarm
depending on version, is confirmed by the
lighting of the direction indicators.
Depending on version, the door mirrors fold.
Page 31 of 308
29
Access
2Selective unlocking and opening of
the tailgate
By default, selective unlocking of the tailgate
is deactivated and its motorised operation is
activated.
► Press and hold this button to unlock
the boot and trigger the motorised
opening of the tailgate.
The doors and fuel filler flap remain locked.
If selective unlocking of the tailgate is
deactivated, pressing the button unlocks
the whole vehicle.
If motorised operation of the tailgate is
deactivated, pressing the button releases
the tailgate.
To lock the vehicle, it is necessary to close
the tailgate again.
Locking the vehicle
Normal locking
► Press the locking button.
The locking, and the activation of the alarm
depending on version, is confirmed by the
lighting of the direction indicators.
Depending on version, the door mirrors fold.
An access (door or boot) that is not properly closed prevents locking of the
vehicle. However, if the vehicle has an alarm,
it will be activated after 45
seconds.
If the vehicle is unlocked and there is no
action at the doors or boot, the vehicle will
automatically lock itself again after about
30
seconds. If the vehicle has an alarm, it will
also be reactivated automatically.
Deadlocking
► Press the locking button again within
5 seconds to deadlock the vehicle (confirmed by
the temporary lighting of the direction indicators).
Deadlocking renders the interior door
controls inoperative. It also deactivates
the central locking button.
The horn remains operational.
Never leave anyone inside the vehicle
when it is deadlocked.
Closing the windows
Holding the locking button pressed for
more than 3 seconds closes the windows.
When closing the windows, ensure that
no person or object could prevent their
correct closure.
To leave the windows partly open on versions
with alarm, you must first deactivate the
interior volumetric alarm protection.
For more information on the Alarm, refer to
the corresponding section.
Locating the vehicle
This function helps you to spot your vehicle from
a distance, with the vehicle locked:
–
The direction indicators flash for approximately
10 seconds.
–
The door mirror spotlamps come on.
–
The courtesy lamps come on.
► Press this button.
Remote lighting of the
lamps
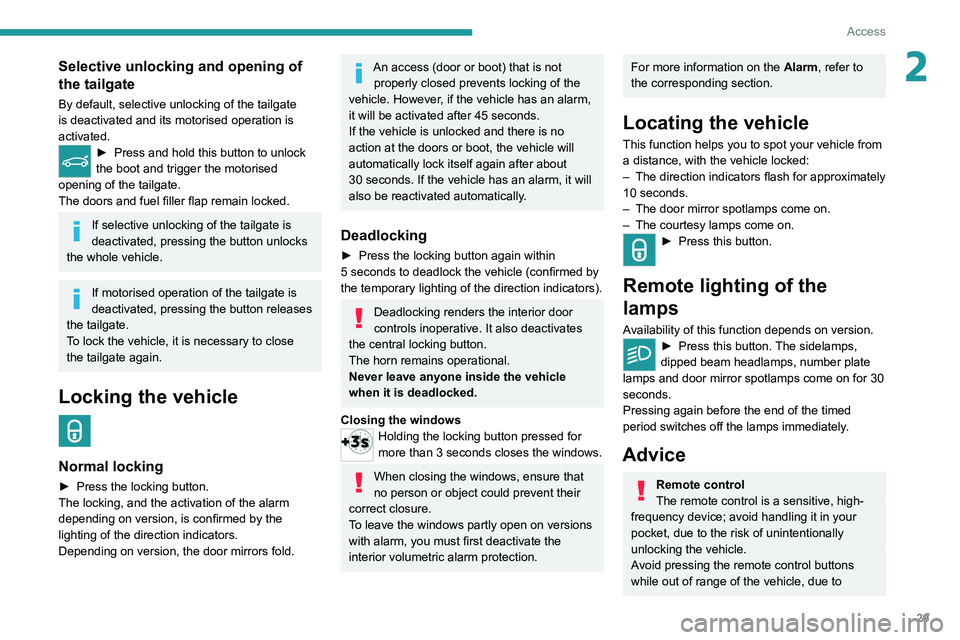
Availability of this function depends on version.► Press this button. The sidelamps,
dipped beam headlamps, number plate
lamps and door mirror spotlamps come on for 30
seconds.
Pressing again before the end of the timed
period switches off the lamps immediately.
Advice
Remote control
The remote control is a sensitive, high-
frequency device; avoid handling it in your
pocket, due to the risk of unintentionally
unlocking the vehicle.
Avoid pressing the remote control buttons
while out of range of the vehicle, due to
Page 32 of 308
30
Access
the risk of rendering the remote control
inoperative. It would then be necessary to
reset it.
The remote control does not work when the
key is in the ignition switch, even when the
ignition is switched off.
Anti-theft protection
Do not modify the electronic vehicle
immobiliser, as this might result in
malfunctions.
For vehicles with a key ignition switch,
remember to remove the key and turn the
steering wheel to engage the steering lock.
Locking the vehicle
Driving with the doors locked could make
it more difficult for the emergency services to
enter the vehicle in an emergency.
As a safety precaution, remove the key from
the ignition or take the electronic key with you
when leaving the vehicle, even for a short
time.
Purchasing a second-hand vehicle
Have the key codes memorised by a
PEUGEOT dealer, to ensure that the keys
in your possession are the only ones able to
start the vehicle.
Keyless Entry and
Starting
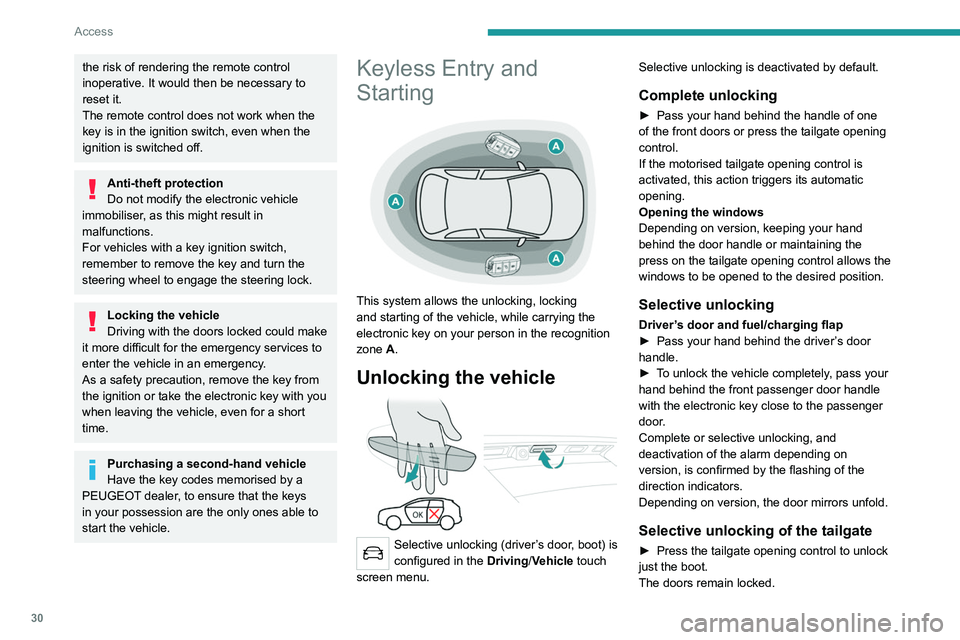
This system allows the unlocking, locking
and starting of the vehicle, while carrying the
electronic key on your person in the recognition
zone A.
Unlocking the vehicle
Selective unlocking (driver’s door, boot) is
configured in the Driving/Vehicle touch
screen menu. Selective unlocking is deactivated by default.
Complete unlocking
► Pass your hand behind the handle of one
of the front doors or press the tailgate opening
control.
If the motorised tailgate opening control is
activated, this action triggers its automatic
opening.
Opening the windows
Depending on version, keeping your hand
behind the door handle or maintaining the
press on the tailgate opening control allows the
windows to be opened to the desired position.
Selective unlocking
Driver’s door and fuel/charging flap
► Pass your hand behind the driver ’s door
handle.
►
T
o unlock the vehicle completely, pass your
hand behind the front passenger door handle
with the electronic key close to the passenger
door.
Complete or selective unlocking, and
deactivation of the alarm
depending on
version,
is confirmed by the flashing of the
direction indicators.
Depending on version, the door mirrors unfold.
Selective unlocking of the tailgate
► Press the tailgate opening control to unlock
just the boot.
The doors remain locked.
If selective unlocking of the tailgate is
deactivated, pressing this control also
unlocks the doors.
Locking the vehicle
Normal locking
► Press the handle on one of the front doors
(at the markings) or the locking control on the
tailgate.
It is not possible to lock the vehicle if one of the
electronic keys is left inside the vehicle.
Closing the windows and sunroof
Maintaining pressure on the door handle or
the tailgate control allows the windows and,
depending on version, the sunroof to be closed
to the desired position.
This operation also closes the sunroof blind.
Page 50 of 308
48
Ease of use and comfort
► Enter the vehicle and switch the ignition on.
► Adjust your seat and the door mirrors.
►
Press button
M, then press button 1 or 2
within 4 seconds.
An audible signal confirms the memorisation.
Memorising a new position cancels the previous
position.
Recalling a stored position
Ignition on or engine running
► Press button 1 or 2 to recall the
corresponding position.
An audible signal sounds when the adjustment
is finished.
You can interrupt the current movement by
pressing button M, 1 or 2 or by using one of the
seat adjustment controls.
A stored position cannot be recalled while
driving.
Recalling stored positions is deactivated 45
seconds after switching off the ignition.
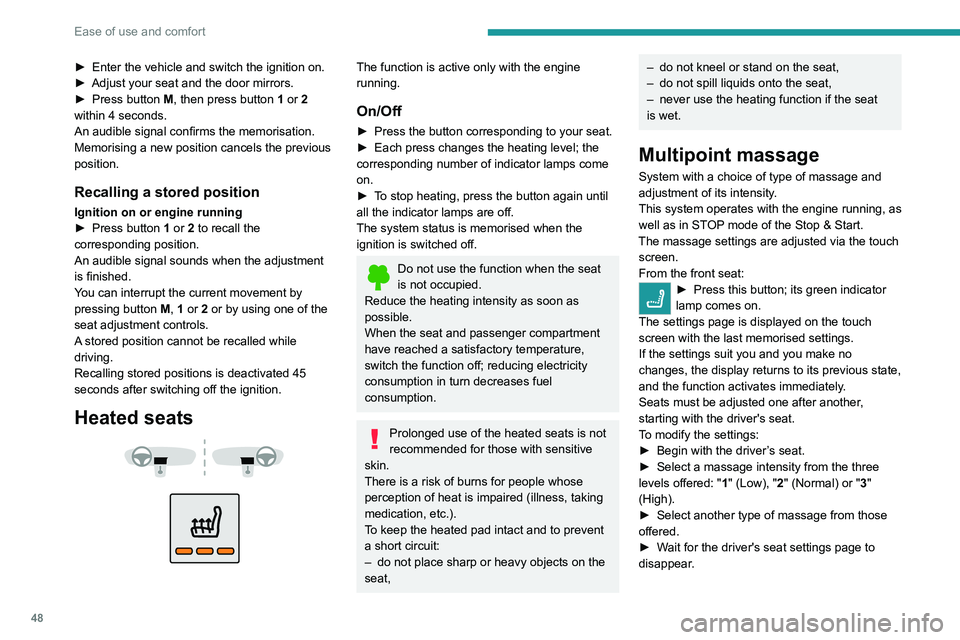
Heated seats
The function is active only with the engine
running.
On/Off
► Press the button corresponding to your seat.
► Each press changes the heating level; the
corresponding number of indicator lamps come
on.
►
T
o stop heating, press the button again until
all the indicator lamps are off.
The system status is memorised when the
ignition is switched off.
Do not use the function when the seat
is not occupied.
Reduce the heating intensity as soon as
possible.
When the seat and passenger compartment
have reached a satisfactory temperature,
switch the function off; reducing electricity
consumption in turn decreases fuel
consumption.
Prolonged use of the heated seats is not
recommended for those with sensitive
skin.
There is a risk of burns for people whose
perception of heat is impaired (illness, taking
medication, etc.).
To keep the heated pad intact and to prevent
a short circuit:
–
do not place sharp or heavy objects on the
seat,
– do not kneel or stand on the seat,
– do not spill liquids onto the seat,
–
never use the heating function if the seat
is wet.
Multipoint massage
System with a choice of type of massage and
adjustment of its intensity.
This system operates with the engine running, as
well as in STOP mode of the
Stop & Start.
The massage settings are adjusted via the touch screen.
From the front seat:
► Press this button; its green indicator
lamp comes on.
The settings page is displayed on the touch
screen with the last memorised settings.
If the settings suit you and you make no
changes, the display returns to its previous state,
and the function activates immediately
.
Seats must be adjusted one after another,
starting with the driver's seat.
To modify the settings:
►
Begin with the driver
’s seat.
►
Select a massage intensity from the three
levels offered: " 1
" (Low), "2" (Normal) or "3"
(High).
►
Select another type of massage from those
offered.
►
W
ait for the driver's seat settings page to
disappear.
► Next, proceed with the passenger's seat in
the same way.
The changes are applied immediately.
Once activated, the system starts a one hour
massage cycle, made up of sequences of 6
minutes of massage followed by 3 minutes at
rest.
The system automatically stops at the end of the
cycle; the indicator lamp for the button goes off.
Steering wheel
adjustment
► When stationary, pull the control to release
the steering wheel.
► Adjust the height and reach to suit your
driving position.
► Push the control lever to lock the steering
wheel.
As a safety measure, these adjustments must only be carried out with the vehicle
stationary.
Page 67 of 308
65
Ease of use and comfort
3the accumulation of snow resulting from the
operation of the windscreen wipers.
On/Off
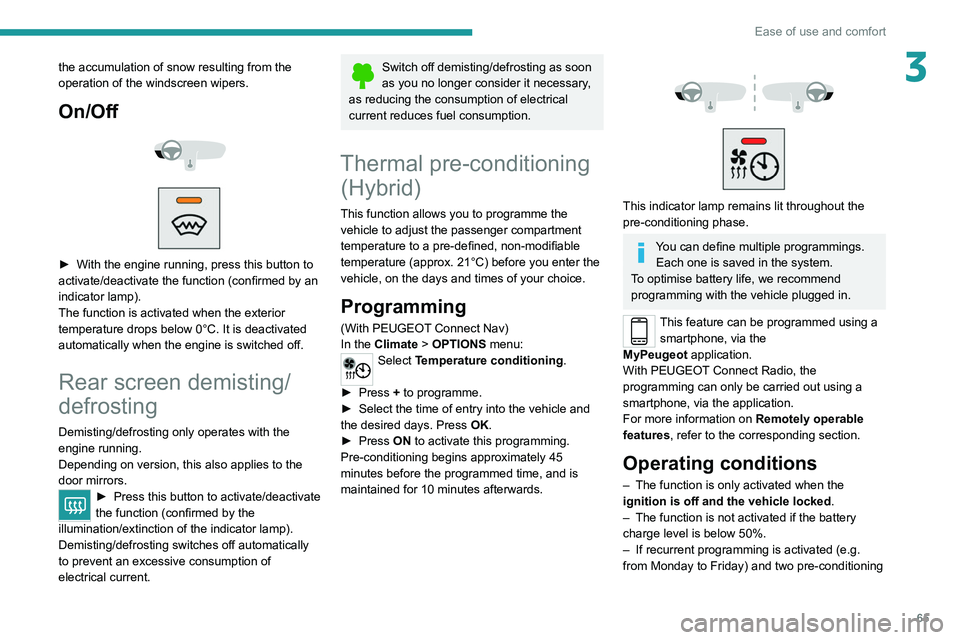
► With the engine running, press this button to
activate/deactivate the function (confirmed by an
indicator lamp).
The function is activated when the exterior
temperature drops below 0°C. It is deactivated
automatically when the engine is switched off.
Rear screen demisting/
defrosting
Demisting/defrosting only operates with the
engine running.
Depending on version, this also applies to the
door mirrors.
► Press this button to activate/deactivate
the function (confirmed by the
illumination/extinction of the indicator lamp).
Demisting/defrosting switches off automatically
to prevent an excessive consumption of
electrical current.
Switch off demisting/defrosting as soon
as you no longer consider it necessary,
as reducing the consumption of electrical
current reduces fuel consumption.
Thermal pre-conditioning (Hybrid)
This function allows you to programme the
vehicle to adjust the passenger compartment
temperature to a pre-defined, non-modifiable
temperature (approx. 21°C) before you enter the
vehicle, on the days and times of your choice.
Programming
(With PEUGEOT Connect Nav)
In the Climate > OPTIONS menu:
Select Temperature conditioning .
►
Press
+ to programme.
►
Select the time of entry into the vehicle and
the desired days. Press
OK.
►
Press
ON to activate this programming.
Pre-conditioning begins approximately 45
minutes before the programmed time, and is
maintained for 10 minutes afterwards.
This indicator lamp remains lit throughout the
pre-conditioning phase.
You can define multiple programmings. Each one is saved in the system.
To optimise battery life, we recommend
programming with the vehicle plugged in.
This feature can be programmed using a smartphone, via the
MyPeugeot
application.
With PEUGEOT Connect Radio, the
programming can only be carried out using a
smartphone, via the application.
For more information on Remotely operable
features , refer to the corresponding section.
Operating conditions
– The function is only activated when the
ignition is off and the vehicle locked .
–
The function is not activated if the battery
charge level is below 50%.
–
If recurrent programming is activated (e.g.
from Monday to Friday) and two pre-conditioning
Page 91 of 308

89
Safety
5of personal information established by
Regulation 2016/679 (GDPR) and Directive
2002/58/EC of the European Parliament
and the Council, and in particular, seeks to
protect the vital interests of the data subject,
in accordance with Article 6.1, paragraph d) of
Regulation 2016/679.
Personal information processing is strictly
limited to the management of the "Peugeot
Connect SOS" system used with the “112”
European single emergency call number.
The "Peugeot Connect SOS" system is able
to collect and process only the following
data relating to the vehicle: chassis number,
type (passenger vehicle or light commercial
vehicle), fuel type or power source, most
recent three locations and direction of travel,
and a timestamped log file recording the
automatic activation of the system.
The recipients of the processed data are the
emergency call handling centres designated
by the relevant national authorities in the
territory in which they are located, enabling
priority reception and handling of calls to the
“112” emergency number.
Data storage
Data contained in the system’s memory
is not accessible from outside the system until
* According to the geographic coverage of ‘Peugeot Connect SOS’, ‘Peugeot Connect Assistance’ and the official national language chosen by the owner
of the vehicle.
The list of countries covered and telematic services provided is availab\
le from dealers or on the website for your country
.
a call is made. The system is not traceable
and is not continuously monitored in its
normal operating mode.
The data in the system's internal memory is
automatically and continuously erased. Only
the vehicle’s three most recent locations are
stored.
When an emergency call is triggered, the data
log is stored for no more than 13
hours.
Access to data
You have the right to access the data
and, if necessary, submit a request to
rectify, erase or restrict the processing of
any personal information not processed in
accordance with the provisions of Regulation
2016/679 (GDPR). Third parties to which data
has been communicated shall be notified of
any rectification, erasure or restriction carried
out in accordance with the aforementioned
Directive, unless doing so would be
impossible or require a disproportionate effort.
You also have the right to lodge a complaint
with the relevant data protection authority.
Peugeot Connect
Assistance
► If the vehicle breaks down, press button 2
for more than 2 seconds to request assistance
(confirmed by a voice message*).
►
Pressing again immediately cancels the
request.
Privacy mode allows you to manage the
level of sharing (data and/or position)
between your vehicle and the PEUGEOT
brand.
It can be configured in the Settings menu on
the touch screen.
By default, depending on equipment,
deactivate/reactivate geolocation by
simultaneously pressing the 2 buttons, then
press the "Peugeot Connect Assistance"
button to confirm.
If you purchased your vehicle outside the
PEUGEOT dealer network, we invite you
to have a dealer check the configuration of
these services and, if desired, modify them to
suit your wishes. In a multilingual country,
configuration is possible in the official national
language of your choice.
Page 95 of 308
93
Safety
5regain grip. At the same time, the wheel with the
most grip is controlled in such a way as to
transmit as much torque as possible.
When moving, the system optimises wheel spin
to respond to the driver's requirements as fully
as possible.
(mode active up to 31 mph (50 km/h))
Sand
This mode allows little spin on the two driving wheels at the same time to allow
the vehicle to move forward and limit the risks of
getting stuck in the sand.
(mode active up to 75 mph (120
km/h))
Do not use the other modes on sand as
the vehicle may become stuck.
You can deactivate the ASR and DSC systems by turning the knob
to the "OFF " position.
The ASR and DSC systems will no longer
act on the operation of the engine or of the
brakes in the event of a change of trajectory.
These systems are reactivated automatically
from 31 mph (50
km/h) and whenever the
ignition is switched on.
Recommendations
The vehicle is designed principally to
drive on tarmac roads, but it allows you to
occasionally drive on other less passable
terrain.
However, it does not permit off-road driving
such as:
–
driving on terrain which could damage the
underbody or strip away components (fuel
pipe, fuel cooler
, etc.) due to obstacles or
stones in particular,
–
driving on terrain with steep gradients and
poor grip,
–
crossing a waterway
.
Hill Assist Descent
Control
System that provides assistance when
descending on loose or soft surfaces (gravel,
mud, etc.) or a steep gradient.
This system reduces the risk of slip or loss of
control of the vehicle when descending, whether
going forward or in reverse.
During a descent, it assists the driver in
maintaining a constant speed, depending on the
gear engaged, while progressively releasing the
brakes.
For the system to activate, the slope
must be greater than 5 %.
The system can be used with the gearbox in
neutral.
Otherwise engage a gear corresponding to
the speed to prevent the engine stalling.
With an automatic gearbox, the system can
be used with the selector at N, D or R.
When the system is regulating, the Active
Safety Brake system is automatically
deactivated.
The system is not available: – if the speed of the vehicle is above 43
mph (70
km/h),
–
if the speed of the vehicle is being
controlled by the
Adaptive Cruise Control,
depending on the type of gearbox.
Switching on
By default, the system is not selected.
The state of the function is not saved when the
ignition is switched off.
The driver can select the system when the
engine is running, when the vehicle is stationary
or when moving at speeds up to approximately
31 mph (50
km/h).
► To select the system, at speeds below
31 mph (50 km/h), press this button until
its green indicator lamp comes on; this lamp
appears in grey in the instrument panel.
Page 124 of 308
122
Driving
Engaging reverse gear
► Slow down until you come to a stop.
► Depress the brake pedal, then press the
Unlock button.
► While maintaining the presses, select
mode R.
Manual mode
Entering the mode:
► With mode D initially selected.
► Press button M; the green indicator lamp in
the button comes on.
Exiting the mode:
► Push forwards once to return to D.
or
► Press button M; the indicator lamp in the
button goes off.
Switching off the ignition
To switch off the ignition, the vehicle must be
stationary.
Changing to free-wheeling
For more information on Changing to free-
wheeling , refer to the corresponding section.
If you open the driver's door while mode
N is engaged, an audible signal will
sound. It will stop when you close the driver's
door again.
Special aspects of automatic mode
The gearbox selects the gear that offers optimum
performance, taking into account the outside
They cannot be used to engage neutral or to
select or come out of reverse.
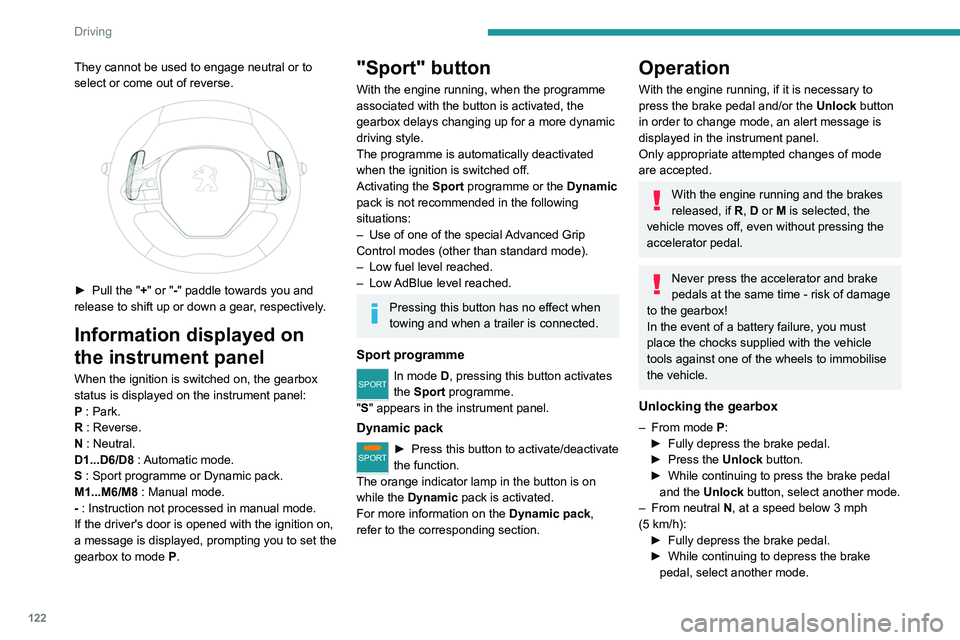
► Pull the " +" or "-" paddle towards you and
release to shift up or down a gear, respectively.
Information displayed on
the instrument panel
When the ignition is switched on, the gearbox
status is displayed on the instrument panel:
P : Park.
R : Reverse.
N : Neutral.
D1...D6/D8 : Automatic mode.
S : Sport programme or Dynamic pack.
M1...M6/M8 : Manual mode.
- : Instruction not processed in manual mode.
If the driver's door is opened with the ignition on,
a message is displayed, prompting you to set the
gearbox to mode P.
"Sport" button
With the engine running, when the programme
associated with the button is activated, the
gearbox delays changing up for a more dynamic
driving style.
The programme is automatically deactivated
when the ignition is switched off.
Activating the Sport programme or the Dynamic
pack is not recommended in the following
situations:
–
Use of one of the special
Advanced Grip
Control
modes (other than standard mode).
–
Low fuel level reached.
–
Low
AdBlue level reached.
Pressing this button has no effect when
towing and when a trailer is connected.
Sport programme
SPORTIn mode D, pressing this button activates
the Sport programme.
"S" appears in the instrument panel.
Dynamic pack
SPORT► Press this button to activate/deactivate
the function.
The orange indicator lamp in the button is on
while the Dynamic
pack is activated.
For more information on the Dynamic pack,
refer to the corresponding section.
Operation
With the engine running, if it is necessary to
press the brake pedal and/or the Unlock button
in order to change mode, an alert message is
displayed in the instrument panel.
Only appropriate attempted changes of mode
are accepted.
With the engine running and the brakes
released, if R, D or M is selected, the
vehicle moves off, even without pressing the
accelerator pedal.
Never press the accelerator and brake
pedals at the same time - risk of damage
to the gearbox!
In the event of a battery failure, you must
place the chocks supplied with the vehicle
tools against one of the wheels to immobilise
the vehicle.
Unlocking the gearbox
– From mode P:
► Fully depress the brake pedal.
►
Press the
Unlock button.
►
While continuing to press the brake pedal
and the
Unlock button, select another mode.
–
From neutral
N, at a speed below 3 mph
(5
km/h):
►
Fully depress the brake pedal.
►
While continuing to depress the brake
pedal, select another mode.