Page 146 of 559
Move the lever up or down until the
turn signal begins to flash, but the lever
does not latch, and release the lever.
The turn signal will automatically flash
three times.
Choose the appropriate method to signal
a lane change based on road and traffic
conditions.
NOTE:
The 3 flash pass feature may be disabled.
For additional information, refer to “Ve-
hicle information display ” in this section.
FOG LIGHT SWITCH (if so
equipped)
To turn the fog lights on, turn the headlight
switch to the
position, then turn the
fog light switch to the
position.
To turn the fog lights on with the headlight
switch in the AUTO position, the headlights
must be on, then turn the fog light switch to
the
position.
To turn the fog lights off, turn the fog light
switch to the OFF position. The headlights must be on and the low
beams selected for the fog lights to oper-
ate. The fog lights automatically turn off
when the high beam headlights are se-
lected.
LIC2639
Instruments and controls2-51
Page 148 of 559
The front seats are warmed by built-in
heaters.1. Place the ignition switch in the ON po- sition.
2. Push the switch until either two lights are illuminated for high setting, or one
light is illuminated for low setting.
The heater is controlled by a thermo-
stat, automatically turning the heater
on and off. The indicator light will re-
main on as long as the switch is on.
3. When the seat is warmed or before you leave the vehicle, be sure to push the
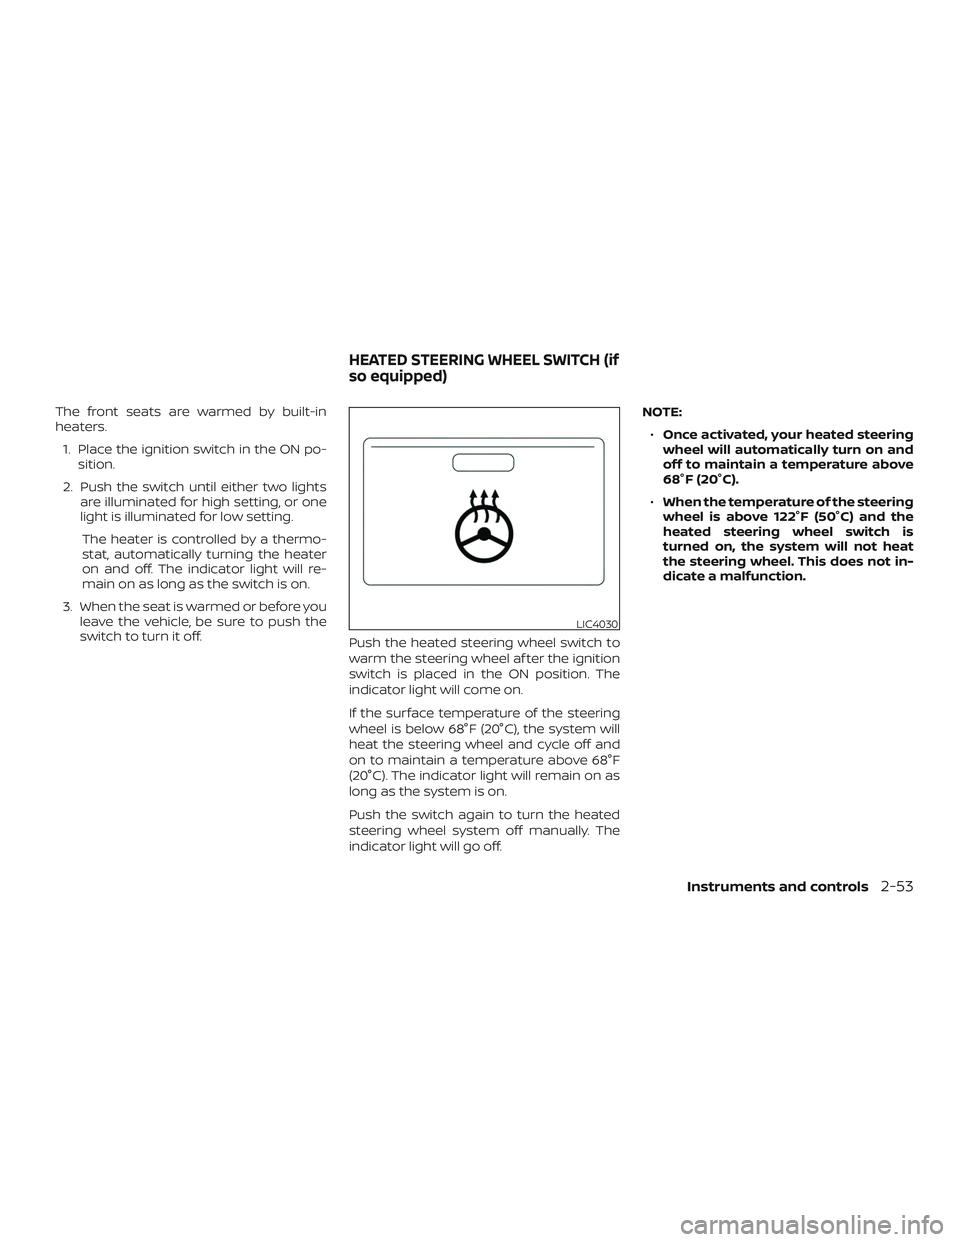
switch to turn it off. Push the heated steering wheel switch to
warm the steering wheel af ter the ignition
switch is placed in the ON position. The
indicator light will come on.
If the surface temperature of the steering
wheel is below 68°F (20°C), the system will
heat the steering wheel and cycle off and
on to maintain a temperature above 68°F
(20°C). The indicator light will remain on as
long as the system is on.
Push the switch again to turn the heated
steering wheel system off manually. The
indicator light will go off. NOTE:
∙ Once activated, your heated steering
wheel will automatically turn on and
off to maintain a temperature above
68°F (20°C).
∙ When the temperature of the steering
wheel is above 122°F (50°C) and the
heated steering wheel switch is
turned on, the system will not heat
the steering wheel. This does not in-
dicate a malfunction.
LIC4030
HEATED STEERING WHEEL SWITCH (if
so equipped)
Instruments and controls2-53
Page 151 of 559
NOTE:
There may be times when the horn
sounds but there are no objects or pas-
sengers in the rear seat(s).
For additional information, refer to “Rear
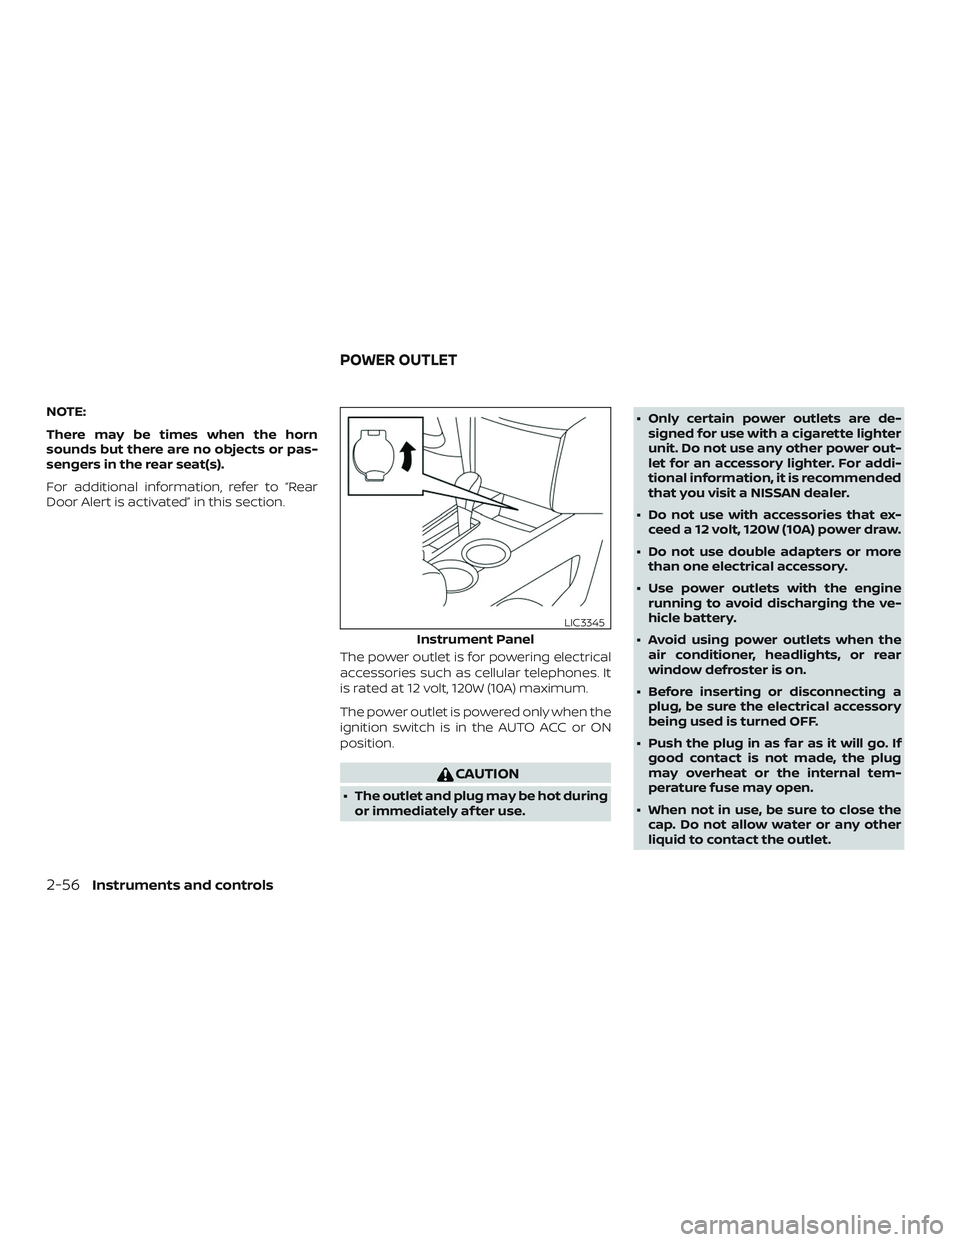
Door Alert is activated” in this section.The power outlet is for powering electrical
accessories such as cellular telephones. It
is rated at 12 volt, 120W (10A) maximum.
The power outlet is powered only when the
ignition switch is in the AUTO ACC or ON
position.
CAUTION
∙ The outlet and plug may be hot duringor immediately af ter use. ∙ Only certain power outlets are de-
signed for use with a cigarette lighter
unit. Do not use any other power out-
let for an accessory lighter. For addi-
tional information, it is recommended
that you visit a NISSAN dealer.
∙ Do not use with accessories that ex- ceed a 12 volt, 120W (10A) power draw.
∙ Do not use double adapters or more than one electrical accessory.
∙ Use power outlets with the engine running to avoid discharging the ve-
hicle battery.
∙ Avoid using power outlets when the air conditioner, headlights, or rear
window defroster is on.
∙ Before inserting or disconnecting a plug, be sure the electrical accessory
being used is turned OFF.
∙ Push the plug in as far as it will go. If good contact is not made, the plug
may overheat or the internal tem-
perature fuse may open.
∙ When not in use, be sure to close the cap. Do not allow water or any other
liquid to contact the outlet.
Instrument Panel
LIC3345
POWER OUTLET
2-56Instruments and controls
Page 155 of 559
CAUTION
∙ Do not use for anything other thansunglasses.
∙ Do not leave sunglasses in the sun- glasses holder while parking in direct
sunlight. The heat may damage the
sunglasses.
CUP HOLDERS
The rear center cup holders are located in
the rear fold-down armrest.
WARNING
Avoid abrupt starting and braking
when the cup holder is being used to
prevent spilling the drink. If the liquid is
hot, it can scald you or your passenger.
CAUTION
Use only sof t cups in the cup holder.
Hard objects can injure you in an
accident.
Front
LIC4032
Rear
LIC2297
2-60Instruments and controls
Page 157 of 559
1. Window lock switch
2. Power door lock switch
3. Front passenger side switch
4. Right rear passenger side switch
5. Lef t rear passenger side switch
6. Driver’s side automatic switch
Driver’s side power window
switch
The driver’s side control panel is equipped
with switches to open or close all of the
windows.
To open a window, push the switch to the
detent and continue to hold down until the
desired window position is reached. To
close a window, pull the switch to the de-
tent and continue to hold up until the de-
sired window position is reached.
Front passenger’s power window
switch
The passenger’s window switch operates
only the corresponding passenger’s win-
dow. To open the window partially, push the
switch down lightly until the desired win-
dow position is reached. To close the win-
dow, pull the switch up until the desired
window position is reached.
LIC3208LIC4228
2-62Instruments and controls
Page 161 of 559
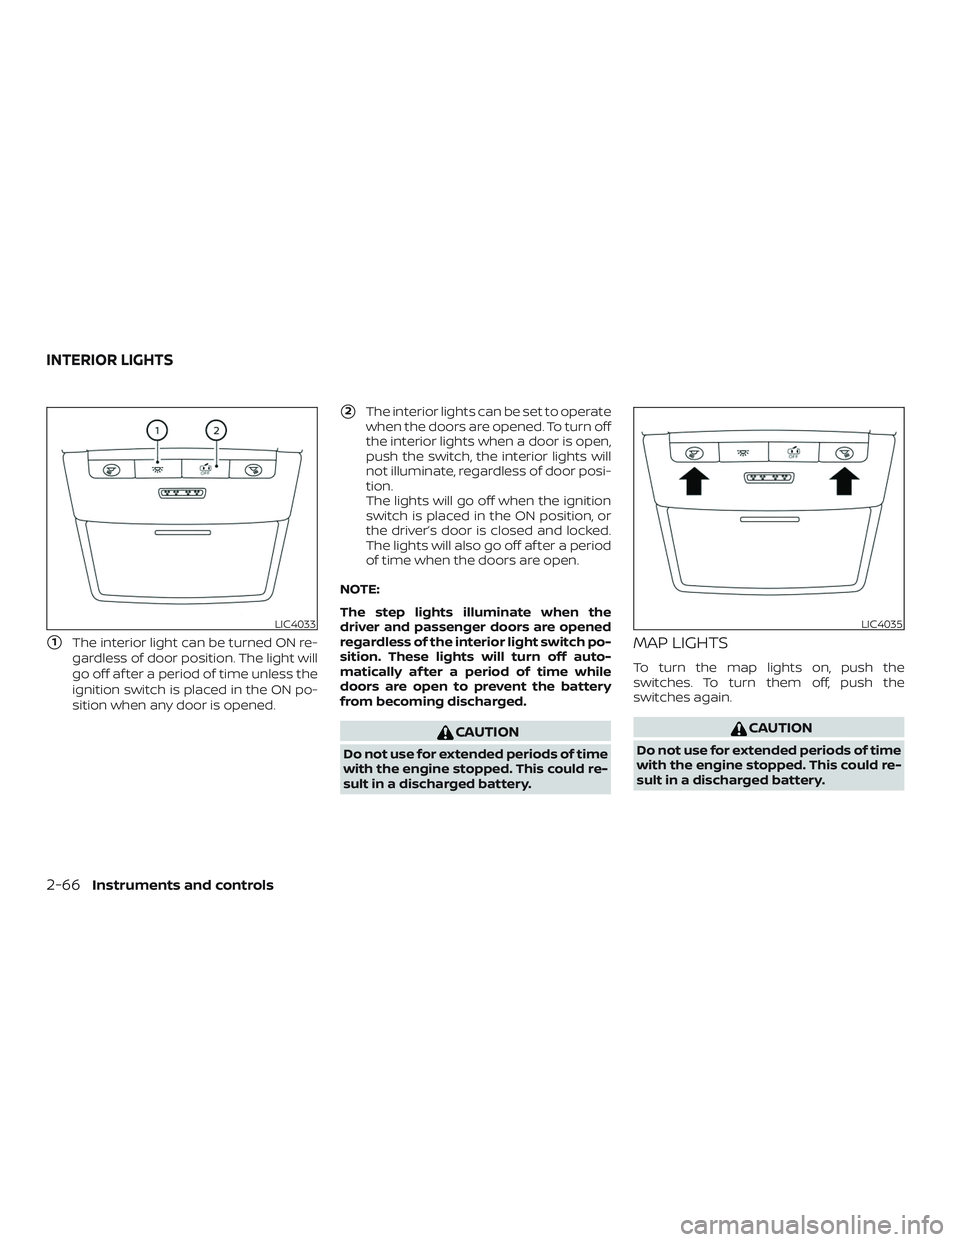
�1The interior light can be turned ON re-
gardless of door position. The light will
go off af ter a period of time unless the
ignition switch is placed in the ON po-
sition when any door is opened.
�2The interior lights can be set to operate
when the doors are opened. To turn off
the interior lights when a door is open,
push the switch, the interior lights will
not illuminate, regardless of door posi-
tion.
The lights will go off when the ignition
switch is placed in the ON position, or
the driver’s door is closed and locked.
The lights will also go off af ter a period
of time when the doors are open.
NOTE:
The step lights illuminate when the
driver and passenger doors are opened
regardless of the interior light switch po-
sition. These lights will turn off auto-
matically af ter a period of time while
doors are open to prevent the battery
from becoming discharged.
CAUTION
Do not use for extended periods of time
with the engine stopped. This could re-
sult in a discharged battery.
MAP LIGHTS
To turn the map lights on, push the
switches. To turn them off, push the
switches again.
CAUTION
Do not use for extended periods of time
with the engine stopped. This could re-
sult in a discharged battery.
LIC4033LIC4035
INTERIOR LIGHTS
2-66Instruments and controls
Page 162 of 559
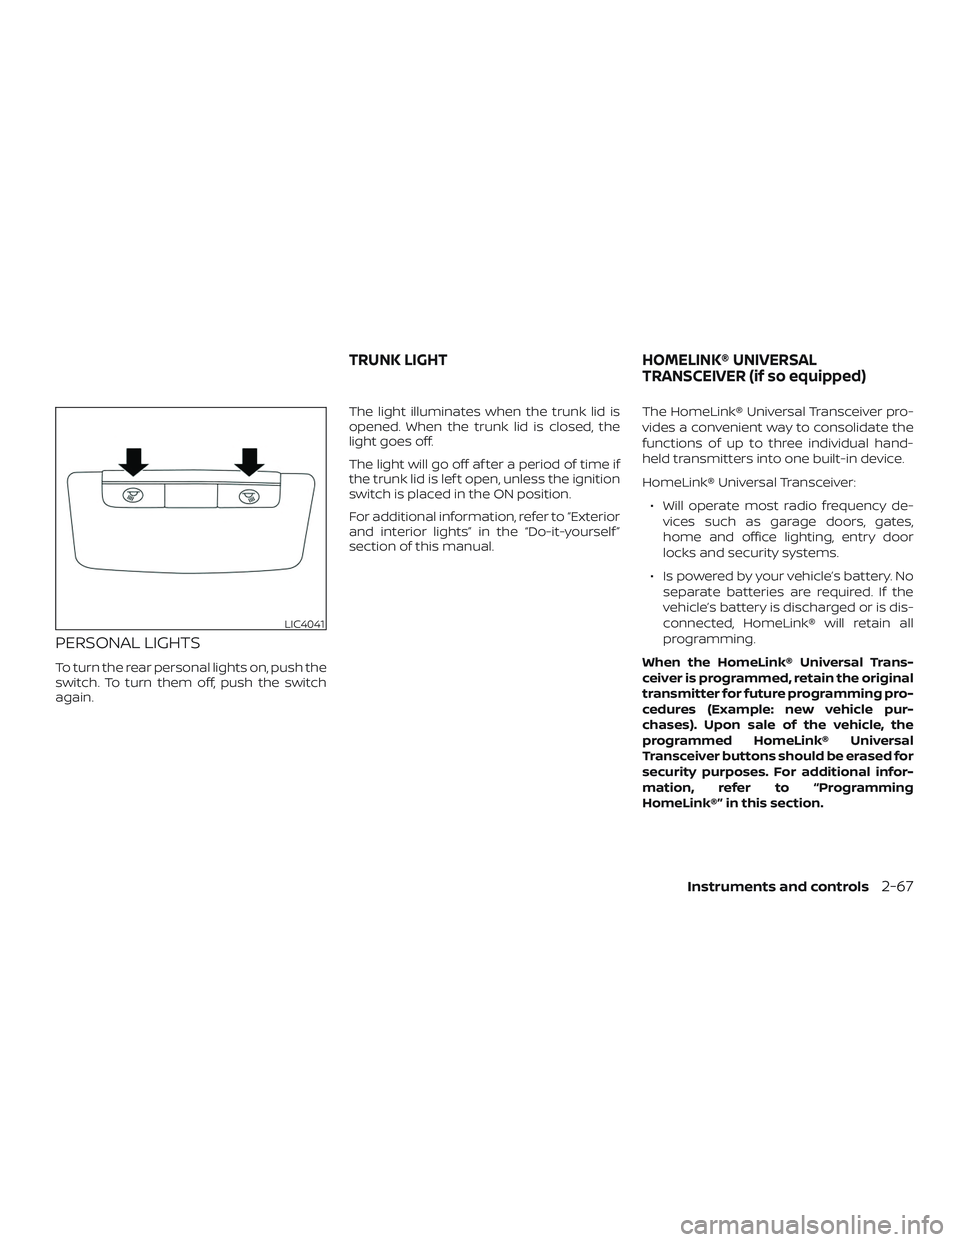
PERSONAL LIGHTS
To turn the rear personal lights on, push the
switch. To turn them off, push the switch
again.The light illuminates when the trunk lid is
opened. When the trunk lid is closed, the
light goes off.
The light will go off af ter a period of time if
the trunk lid is lef t open, unless the ignition
switch is placed in the ON position.
For additional information, refer to “Exterior
and interior lights” in the “Do-it-yourself ”
section of this manual.
The HomeLink® Universal Transceiver pro-
vides a convenient way to consolidate the
functions of up to three individual hand-
held transmitters into one built-in device.
HomeLink® Universal Transceiver:
∙ Will operate most radio frequency de- vices such as garage doors, gates,
home and office lighting, entry door
locks and security systems.
∙ Is powered by your vehicle’s battery. No separate batteries are required. If the
vehicle’s battery is discharged or is dis-
connected, HomeLink® will retain all
programming.
When the HomeLink® Universal Trans-
ceiver is programmed, retain the original
transmitter for future programming pro-
cedures (Example: new vehicle pur-
chases). Upon sale of the vehicle, the
programmed HomeLink® Universal
Transceiver buttons should be erased for
security purposes. For additional infor-
mation, refer to “Programming
HomeLink®” in this section.
LIC4041
TRUNK LIGHT HOMELINK® UNIVERSAL
TRANSCEIVER (if so equipped)
Instruments and controls2-67
Page 163 of 559
WARNING
∙ Your vehicle’s engine should beturned off while programming the
HomeLink® Universal Transceiver. For
additional information, refer to
“Push-button ignition switch” in the
“Starting and driving” section of this
manual. Do not breathe exhaust
gases; they contain colorless and
odorless carbon monoxide. Carbon
monoxide is dangerous. It can cause
unconsciousness or death.
∙ Do not use the HomeLink® Universal Transceiver with any garage door
opener that lacks safety stop and re-
verse features as required by federal
safety standards. (These standards
became effective for opener models
manufactured af ter April 1, 1982.) A
garage door opener which cannot de-
tect an object in the path of a closing
garage door and then automatically
stop and reverse does not meet cur-
rent federal safety standards. Using a
garage door opener without these
features increases the risk of serious
injury or death. ∙ During the programming procedure
your garage door or security gate will
open and close (if the transmitter is
within range). Make sure that people
or objects are clear of the garage door,
gate, etc., that you are programming.
PROGRAMMING HOMELINK®
If you have any questions or are having
difficulty programming your HomeLink®
buttons, refer to the HomeLink® web site at:
www.homelink.com or call 1-800-355-3515.
NOTE:
Place the ignition switch in the ON posi-
tion (without starting the engine) when
programming HomeLink®. It is also rec-
ommended that a new battery be placed
in the hand-held transmitter of the de-
vice being programmed to HomeLink®
for quicker programming and accurate
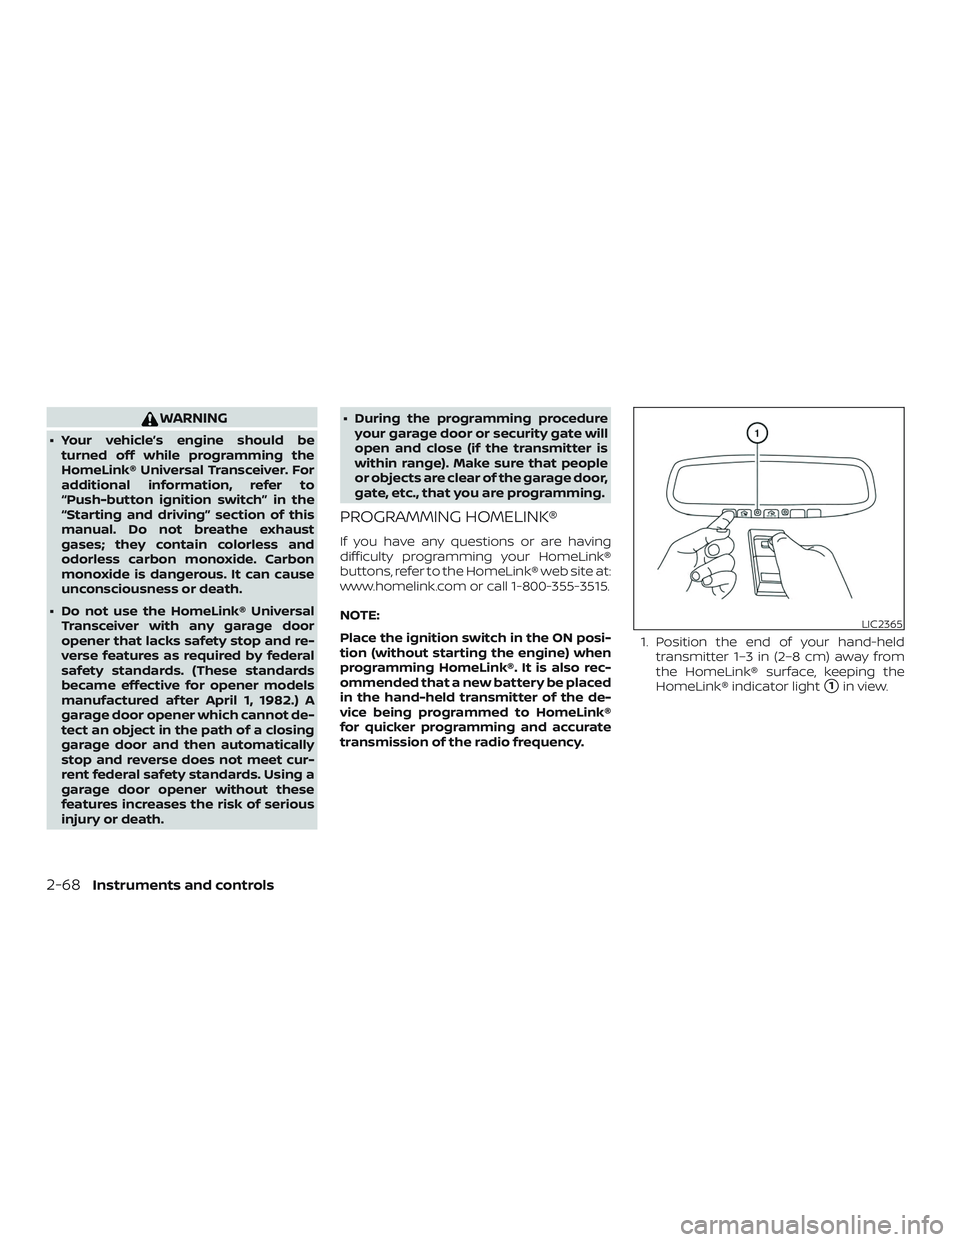
transmission of the radio frequency. 1. Position the end of your hand-held
transmitter 1–3 in (2–8 cm) away from
the HomeLink® surface, keeping the
HomeLink® indicator light
�1in view.
LIC2365
2-68Instruments and controls