2020 MERCEDES-BENZ GLE COUPE service reset
[x] Cancel search: service resetPage 34 of 757
Diagnostics connection
The diagnostics connection is on ly intended for
th e connection of diagnostic devices at a quali‐
fi ed specialist workshop. &
WARNING Risk of accident due tocon‐
necting devices tothe diagnostics con‐
nection
If yo u connect equipment toa diagnostics
connection in theve hicle, it may af fect the
operation of vehicle sy stems.
As a result, the operating saf ety of theve hi‐
cle could be af fected. #
Only connect theve hicle diagnostics
connection todevices which ha vebeen
te sted with rega rd totheir use and are
considered safe. &
WARNING Risk of accident due to
objects in the driver's foot we ll
Objects in the driver's foot we ll may impede
pedal tr avel or block a depressed pedal. This jeopardises
the operating and road
saf ety of theve hicle. #
Stow all objects in theve hicle securely
so that they cannot getinto the driver's
fo ot we ll. #
Alw aysfit th efloor mats securely and
as prescribed in order toensure that
th ere is alw ays suf ficient room forthe
pedals. #
Do not use loose floor mats and do not
place floor mats on top of one ano ther. *
NO
TEBattery discharging from using
devices connected tothe diagnostics
connection Using devices at
the diagnostics connection
drains the batter y. #
Check thech arge leve l of the batter y. #
Ifth ech arge leve l is lo w,charge the
batter y,e.g. bydriving a considerable
dis tance. Connecting equipment
tothe diagnostics con‐
nection can lead toemissions monitoring infor‐
mation being reset, forex ample. This may lead
to theve hicle failing tomeet therequ irements of
th e next emissions inspection during the main
inspection. Qualified specialist
workshop
Plug-in hybrid: obser vethe no tes in the Supple‐
ment. Otherwise, you may failto recognise dan‐
ge rs.
A qu alified specialist workshop has the neces‐
sary special skills, tools and qualifications to
cor rectly car ryout any necessary workon your
ve hicle. This particularly applies tosaf ety-re le‐
va nt wo rks.
Alw ays ha vethefo llowing workcar ried out on
yo ur vehicle at a qualified specialist workshop:
R safety-re leva nt wo rks
R service and maintenance work
R repair work
R modifications as well as ins tallations and
con versions General no
tes31
Page 37 of 757
eration, lateral acceleration, display of
fas‐
te ned seat belts)
R malfunctions or faults in impor tant sy stem
components (e.g. lights, brakes)
R information on events leading tovehicle
damage
R system reactions in special driving situations
(e.g. airbag deployment, inter vention of sta‐
bility control sy stems)
R ambient conditions (e.g. temp erature, rain
sensor)
In addition toprov iding the actual control unit
function, this data assists the manufacturer in
de tecting and rectifying faults and optimising
ve hicle functions. The majority of this data is
te mp orary and is only processed in theve hicle
itself. Only a small portion of the data is stored
in theev ent or fault memor y.
When your vehicle is serviced, tech nical da ta
from theve hicle can be read out byservice net‐
wo rkemplo yees (e.g. workshops, manufactur‐
ers) or third parties (e.g. breakdown services).
Services include repair services, maintenance
processes, warranty claims and quality assur‐ ance measures,
forex ample. The read out is per‐
fo rm ed via the legally prescribed port forthe
diagnostics connection in theve hicle. The
re spective service network locations or third
parties collect, process and use the data. They
document tech nical statuses of theve hicle,
assist in finding faults and impr oving quality and
are transmit tedto the manufacturer, if neces‐
sar y.Fu rthermore, the manufacturer is subject
to product liability. Forth is, the manufacturer
re qu ires tech nical da tafrom vehicles.
Fa ult memories in theve hicle can be reset by a
service outlet as part of repair or maintenance
wo rk.
Depending on the selected equipment, you can
import data into vehicle con venience and info‐
ta inment functions yourself.
This includes, forex ample:
R multimedia data such as music, films or pho‐
to sfo r playback in an integrated multimedia
sy stem
R address book data for use in connection with
an integrated hands-free sy stem or an inte‐
grated navigation sy stem R
entered navigation destinations
R data about the use of internet services
This data can be sa ved locally in theve hicle or it
is located on a device which you ha veconnected
to theve hicle (e.g. a smartphone, USB flash
drive or MP3 pla yer). If this data is stored in the
ve hicle, you can dele teit at any time. This data
is sent tothird parties only at your requ est, par‐
ticular lywhen you use online services in accord‐
ance with the settings that you ha veselected.
Yo u can store or change con venience settings/
individualisations in theve hicle at any time.
Depending on the equipment, this includes, for
ex ample:
R settings forth e seat and steering wheel posi‐
tions
R suspension and climate control settings
R customisations such as interior lighting
If yo ur vehicle is accordingly equipped, you can
connect your smartphone or ano ther mobile end
device totheve hicle. You can cont rolth is by
means of the control elements integrated in the
ve hicle. Images and audio from the smartphone 34
General no tes
Page 162 of 757
Overview of climate control sy
stems Note
s on climate control An interior air
filter in combination with the pre‐
fi lter in the engine compartment must alw ays be
used so that the air conditioning sy stem, pollu‐
tion le vel monitoring and the air filtration work
cor rectl y.Make sure that thefilter is ins talled
cor rectly and thefilter housing in the engine
compartment is closed cor rectly using the cap
and alw ays tightly sealed when in operation. Use
fi lters recommended and appr ovedby
Mercedes-Benz. Alw ays ha veservice workcar‐
ri ed out at a qualified specialist workshop. THERMATIC control panel
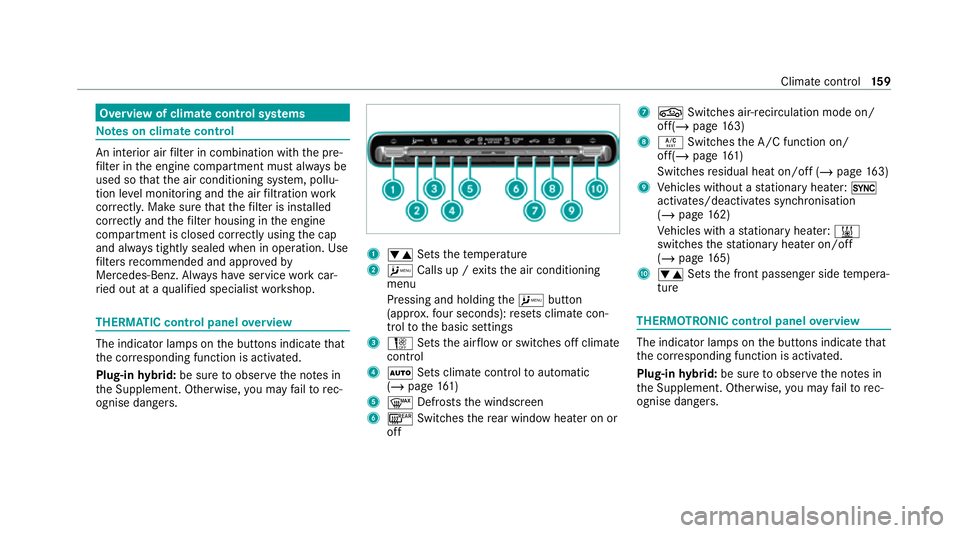
overview The indicator lamps on
the buttons indicate that
th e cor responding function is activated.
Plug-in hybrid: be sure toobser vethe no tes in
th e Supplement. Otherwise, you may failto rec‐
ognise dangers. 1
0082 Setsthete mp erature
2 A Calls up / exits the air conditioning
menu
Pressing and holding theA button
(appr ox.fo ur seconds): resets climate con‐
trol tothe basic settings
3 H Setsthe air flow or switches off climate
control
4 0058 Sets climate control toautomatic
(/ page 161)
5 0064 Defrosts the windscreen
6 006C Switches there ar wind owheater on or
off 7
0072 Switches air-recirculation mode on/
off(/ page163)
8 0056 Switches the A/C function on/
off(/ page161)
Switches residual heat on/off (/ page163)
9 Vehicles without a stationary heater: 0
activates/deactivates syn chronisation
(/ page 162)
Ve hicles with a stationary heater: 003B
swit ches thest ationary heater on/off
(/ page 165)
A 0082 Setsthe front passenger side temp era‐
ture THERMOTRONIC control panel
overview The indicator lamps on
the buttons indicate that
th e cor responding function is activated.
Plug-in hybrid: be sure toobser vethe no tes in
th e Supplement. Otherwise, you may failto rec‐
ognise dangers. Clima
tecontrol 15 9
Page 359 of 757
intermediate destination
forth eex isting
ro ute.
Configuring sug gestions
Re quirements:
R Toprotect settings using a PIN: your pro‐
fi le is connec ted with Mercedes me and your
Mercedes me account is PIN pr otected.
Multimedia sy stem:
4 © 5
f Profiles #
Select ufor a profile. #
Select Suggestions settings .#
Toswitch suggestions display on/off:
switch Allow destination suggestions ,Allow
music suggestions andAllow contact sugges-
tions on or off.
If an option is switched on, suggestions for
navigation de stinations, media sources, radio
st ations or con tacts are shown.
If th e option is switched off, no suggestions
are shown. #
Todeactivate the learn function for one
da y:activate Deactiv. intelligent learning for
24h.
Fo r24 hours no new actions will be trained
and no data recorded forth e active profile.
Suggestions will continue tobe shown. The
re maining time is shown next toDeact.
learn. for 24h .
Before the time runs out, a messa geis
shown that the multimedia sy stem will con‐
tinue the learn function shortl y.
Example: if the option is switched on and a
ro ute toa new destination has been calcula‐
te d, this destination would not be take n into
account forth e learn function. #
Toreset the suggestion his tory:select
Reset suggestion history.
% This process cannot be reve rsed. #
Select Yes. #
Toprotect settings with a PIN: switchon
PIN protection.
If PIN pr otection is switched on, you must
en terth e Mercedes me PIN toset the sug‐ ge
stions. This PIN will be set in the Mercedes
me por talfo rth e personalisation service to
pr otect your personal settings.
Re naming suggestions
Only navigation destinations can be renamed. #
Tap on the© symbol in the media displa y.
The home screen is shown. #
Swipe up until theSUGGESTIONS menu is
shown. #
Highlight a navigation destination and press
until theOPTIONS menu is shown. #
Select Rename. #
Ente rth e name. #
Toconfirm the entr y:select Yes.
Deleting a suggestion #
Tap on © inthe media displa y.
The home screen is shown. #
Swipe up until theSUGGESTIONS menu is
shown. #
Highlight a suggestion and press until the
OPTIONS menu is shown. 356
MBUX multimedia sy stem
Page 425 of 757
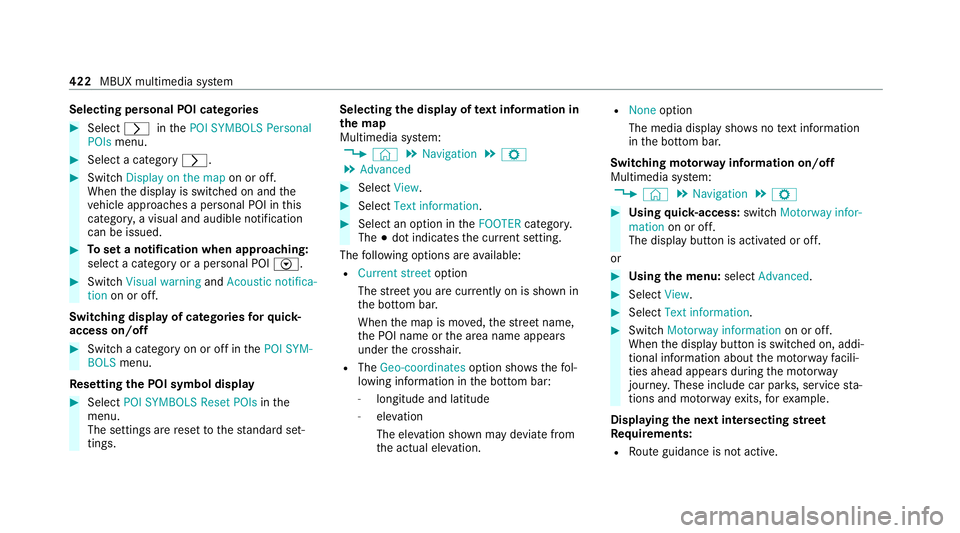
Selecting personal POI categories
#
Select 0048inthePOI SYMBOLS Personal
POIs menu. #
Select a category 0048.#
Switch Display on the map on or off.
When the display is switched on and the
ve hicle approaches a personal POI in this
categor y,a visual and audible notification
can be issued. #
Toset a notification when appro aching:
select a category or a personal POI V.#
Switch Visual warning andAcoustic notifica-
tion on or off.
Switching display of catego ries forqu ick-
access on/off #
Switch a category on or off in thePOI SYM-
BOLS menu.
Re setting the POI symbol display #
Select POI SYMBOLS Reset POIs inthe
menu.
The settings are reset tothest andard set‐
tings. Selecting
the display of text information in
th e map
Multimedia sy stem:
4 © 5
Navigation 5
Z
5 Advanced #
Select View. #
Select Text information. #
Select an option in theFOOTER category.
The 003Bdot indicates the cur rent setting.
The following options are available:
R Current street option
The stre et you are cur rently on is shown in
th e bottom bar.
When the map is mo ved, thest re et name,
th e POI name or the area name appears
under the crosshair.
R The Geo-coordinates option showsthefo l‐
lowing information in the bottom bar:
- longitude and latitude
- elevation
The el evation shown may deviate from
th e actual ele vation. R
None option
The media display sho wsnotext information
in the bottom bar.
Switching mo torw ay information on/off
Multimedia sy stem:
4 © 5
Navigation 5
Z #
Using quick- access: switchMotorway infor-
mation on or off.
The display button is activated or off.
or #
Using the menu: selectAdvanced. #
Select View. #
Select Text information. #
Swit chMotorway information on or off.
When the display button is switched on, addi‐
tional information about the mo torw ay facili‐
ties ahead appea rsduring the mo torw ay
jou rney . These include car pa rks, service sta‐
tions and mo torw ay ex its,forex ample.
Displ aying the next intersecting stre et
Re quirements:
R Route guidance is not active. 422
MBUX multimedia sy stem
Page 429 of 757
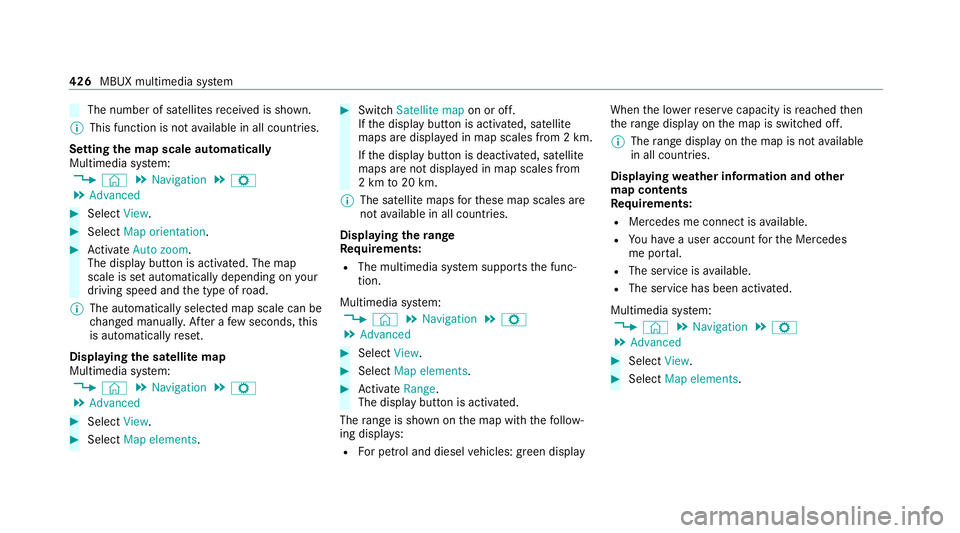
The number of satellites
recei ved is shown.
% This function is not available in all countries.
Setting the map scale automatically
Multimedia sy stem:
4 © 5
Navigation 5
Z
5 Advanced #
Select View. #
Select Map orientation. #
Activate Auto zoom.
The display button is acti vated. The map
scale is set automatically depending on your
driving speed and the type of road.
% The automatically selec ted map scale can be
ch anged manuall y.After a few seconds, this
is automatically reset.
Displaying the satellite map
Multimedia sy stem:
4 © 5
Navigation 5
Z
5 Advanced #
Select View. #
Select Map elements. #
Switch Satellite map on or off.
If th e display button is activated, satellite
maps are displa yed in map scales from 2 km.
If th e display button is deactivated, satellite
maps are not displa yed in map scales from
2 km to20 km.
% The satellite maps forth ese map scales are
not available in all countries.
Displ aying thera nge
Re quirements:
R The multimedia sy stem supports the func‐
tion.
Multimedia sy stem:
4 © 5
Navigation 5
Z
5 Advanced #
Select View. #
Select Map elements. #
Activate Range.
The display button is acti vated.
The range is shown on the map with thefo llow‐
ing displa ys:
R For petrol and diesel vehicles: green display When
the lo werre ser vecapacity is reached then
th era nge displ ayon the map is switched off.
% The range displ ayon the map is not available
in all countries.
Displ aying weather information and other
map contents
Re quirements:
R Mercedes me connect is available.
R You ha vea user account forth e Mercedes
me por tal.
R The service is available.
R The service has been activated.
Multimedia sy stem:
4 © 5
Navigation 5
Z
5 Advanced #
Select View. #
Select Map elements. 426
MBUX multimedia sy stem
Page 462 of 757
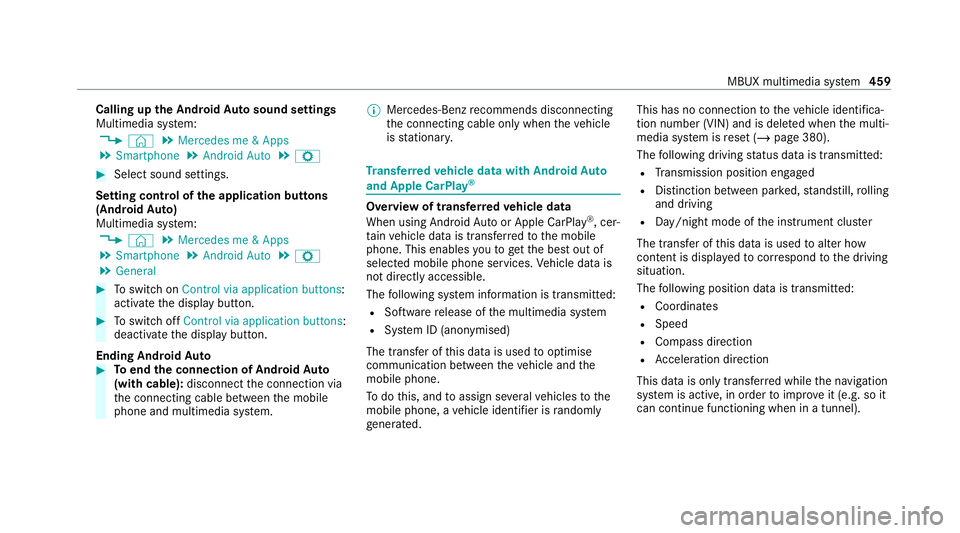
Calling up
the Android Autosound settings
Multimedia sy stem:
4 © 5
Mercedes me & Apps
5 Smartphone 5
Android Auto 5
Z #
Select sound settings.
Setting control of the application but tons
(Android Auto)
Multimedia sy stem:
4 © 5
Mercedes me & Apps
5 Smartphone 5
Android Auto 5
Z
5 General #
Toswitch on Control via application buttons :
activate the display button. #
Toswitch off Control via application buttons :
deactivate the display button.
Ending Android Auto #
Toend the connection of Android Auto
(with cable): disconnectthe connection via
th e connecting cable between the mobile
phone and multimedia sy stem. %
Mercedes-Benz recommends disconnecting
th e connecting cable only when theve hicle
is stationar y. Tr
ansfer redve hicle data with Android Auto
and Apple CarPlay ® Overview of transfer
redve hicle data
When using Android Autoor Apple CarPlay ®
, cer‐
ta in vehicle data is transfer redto the mobile
phone. This enables youto getth e best out of
selected mobile phone services. Vehicle data is
not directly accessible.
The following sy stem information is transmit ted:
R Software release of the multimedia sy stem
R System ID (anonymised)
The transfer of this data is used tooptimise
communication between theve hicle and the
mobile phone.
To do this, and toassign se veralve hicles tothe
mobile phone, a vehicle identifier is randomly
ge nerated. This has no connection
totheve hicle identifica‐
tion number (VIN) and is dele ted when the multi‐
media sy stem is reset (/ page 380).
The following driving status data is transmit ted:
R Transmission position engaged
R Distinction between par ked, standstill, rolling
and driving
R Day/night mode of the instrument clus ter
The transfer of this data is used toalter how
con tent is displ ayed tocor respond tothe driving
situation.
The following position data is transmitte d:
R Coordinates
R Speed
R Compass direction
R Acceleration di rection
This da tais only transfer red while the navigation
sy stem is active, in order toimpr oveit (e.g. so it
can continue functioning when in a tunnel). MBUX multimedia sy
stem 459
Page 498 of 757
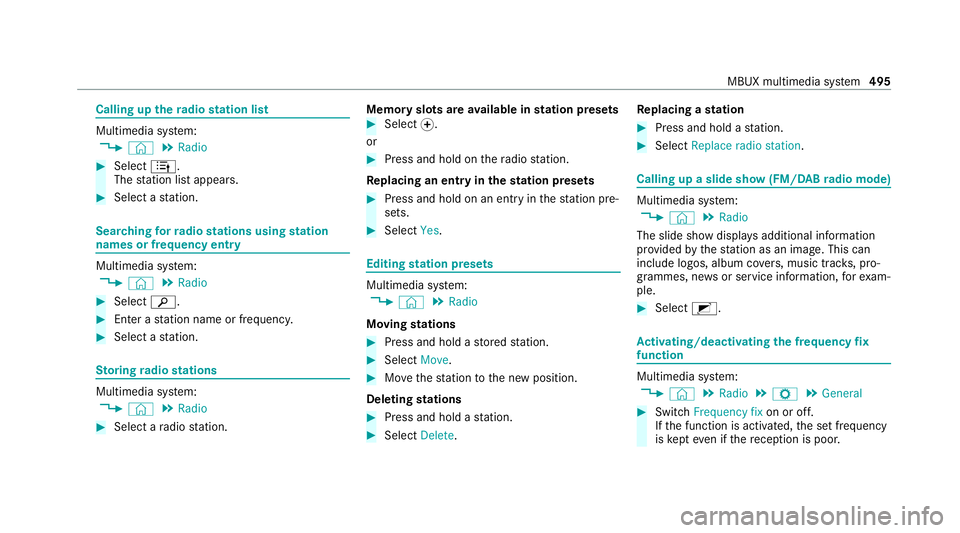
Calling up
thera dio station list Multimedia sy
stem:
4 © 5
Radio #
Select 4.
The station list appears. #
Select a station. Sear
ching forra dio stations using station
names or frequency entry Multimedia sy
stem:
4 © 5
Radio #
Select 00D3. #
Ente r astation name or frequenc y.#
Select a station. St
oring radio stations Multimedia sy
stem:
4 © 5
Radio #
Select a radio station. Memory slots are
available in station presets #
Select 0074.
or #
Press and hold on thera dio station.
Re placing an entry in the station presets #
Press and hold on an entry in thest ation pre‐
sets. #
Select Yes. Editing
station presets Multimedia sy
stem:
4 © 5
Radio
Moving stations #
Press and hold a stored station. #
Select Move. #
Movethest ation tothe new position.
Deleting stations #
Press and hold a station. #
Select Delete. Re
placing a station #
Press and hold a station. #
Select Replace radio station . Calling up a slide show (FM/DAB
radio mode) Multimedia sy
stem:
4 © 5
Radio
The slide show displa ysadditional information
pr ov ided bythest ation as an image. This can
include logos, album co vers, music trac ks, pro‐
gr ammes, ne wsor service information, forex am‐
ple. #
Select 2. Ac
tivating/deactivating the frequency fix
function Multimedia sy
stem:
4 © 5
Radio 5
Z 5
General #
Switch Frequency fix on or off.
If th e function is activated, the set frequency
is ke pt eve n ifthere ception is poo r. MBUX multimedia sy
stem 495