2020 MERCEDES-BENZ GLA ignition
[x] Cancel search: ignitionPage 304 of 346

X
Turn theSmart Keytoposition 005Ainthe igni-
tion lock andremove it.
X Secure thevehicle.
The towing eyecan beused topull thevehicle
ont oatrailer ortrans porter fortrans portin g
purposes. Notes
on4MATIC vehicles
! Vehicles
with4MATI Cmust notbetowed
with either thefront orthe rear axle raised,
as doing sowill damage thetrans mission.
Vehicles with4MATI Cmay onlyeither be
towed awaywithboth axles onthe ground or
be loaded upand trans ported.
If the vehicle's transmission, front,or rear axle
is damaged, havethevehicle transported ona
truck ortrailer.
In the event ofdam agetothe electrical
system:
If the battery isdefect ive,theautomatic trans-
mission willbelocked inposition 005D.Toshift
the automatic transmission toposition 005C,you
must provide powertothe vehicle's on-board
electric alsystem inthe same wayaswhen
jump-st arting(Ypage 296).
Have thevehicle transported onatrans porter
or trailer. Tow-star
ting(emergency engine
star ting)
! Vehicles
withautomatic transmission must
not betow-st arted. Youcould otherwise
damage theautomatic transmission.
i You
canfind inform ationon"Jump-start-
ing" under (Ypage 296). Fuses
Import
antsafety notes G
WARNIN
G
If you manipulate orbridge afaulty fuseorif
you replace itwith afuse withahigher
amperage, theelectric cablescouldbeover-
loaded. Thiscould result inafire. There isa
risk ofan accident andinjury. Always
replace faultyfuseswiththespeci-
fied new fuses having thecorrec tamperage.
! Only
usefuses thathave been approved
for Mercedes- Benzvehicles andwhich have
the correc tfuse rating forthe system con-
cern ed.Only usefuses marked withan"S".
Otherwise, componentsorsystems couldbe
damaged.
! Make
surethatnomoisture canenter the
fuse boxwhen thecover isopen.
! When
closing thecover, makesurethatit
is lying correc tlyon the fuse box. Moisture
seeping inor dirt could otherwise impairthe
operation ofthe fuses.
The fuses inyour vehicle servetoclose down
faulty circuits. Ifafuse blows, allthe compo-
nent son the circuit andtheir functionsstop
operating.
Blown fusesmustbereplaced withfuses of
the same rating, whichyoucan recogn izeby
the color andvalue. Thefuse ratings, and
other items ofinform ationtobe complied with
are, listed inthe fuse allocation chart.
The fuse allocation chartisin the fuse boxin
the front -passenger footwell(Ypage 303).
If anewly insertedfuse alsoblows, havethe
cause traced andrectified ataqualified spe-
cialist workshop, e.g.anauthorized Mercedes-
Benz Center. Before
changing afuse
X Secure thevehicle against rollingaway
(Y page 145).
X Switch offallelectric alconsumer s.
X Vehicles withoutKEYLESS-GO: remove
the Smart Keyfrom theignition lock.
X Vehicles
withKEYL ESS-GO start-func-
tion orKEYL ESS-GO: openthedriver's
door.
The vehicle electron icsare now inposition
005A. This isthe same asthe Smart Keybeing
removed fromtheignition.
The fuses arelocated invarious fuseboxes:
R Fuse boxinthe engine compart mentonthe
left- hand sideofthe vehicle, whenviewed in
the direction oftravel
R Fuse boxinthe front -passenger footwell 302
FusesBr
eakdown assistance
Page 305 of 346

The
fuse allocation chartison the fuse boxin
the front -passenger footwell(Ypage 303). Fuse
boxinthe engine compar tment G
WARNIN
G
When thehood isopen andthewindshield
wipers aresetinmotion ,you can beinjured
by the wiper linkage. Thereisarisk ofinjury.
Always switchoffthe windshield wipersand
the ignition beforeopening thehood. X
Open thehood.
X Use adry cloth toremove anymoisture
from thefuse box.
X To open: openclamps 0044.
X Fold upcover 0043inthe direction ofthe
arrow andremove it. X
To close: checkwhether theseal islying
correc tlyincover 0043.
X Insert cover0043atthe back intoopenings 0087
on the fuse box.
X Fold down cover 0043. X
Hook clamps 0044into thefuse boxand
close.
X Close thehood. Fuse
boxinthe front- passenger foot-
well X
To open: openthefront -passenger door.
X Remove thefloormat.
X Fold outperforated floorcoverin g0043 inthe
direction ofthe arrow. Fuses
303Breakdown assistance Z
Page 316 of 346
The
tirepressure monitordoes notwarn youof
an incorr ectlysettire pressure. Observethe
not eson the recomm endedtirepressure
(Y page 308).
The tirepressure monitorisnot able towarn
you ofasudden lossofpressure, e.g.ifthe
tire ispenetr atedbyaforeign object.In the
event ofasudden lossofpressure, bringthe
vehicle toahalt bybraking carefully. Avoid
abrupt steeringmovemen ts.
The tirepressure monitorhas ayellow warning
lamp inthe instr ument cluster forindicatin g
pressure lossoramalfunct ion.Whether the
warning lampflashes orlights upindicates
whether atire pressure istoo low orthe tire
pressure monitorismalfunct ioning:
R ifthe warning lampislit cont inuously, the
tire pressure onone ormore tiresissignifi-
cant lytoo low. Thetirepressure monitoris
not malfunct ioning.
R ifthe warning lampflashes foraround a
minute andthen remains litconst antly, the
tire pressure monitorismalfunct ioning.
In addition tothe warning lamp,amessage
appears inthe multifunct iondisplay .Observe
the inform ationondisplay messages
(Y page 224).
It may take uptoten minutes foramalfunc-
tion ofthe tire pressure monitortobe indica-
ted. Amalfunct ionwill beindicated bythe tire
pressure warninglampflashing forapprox-
imately oneminute andthen remaining lit.
When themalfunct ionhas been rectified, the
tire pressure warninglampgoesoutafter a
few minutes ofdriving.
The tirepressure valuesindicated bythe on-
board computer maydiffer fromthose meas-
ured atagas station withapressure gauge.
The tirepressures shownbythe on-board
computer refertothose measured atsea level.
At high altitudes, thetire pressure valuesindi-
cated byapressure gaugearehigher than
those shown bythe on-board computer. Inthis
case, donot reduce thetire pressures.
The operation ofthe tire pressure monitorcan
be affect edbyinter ferenc efrom radio trans-
mitt ingequipment (e.g.radio headphones,
two-way radios)thatmay bebeing operated in
or near thevehicle. Checking
thetire pressur eelectroni-
cally X
Make surethattheSmart Keyisin position
0048 inthe ignition lock(Ypage 125).
X Press 0059or0065 onthe steerin gwheel
to select theServ. Serv.
menu.
X Press the0063 or0064 button toselect
Tire Pressure Tire
Pressure.
X Press the0076 button .
The current tirepressure ofeach tireis
shown inthe multifunct iondisplay .
If the vehicle wasparked forlonger than
20 minutes, theTire pressure willbe Tire
pressure willbe
displayed afterdriving afew minutes displayed
afterdriving afew minutes
message isshown.
Aft erateach- inprocess, thetire pressure
monit orautomatically detectsnew wheels or
new sensors. Aslong asaclear allocation of
the tire pressure valuetothe individual wheels
is not possible, theTire Pressure Monitor Tire
Pressure Monitor
Active Active
message isshown instead ofthe tire
pressure display.The tirepressures are
already beingmonitored.
If an emergenc yspare wheel ismounted, the
system maycontinue toshow thetire pressure
of the wheel thathasbeen removed forafew
minutes. Ifthis occurs, notethat thevalue dis-
played forthe position wherethespare wheel
is fitt ed isnot thesame asthe current tire
pressure ofthe emergenc yspare wheel.
Tire pressur emonitor warning mes-
sages If
the tire pressure monitordetect sa pressure
loss inone ormore tires,awarning message is
shown inthe multifunct iondisplay .The yellow
tire pressure warninglampthenlights up.
R Ifthe Please Correct TirePressure Please
Correct TirePressure
message appearsinthe multifunct iondis-
play, thetire pressure inat least onetireis
too low. Thetirepressure mustbecorrec ted
when theopportunit yarises.
R Ifthe Check TirePressure Check
TirePressure message
appears inthe multifunct iondisplay ,the tire
pressure inone ormore tireshasdropped
significant ly.The tires must becheck ed.
R Ifthe Tire Pressure WarningTire Tire
Pressure WarningTire
Failure Failure
message appears,thetire pressure
in one ormore tireshasdropped suddenly.
The tires must becheck ed. 314
Tir
epr essureWheels andtires
Page 317 of 346
Observe
theinstruct ionsandsafety notesin
the displa ymessages inthe "Tires" section
(Y page 224).
If the wheel positions onthe vehicle arerota-
ted, thetire pressures maybedispla yedfor
the wrong positions forashort time.Thisis
rectified afterafew minutes ofdriving, andthe
tire pressures aredispla yedforthe correct
positions.
Restart ingthe tire pressure monitor When
yourestart thetire pressure monitor,all
existing warning messages aredeleted andthe
warning lampsgoout. Themonitor usesthe
currently settire pressures asthe reference
value sfor monitoring. Inmost cases, thetire
pressure monitorwillautomaticall ydetect the
new reference valuesafter youhave changed
the tire pressure. However, youcan also set
reference valuesmanuall yas described here.
The tirepressure monitorthenmonitors the
new tirepressure values.
X Set thetire pressure tothe value recom-
mended forthe corresponding drivingsitua-
tion onthe Tire andLoading Information
placard onthe driver's side
B-pillar (Ypage 308).
You canfind more tirepressure valuesfor
various operating conditions inthe tire pres-
sure table inside thefuel filler flap
(Y page 144).
X Make surethatthetire pressure iscorrect
on allfour wheels.
X Make surethattheSmartKey isin position
0048 inthe ignition lock(Ypage 125).
X Press 0059or0065 onthe steering wheel
to select theServ. Serv.
menu.
X Press the0063 or0064 button toselect
Tire Pressure Tire
Pressure.
X Press the0076 button.
The multifunction displayshows thecurrent
tire pressure foreach tireorthe Tire Tire
pressure willbedisplayed after pressure
willbedisplayed after
driving afew minutes driving
afew minutes message.
X Press the0064 button.
The multifunction displayshows theUse Use
Current Pressures asNew Reference Current
Pressures asNew Reference
Values Values
message. If
you wish toconfirm therestart :
X Press the0076 button.
The Tire Press. Monitor Restarted Tire
Press. Monitor Restarted
message appearsinthe multifunction dis-
play .
After driving forafew minutes, thesystem
checks whether thecurrent tirepressures
are within thespecified range.Thenew tire
pressures arethen accepted asreference
value sand monitored.
If you wish tocance lthe restart :
X Press the0038 button.
The tirepressure valuesstored atthe last
restart willcont inue tobe monitored. Tire
pressur e
315Wheels andtires Z
Page 329 of 346
The
wear pattern son the front andrear tires
differ, depending onthe operating conditions.
Rotate thewheels beforeaclear wearpattern
has formed onthe tires. Fronttires typically
wear more onthe shoulders andtherear tires
in the cent er.
On vehicles thathave thesame sizefront and
rear wheels, youcan rotat ethe wheels accord-
ing tothe inter valsinthe tire manufact urer's
warranty bookinyour vehicle document s.Ifno
warranty bookisavailabl e,the tires should be
rotat edevery 3,000 to6,000 miles(5,000 to
10,00 0km). Dependin gon tire wear, thismay
be required earlier.Donot change thedirec-
tion ofwheel rotation.
Clean thecont actsurfaces ofthe wheel and
the brake discthoroughly everytimeawheel
is rotat ed.Check thetire pressure and,ifnec-
essary, restartthetire pressure losswarning
system (Canada only)orthe tire pressure
monit or(USA only). Direction
ofrota tion
Tires withaspecified directionofrotat ionhave
additional benefits,e.g. ifthere isarisk of
hydroplaning. Theseadvantages canonly be
gained ifthe tires areinstalled correspon ding
to the direction ofrotat ion.
An arrow onthe sidewall ofthe tire indicates
its correc tdirection ofrotat ion. Storing
wheels
Stor ewheels thatarenot being usedinacool,
dry and preferably darkplace. Protectthe tires
from oil,grease, gasoline anddiesel. Mounting
awheel
Prepa ringthevehicle X
Stop thevehicle onsolid, non-slippery and
level ground.
X Apply theelectric parking brakemanually.
X Bring thefront wheels intothestraight-
ahead position.
X Shift thetrans mission toposition 005D.
X Switch offthe engine. X
Vehicles withoutKEYLESS-GO: remove
the Smart Keyfrom theignition lock.
X Vehicles
withKEYL ESS-GO start-func-
tion orKEYL ESS-GO: openthedriver's
door.
The vehicle electron icsare now inposition
0092. This isthe same as“key removed”.
X Vehicles
withKEYL ESS-GO start-func-
tion orKEYL ESS-GO: removetheStart /
Stop button fromtheignition lock
(Y page 125).
X Make surethattheengine cannotbe start ed
via your smartphon e(Y page 84).
X Ifincluded inthe vehicle equipment, remove
the tire- change toolkitfrom thevehicle.
X Safeguard thevehicle against rollingaway
(Y page 145).
i Apart
fromcertaincount ry-specific varia-
tions, thevehicles arenot equipped witha
tire- change toolkit.Some toolsforchanging
a wheel arespecific tothe vehicle. Formore
inform ationonwhich toolsarerequired to
perform awheel change onyour vehicle,
consult aqualified specialist workshop.
Necessary tire-changing toolscaninclude,
for example:
R Jack
R Wheel chock
R Lug wrench
Securing thevehicle toprevent itfrom
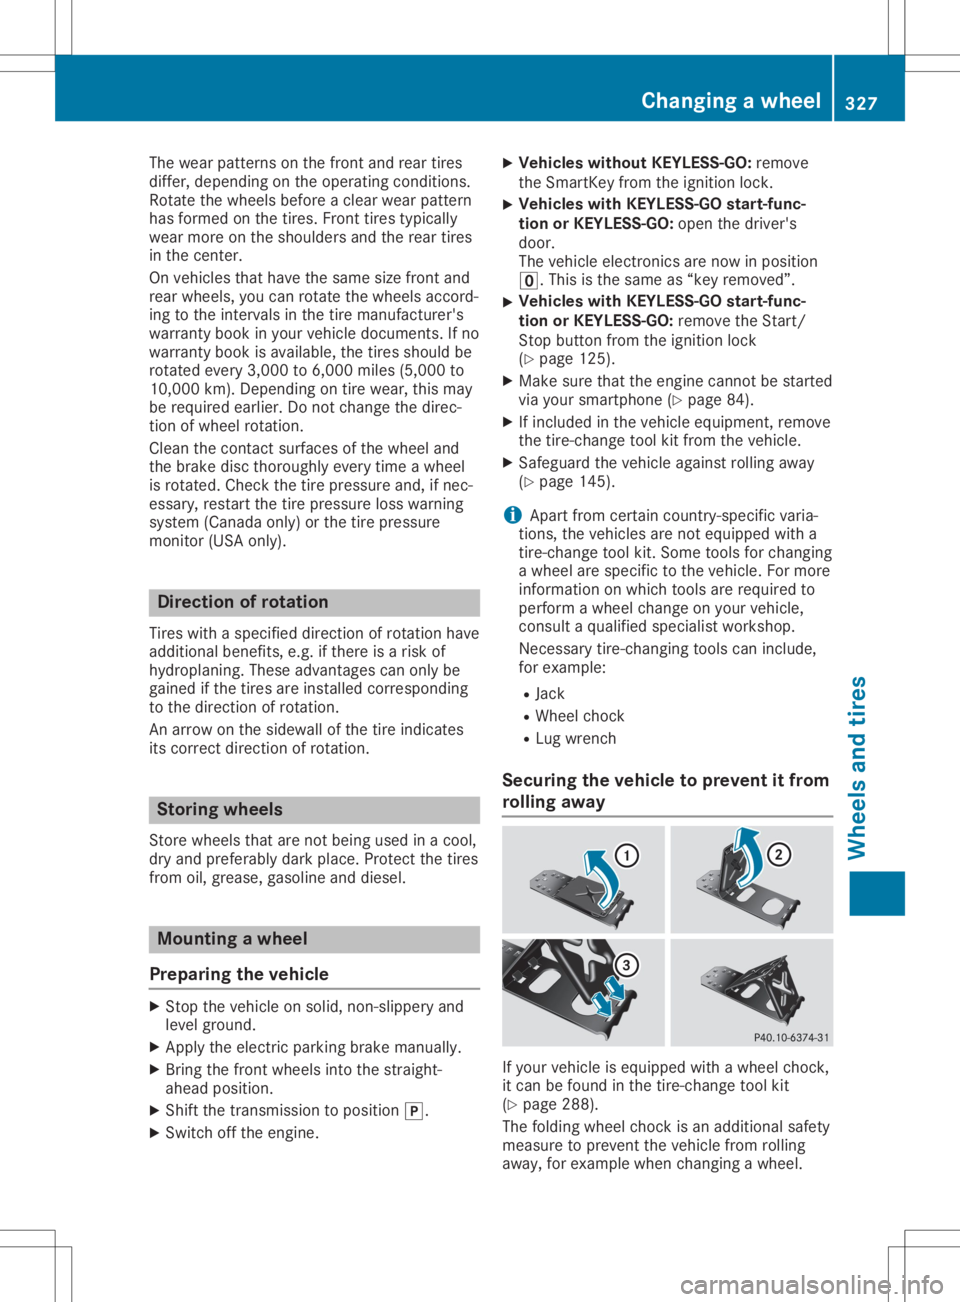
rolling away If
your vehicle isequipped withawheel chock,
it can befound inthe tire- change toolkit
(Y page 288).
The folding wheelchock isan additional safety
measure toprevent thevehicle fromrolling
away ,for example whenchanging awheel. Changing
awheel
327Wheels andtires Z
Page 338 of 346
Other
identifications, forexample:
R 0W-30
R 5W-30
R 5W-40 Fuel
Importa ntsafety notes G
WARNING
Fuel ishighly flammabl e.Risk offire and
explosion byimproper handlingoffuel.
You must avoid fire,open flames, smoking
and creating sparks.Switchoffthe ignition
before refueling and,ifpresent, switchoff
the auxili aryheating. G
WARNING
Fuels aretoxic andharmful tohealth. There
is arisk ofinjury.
You must avoid fuelscoming intocontact
with skin, eyesandclothes orbeing swal-
lowed.
Do not inhale thefuel vapors. Keepchildren
awa yfrom fuels.
Keep doors andwindows closedduringthe
refueling process.
If you orothers comeintocontactwith fuel,
observe thefollowi ngpoints:
R Immediately rinsethefuel offyour skin
with soap andwater.
R Ifyou getfuel into your eyes, immediately
rinse youreyes throughly withclean
water. Seekmedical attentionimmedi-
ately.
R Seek medical attentionimmediately iffuel
has been swallowed. Donot induce vomit-
ing.
R Immediately changeoutofclothing which
has come intocontactwith fuel. Tank
capacity Model Total
capa-
city Models
with4MATIC 14.8
USgal
(56 .0l) Al
lot her models 13.2
USgal
(50.0 l) Model Of
whic h
reserve Merce
des‑AMGvehic les Approx.
2.1 USgal
(8.0 l) All
other models Approx.
1.6 USgal
(6.0 l) Gasol
ine Fuel
grade
! Do
not use dieselto refue lvehicl eswith a
gaso lineengine. Donot switch onthe igni-
tion ifyou accide ntallyrefuelwith thewrong
fuel .Otherwi se,the fuel willenter thefuel
system. Evensmallamou ntsofthe wrong
fuel couldresul tin dama getothe fuel sys-
tem andtheengine. Notifyaqua lified spe-
cial istworkshop andhave thefuel tank and
fuel lines drained comple tely.
! Only
refue lusi ng premi um-gra deunlea ded
gaso linewith atlea st95 RON thatconforms
to Europe anstandard EN228 oran equ iva-
lent specifi cation.
Fuel ofthis specifi cation cancontain upto
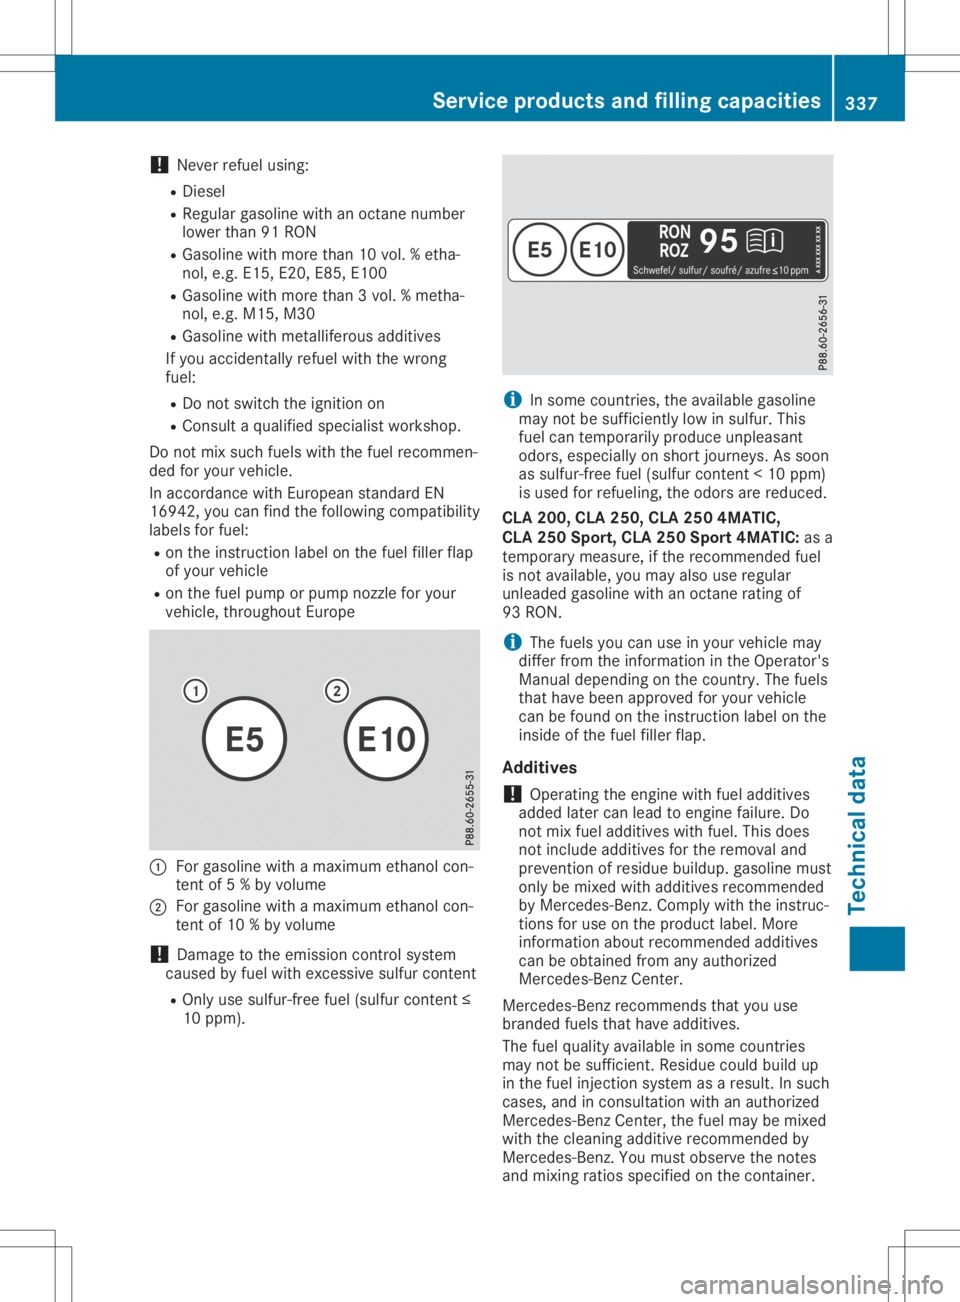
10% ethanol .You rvehicl eis E10-compati-
ble. You canrefue lyou rvehicl eusi ng E10
fuel .
Fuel thatdoes notconform toEN 228 can
lea dto increase dwea ras wel las dama geto
the fuel system, engineandexhau stsystem.
! Only
usethefuel recommende d.Opera ting
the vehicl ewith other fuelscan leadto dam-
age tothe fuel system, engineandexhau st
system.
Observe thenotes onopera tingfluids. 336
Servic
eproducts andfilling capaci tiesTechn ical data
Page 339 of 346
!
Never
refuelusing:
R Diesel
R Regu largasoli newith anoctane number
lower than91RON
R Gasol inewith more than10vol. %etha-
nol, e.g. E15, E20, E85,E100
R Gasol inewith more than3vol. %metha-
nol, e.g. M15, M30
R Gasol inewith metalliferou sadditives
If you accidentally refuelwiththewrong
fuel:
R Do not switch theignition on
R Consult aqual ified speciali stworkshop.
Do not mix such fuels withthefuel recommen-
ded foryour vehicle.
In accordance withEuropean standardEN
16942, youcan find thefollowi ngcompatibili ty
label sfor fuel:
R on the instruction labelonthe fuel filler flap
of your vehicle
R on the fuel pump orpump nozzlefor your
vehicle, throughout Europe 0043
For gasoli newith amaximum ethanolcon-
tent of5% by volume
0044 For gasoli newith amaximum ethanolcon-
tent of10 %by volume
! Damage
tothe emission controlsystem
caused byfuel with excessive sulfurcontent
R Only usesulfur-free fuel(sulfu rcont ent≤
10 ppm ). i
In
some countries, theavail able gasoli ne
may notbesufficiently lowinsulfur. This
fuel cantemporarily produceunpleasa nt
odors, especial lyon short journeys. Assoon
as sulfur-free fuel(sulfu rcont ent<10 ppm)
is used forrefueling, theodors arereduced.
CLA 200, CLA250, CLA2504MATIC,
CLA 250Sport, CLA250Sport 4MATIC: asa
temporary measure,ifthe recommended fuel
is not avail able, youmay alsouseregula r
unleade dgasoli newith anoctane ratingof
93 RON.
i The
fuels youcan useinyour vehicle may
differ fromtheinformation inthe Operator's
Manual depending onthe country. Thefuels
that have been approved foryour vehicle
can befound onthe instruction labelonthe
inside ofthe fuel filler flap.
Additives ! Operating
theengine withfueladditives
added latercanlead toengine failure.Do
not mix fuel additives withfuel. Thisdoes
not include additives forthe removal and
prevention ofresidue buildup. gasoli nemust
only bemixed withadditives recommended
by Mercedes-Benz .Comply withtheinstruc-
tions foruse onthe product label.More
information aboutrecommended additives
can beobtained fromanyauthorized
Mercedes-Benz Center.
Mercedes-Benz recommendsthatyouuse
branded fuelsthathave additives.
The fuel qualityavail able insome countries
may notbesufficient. Residuecould buildup
in the fuel inject ionsystem asaresult. Insuch
cases, andinconsultation withanauthorized
Mercedes-Benz Center,thefuel may bemixed
with thecleaning additiverecommended by
Mercedes-Benz .You must observe thenotes
and mixing ratiosspecified onthe cont ainer. Service
productsand fillingcapacities
337Technicaldat a Z