2020 MASERATI GRANTURISMO CONVERTIBLE wheel
[x] Cancel search: wheelPage 71 of 296
•Mounting posts must be properly
installed, if not equipped from the
factory. Failure to properly follow
floor mat installation or mounting
can cause interference with the
brake pedal and accelerator pedal
operation causing loss of control of
the vehicle.
Tires
• Examine tires for excessive tread
wear and uneven wear patterns.
• Check for stones, nails, glass, or
other objects lodged in the tread or
sidewall.
• Inspect the tread for cuts and cracks.
• Inspect sidewalls for cuts, cracks and
bulges.
• Check the wheel nuts for tightness.
• Check the tires (see “Tire Inflation
Pressure” chapter in section
“Features and Specifications”) for
proper cold inflation pressure.
Lights and Indicator Lights
• Have someone observe the
operation of exterior lights while
you operate the controls (see
“Lights” chapter in section
“Understanding the Vehicle”).
• Check turn signal and high beam
indicator lights on the instrumentcluster (see “Instrument Cluster”
chapter in section “Dashboard
Instruments and Controls”).
Door Latches
• Check for positive closing, latching,
and locking of doors and trunk lid
(see chapter “Doors” and “Open and
Close the Trunk Lid” in this section).
Fluid Leaks
• Check area under vehicle after
overnight parking for recent fluid
leaks (oil, fuel, etc.).
• If gasoline fumes are detected or
fluid leaks are suspected, contact an
Authorized Maserati Dealer.
WARNING!
California Proposition 65
Operating, servicing and maintaining
a passenger vehicle or off-road vehicle
can expose you to chemicals including
such as, engine exhaust, carbon
monoxide, phthalates and lead, that
which are know to the State of
California to cause cancer and birth
defects or other reproductive harm. To
minimize exposure, avoid breathing
exhaust, do not idle the engine except
as necessary, service your vehicle in a
well-ventilated area and wear glovesor wash your hands frequently when
servicing your vehicle. For more
information go to:
www.P65Warnings.ca.gov/passenger-
vehicle
Before Starting
2
67
Page 73 of 296
3 – Understanding the Vehicle
Interior Components..................................... 70
Front Seats............................................ 74
Comfort Pack Front Seats.................................. 76
Rear Seats............................................. 78
Steering Wheel Adjustment................................ 79
Rearview Mirrors........................................ 80
Lights................................................ 82
Windshield Wipers and Washers............................ 89
Soft Top............................................... 92
Windstop (optional)..................................... 100
Interior Features....................................... 102
Cargo Area........................................... 107
HomeLink (for versions/markets, where provided).............. 108
Air Conditioning Distribution............................. 112
Sport Skyhook Suspension
(for versions/markets, where provided)..................... 114
69
Page 75 of 296

1Adjustable side air vents.
2Hood lid opening lever.
3Headlight and fog light switch.
4"Mode" and adjust "+" and
"–" buttons.
5Front parking sensors
disabling/enabling.
6Trunk lid opening button.
7Fuel tank door opening button
(see "Refueling" in section
"Driving" for operation).
8Multifunction lever (Cruise
Control, turn signals, headlight
washer and headlight
selection).
9Lower gearshift paddle
"DOWN".
10Instrument cluster.
11Steering wheel height and
depth adjustment lever.
12Upper air vent.
13Sun radiation sensor.
14Horn control.
15Multimedia controls repeated
on the steering wheel.
16Windshield/headlight
wiper/washer control lever.17Upper gearshift paddle "UP".
18Ignition switch.
19Clock.
20Central adjustable air vents.
21MTC+ display.
22Glove compartment.
23Side window vents.
Front Dome Console
Components
1Reading lights control button.
2Central light control button.
3Reading lights.
4Central light.5Anti-lift and anti-intrusion
alarm system deactivation
button.
6Paired phone hands-free
microphone.
Understanding the Vehicle
3
71
Page 80 of 296

(Continued)
rear seats only when the front seat is
stopped. Make sure that passengers in
the rear seats (especially children) do
not touch the seat or any of it's
components when it's moving.Comfort Pack Front Seats
This includes:
• heating of the front seats;
• driver seat, steering wheel and
outside rearview mirrors memory
position (see paragraph "Driver
Memory Seat" in this chapter).
Front Heated Seats
The front seats are equipped with
heaters in both seat cushions and
seatbacks.
WARNING!
•Persons with low skin sensitivity
because of advanced age, chronic
illness, diabetes, spinal cord injury,
medication, alcohol use, exhaustion
or other physical conditions must be
careful when using the seat heater. It
may cause irritation even at low
temperatures, especially if used for
long periods of time.
•Do not place anything on the seat
that insulates against heat, such as a
blanket or cushion. This may cause
the seat heater to overheat.
NOTE:
Seat heating also works with engine
off and key in ignition switch inACC
orMAR (ON)position. To avoid
discharging the battery, it is
recommended to activate the feature
with engine running.
The heating is activated by turning
control on the outer side of the seat
cushion.
When this function is active for one or
more seats, the relative warning light
will illuminate on the display. Using
this control, heating can be adjusted
to 3 different levels.
NOTE:
•Turn off the heating system when
not required, to prevent unnecessary
power wastage.
Understanding the Vehicle
3
76
Page 81 of 296
•Once a heat setting is selected, heat
will be felt within 2 to 5 minutes.
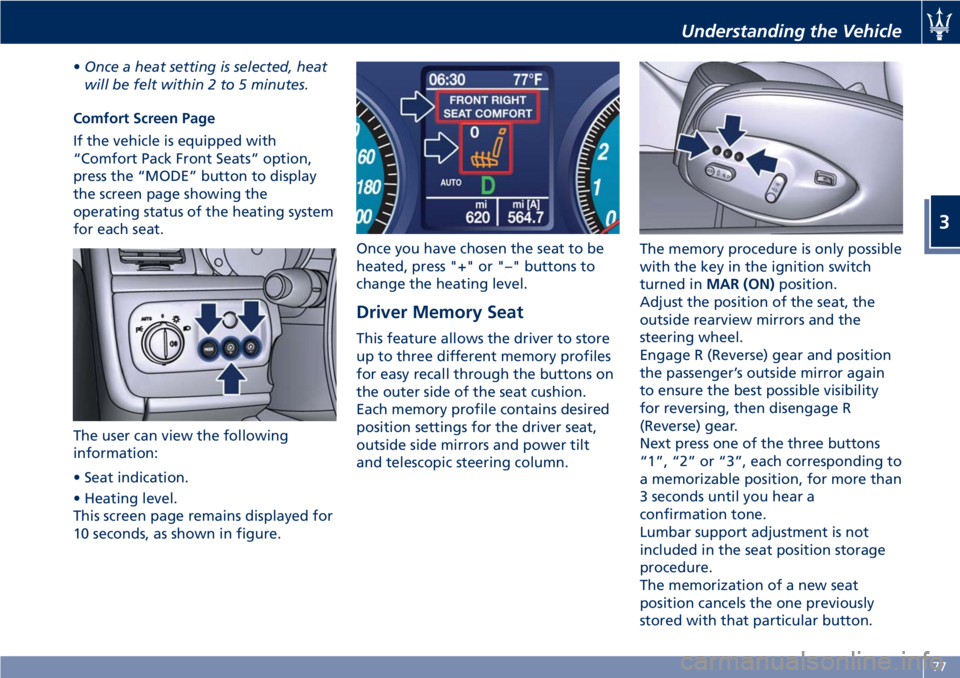
Comfort Screen Page
If the vehicle is equipped with
“Comfort Pack Front Seats” option,
press the “MODE” button to display
the screen page showing the
operating status of the heating system
for each seat.
The user can view the following
information:
• Seat indication.
• Heating level.
This screen page remains displayed for
10 seconds, as shown in figure.Once you have chosen the seat to be
heated, press "+" or "–" buttons to
change the heating level.
Driver Memory Seat
This feature allows the driver to store
up to three different memory profiles
for easy recall through the buttons on
the outer side of the seat cushion.
Each memory profile contains desired
position settings for the driver seat,
outside side mirrors and power tilt
and telescopic steering column.The memory procedure is only possible
with the key in the ignition switch
turned inMAR (ON)position.
Adjust the position of the seat, the
outside rearview mirrors and the
steering wheel.
Engage R (Reverse) gear and position
the passenger’s outside mirror again
to ensure the best possible visibility
for reversing, then disengage R
(Reverse) gear.
Next press one of the three buttons
“1”, “2” or “3”, each corresponding to
a memorizable position, for more than
3 seconds until you hear a
confirmation tone.
Lumbar support adjustment is not
included in the seat position storage
procedure.
The memorization of a new seat
position cancels the one previously
stored with that particular button.
Understanding the Vehicle
3
77
Page 83 of 296
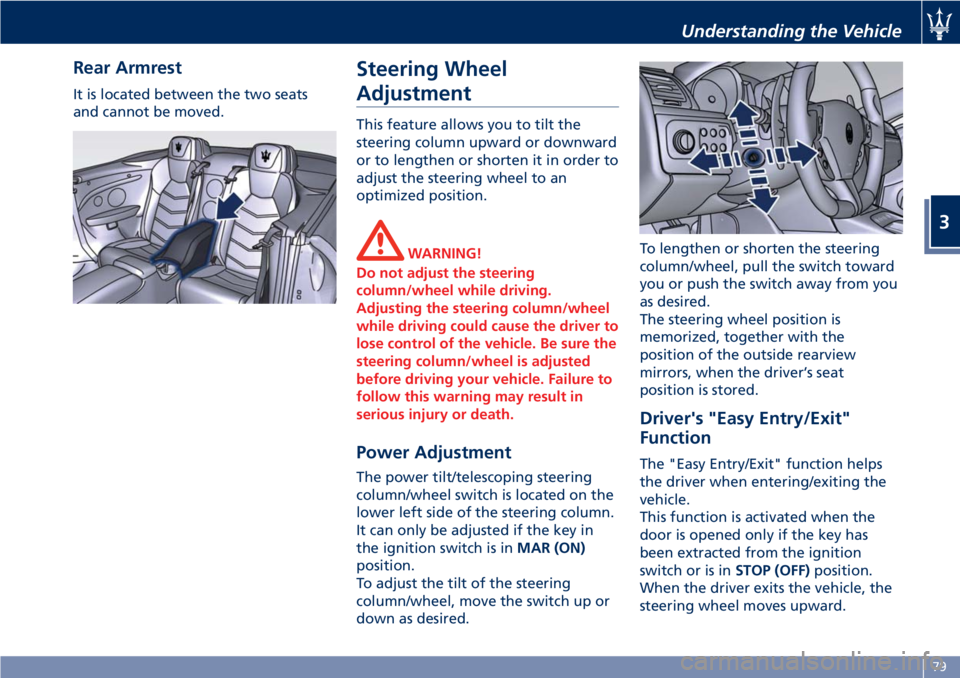
Rear Armrest
It is located between the two seats
and cannot be moved.
Steering Wheel
Adjustment
This feature allows you to tilt the
steering column upward or downward
or to lengthen or shorten it in order to
adjust the steering wheel to an
optimized position.
WARNING!
Do not adjust the steering
column/wheel while driving.
Adjusting the steering column/wheel
while driving could cause the driver to
lose control of the vehicle. Be sure the
steering column/wheel is adjusted
before driving your vehicle. Failure to
follow this warning may result in
serious injury or death.
Power Adjustment
The power tilt/telescoping steering
column/wheel switch is located on the
lower left side of the steering column.
It can only be adjusted if the key in
the ignition switch is inMAR (ON)
position.
To adjust the tilt of the steering
column/wheel, move the switch up or
down as desired.To lengthen or shorten the steering
column/wheel, pull the switch toward
you or push the switch away from you
as desired.
The steering wheel position is
memorized, together with the
position of the outside rearview
mirrors, when the driver’s seat
position is stored.
Driver's "Easy Entry/Exit"
Function
The "Easy Entry/Exit" function helps
the driver when entering/exiting the
vehicle.
This function is activated when the
door is opened only if the key has
been extracted from the ignition
switch or is inSTOP (OFF)position.
When the driver exits the vehicle, the
steering wheel moves upward.
Understanding the Vehicle
3
79
Page 84 of 296
On re-entry the driver finds the power
steering wheel raised. After sitting
down and closing the door, upon
turning the key toMAR (ON)position,
the power steering wheel moves back
to the normal driving position.Rearview Mirrors
Outside Mirrors
Outside mirrors can be adjusted
electrically.
The mirrors can be closed electrically
and will yield in both directions in case
of a collision.
The outside mirrors are electrochromic,
which means, they automatically
operate an anti-glare function by
gradually shading as the light hitting
the mirrors increases.
The outside rearview electrochromic
mirrors work in conjunction with the
inside rearview electrochromic mirror.
NOTE:
The mirrors can be adjusted electrically
only with key in the ignition switch in
MAR (ON)position.
Mirrors Positioning
The power mirror control is located on
the driver's door trim panel.
The power mirror control consist of an
external selector dial and a four-way
mirror control switch.
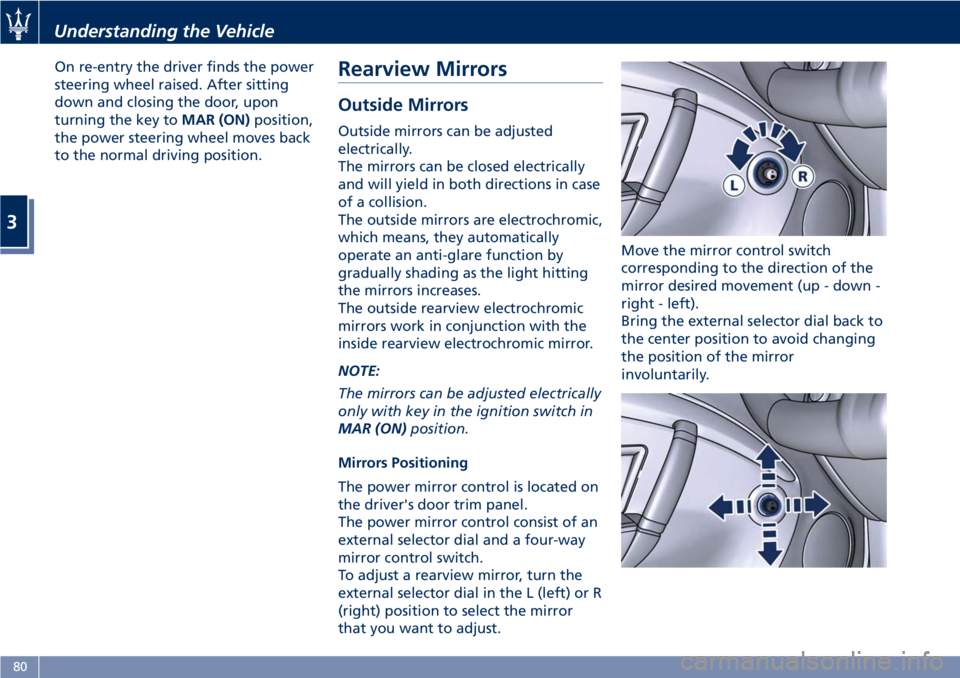
To adjust a rearview mirror, turn the
external selector dial in the L (left) or R
(right) position to select the mirror
that you want to adjust.Move the mirror control switch
corresponding to the direction of the
mirror desired movement (up - down -
right - left).
Bring the external selector dial back to
the center position to avoid changing
the position of the mirror
involuntarily.
Understanding the Vehicle
3
80
Page 86 of 296
The table indicates the possible on/off
conditions, according to the position
of the light switch, when R (Reverse)
gear is not engaged.
CAUTION!
To avoid damage to the mirror during
cleaning, never spray any cleaning
solution directly onto the mirror. Apply
the solution onto a clean cloth and
wipe the mirror clean.
Lights
The external lights and turn signals
turn on only with the key in the
ignition switch inMAR (ON)position.
Only the parking lights can be turned
on at any time.
The external lights can be turned on
and off manually or automatically,
according to the brightness of the
light outside.
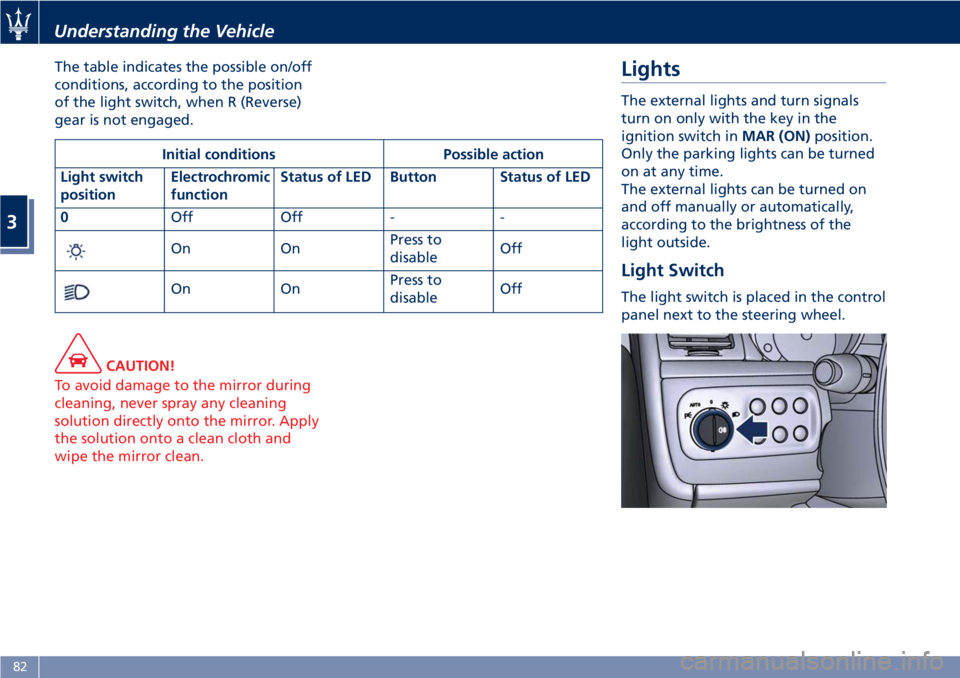
Light Switch
The light switch is placed in the control
panel next to the steering wheel.
Initial conditions Possible action
Light switch
positionElectrochromic
functionStatus of LED Button Status of LED
0Off Off - -
On OnPress to
disableOff
On OnPress to
disableOff
Understanding the Vehicle
3
82