2020 LINCOLN CONTINENTAL light
[x] Cancel search: lightPage 132 of 609

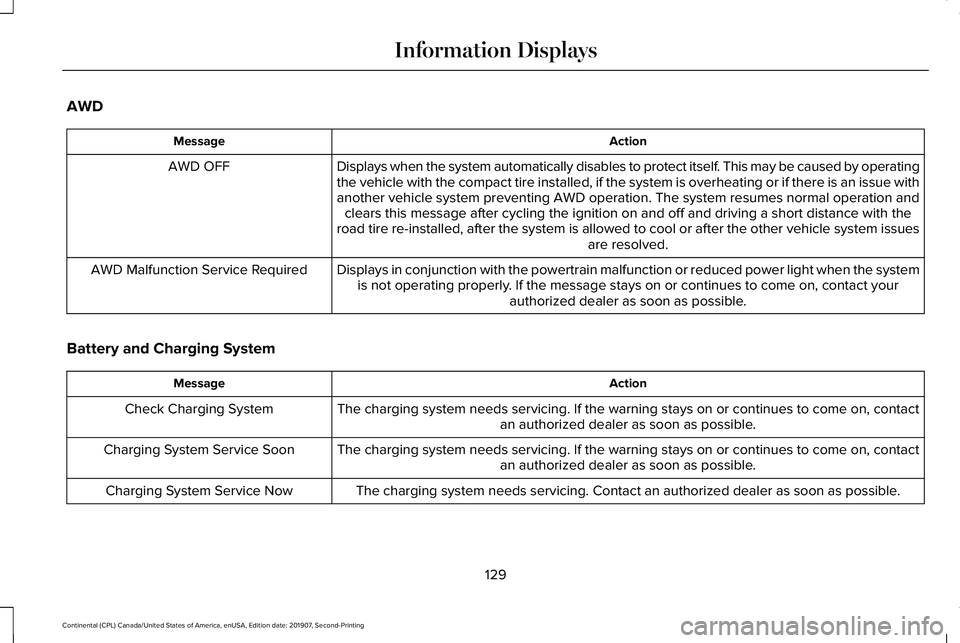
AWD
Action
Message
Displays when the system automatically disables to protect itself. This may be caused by operating
the vehicle with the compact tire installed, if the system is overheatin\
g or if there is an issue withanother vehicle system preventing AWD operation. The system resumes norm\
al operation and clears this message after cycling the ignition on and off and driving a \
short distance with the
road tire re-installed, after the system is allowed to cool or after the\
other vehicle system issues are resolved.
AWD OFF
Displays in conjunction with the powertrain malfunction or reduced power\
light when the systemis not operating properly. If the message stays on or continues to come on, contact your authorized dealer as soon as possible.
AWD Malfunction Service Required
Battery and Charging System Action
Message
The charging system needs servicing. If the warning stays on or continue\
s to come on, contactan authorized dealer as soon as possible.
Check Charging System
The charging system needs servicing. If the warning stays on or continue\
s to come on, contactan authorized dealer as soon as possible.
Charging System Service Soon
The charging system needs servicing. Contact an authorized dealer as soo\
n as possible.
Charging System Service Now
129
Continental (CPL) Canada/United States of America, enUSA, Edition date: 201907, Second-Printing Information Displays
Page 148 of 609

Navigation Display Area.
D
Status Bar.
E
Speedometer Display Area.
F
Signaling and Traffic Indication
Displays direction indicators, blind spot
information (if direction indicators are active)
and cross traffic alert.
Left Information Group
Displays incoming call information.
ADAS Display Area
Displays ACC and lane keeping system
status and warnings.
Navigation Display Area
Displays navigation next turn instructions. Status Bar
Displays distance to empty (DTE), time and
outside air temperature. Next to DTE, the
fuel gauge fill color changes to yellow in low
fuel conditions. You can switch off the status
bar in the HUD settings menu.
Speedometer Display Area
Displays current vehicle speed, speed limit
(if available in the map database) and your
transmission gear selection.
Configuring The Head Up Display
You can control the system's options through
the information display by using the HUD,
OK and arrow buttons on the right-hand side
of your steering wheel.
See General
Information (page 117). You can adjust the
display according to your height to make
viewing the content easier. You can also
adjust what content displays and the
brightness of the content. The system's
options appear in the instrument cluster
while the updates happen in the HUD. Note:
If HUD On is unchecked, other options
of the system are hidden.
Note: The HUD menu automatically closes
after a certain period of inactivity.
Note: The HUD image brightness
automatically adjusts to the brightness of
the ambient environment. You have the
ability to adjust the brightness further
according to your preference.
Note: In some instances, sunlight can cause
some reflections in and around the HUD
image.
145
Continental (CPL) Canada/United States of America, enUSA, Edition date: 201907, Second-Printing Information Displays
Page 150 of 609

Maintaining Your Head Up Display
•
Do not place objects onto the transparent
cover, as they may block you from seeing
portions of the image. These objects
could also damage the cover and affect
the quality of the projected image.
• The system uses a special windshield
designed to provide the optimum image
quality. You must replace the windshield
in a vehicle with this system with a
certified original equipment
manufactured (OEM) head up display
windshield. Replacing this system's
windshield with a non-head up display
windshield causes a double image or
distorted image. Have an authorized
dealer or authorized repair facility replace
the windshield.
• Light conditions such as oncoming
headlamps, sunrise, sunset or reflections
off of wet road surfaces can affect the
driver's ability to see the HUD image.
• Clean the windshield often for optimal
HUD performance. See Cleaning the
Windows and Wiper Blades (page 344).
147
Continental (CPL) Canada/United States of America, enUSA, Edition date: 201907, Second-Printing Information Displays
Page 158 of 609

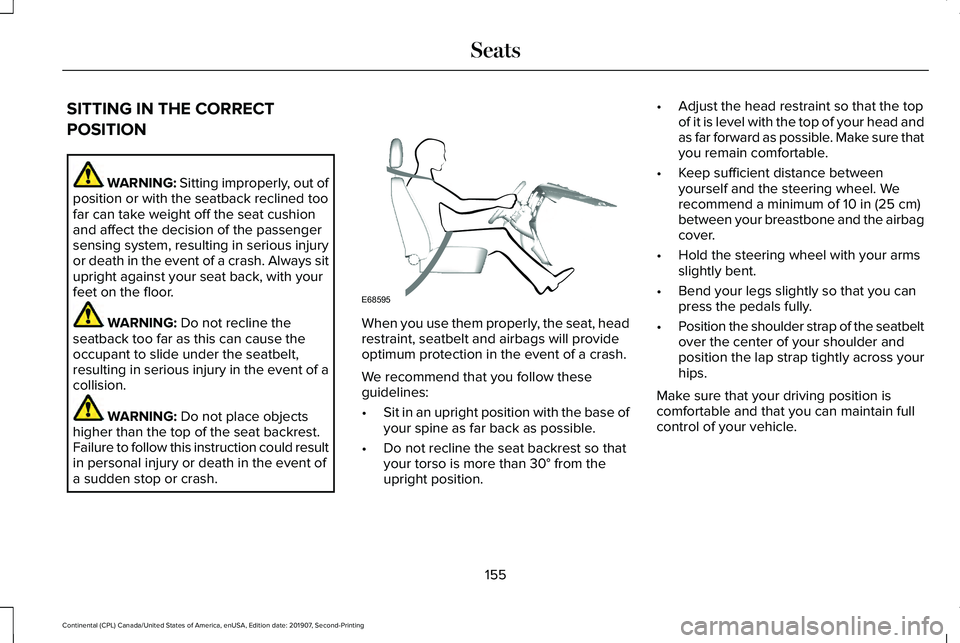
SITTING IN THE CORRECT
POSITION
WARNING: Sitting improperly, out of
position or with the seatback reclined too
far can take weight off the seat cushion
and affect the decision of the passenger
sensing system, resulting in serious injury
or death in the event of a crash. Always sit
upright against your seat back, with your
feet on the floor. WARNING: Do not recline the
seatback too far as this can cause the
occupant to slide under the seatbelt,
resulting in serious injury in the event of a
collision. WARNING:
Do not place objects
higher than the top of the seat backrest.
Failure to follow this instruction could result
in personal injury or death in the event of
a sudden stop or crash. When you use them properly, the seat, head
restraint, seatbelt and airbags will provide
optimum protection in the event of a crash.
We recommend that you follow these
guidelines:
•
Sit in an upright position with the base of
your spine as far back as possible.
• Do not recline the seat backrest so that
your torso is more than
30° from the
upright position. •
Adjust the head restraint so that the top
of it is level with the top of your head and
as far forward as possible. Make sure that
you remain comfortable.
• Keep sufficient distance between
yourself and the steering wheel. We
recommend a minimum of
10 in (25 cm)
between your breastbone and the airbag
cover.
• Hold the steering wheel with your arms
slightly bent.
• Bend your legs slightly so that you can
press the pedals fully.
• Position the shoulder strap of the seatbelt
over the center of your shoulder and
position the lap strap tightly across your
hips.
Make sure that your driving position is
comfortable and that you can maintain full
control of your vehicle.
155
Continental (CPL) Canada/United States of America, enUSA, Edition date: 201907, Second-Printing SeatsE68595
Page 172 of 609

even at low temperatures, especially if
used for long periods of time. Do not place
anything on the seat that insulates against
heat, such as a blanket or cushion. This
may cause the heated seat to overheat.
Do not puncture the seat with pins,
needles or other pointed objects. This may
damage the heating element which may
cause the heated seat to overheat. An
overheated seat may cause serious
personal injury.
Do not do the following:
• Place heavy objects on the seat.
• Operate the heated seat if water or any
other liquid spills on the seat. Allow the
seat to dry thoroughly.
• Operate the heated seats unless the
engine is running. Doing so can cause
the battery to lose charge. Press the heated seat symbol to cycle
through the various heat settings and off.
More indicator lights indicate warmer
settings.
Rear Seats
WARNING: Persons who are unable
to feel pain to the skin because of
advanced age, chronic illness, diabetes,
spinal cord injury, medication, alcohol use,
exhaustion, or other physical conditions,
must exercise care when using the seat
heater. The seat heater may cause burns
even at low temperatures, especially if
used for long periods of time. Do not place
anything on the seat that insulates against
heat, such as a blanket or cushion, because this may cause the seat heater to
overheat. Do not puncture the seat with
pins, needles, or other pointed objects
because this may damage the heating
element which may cause the seat heater
to overheat. An overheated seat may
cause serious personal injury.
Do not do the following:
• Place heavy objects on the seat.
• Operate the seat heater if water or any
other liquid is spilled on the seat. Allow
the seat to dry thoroughly.
• Operate the heated seats unless the
engine is running. Doing so can cause
the battery to lose charge.
The rear seat heat controls are located on
the rear of the center console.
169
Continental (CPL) Canada/United States of America, enUSA, Edition date: 201907, Second-Printing SeatsE146322
Page 173 of 609

Press the heated seat symbol to cycle
through the various heat settings and off.
More indicator lights indicate warmer
settings.
The heated seat module resets at every
ignition run cycle. While the ignition is on,
press the high or low heated seat switch to
enable heating mode. When activated, they
will turn off automatically when you turn the
engine off.
CLIMATE CONTROLLED SEATS (IF
EQUIPPED)
Heated Seats WARNING:
Use caution when using
the heated seat if you are unable to feel
pain to your skin because of advanced
age, chronic illness, diabetes, spinal cord
injury, medication, alcohol use, exhaustion
or other physical conditions. The heated
seat could cause burns even at low
temperatures, especially if used for long
periods of time. Failure to follow this
instruction could result in personal injury. WARNING:
Do not poke sharp
objects into the seat cushion or seat
backrest. This could damage the heated
seat element and cause it to overheat.
Failure to follow this instruction could result
in personal injury. WARNING:
Do not place anything on
the seat that blocks the heat, for example
a seat cover or a cushion. This could cause
the seat to overheat. Failure to follow this
instruction could result in personal injury.
Note: The heated seats switch on during a
remote start if they are enabled through the
information display.
See General
Information (page 117).
Note: The heated seats may also switch on
when you start your vehicle if they were on
when you previously switched your vehicle
off.
Note: Do not do the following:
• Place heavy objects on the seat.
• Operate the seat heater if water or any
other liquid spills on the seat. Allow the
seat to dry thoroughly.
170
Continental (CPL) Canada/United States of America, enUSA, Edition date: 201907, Second-Printing SeatsE146322
Page 174 of 609

Press this symbol to cycle through the
various heat settings and off. More indicator
lights indicate warmer settings.
The rear heated seat controls are on the rear
of the center console.
Ventilated Seats
Note:
The ventilated seats switch on during
a remote start if they are enabled through
the information display. See General
Information (page 117).
Note: The ventilated seats may also switch
on when you start your vehicle if they were
on when you previously switched your
vehicle off.
Note: Do not do the following: •
Place cargo or objects under the seats.
They may block the air intake causing
the air vents to not work properly.
• Spill liquid on the front seats. This may
cause the air vent holes to become
blocked and not work properly.
The ventilated seats only function when the
engine is running. Press this symbol to cycle through the
various ventilation settings and off. More
indicator lights indicate higher fan speeds.
The rear ventilated seat controls are on the
rear of the center console.
If the engine falls below 350 RPM while the
ventilated seats are on, the feature switches
itself off. You need to reactivate it.
Note:
To improve comfort, use the ventilated
seats along with the vehicle ’s air
conditioning system.
171
Continental (CPL) Canada/United States of America, enUSA, Edition date: 201907, Second-Printing SeatsE146322 E224689
Page 175 of 609

UNIVERSAL GARAGE DOOR
OPENER
HomeLink Wireless Control System
WARNING: Do not use the system
with any garage door opener that does not
have the safety stop and reverse feature
as required by U.S. Federal Safety
Standards (this includes any garage door
opener manufactured before April 1, 1982).
A garage door opener which cannot detect
an object, signaling the door to stop and
reverse, does not meet current federal
safety standards. Using a garage door
opener without these features increases
the risk of serious injury or death.
Note: Make sure that the garage door and
security device are free from obstruction
when you are programming. Do not program
the system with the vehicle in the garage.
Note: Make sure you keep the original
remote control transmitter for use in other
vehicles as well as for future system
programming. Note:
We recommend that upon the sale or
lease termination of your vehicle, you erase
the programmed function buttons for security
reasons. See
Erasing the Function Button
Codes later in this section.
Note: You can program a maximum of three
devices. To change or replace any of the
three devices after it has been initially
programmed, you must first erase the current
settings. See
Erasing the Function Button
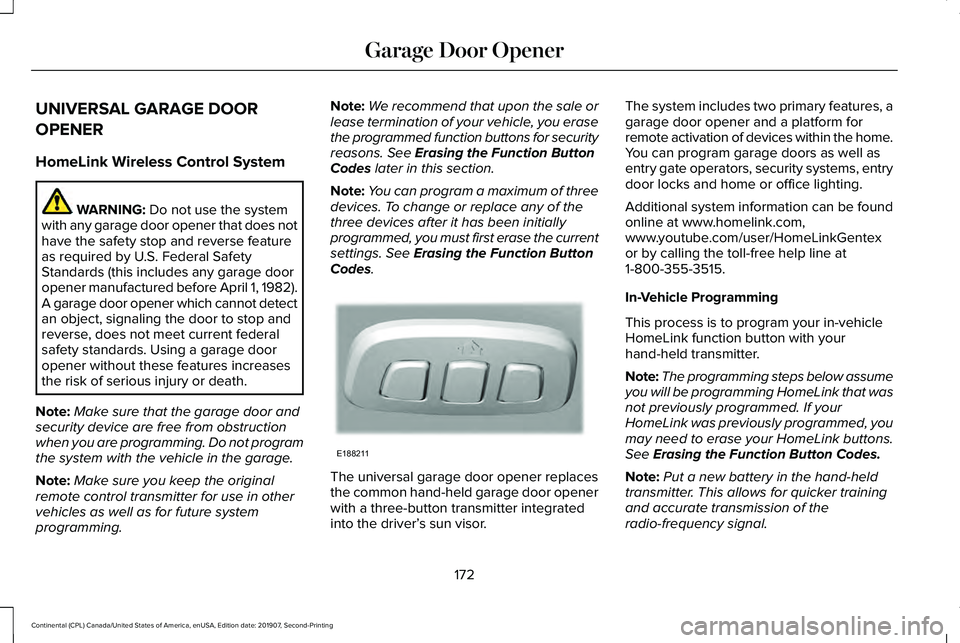
Codes. The universal garage door opener replaces
the common hand-held garage door opener
with a three-button transmitter integrated
into the driver’
s sun visor. The system includes two primary features, a
garage door opener and a platform for
remote activation of devices within the home.
You can program garage doors as well as
entry gate operators, security systems, entry
door locks and home or office lighting.
Additional system information can be found
online at www.homelink.com,
www.youtube.com/user/HomeLinkGentex
or by calling the toll-free help line at
1-800-355-3515.
In-Vehicle Programming
This process is to program your in-vehicle
HomeLink function button with your
hand-held transmitter.
Note:
The programming steps below assume
you will be programming HomeLink that was
not previously programmed. If your
HomeLink was previously programmed, you
may need to erase your HomeLink buttons.
See
Erasing the Function Button Codes.
Note: Put a new battery in the hand-held
transmitter. This allows for quicker training
and accurate transmission of the
radio-frequency signal.
172
Continental (CPL) Canada/United States of America, enUSA, Edition date: 201907, Second-Printing Garage Door OpenerE188211