2020 LINCOLN CONTINENTAL brakes
[x] Cancel search: brakesPage 246 of 609
Note:
When you are following a vehicle and
you switch on a direction indicator, adaptive
cruise control may provide a small temporary
acceleration to help you pass.
Your vehicle maintains a consistent gap from
the vehicle ahead until:
• The vehicle in front of you accelerates to
a speed above the set speed.
• The vehicle in front of you moves out of
the lane you are in.
• You set a new gap distance.
The system applies the brakes to slow your
vehicle to maintain a safe gap distance from
the vehicle in front. The system only applies
limited braking. You can override the system
by applying the brakes.
If the system determines that its maximum
braking level is not sufficient, an audible
warning sounds, a message appears in the
information display and an indicator flashes
when the system continues to brake. Take
immediate action. Following a Vehicle to a Complete Stop
If your vehicle follows a vehicle to a complete
stop and remains stationary for less than
three seconds, your vehicle accelerates from
a stationary position to follow the vehicle
ahead. If your vehicle follows a vehicle to
a complete stop and remains
stationary for more than three
seconds, press to follow the vehicle ahead.
Or press the accelerator pedal.
Setting the Gap Distance
You can decrease or increase the distance
between your vehicle and the vehicle in front
by pressing the gap control. Press and release to decrease the
gap distance.
Press and release to increase the
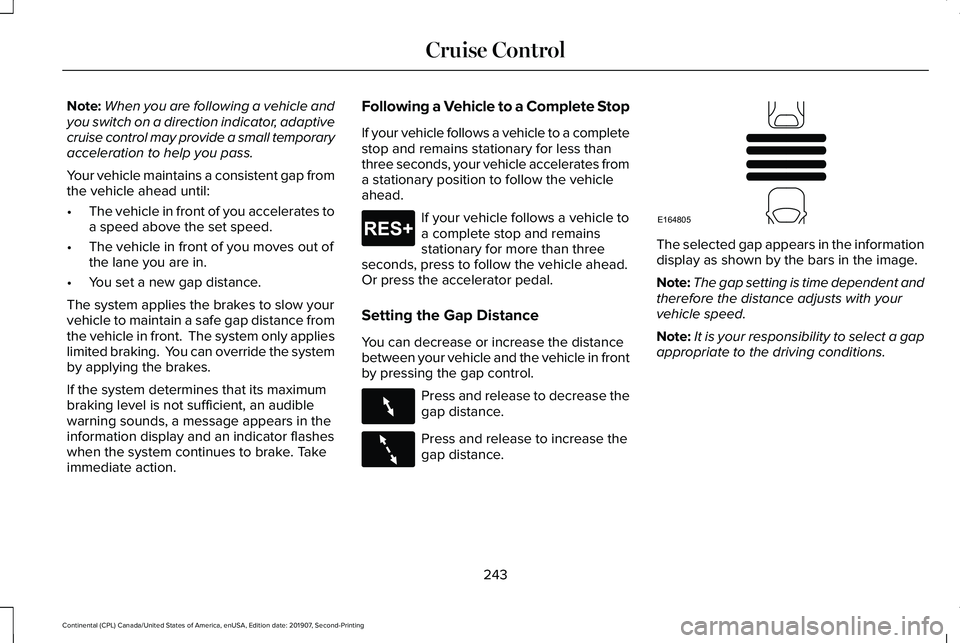
gap distance. The selected gap appears in the information
display as shown by the bars in the image.
Note:
The gap setting is time dependent and
therefore the distance adjusts with your
vehicle speed.
Note: It is your responsibility to select a gap
appropriate to the driving conditions.
243
Continental (CPL) Canada/United States of America, enUSA, Edition date: 201907, Second-Printing Cruise ControlE265299 E263697 E263696 E164805
Page 247 of 609
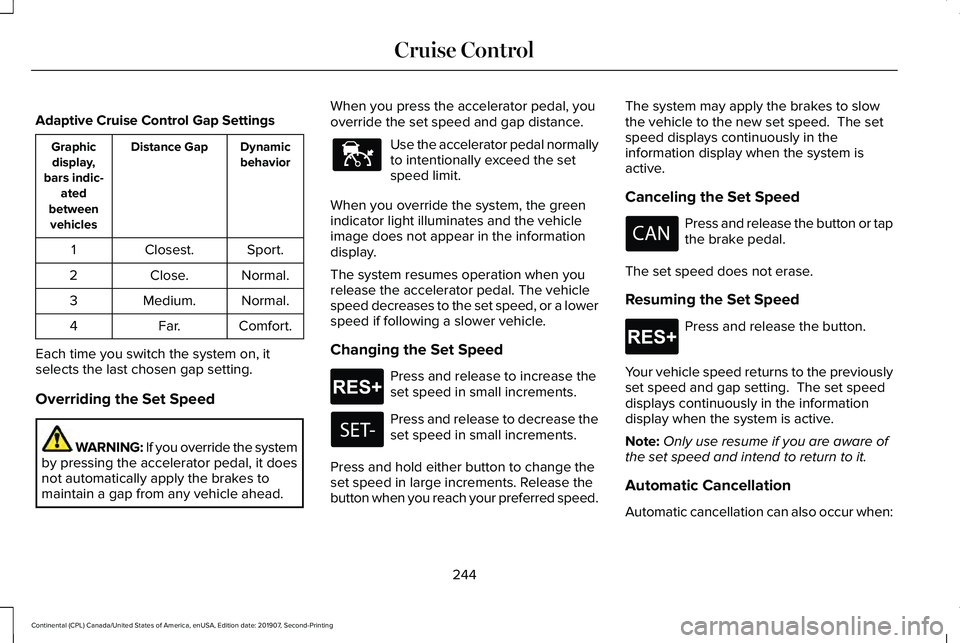
Adaptive Cruise Control Gap Settings
Dynamic
behavior
Distance Gap
Graphic
display,
bars indic- ated
between vehicles
Sport.
Closest.
1
Normal.
Close.
2
Normal.
Medium.
3
Comfort.
Far.
4
Each time you switch the system on, it
selects the last chosen gap setting.
Overriding the Set Speed WARNING: If you override the system
by pressing the accelerator pedal, it does
not automatically apply the brakes to
maintain a gap from any vehicle ahead. When you press the accelerator pedal, you
override the set speed and gap distance. Use the accelerator pedal normally
to intentionally exceed the set
speed limit.
When you override the system, the green
indicator light illuminates and the vehicle
image does not appear in the information
display.
The system resumes operation when you
release the accelerator pedal. The vehicle
speed decreases to the set speed, or a lower
speed if following a slower vehicle.
Changing the Set Speed Press and release to increase the
set speed in small increments.
Press and release to decrease the
set speed in small increments.
Press and hold either button to change the
set speed in large increments. Release the
button when you reach your preferred speed. The system may apply the brakes to slow
the vehicle to the new set speed. The set
speed displays continuously in the
information display when the system is
active.
Canceling the Set Speed
Press and release the button or tap
the brake pedal.
The set speed does not erase.
Resuming the Set Speed Press and release the button.
Your vehicle speed returns to the previously
set speed and gap setting. The set speed
displays continuously in the information
display when the system is active.
Note: Only use resume if you are aware of
the set speed and intend to return to it.
Automatic Cancellation
Automatic cancellation can also occur when:
244
Continental (CPL) Canada/United States of America, enUSA, Edition date: 201907, Second-Printing Cruise ControlE144529 E265299 E265299
Page 248 of 609

•
The tires lose traction.
• You apply the parking brake.
Park Brake Application
Automatic parking brake application and
cancellation occurs if:
• You unbuckle the seatbelt and open the
door after you stop the vehicle.
• You hold the vehicle at a stop
continuously for more than three minutes.
Hilly Condition Usage
You should select a lower gear when the
system is active in situations such as
prolonged downhill driving on steep grades,
for example in mountainous areas. The
system needs additional engine braking in
these situations to reduce the load on the
vehicle ’s regular brake system to prevent it
from overheating.
Note: An audible alarm sounds and the
system shuts down if it applies brakes for an
extended period of time. This allows the
brakes to cool. The system functions
normally again after the brakes cool. Switching Adaptive Cruise Control Off Press and release the button when
the system is in standby mode, or
switch the ignition off.
Note: You erase the set speed and gap
setting when you switch the system off.
Detection Issues WARNING: On rare occasions,
detection issues can occur due to the road
infrastructures, for example bridges,
tunnels and safety barriers. In these cases,
the system may brake late or
unexpectedly. At all times, you are
responsible for controlling your vehicle,
supervising the system and intervening, if
required. WARNING:
If the system
malfunctions, have your vehicle checked
as soon as possible. The radar sensor has a limited field of view.
It may not detect vehicles at all or detect a
vehicle later than expected in some
situations. The lead vehicle graphic does not
illuminate if the system does not detect a
vehicle in front of you.
245
Continental (CPL) Canada/United States of America, enUSA, Edition date: 201907, Second-Printing Cruise ControlE294678
Page 252 of 609
Switching to Normal Cruise Control
WARNING: Normal cruise control will
not brake when your vehicle is
approaching slower vehicles. Always be
aware of which mode you have selected
and apply the brakes when necessary. The cruise control indicator light
replaces the adaptive cruise
control indicator light if you select
normal cruise control. The gap setting does
not display, and the system does not respond
to lead vehicles. Automatic braking remains
active to maintain set speed.
You can change from adaptive cruise control
to normal cruise control through the
information display.
249
Continental (CPL) Canada/United States of America, enUSA, Edition date: 201907, Second-Printing Cruise ControlE71340
Page 269 of 609
WARNING: The system cannot help
prevent all crashes. Do not rely on this
system to replace driver judgment and the
need to maintain a safe distance and
speed.
Using the Pre-Collision Assist System
The system is active at speeds above
approximately 3 mph (5 km/h) and pedestrian
detection is active at speeds up to
50 mph
(80 km/h). If your vehicle is rapidly approaching another
stationary vehicle, a vehicle traveling in the
same direction as yours, or a pedestrian
within your driving path, the system is
designed to provide three levels of
functionality:
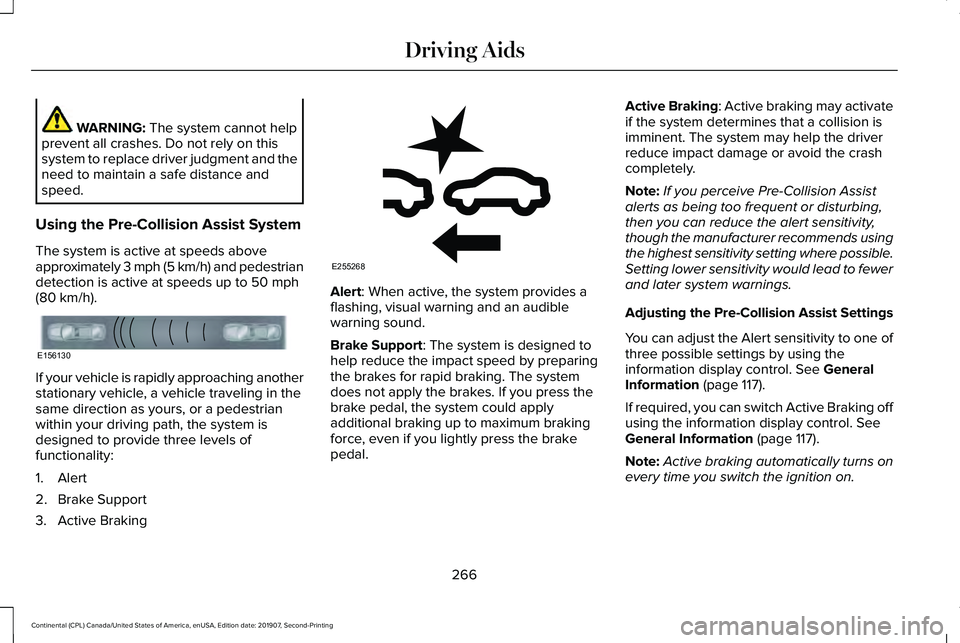
1. Alert
2. Brake Support
3. Active Braking Alert: When active, the system provides a
flashing, visual warning and an audible
warning sound.
Brake Support
: The system is designed to
help reduce the impact speed by preparing
the brakes for rapid braking. The system
does not apply the brakes. If you press the
brake pedal, the system could apply
additional braking up to maximum braking
force, even if you lightly press the brake
pedal. Active Braking
: Active braking may activate
if the system determines that a collision is
imminent. The system may help the driver
reduce impact damage or avoid the crash
completely.
Note: If you perceive Pre-Collision Assist
alerts as being too frequent or disturbing,
then you can reduce the alert sensitivity,
though the manufacturer recommends using
the highest sensitivity setting where possible.
Setting lower sensitivity would lead to fewer
and later system warnings.
Adjusting the Pre-Collision Assist Settings
You can adjust the Alert sensitivity to one of
three possible settings by using the
information display control.
See General
Information (page 117).
If required, you can switch Active Braking off
using the information display control.
See
General Information (page 117).
Note: Active braking automatically turns on
every time you switch the ignition on.
266
Continental (CPL) Canada/United States of America, enUSA, Edition date: 201907, Second-Printing Driving AidsE156130 E255268
Page 276 of 609
operation at Gross Vehicle Weight
Rating, not at Gross Combined Weight
Rating.) Separate functional brakes
should be used for safe control of towed
vehicles and for trailers where the Gross
Combined Weight of the towing vehicle
plus the trailer exceed the Gross Vehicle
Weight Rating of the towing vehicle.
The gross combined weight must never
exceed the Gross Combined Weight
Rating.
Note:
For trailer towing information
refer to the RV and Trailer Towing Guide
available at an authorized dealer. WARNING: Do not exceed the
GVWR or the GAWR specified on the
certification label. WARNING:
Do not use
replacement tires with lower load
carrying capacities than the original
tires because they may lower your
vehicle's GVWR and GAWR limitations.
Replacement tires with a higher limit
than the original tires do not increase
the GVWR and GAWR limitations. WARNING:
Exceeding any
vehicle weight rating can adversely
affect the performance and handling
of your vehicle, cause vehicle damage
and can result in the loss of control of
your vehicle, serious personal injury
or death.
Steps for determining the correct load
limit:
1. Locate the statement "The combined
weight of occupants and cargo
should never exceed XXX kg or XXX
lb." on your vehicle ’s placard. 2.
Determine the combined weight of
the driver and passengers that will
be riding in your vehicle.
3. Subtract the combined weight of the
driver and passengers from XXX kg
or XXX lb.
4. The resulting figure equals the available amount of cargo and
luggage load capacity. For example,
if the “XXX” amount equals 1,400 lb.
and there will be five 150 lb.
passengers in your vehicle, the
amount of available cargo and
luggage load capacity is 650 lb.
(1400-750 (5 x 150) = 650 lb.)
5. Determine the combined weight of
luggage and cargo being loaded on
the vehicle. That weight may not
safely exceed the available cargo
and luggage load capacity calculated
in Step 4.
273
Continental (CPL) Canada/United States of America, enUSA, Edition date: 201907, Second-Printing Load Carrying
Page 279 of 609

TOWING A TRAILER
WARNING: Do not exceed the
GVWR or the GAWR specified on the
certification label. WARNING:
Towing trailers
beyond the maximum recommended
gross trailer weight exceeds the limit
of your vehicle and could result in
engine damage, transmission damage,
structural damage, loss of vehicle
control, vehicle rollover and personal
injury.
Note: There may be electrical items
such as fuses or relays that can affect
trailer towing operation.
See Fuses
(page 300). The load capacity of your vehicle is
designated by weight not volume. You
may not necessarily be able to use all
available space when loading your
vehicle or trailer.
Towing a trailer places extra load on the
engine, transmission, axle, brakes, tires,
and suspension. Inspect these
components before, during and after
towing.
Load Placement
To help minimize how trailer movement
affects the vehicle when driving:
•
Load the heaviest items closest to
the trailer floor.
• Load the heaviest items in the center
of the left and right side trailer tires. •
Load the heaviest items above the
trailer axles or just slightly forward
toward the trailer tongue. Do not
allow the final trailer tongue weight
to go above or below 10-15% of the
loaded trailer weight.
• Select a ball mount with the correct
rise or drop. When both the loaded
vehicle and trailer are connected, the
trailer frame should be level, or
slightly angled down toward the
vehicle, when viewed from the side.
When driving with a trailer or payload, a
slight takeoff vibration or shudder may
be present due to the increased payload
weight. Additional information regarding
proper trailer loading and setting your
vehicle up for towing is located in the
Load Carrying chapter. See Load Limit
(page 271).
You can also find information in the
RV
& Trailer Towing Guide available at your
authorized dealer, or online.
276
Continental (CPL) Canada/United States of America, enUSA, Edition date: 201907, Second-Printing Towing
Page 280 of 609
RV & Trailer Towing Guide Online
http://www.fleet.ford.com/towing-guides/
Website
RECOMMENDED TOWING
WEIGHTS
Note: Do not exceed the trailer weight
for your vehicle configuration listed in
the chart below.
Note: Be sure to take into consideration
trailer frontal area. Do not exceed 12 ft²
(1.11 m²) trailer frontal area. Note:
For high altitude operation,
reduce the gross combined weight by
2% per 1,000 ft (300 m) starting at the
1,000 ft (300 m) elevation point.
Note: Certain states require electric
trailer brakes for trailers over a specified
weight. Be sure to check state
regulations for this specified weight. The
maximum trailer weights listed may be
limited to this specified weight, as the
vehicle ’s electrical system may not
include the wiring connector needed to
use electric trailer brakes. Your vehicle may tow a Class I trailer
provided the maximum trailer weight is
less than or equal to the maximum trailer
weight listed for your vehicle
configuration on the following chart.
Maximum Trailer Weight
Powertrain
1,000 lb (454 kg)
2.7L GTDI
1,000 lb (454 kg)
3.0L GTDI
1,000 lb (454 kg)
3.7L TiVCT
277
Continental (CPL) Canada/United States of America, enUSA, Edition date: 201907, Second-Printing Towing