Page 204 of 611
Features of your vehicle
116
4
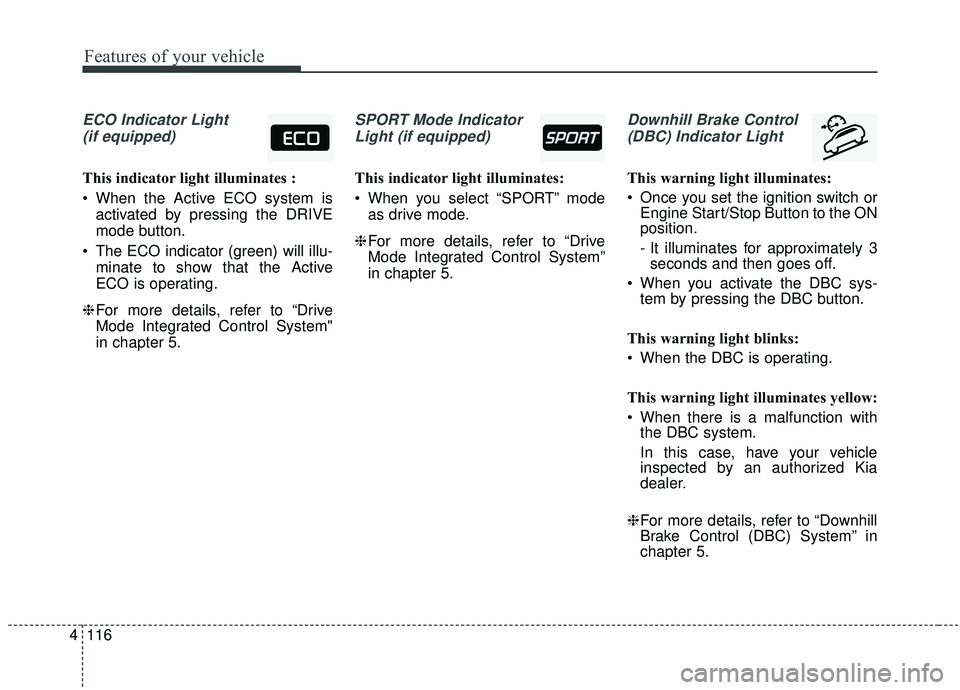
ECO Indicator Light
(if equipped)
This indicator light illuminates :
When the Active ECO system is activated by pressing the DRIVE
mode button.
The ECO indicator (green) will illu- minate to show that the Active
ECO is operating.
❈ For more details, refer to “Drive
Mode Integrated Control System"
in chapter 5.
SPORT Mode Indicator
Light (if equipped)
This indicator light illuminates:
When you select “SPORT” mode as drive mode.
❈ For more details, refer to “Drive
Mode Integrated Control System”
in chapter 5.
Downhill Brake Control
(DBC) Indicator Light
This warning light illuminates:
Once you set the ignition switch or Engine Start/Stop Button to the ON
position.
- It illuminates for approximately 3seconds and then goes off.
When you activate the DBC sys- tem by pressing the DBC button.
This warning light blinks:
When the DBC is operating.
This warning light illuminates yellow:
When there is a malfunction with the DBC system.
In this case, have your vehicle
inspected by an authorized Kia
dealer.
❈ For more details, refer to “Downhill
Brake Control (DBC) System” in
chapter 5.
Page 222 of 611
Features of your vehicle
134
4
Dynamic Bending Light (DBL)
(if equipped)
Dynamic Bending Light (DBL) uses
the steering angle and vehicle
speed, to keep your field of vision
wide by swiveling and leveling the
headlamp.
Change the switch to the AUTO posi-
tion when the engine is running. The
Dynamic Bending Light (DBL) sys-
tem will operate when the headlamp
is ON. To turn off the DBL, change
the switch to other positions. After
turning the DBL off, headlamp
swiveling no longer occurs, but level-
ing operates continuously. If the DBL malfunction indicator
comes on, the DBL is not working
properly. Drive to the nearest safe
location and restart the engine. If the
indicator continuously remains on,
have the system checked by an
authorized Kia dealer.
OQL048607N
Page 233 of 611
4145
Features of your vehicle
Heating and air conditioning
1. Start the engine.
2. Set the mode to the desired posi-tion.
For improving the effectiveness of
heating and cooling;- Heating:
- Cooling:
3. Set the temperature control to the desired position.
4. Set the air intake control to the outside (fresh) air position (if
equipped).
5. Set the fan speed control to the desired speed.
6. If air conditioning is desired, turn the air conditioning system (if
equipped) on.
OQL048304L
Page 238 of 611
Features of your vehicle
150
4
System operation
Ventilation
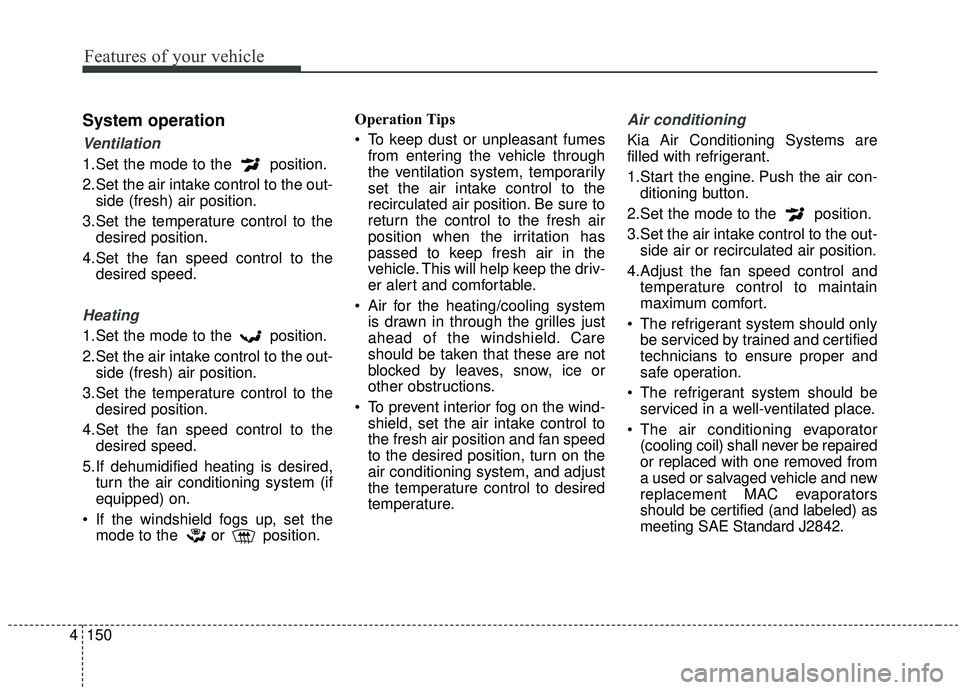
1.Set the mode to the position.
2.Set the air intake control to the out-
side (fresh) air position.
3.Set the temperature control to the desired position.
4.Set the fan speed control to the desired speed.
Heating
1.Set the mode to the position.
2.Set the air intake control to the out-side (fresh) air position.
3.Set the temperature control to the desired position.
4.Set the fan speed control to the desired speed.
5.If dehumidified heating is desired, turn the air conditioning system (if
equipped) on.
If the windshield fogs up, set the mode to the or position. Operation Tips
To keep dust or unpleasant fumes
from entering the vehicle through
the ventilation system, temporarily
set the air intake control to the
recirculated air position. Be sure to
return the control to the fresh air
position when the irritation has
passed to keep fresh air in the
vehicle. This will help keep the driv-
er alert and comfortable.
Air for the heating/cooling system is drawn in through the grilles just
ahead of the windshield. Care
should be taken that these are not
blocked by leaves, snow, ice or
other obstructions.
To prevent interior fog on the wind- shield, set the air intake control to
the fresh air position and fan speed
to the desired position, turn on the
air conditioning system, and adjust
the temperature control to desired
temperature.
Air conditioning
Kia Air Conditioning Systems are
filled with refrigerant.
1.Start the engine. Push the air con-ditioning button.
2.Set the mode to the position.
3.Set the air intake control to the out- side air or recirculated air position.
4.Adjust the fan speed control and temperature control to maintain
maximum comfort.
The refrigerant system should only be serviced by trained and certified
technicians to ensure proper and
safe operation.
The refrigerant system should be serviced in a well-ventilated place.
The air conditioning evaporator (cooling coil) shall never be repaired
or replaced with one removed from
a used or salvaged vehicle and new
replacement MAC evaporators
should be certified (and labeled) as
meeting SAE Standard J2842.
Page 244 of 611
Features of your vehicle
156
4
✽ ✽
NOTICE
Never place anything over the sensor
located on the instrument panel to
ensure better control of the heating
and cooling system.
Manual heating and air condi-
tioning
The heating and cooling system can
be controlled manually by pressing
buttons or turning knob(s) other than
the AUTO button. In this case, the
system works sequentially according
to the order of buttons or knob(s)
selected.
1. Start the engine.
2. Set the mode to the desired posi-
tion.
For improving the effectiveness of
heating and cooling;- Heating:
- Cooling:
3. Set the temperature control to the desired position.
4. Set the air intake control to the outside (fresh) air position.
5. Set the fan speed control to the desired speed.
6. If air conditioning is desired, turn the air conditioning system on.
Press the AUTO button in order to
convert to full automatic control of
the system.
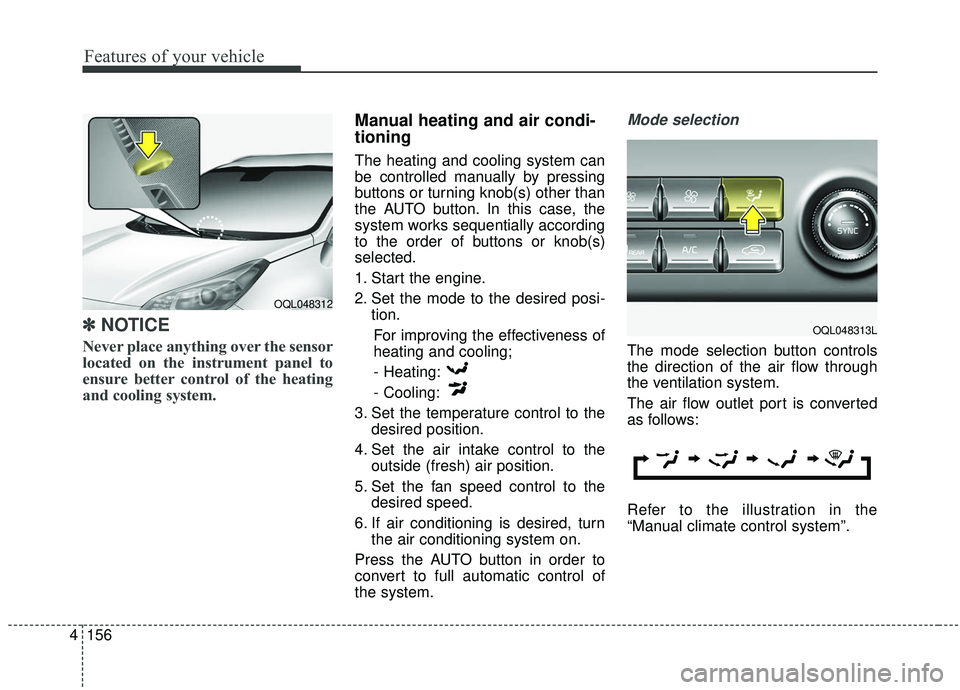
Mode selection
The mode selection button controls
the direction of the air flow through
the ventilation system.
The air flow outlet port is converted
as follows:
Refer to the illustration in the
“Manual climate control system”.
OQL048312
OQL048313L
Page 251 of 611
4163
Features of your vehicle
Air conditioning (if equipped)
All Kia Air Conditioning Systems are
filled with R-1234yf refrigerant.
1.Start the engine. Press the air con-ditioning button.
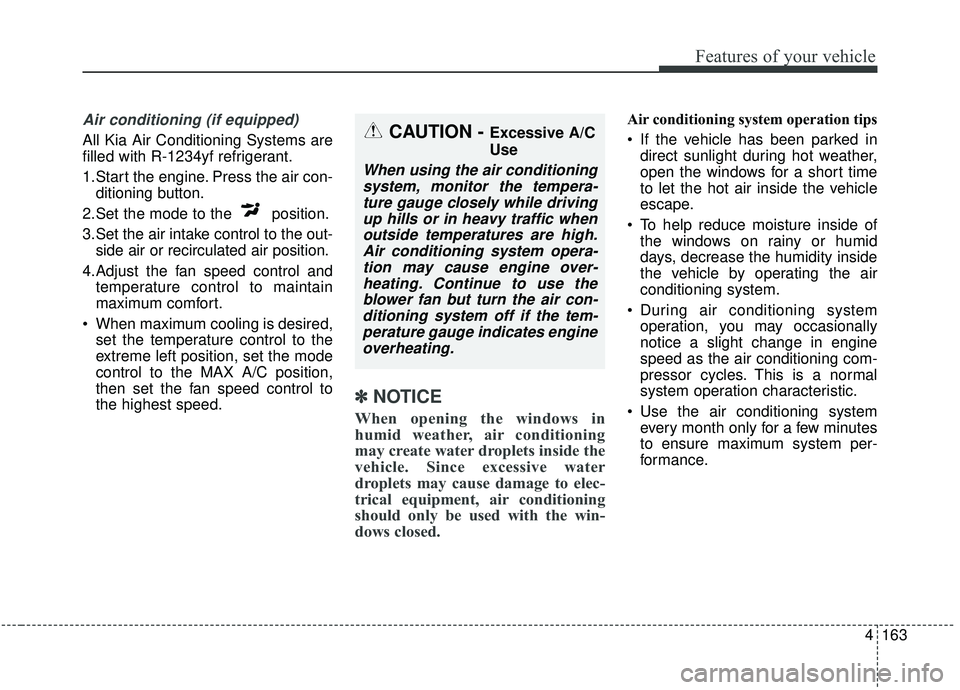
2.Set the mode to the position.
3.Set the air intake control to the out- side air or recirculated air position.
4.Adjust the fan speed control and temperature control to maintain
maximum comfort.
When maximum cooling is desired, set the temperature control to the
extreme left position, set the mode
control to the MAX A/C position,
then set the fan speed control to
the highest speed.
✽ ✽ NOTICE
When opening the windows in
humid weather, air conditioning
may create water droplets inside the
vehicle. Since excessive water
droplets may cause damage to elec-
trical equipment, air conditioning
should only be used with the win-
dows closed.
Air conditioning system operation tips
If the vehicle has been parked in
direct sunlight during hot weather,
open the windows for a short time
to let the hot air inside the vehicle
escape.
To help reduce moisture inside of the windows on rainy or humid
days, decrease the humidity inside
the vehicle by operating the air
conditioning system.
During air conditioning system operation, you may occasionally
notice a slight change in engine
speed as the air conditioning com-
pressor cycles. This is a normal
system operation characteristic.
Use the air conditioning system every month only for a few minutes
to ensure maximum system per-
formance.CAUTION - Excessive A/C
Use
When using the air conditioningsystem, monitor the tempera-ture gauge closely while drivingup hills or in heavy traffic whenoutside temperatures are high.Air conditioning system opera-tion may cause engine over-heating. Continue to use theblower fan but turn the air con-ditioning system off if the tem-perature gauge indicates engineoverheating.
Page 266 of 611
Features of your vehicle
178
4
Plug in battery equipped electronic
devices with reverse current protec-
tion. The current from the battery
may flow into the vehicle’s electri
cal/electronic system and cause
system malfunction.
✽ ✽ NOTICE
Do not use aftermarket chargers to
charge devices. Only use device cer-
tified cables to charge.
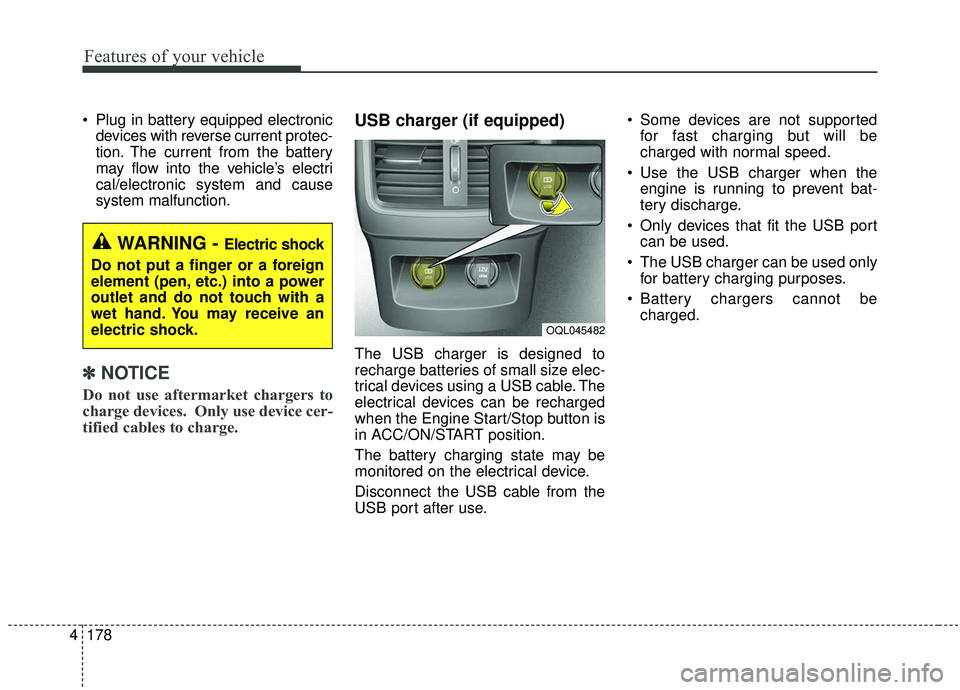
USB charger (if equipped)
The USB charger is designed to
recharge batteries of small size elec-
trical devices using a USB cable. The
electrical devices can be recharged
when the Engine Start/Stop button is
in ACC/ON/START position.
The battery charging state may be
monitored on the electrical device.
Disconnect the USB cable from the
USB port after use. Some devices are not supported
for fast charging but will be
charged with normal speed.
Use the USB charger when the engine is running to prevent bat-
tery discharge.
Only devices that fit the USB port can be used.
The USB charger can be used only for battery charging purposes.
Battery chargers cannot be charged.
WARNING - Electric shock
Do not put a finger or a foreign
element (pen, etc.) into a power
outlet and do not touch with a
wet hand. You may receive an
electric shock.
OQL045482
Page 282 of 611
Driving your vehicle
Before driving . . . . . . . . . . . . . . . . . . . . . . . . . . . . . . 5-5
• Before entering vehicle . . . . . . . . . . . . . . . . . . . . . . . . . 5-5
. . . . . . . . . . . . . . . . . . . . . . . . . . 5-5
. . . . . . . . . . . . . . . . . . . . . . . . . . . . . . . . 5-5
Key positions . . . . . . . . . . . . . . . . . . . . . . . . . . . . . . . 5-7
. . . . . . . . . . . . . . . . . . . . . . 5-7
. . . . . . . . . . . . . . . . . . . . . . . . . 5-7
. . . . . . . . . . . . . . . . . . . . . . . . . . . . 5-9
Engine start/stop button . . . . . . . . . . . . . . . . . . . . 5-11
. . . . . . . . . . . . . 5-11
. . . . . . . . . . . . 5-13
Automatic transmission . . . . . . . . . . . . . . . . . . . . . 5-15
. . . . . . . . . . . . . . . 5-15
. . . . . . . . . . . . . . . . . . . . . . . . 5-22
All Wheel Drive (AWD) . . . . . . . . . . . . . . . . . . . . . 5-23
. . . . . . . . . . . . . . . . . . . . . . 5-24
. . . 5-25
. . . . . . . . . . . . . . . 5-26
Brake system . . . . . . . . . . . . . . . . . . . . . . . . . . . . . . 5-31
. . . . . . . . . . . . . . . . . . . . . . . . . . . . . . . . 5-31
. . . . . . . . . . . . . . . . . . . . . 5-33
. . . . . . . . . . . . . . . . 5-34
. . . . . . . . . . . . . . . . . . . . . . . . . . . . . . . . . . . 5-\
41 . . . . . . . . . . . . . . . . . . . . . . . . . . . . 5-43
. . . . . . . . . . . . . . 5-47
. . . . . . . . . . . . 5-51
. . . . . . . . . . . . . . . . . 5-52
Forward Collision-avoidance Assist (FCA) system
- camera type . . . . . . . . . . . . . . . . . . . . . . . . . . . . 5-54
. . . . . . . . . . . . . . . . . . . 5-54
. . . . . . . . 5-56
. . . . . . . . . . . . . . . . . . . . . . . . . . . . . . 5-58
. . . . . . . . . . . . . . . . . . . . . . . . . . . 5-60
. . . . . . . . . . . . . . . . . . . . . . . 5-61
Forward Collision-avoidance Assist (FCA) system - sensor fusion type
(front radar+front view camera) . . . . . . . . . . . . 5-67
. . . . . . . . . . . . . . . . . . . 5-67
. . . . . . . . 5-69
. . . . . . . . . . . . . . . . . . . . . . . . . . . . . . 5-71
. . . 5-71
. . . . . . . . . . . . . . . . . . . . . . . . . . . 5-74
. . . . . . . . . . . . . . . . . . . . . . . 5-75
. . . . . . . . . . . . . . . . . 5-81
5