Page 169 of 211
9-15
Traffic-based Rerouting
You can set the system to apply changes in traffic conditions for
guidance by performing periodic re-routing.
\225On: Automatic Rerouting: Automatically changes to a faster
route while in guidance.
\225On: User-approved Rerouting : Displays the selection window
for faster routes while in guidance.
\225 Off: Does not change the route.
Show Traffic Info.
Sets whether or not to display traffic information on the route of
the map.
Volume Control
You can set how to adjust the volume while using the navigation
system.
Use Map Screen Volume Buttons
Can adjust the volume by using the button on the map screen.
Use Map Screen Volume Buttons or Volume
knob
During voice guidance, you can use the volume control button on
the map or [ VOLUME] knob on the control panel.
Reset
You can initialize all the settings of the navigation system.
Page 170 of 211
9-16
Configuring the UVO settings
You can subscribe to the UVO service or see the modem
information.
1 On the All Menus screen, touch Setup >
UVO .
The UVO settings screen appears.
2 Configure the settings required:
Activate UVO
You can subscribe to the UVO service by using the UVO settings
menu.
0000A
For more information: > see “Subscribing to the service.”
911 Connect
This feature provides you with immediate assistance when an
accident occurs and an airbag is deployed.
1 On the All Menus screen, touch Setup >
UVO >
UVO Settings.
2 Touch 911 Connect to activate it.
Page 171 of 211
9-17
3 Read the terms of use and touch Accept.
0000
A
The feature is activated and appears at the top right
of the screen.
0000
A
When an airbag is deployed, the system automatically
makes a call to 911 and sends your location to the 911
operator.
Modem Information
You can check the modem information for use of the UVO service.
Modem Status
You can check the modem status for use of the UVO service.
Page 172 of 211
9-18
Configuring the general
system settings
You can configure general settings for date, time, language, and
the like. You can also check information of the system.
1 On the All Menus screen, touch Setup >
General.
The general settings screen appears.
2 Configure the settings required:
Date/Time
You can set the system date and time automatically or manually.
You can also set the time display mode.
GPS Time
After receiving the time from GPS, it sets the system date and
time automatically.
0000
A
To manually set the date and time, uncheck GPS Time, touch
the current date and time below GPS Time, and then set the
date and time.
24 Hours
The system time is displayed in the 24-hour format.
0000
A
For example, when 24 Hours is checked and the current time
is 01:08 pm, the system screen displays the time as “13:08.”
When the checkbox is deselected, the time display changes to
“01:08 PM.”
Daylight Saving Time
Displays the system time in the format of Daylight Saving Time.
Page 173 of 211
9-19
Keyboard
You can change the keyboard type for each language to use when
entering the text.
English Keyboard
You can select the keyboard type to use when entering the
English text.
Default Keyboard
You can select the default keyboard type.
Language
You can set the system display language.
0000
A
Once the language has been changed, it takes a while to
apply the new language to the system. The notification pop-
up window appears as soon as the new language is applied to
the system. When you wait a while or touch anywhere outside
the pop-up window, the window automatically disappears.
0000
A
When you change the system language, it does not affect the
display of other unique data such as MP3 music file name.
0000
A
Depending on the system language, the Bluetooth phone
message view and voice recognition may not be supported.
Page 174 of 211
9-20
System Info
You can check the system software version and storage space.
You can also update the system software, use your smartphone
to access the online user’s manual of the system, or initialize all
system settings to default values.
SW Info/Update
You can see the versions of system components. You can also
update the system to the latest version.0000
A
For details on how to update the system software:
> see
“ Updating the system software and map.”
Screen Saver
You can select the items to display on the screen saver in standby
mode.
Digital Clock
Displays the digital clock on the system screen saver.
Analog Clock
Displays the analog clock on the system screen saver.
None
Displays nothing on the system screen saver.
Page 175 of 211

9-21
Storage
You can check the storage space of the system memory where
voice memos can be saved.
User's Manual on Web (QR Code)
You can access the online user’s manual of the system by
scanning the QR code with your smartphone.
Reset
You can initialize all system settings including general settings
and navigation settings.
\334Caution
\225 When initialization is performed, all user data in the system
including the location data is deleted.
\225 When phone projection is active, you cannot reset the system
settings. To reset the settings, remove the USB cable from
your system.
Configuring the display
settings
You can change the system display settings such as display
brightness.
1 On the All Menus screen, touch Setup >
Display.
The display settings screen appears.
2 Configure the settings required:
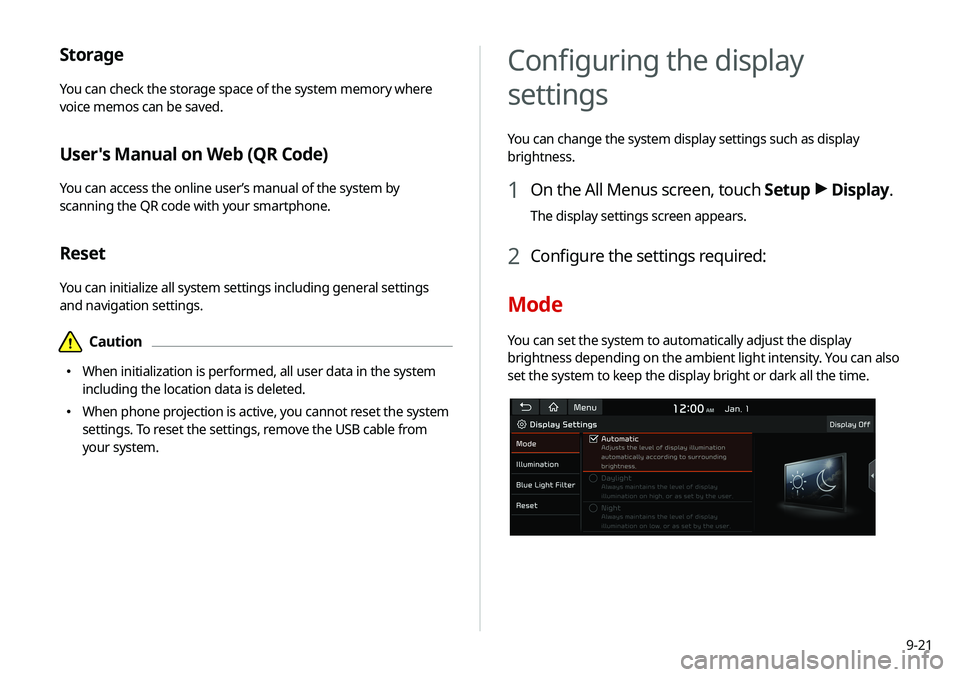
Mode
You can set the system to automatically adjust the display
brightness depending on the ambient light intensity. You can also
set the system to keep the display bright or dark all the time.
Page 176 of 211

9-22
Link to Cluster Illumination Control
The display brightness is automatically adjusted based on the
cluster illumination.
Daylight
You can set the display brightness when Daylight is selected
under Mode. Uncheck Link to Cluster Illustration Control and
then set to the desired brightness.
Night
You can set the display brightness when Night is selected under
Mode. Uncheck Link to Cluster Illustration Control and then
set to the desired brightness.
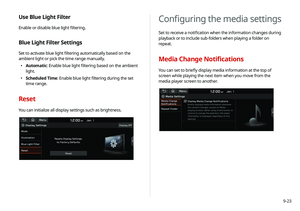
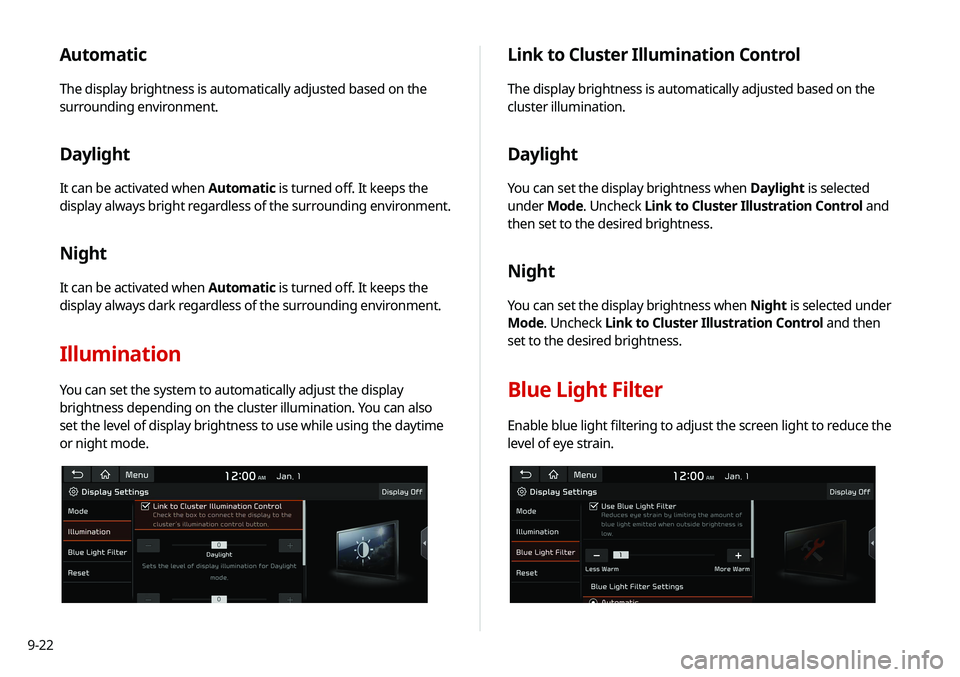
Blue Light Filter
Enable blue light filtering to adjust the screen light to reduce the
level of eye strain.
Automatic
The display brightness is automatically adjusted based on the
surrounding environment.
Daylight
It can be activated when Automatic is turned off. It keeps the
display always bright regardless of the surrounding environment.
Night
It can be activated when Automatic is turned off. It keeps the
display always dark regardless of the surrounding environment.
Illumination
You can set the system to automatically adjust the display
brightness depending on the cluster illumination. You can also
set the level of display brightness to use while using the daytime
or night mode.