Page 414 of 568
615
What to do in an emergency
Removing and storing the
spare tire (if equipped)
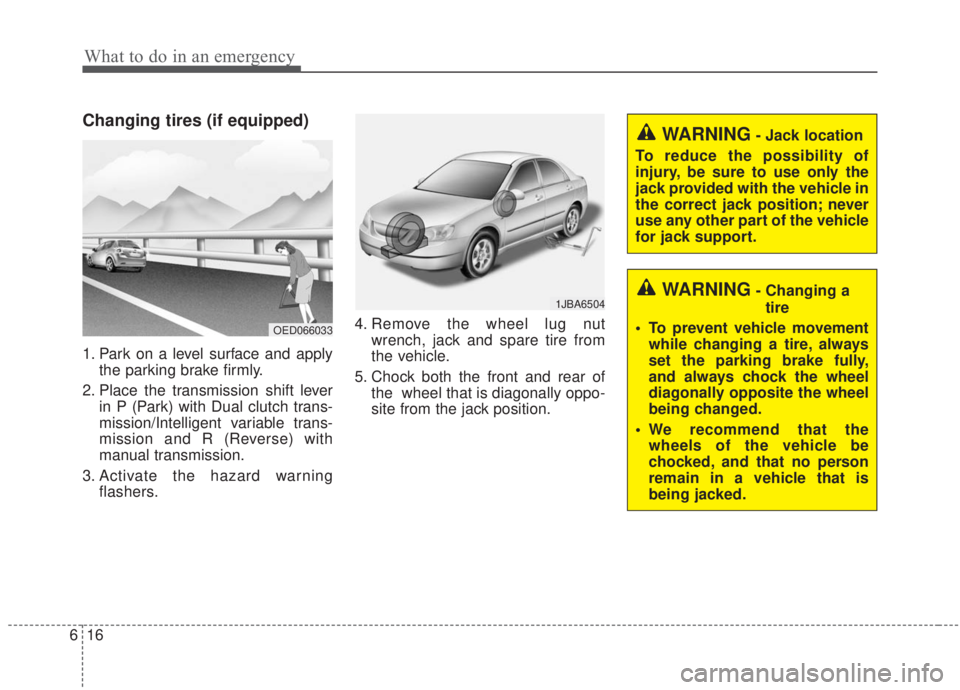
Turn the tire hold-down wing bolt
counterclockwise to remove.
Store the tire in the reverse order of
removal.
To prevent the spare tire and tools
from “rattling” while the vehicle is in
motion, store them properly.If it is hard to loosen the tire hold
down wing bolt by hand, you can
loosen it easily using the jack han-
dle.1. Put the jack handle (1) inside
of the tire hold-down wing bolt.2.
Turn the tire hold-down wing bolt
counterclockwise with the jack han-
dle.
OBD068033L
WARNING
- Touching surface of the
luggage room floor
Do not touch the metal surface
of the luggage room floor while
the engine is operating or hot.
Doing so could result in serious
bodily injury.
Turn the engine off and wait
until it cools down or wear
globes to remove the spare tire
from the luggage room.
OBDM069061N
Page 415 of 568

What to do in an emergency
16
6
Changing tires (if equipped)
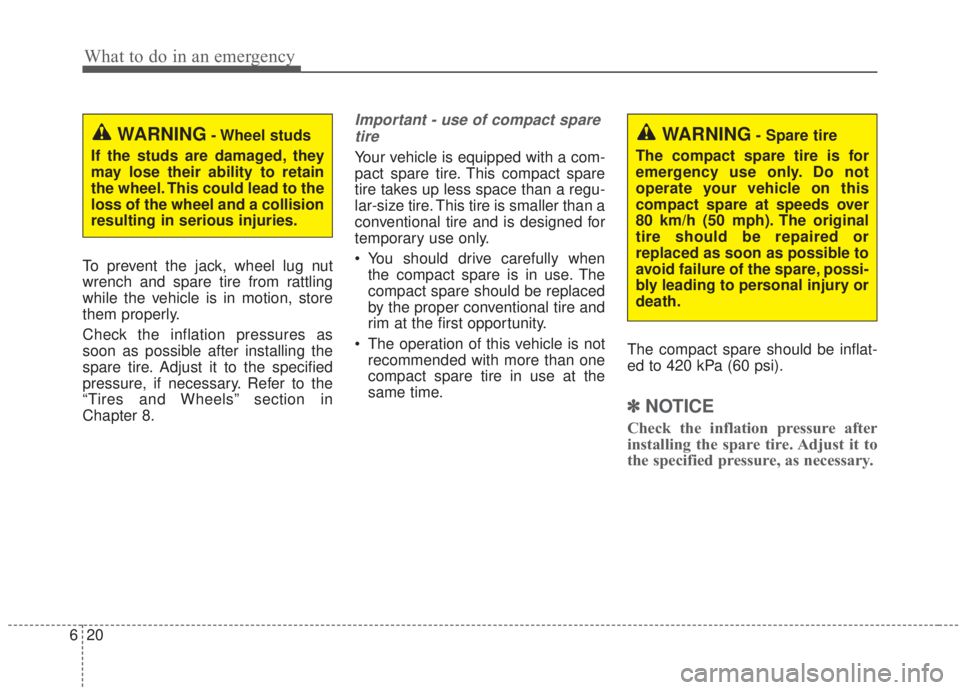
1. Park on a level surface and apply
the parking brake firmly.
2. Place the transmission shift lever in P (Park) with Dual clutch trans-
mission/Intelligent variable trans-
mission and R (Reverse) with
manual transmission.
3. Activate the hazard warning flashers. 4. Remove the wheel lug nut
wrench, jack and spare tire from
the vehicle.
5. Chock both the front and rear of the wheel that is diagonally oppo-
site from the jack position.
1JBA6504
WARNING- Jack location
To reduce the possibility of
injury, be sure to use only the
jack provided with the vehicle in
the correct jack position; never
use any other part of the vehicle
for jack support.
WARNING- Changing a tire
• To prevent vehicle movement while changing a tire, always
set the parking brake fully,
and always chock the wheel
diagonally opposite the wheel
being changed.
We recommend that the wheels of the vehicle be
chocked, and that no person
remain in a vehicle that is
being jacked.
OED066033
Page 417 of 568

What to do in an emergency
18
6
9. Loosen the wheel nuts and
remove them with your fingers.
Slide the wheel off the studs and
lay it flat so it cannot roll away. To
put the wheel on the hub, pick up
the spare tire, line up the holes
with the studs and slide the wheel
onto them. If this is difficult, tip the
wheel slightly and get the top hole
in the wheel lined up with the top
stud. Jiggle the wheel back and
forth until the wheel can slide over
the other studs. Wheels may have sharp edges.
Handle them carefully to avoid possi-
ble severe injury. Before putting the
wheel into place, be sure that there
is nothing on the hub or wheel (such
as mud, tar, gravel, etc.) that pre-
vents the wheel from fitting solidly
against the hub.
10. To install the wheel, hold it on the
studs, put the wheel nuts on the
studs and tighten them finger
tight. Jiggle the tire to be sure it is
completely seated, then tighten
the nuts as much as possible
with your fingers again.
11. Insert the wrench into the jack and lower the vehicle to the
ground by turning the wheel nut
wrench counterclockwise.
WARNING- Installing a
wheel
Make sure the wheel makes
good contact with the hub when
installed. If the contact of the
mounting surface between the
wheel and hub is not good, the
wheel nuts could come loose
and cause the loss of a wheel.
Loss of a wheel may result in
loss of control of the vehicle.
Page 419 of 568

What to do in an emergency
20
6
To prevent the jack, wheel lug nut
wrench and spare tire from rattling
while the vehicle is in motion, store
them properly.
Check the inflation pressures as
soon as possible after installing the
spare tire. Adjust it to the specified
pressure, if necessary. Refer to the
“Tires and Wheels” section in
Chapter 8.
Important - use of compact spare
tire
Your vehicle is equipped with a com-
pact spare tire. This compact spare
tire takes up less space than a regu-
lar-size tire. This tire is smaller than a
conventional tire and is designed for
temporary use only.
You should drive carefully when the compact spare is in use. The
compact spare should be replaced
by the proper conventional tire and
rim at the first opportunity.
The operation of this vehicle is not recommended with more than one
compact spare tire in use at the
same time. The compact spare should be inflat-
ed to 420 kPa (60 psi).
✽ ✽
NOTICE
Check the inflation pressure after
installing the spare tire. Adjust it to
the specified pressure, as necessary.
WARNING- Spare tire
The compact spare tire is for
emergency use only. Do not
operate your vehicle on this
compact spare at speeds over
80 km/h (50 mph). The original
tire should be repaired or
replaced as soon as possible to
avoid failure of the spare, possi-
bly leading to personal injury or
death.WARNING- Wheel studs
If the studs are damaged, they
may lose their ability to retain
the wheel. This could lead to the
loss of the wheel and a collision
resulting in serious injuries.
Page 422 of 568

623
What to do in an emergency
IF YOU HAVE A FLAT TIRE (WITH TIRE MOBILITY KIT, IF EQUIPPED)
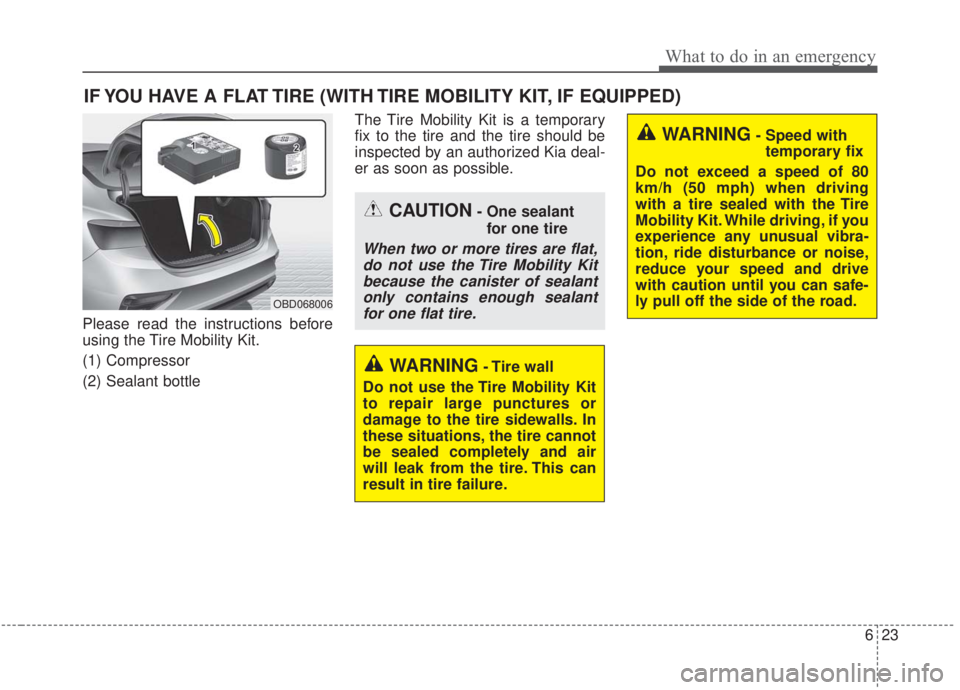
Please read the instructions before
using the Tire Mobility Kit.
(1) Compressor
(2) Sealant bottleThe Tire Mobility Kit is a temporary
fix to the tire and the tire should be
inspected by an authorized Kia deal-
er as soon as possible.
OBD068006
WARNING- Tire wall
Do not use the Tire Mobility Kit
to repair large punctures or
damage to the tire sidewalls. In
these situations, the tire cannot
be sealed completely and air
will leak from the tire. This can
result in tire failure.
WARNING- Speed with temporary fix
Do not exceed a speed of 80
km/h (50 mph) when driving
with a tire sealed with the Tire
Mobility Kit. While driving, if you
experience any unusual vibra-
tion, ride disturbance or noise,
reduce your speed and drive
with caution until you can safe-
ly pull off the side of the road.
CAUTION- One sealant for one tire
When two or more tires are flat,do not use the Tire Mobility Kitbecause the canister of sealantonly contains enough sealantfor one flat tire.
Page 423 of 568

What to do in an emergency
24
6
Introduction
With the Tire Mobility Kit (TMK) you
stay mobile even after experiencing a
tire puncture.
The system compressor and sealing
compound effectively seal most
punctures in a passenger car tire
caused by nails or similar objects and
reinflates the tire.
After you ensure that the tire is prop-
erly sealed, you can drive cautiously
on the tire at a max. speed of 80 km/h
(50 mph) in order to reach a vehicle or
tire dealer to have the tire replaced as
soon as possible. It is possible that some tires, espe-
cially with larger punctures or dam-
age to the sidewall, cannot be sealed
completely.
Air pressure loss in the tire may
adversely affect tire performance.
For this reason, you should avoid
abrupt steering or other driving
maneuvers, especially if the vehicle is
heavily loaded or if a trailer is in use.
The Tire Mobility Kit is not designed
or intended as a permanent tire
repair method and is to be used for
one tire only.
This instruction shows you step by
step how to temporarily seal the
puncture.
Read the section "Notes on the safe
use of the Tire Mobility Kit".
WARNING- Temporary fix
Have your tire repaired as soon
as possible. The tire may lose
air pressure at any time after
inflating with the Tire Mobility
Kit.
CAUTION
When reinstalling the repaired or replaced tire and wheel on thevehicle, tighten the wheel lugnut to 11~13kgf·m (79~94 lbf·ft).
OBD068007
Page 424 of 568

625
What to do in an emergency
Notes on the safe use of the
Tire Mobility Kit
Park your car at the side of theroad so that you can work with the
Tire Mobility Kit away from moving
traffic.
To be sure your vehicle will not move, even when you're on fairly
level ground, always set your park-
ing brake.
Only use the Tire Mobility Kit for sealing/inflation passenger car
tires. Only punctured areas located
within the tread region of the tire
can be sealed using the Tire
Mobility Kit.
Do not use on motorcycles, bicy- cles or any other type of tires.
When the tire and wheel are dam- aged, do not use Tire Mobility Kit
for your safety. Use of the Tire Mobility Kit may not
be effective for tire damage larger
than approximately 6 mm (0.24 in).
Please contact the nearest Kia
dealership if the tire cannot be
made roadworthy with the Tire
Mobility Kit.
Do not remove any foreign objects such as nails or screws that have
penetrated the tire.
Provided the car is outdoors, leave the engine running. Otherwise
operating the compressor may
eventually drain the car battery.
Never leave the Tire Mobility Kit unattended while it is being used.
Do not leave the compressor run- ning for more than 10 min. at a time
or it may overheat.
Do not use the Tire Mobility Kit if the ambient temperature is below -30°C
(-22°F ).
WARNING
If sealant comes into contactwith skin, wash the affected
areas thoroughly. Seek med-
ical attention if irritation
develops and persists.
If sealant comes into contact with the eyes, flush eyes with
water for at least 15 minutes.
Seek medical attention if irri-
tation persists.
If sealant is swallowed, call a physician or poison control
center immediately.
WARNING
Do not use the Tire Mobility Kit if
a tire is severely damaged.
Page 425 of 568
What to do in an emergency
26
6
1. Speed restriction label
2. Sealant bottle and label with
speed restriction
3. Filling sealant and air hose from sealant bottle to wheel 4. Connectors and cable for the
power outlet direct connection
5. Holder for the sealant bottle
6. Compressor
7. On/off switch 8. Pressure gauge for displaying the
tire inflation pressure
9. Tire Pressure Control Release Button
Connectors and cable are stored in
the compressor housing.
✽ ✽ NOTICE
The sealant container and insert
hose (3) cannot be reused.
ODE066039L
Components of the Tire Mobility Kit (TMK)
WARNING - Sealant
Keep out of reach of children.
Avoid contact with eyes.
Do not swallow.
WARNING - Expired sealant
Do not use the Tire sealant after
the sealant has expired (i.e.
after the expiration date on the
sealant container). This can
increase the risk of tire failure.
■ For 15/16 inch tire