Page 154 of 546
3-63
Convenient features of your vehicle
3
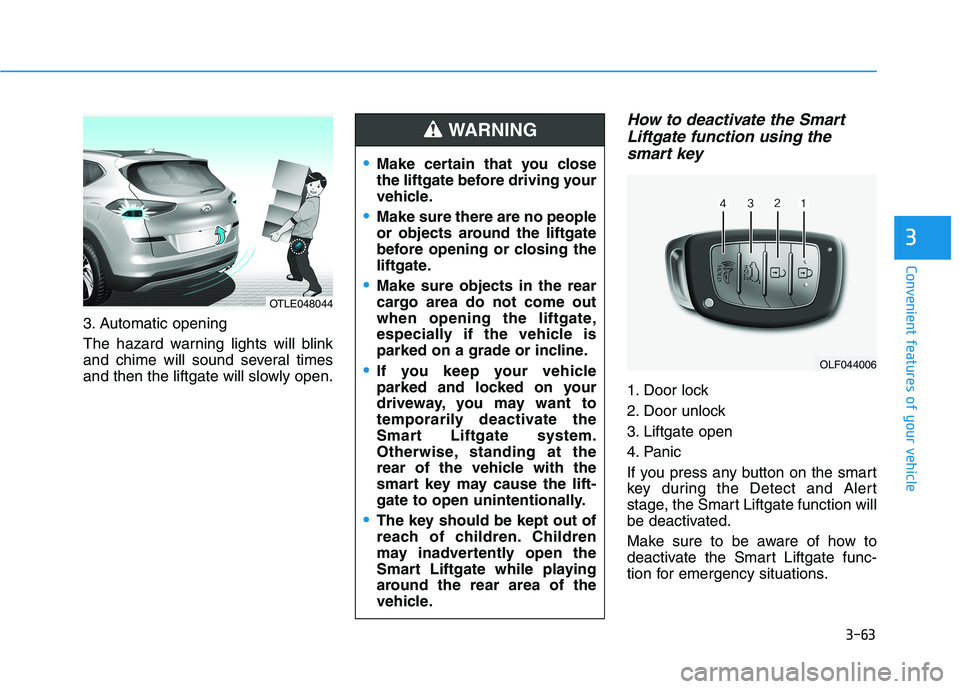
3. Automatic opening
The hazard warning lights will blink
and chime will sound several times
and then the liftgate will slowly open.
How to deactivate the Smart
Liftgate function using the
smart key
1. Door lock
2. Door unlock
3. Liftgate open
4. Panic
If you press any button on the smart
key during the Detect and Alert
stage, the Smart Liftgate function will
be deactivated.
Make sure to be aware of how to
deactivate the Smart Liftgate func-
tion for emergency situations.
OLF044006
Make certain that you close
the liftgate before driving your
vehicle.
Make sure there are no people
or objects around the liftgate
before opening or closing the
liftgate.
Make sure objects in the rear
cargo area do not come out
when opening the liftgate,
especially if the vehicle is
parked on a grade or incline.
If you keep your vehicle
parked and locked on your
driveway, you may want to
temporarily deactivate the
Smart Liftgate system.
Otherwise, standing at the
rear of the vehicle with the
smart key may cause the lift-
gate to open unintentionally.
The key should be kept out of
reach of children. Children
may inadvertently open the
Smart Liftgate while playing
around the rear area of the
vehicle.
WARNING
OTLE048044
Page 155 of 546
3-64
Convenient features of your vehicle
Information
• If you press the door unlock button
(2), the Smart Liftgate function will
be deactivated temporarily. But, if
you do not open any door for 30 sec-
onds, the Smart Liftgate function
will be activated again.
• If you press the liftgate open button
(3) for more than 1 second, the lift-
gate opens.
• The Smart Liftgate function will
still be activated if you press the
door lock button (1) or liftgate open
button (3) on the smart key as long
as the Smart Liftgate is not already
in the Detect and Alert stage.
• In case you have deactivated the
Smart Liftgate function by pressing
the smart key button and opened a
door, the Smart Liftgate function
can be activated again by closing
and locking all doors.
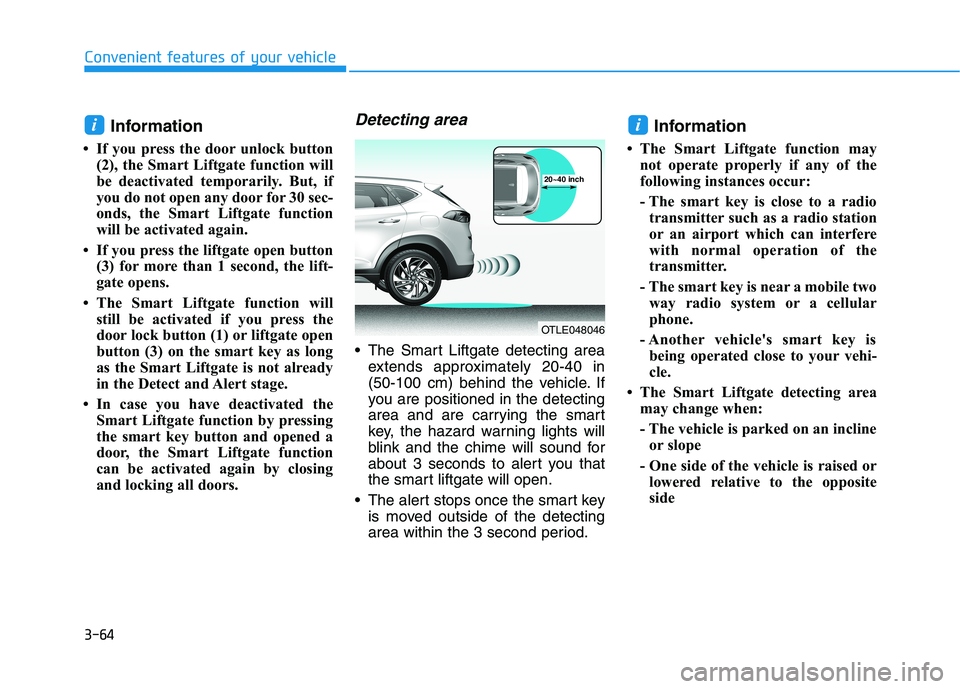
Detecting area
The Smart Liftgate detecting area
extends approximately 20-40 in
(50-100 cm) behind the vehicle. If
you are positioned in the detecting
area and are carrying the smart
key, the hazard warning lights will
blink and the chime will sound for
about 3 seconds to alert you that
the smart liftgate will open.
The alert stops once the smart key
is moved outside of the detecting
area within the 3 second period.
Information
• The Smart Liftgate function may
not operate properly if any of the
following instances occur:
- The smart key is close to a radio
transmitter such as a radio station
or an airport which can interfere
with normal operation of the
transmitter.
- The smart key is near a mobile two
way radio system or a cellular
phone.
- Another vehicle's smart key is
being operated close to your vehi-
cle.
• The Smart Liftgate detecting area
may change when:
- The vehicle is parked on an incline
or slope
- One side of the vehicle is raised or
lowered relative to the opposite
side
ii
OTLE048046
20~40 inch
Page 156 of 546
3-65
Convenient features of your vehicle
I IN
NS
ST
TR
RU
UM
ME
EN
NT
T
C
CL
LU
US
ST
TE
ER
R
3
1. Tachometer
2. Speedometer
3. Engine coolant temperature gauge
4. Fuel gauge
5. Warning and indicator lights
6. LCD display (including Trip computer)
OTL048600N/OTL048640N
■ ■
Type A
The actual cluster in the vehicle may dif-
fer from the illustration.
■ ■
Type B
Page 157 of 546
3-66
Convenient features of your vehicle
Instrument Cluster Control
Adjusting instrument cluster
illumination
When the vehicle's parking lights or
headlights are on, press the illumina-
tion control button to adjust the
brightness of the instrument panel
illumination.
When pressing the illumination con-
trol button, the interior switch illumi-
nation intensity is also adjusted. The brightness of the instrument
panel illumination is displayed.
If the brightness reaches the maxi-
mum or minimum level, a chime
will sound.
OTLE048070
OTL045150L
Never adjust the instrument
cluster while driving. Doing so
could lead to driver distraction
which may cause an accident
and lead to vehicle damage,
serious injury, or death.
WARNING
Page 159 of 546
3-68
Convenient features of your vehicle
If the gauge pointer moves
beyond the normal range area
toward the "H" position, it indi-
cates overheating that may dam-
age the engine.
Do not continue driving with an
overheated engine. If your vehicle
overheats, refer to "If the Engine
Overheats" in chapter 6.
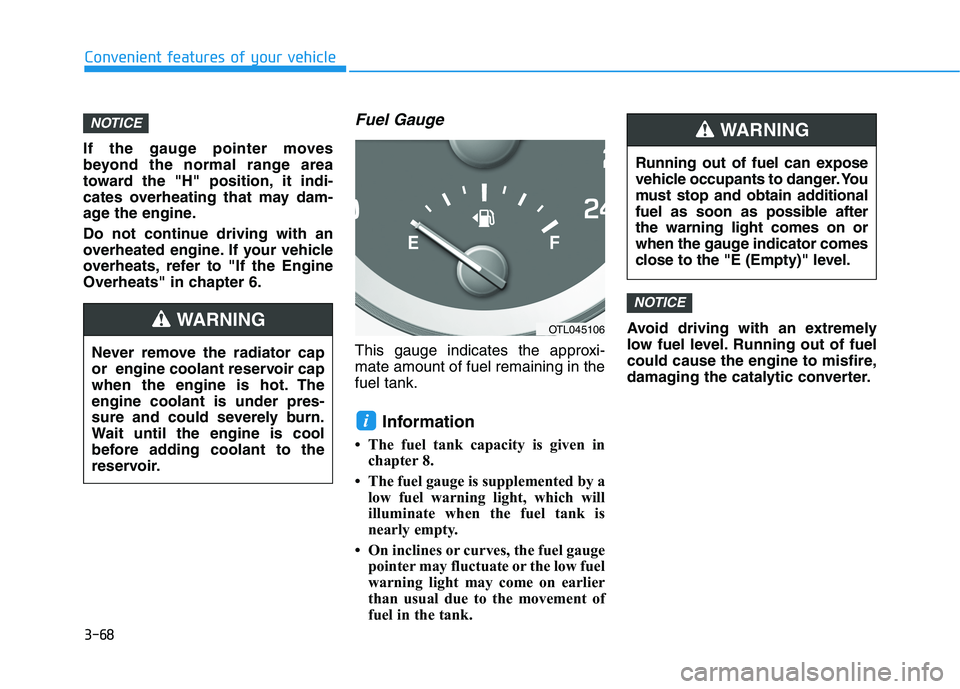
Fuel Gauge
This gauge indicates the approxi-
mate amount of fuel remaining in the
fuel tank.
Information
• The fuel tank capacity is given in
chapter 8.
• The fuel gauge is supplemented by a
low fuel warning light, which will
illuminate when the fuel tank is
nearly empty.
• On inclines or curves, the fuel gauge
pointer may fluctuate or the low fuel
warning light may come on earlier
than usual due to the movement of
fuel in the tank.Avoid driving with an extremely
low fuel level. Running out of fuel
could cause the engine to misfire,
damaging the catalytic converter.
NOTICE
i
NOTICE
Running out of fuel can expose
vehicle occupants to danger. You
must stop and obtain additional
fuel as soon as possible after
the warning light comes on or
when the gauge indicator comes
close to the "E (Empty)" level.
WARNING
Never remove the radiator cap
or engine coolant reservoir cap
when the engine is hot. The
engine coolant is under pres-
sure and could severely burn.
Wait until the engine is cool
before adding coolant to the
reservoir.
WARNINGOTL045106
Page 161 of 546
3-70
Convenient features of your vehicle
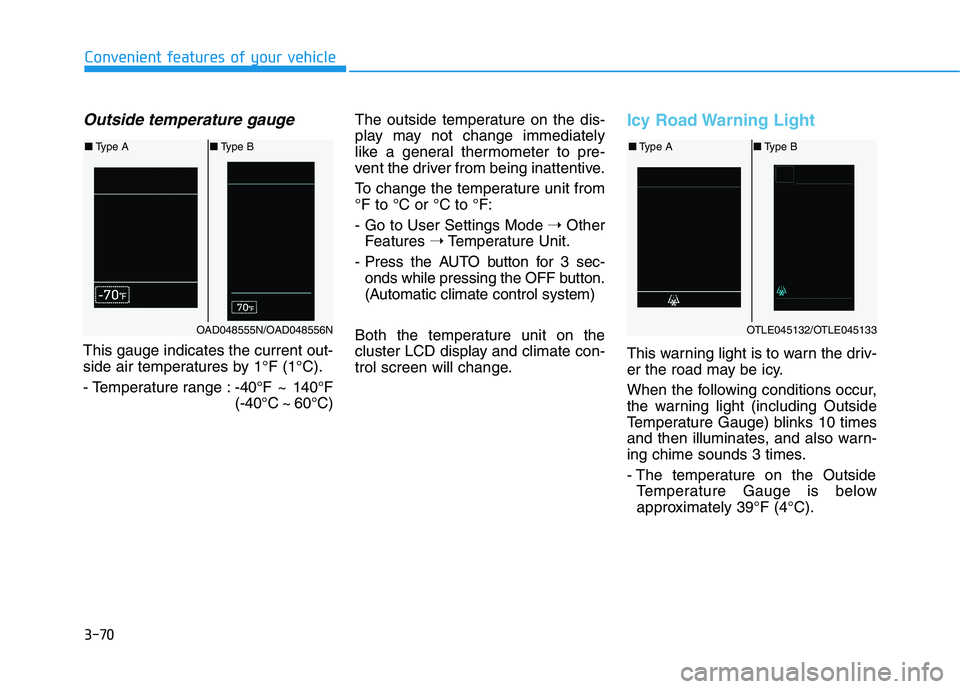
Outside temperature gauge
This gauge indicates the current out-
side air temperatures by 1°F (1°C).
- Temperature range :-40°F ~ 140°F
(-40°C ~ 60°C)The outside temperature on the dis-
play may not change immediately
like a general thermometer to pre-
vent the driver from being inattentive.
To change the temperature unit from
°F to °C or °C to °F:
- Go to User Settings Mode ➝Other
Features ➝Temperature Unit.
- Press the AUTO button for 3 sec-
onds while pressing the OFF button.
(Automatic climate control system)
Both the temperature unit on the
cluster LCD display and climate con-
trol screen will change.
Icy Road Warning Light
This warning light is to warn the driv-
er the road may be icy.
When the following conditions occur,
the warning light (including Outside
Temperature Gauge) blinks 10 times
and then illuminates, and also warn-
ing chime sounds 3 times.
- The temperature on the Outside
Temperature Gauge is below
approximately 39°F (4°C).
OTLE045132/OTLE045133
■Type A■Type B
OAD048555N/OAD048556N
■Type A■Type B
Page 162 of 546
3-71
Convenient features of your vehicle
3
Information
If the icy road warning light appears
while driving, you should drive more
attentively and safely refraining from
over-speeding, rapid acceleration,
sudden braking or sharp turning, etc.
Automatic transmission shift
indicator (If equipped)
This indicator displays which auto-
matic transmission shift lever is
selected.
Reverse : R
Neutral : N
Manual Shift Mode
- 1, 2, 3, 4, 5, 6
Shift indicator pop-up (if equipped)
The pop-up displays the current gear
position selected for 2 seconds
(P/R/N/D).
i
OTL045132/OTL045133
■Type A■Type B
OTL045134/OTL045135
■Type A■Type B
Page 163 of 546
3-72
Convenient features of your vehicle
Warning and Indicator Lights
Information
Make sure that all warning lights are
OFF after starting the engine. If any
light is still ON, this indicates a situa-
tion that needs attention.
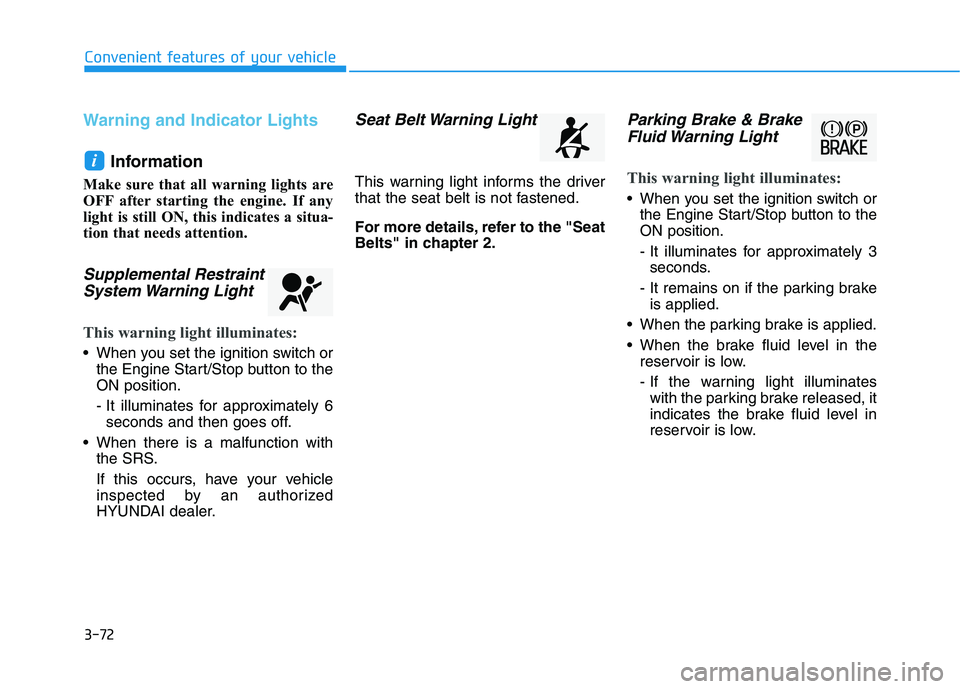
Supplemental Restraint
System Warning Light
This warning light illuminates:
When you set the ignition switch or
the Engine Start/Stop button to the
ON position.
- It illuminates for approximately 6
seconds and then goes off.
When there is a malfunction with
the SRS.
If this occurs, have your vehicle
inspected by an authorized
HYUNDAI dealer.
Seat Belt Warning Light
This warning light informs the driver
that the seat belt is not fastened.
For more details, refer to the "Seat
Belts" in chapter 2.
Parking Brake & Brake
Fluid Warning Light
This warning light illuminates:
When you set the ignition switch or
the Engine Start/Stop button to the
ON position.
- It illuminates for approximately 3
seconds.
- It remains on if the parking brake
is applied.
When the parking brake is applied.
When the brake fluid level in the
reservoir is low.
- If the warning light illuminates
with the parking brake released, it
indicates the brake fluid level in
reservoir is low.
i