2020 HYUNDAI TUCSON ULTIMATE radiator cap
[x] Cancel search: radiator capPage 17 of 546

1-6
E EN
NG
GI
IN
NE
E
C
CO
OM
MP
PA
AR
RT
TM
ME
EN
NT
T
Your vehicle at a glance
OTLA075001 ■ ■
Nu 2.0 GDI
1. Engine coolant reservoir/
Radiator cap .....................................7-19
2. Brake fluid reservoir ..........................7-23
3. Air cleaner.........................................7-25
4. Engine oil dipstick .............................7-17
5. Engine oil filler cap ...........................7-18
6. Windshield washer fluid reservoir .....7-24
7. Fuse box ...........................................7-53
8. Battery terminal [+] ...........................7-33
9. Battery terminal [-] ............................7-33
The actual engine compartment in the vehicle may differ from the illustration.
Page 18 of 546

1-7
Your vehicle at a glance
1
OTLE075104
■ ■Theta II 2.4 GDI
1. Engine coolant reservoir/
Radiator cap .....................................7-19
2. Brake fluid reservoir ..........................7-23
3. Air cleaner.........................................7-25
4. Engine oil dipstick .............................7-17
5. Engine oil filler cap ...........................7-18
6. Windshield washer fluid reservoir .....7-24
7. Fuse box ...........................................7-53
8. Battery terminal [+] ...........................7-33
9. Battery terminal [-] ............................7-33
The actual engine compartment in the vehicle may differ from the illustration.
Page 140 of 546

3-49
Convenient features of your vehicle
3
3. To open the fuel filler door, press
the center edge of the fuel filler
door.4. Pull the fuel filler door (1) outward
to access the fuel tank cap.
5. To remove the fuel tank cap (2),
turn it counterclockwise. You may
hear a hissing noise as the pres-
sure inside the tank equalizes.
6. Place the fuel cap on the hook on
the inside of the fuel filler door.
Information
If the fuel filler door does not open
because ice has formed around it, tap
lightly or push on the door to break
the ice and release the door. Do not
pry on the door. If necessary, spray
around the door with an approved de-
icer fluid (do not use radiator anti-
freeze) or move the vehicle to a warm
place and allow the ice to melt.
i
OTLE048035OTLE048031
Page 159 of 546

3-68
Convenient features of your vehicle
If the gauge pointer moves
beyond the normal range area
toward the "H" position, it indi-
cates overheating that may dam-
age the engine.
Do not continue driving with an
overheated engine. If your vehicle
overheats, refer to "If the Engine
Overheats" in chapter 6.
Fuel Gauge
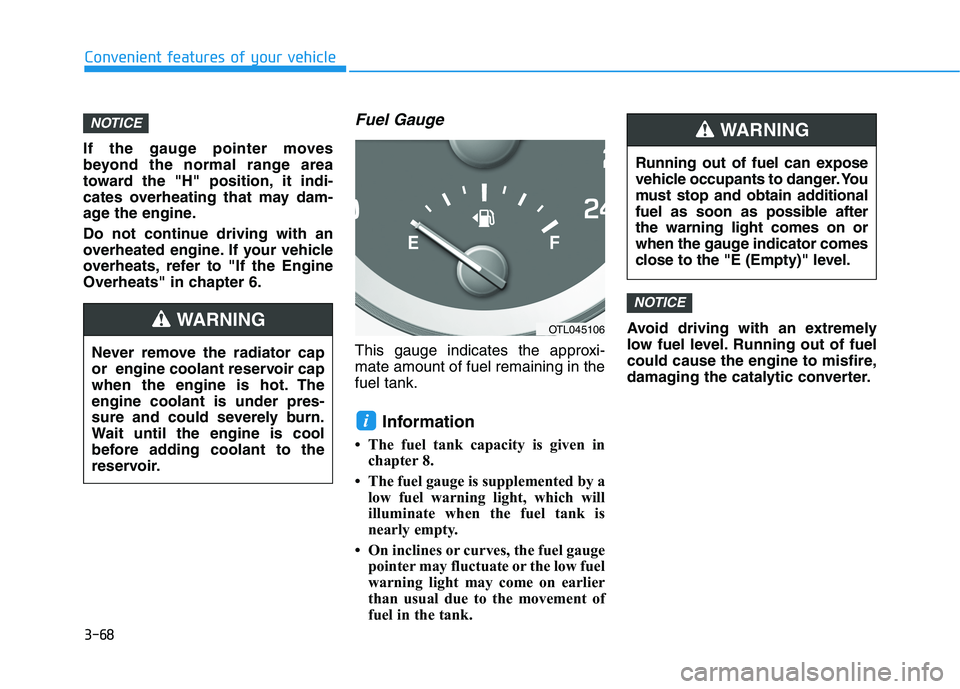
This gauge indicates the approxi-
mate amount of fuel remaining in the
fuel tank.
Information
• The fuel tank capacity is given in
chapter 8.
• The fuel gauge is supplemented by a
low fuel warning light, which will
illuminate when the fuel tank is
nearly empty.
• On inclines or curves, the fuel gauge
pointer may fluctuate or the low fuel
warning light may come on earlier
than usual due to the movement of
fuel in the tank.Avoid driving with an extremely
low fuel level. Running out of fuel
could cause the engine to misfire,
damaging the catalytic converter.
NOTICE
i
NOTICE
Running out of fuel can expose
vehicle occupants to danger. You
must stop and obtain additional
fuel as soon as possible after
the warning light comes on or
when the gauge indicator comes
close to the "E (Empty)" level.
WARNING
Never remove the radiator cap
or engine coolant reservoir cap
when the engine is hot. The
engine coolant is under pres-
sure and could severely burn.
Wait until the engine is cool
before adding coolant to the
reservoir.
WARNINGOTL045106
Page 416 of 546

6-7
What to do in an emergency
6
4. Check for coolant leaking from the
radiator, hoses or under the vehi-
cle. (If the air conditioning had
been in use, it is normal for cold
water to be draining from it when
you stop.)
5. If engine coolant is leaking out,
stop the engine immediately and
call the nearest authorized
HYUNDAI dealer for assistance.6. If you cannot find the cause of the
overheating, wait until the engine
temperature has returned to nor-
mal. Then, if coolant has been
lost, carefully add coolant to the
reservoir to bring the fluid level in
the reservoir up to the halfway
mark.
7. Proceed with caution, keeping
alert for further signs of overheat-
ing. If overheating happens again,
call an authorized HYUNDAI deal-
er for assistance. While the engine is
running, keep hands,
clothing and tools
away from the mov-
ing parts such as the
cooling fan and drive
belt to prevent seri-
ous injury.
WARNING
Serious loss of coolant indi-
cates a leak in the cooling sys-
tem and should be checked as
soon as possible by an author-
ized HYUNDAI dealer.
CAUTION
Your vehicle is
equipped with a pres-
surized coolant
reserve tank. NEVER
remove the coolant
reserve tank cap or the radiator
drain plug while the engine and
radiator are HOT. Hot coolant
and steam may blow out under
pressure, causing serious
injury.
Turn the engine off and wait
until the engine cools down.
Use extreme care when remov-
ing the coolant reserve tank
cap. Wrap a towel or thick rag
around it, and turn it counter-
clockwise slowly to release
some of the pressure from the
system. Step back while the
pressure is released.
When you are sure all the pres-
sure has been released, contin-
ue turning the cap counter-
clockwise to remove it.
WARNING
Page 437 of 546

7-3
7
Maintenance
E EN
NG
GI
IN
NE
E
C
CO
OM
MP
PA
AR
RT
TM
ME
EN
NT
T
OTLA075001/OTLE075104 ■ ■
Nu 2.0 GDI
■
■Theta II 2.4 GDI1. Engine coolant reservoir/Radiator cap
2. Brake fluid reservoir
3. Air cleaner
4. Engine oil dipstick
5. Engine oil filler cap
6. Windshield washer fluid reservoir
7. Fuse box
8. Battery terminal [+]
9. Battery terminal [-]
The actual engine compartment in the
vehicle may differ from the illustration.
Page 449 of 546

7-15
7
Maintenance
Air Cleaner Filter
A genuine HYUNDAI air cleaner filter
is recommended when the filter is
replaced.
Spark Plugs
Make sure to install new spark plugs
of the correct heat range.
Valve Clearance (if equipped)
Inspect for excessive valve noise
and/or engine vibration and adjust if
necessary. Have an authorized
HYUNDAI dealer perform the opera-
tion.
Cooling System
Check cooling system components,
such as radiator, coolant reservoir,
hoses and connections for leakage
and damage. Replace any damaged
parts.
Engine Coolant
The coolant should be changed at
the intervals specified in the mainte-
nance schedule.
Automatic Transmission Fluid
Automatic transmission fluid should
not be checked under normal usage
conditions. But in severe conditions,
the fluid should be changed at an
authorized HYUNDAI dealer in
accordance to the scheduled mainte-
nance at the beginning of this chap-
ter.
Information
Automatic transmission fluid color is
basically red.
As the vehicle is driven, the automatic
transmission fluid will begin to look
darker. This is a normal condition and
you should not judge the need to
replace the fluid based upon the
changed color.
The use of a non-specified fluid
could result in transmission mal-
function and failure. Use only the
specified automatic transmission
fluid (refer to "Recommended
Lubricants and Capacities" in
chapter 8).
Brake Hoses and Lines
Visually check for proper installation,
chafing, cracks, deterioration and
any leakage. Replace any deteriorat-
ed or damaged parts immediately.
Brake Fluid
Check brake fluid level in the brake
fluid reservoir. The level should be
between the MIN and the MAX
marks on the side of the reservoir.
Use only hydraulic brake fluid con-
forming to DOT 3 or DOT 4 specifi-
cation.
NOTICE
i
Page 454 of 546

7-20
Maintenance
The electric motor for the cooling fan
is controlled by engine coolant tem-
perature, refrigerant pressure and
vehicle speed. As the engine coolant
temperature decreases, the electric
motor will automatically shut off. This
is a normal condition. If your vehicle
is equipped with GDI, the electric
motor for the cooling fan may begin
to operate at any time and continue
to operate until you disconnect the
negative battery cable. Never remove the
engine coolant reser-
voir tank/radiator cap
or the drain plug
while the engine and
radiator are hot. Hot coolant
and steam may blow out under
pressure, causing serious
injury.
Turn the engine off and wait
until the engine cools down.
Use extreme care when remov-
ing the engine coolant reservoir
tank/radiator cap. Wrap a thick
towel around it, and turn it
counterclockwise slowly to the
first stop. Step back while the
pressure is released from the
cooling system. When you are
sure all the pressure has been
released, press down on the
cap, using a thick towel, and
continue turning counterclock-
wise to remove it.
WARNING
The electric motor for
the cooling fan may
continue to operate
or start up when the
engine is not running
and can cause serious injury.
Keep hands, clothing and tools
away from the rotating fan
blades of the cooling fan.
WARNING
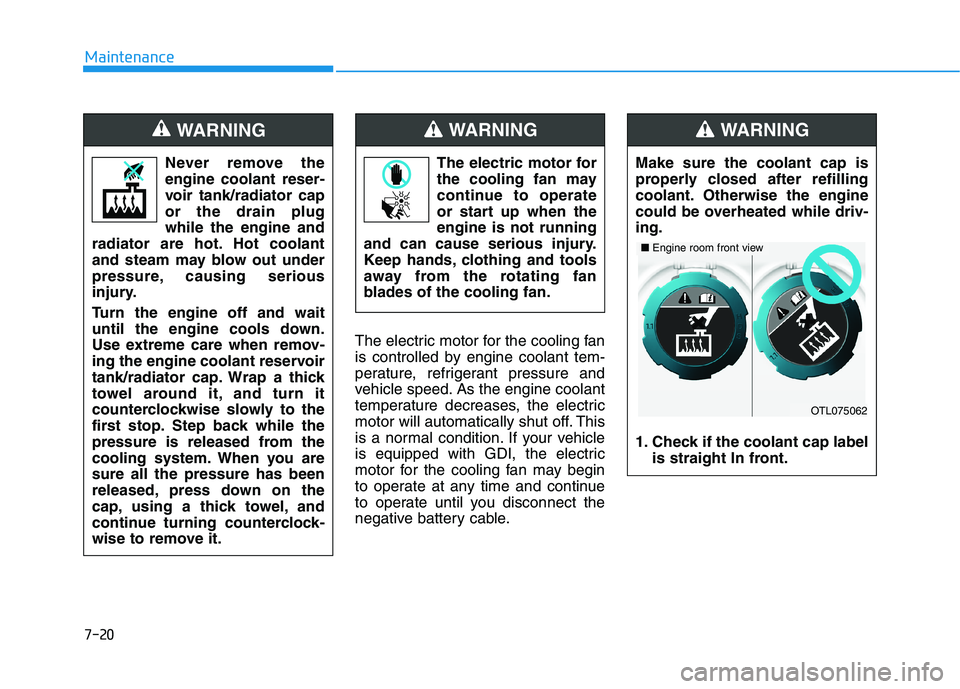
Make sure the coolant cap is
properly closed after refilling
coolant. Otherwise the engine
could be overheated while driv-
ing.
1. Check if the coolant cap label
is straight In front.
WARNING
OTL075062
■Engine room front view