Page 492 of 546

7-58
Maintenance
Instrument panel fuse panel
Fuse Name Fuse ratingCircuit Protected
TAILGATE OPEN10ATail Gate Open Relay
S/HEATER RR15ARear Seat Warmer
MDPS7.5AMDPS Unit
SMART KEY37.5A Smart Key Control Module, Immobilizer Module
CLUSTER7.5A Instrument Cluster (IG1 Power)
SMART KEY210A Smart Key Control Module, Start/Stop Button Switch, Immobilizer Module
MULTIMEDIA15A Audio, A/V & Navigation Head Unit
INTERIOR LAMP10A Ignition Key Ill. & Door Warning Switch, Luggage Lamp, Glove Box Lamp, Overhead Console Lamp,
Front Vanity Lamp LH/RH, Room Lamp, Rear Personal Lamp LH/RH, Wireless Charger
DOOR LOCK20A Door Lock Relay, Door Unlock Relay, ICM Relay Box (Two Turn Unlock Relay)
SUNROOF220A Panorama Sunroof
POWER OUTLET20A [W/O Wireless Charging] Front Power Outlet & Cigarette Lighter,
[With Wireless Charging] Cigarette Lighter
BRAKE SWITCH7.5A Smart Key Control Module, Stop Lamp Switch
MEMORY210A Instrument Cluster, A/C Control Module, Electro Chromic Mirror
P/SEAT (PASS)30A Passenger Seat Manual Switch
S/HEATER FRT20A Front Air Ventilation Seat Control Module, Front Seat Warmer Control Module
MODULE220A PCB Block (Fuse - ABS3, ECU6, TCU2)
SUNROOF120A Panorama Sunroof
A/CON27.5A A/C Control Module
HEATED MIRROR10ADriver/Passenger Power Outside Mirror, A/C Control Module, ECM (G4FJ)
P/SEAT (DRV)30ADriver Seat Manual Switch
Page 497 of 546
7-63
Maintenance
7
Engine compartment main fuse panel
Fuse Name Fuse ratingCircuit Protected
MODULE310A E/R Junction Block (Fuel Pump Relay)
DEICER15A E/R Junction Block (Deicer Relay)
FUEL PUMP20A E/R Junction Block (Fuel Pump Relay)
B/ALARM HORN15A E/R Junction Block (B/Alarm Horn Relay)
ABS310A ESC Module
MODULE210A Not Used
POWER
OUTLER FRT20A Front Power Outlet & Cigarette Lighter (W/O Wireless Charging),
Front Power Outlet (With Wireless Charging)
ECU610A PCM (G4NC/G4KJ) / ECM (G4FJ)
TCU215A Transaxle Range Switch, TCM (G4FJ - 7DCT)
B/UP LAMP10A TCM (G4FJ), Transaxle Range Switch, Electro Chromic Mirror, Rear Combination Lamp (IN) LH/RH
POWER
OUTLER REAR20A Rear Power Outlet
ECU130A Engine Control Relay
[G4NC] : NU 2.0 GDI
[G4KJ] : Theta 2.4 GDI
Page 498 of 546

7-64
Maintenance
L LI
IG
GH
HT
T
B
BU
UL
LB
BS
S
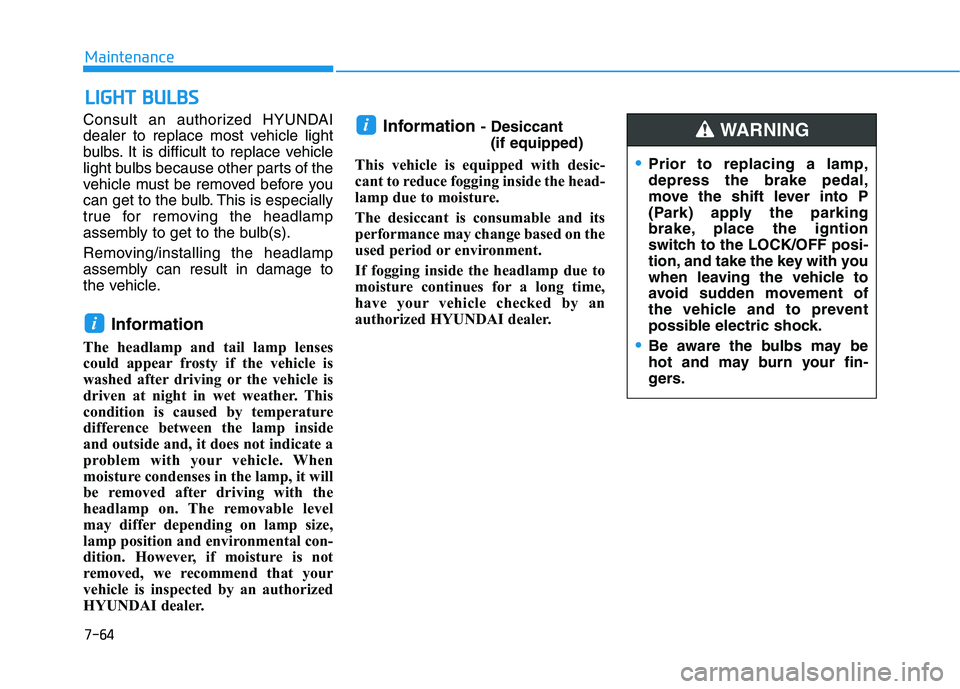
Consult an authorized HYUNDAI
dealer to replace most vehicle light
bulbs. It is difficult to replace vehicle
light bulbs because other parts of the
vehicle must be removed before you
can get to the bulb. This is especially
true for removing the headlamp
assembly to get to the bulb(s).
Removing/installing the headlamp
assembly can result in damage to
the vehicle.
Information
The headlamp and tail lamp lenses
could appear frosty if the vehicle is
washed after driving or the vehicle is
driven at night in wet weather. This
condition is caused by temperature
difference between the lamp inside
and outside and, it does not indicate a
problem with your vehicle. When
moisture condenses in the lamp, it will
be removed after driving with the
headlamp on. The removable level
may differ depending on lamp size,
lamp position and environmental con-
dition. However, if moisture is not
removed, we recommend that your
vehicle is inspected by an authorized
HYUNDAI dealer.
Information - Desiccant
(if equipped)
This vehicle is equipped with desic-
cant to reduce fogging inside the head-
lamp due to moisture.
The desiccant is consumable and its
performance may change based on the
used period or environment.
If fogging inside the headlamp due to
moisture continues for a long time,
have your vehicle checked by an
authorized HYUNDAI dealer. i
i
Prior to replacing a lamp,
depress the brake pedal,
move the shift lever into P
(Park) apply the parking
brake, place the igntion
switch to the LOCK/OFF posi-
tion, and take the key with you
when leaving the vehicle to
avoid sudden movement of
the vehicle and to prevent
possible electric shock.
Be aware the bulbs may be
hot and may burn your fin-
gers.
WARNING
Page 502 of 546
7-68
Maintenance
5. Install a new bulb by inserting it
into the socket and rotating it until
it locks into place.
6. Install the socket in the assembly
by aligning the tabs on the socket
with the slots in the assembly.
7. Push the socket into the assembly
and turn the socket clockwise.
Daytime running light (DRL),
Parking lamp and Side marker
(LED type, if equipped)
If the LED lamp does not operate,
have the system checked by an
authorized HYUNDAI dealer.
The LED lamps cannot be replaced
as a single unit because it is an inte-
grated unit. The LED lamps has to be
replaced with the unit.
A skilled technician should check or
repair the LED lamp, for it may dam-
age related parts of the vehicle.
Front fog lamp (if equipped)
If the light bulb does not operate,
have the vehicle checked by an
authorized HYUNDAI dealer.
Ty p e C
(1) Headlamp (Low)
(2) Headlamp (High)
(3) Turn signal lamp
OTL078032N
OTL078016N
Page 503 of 546

7-69
Maintenance
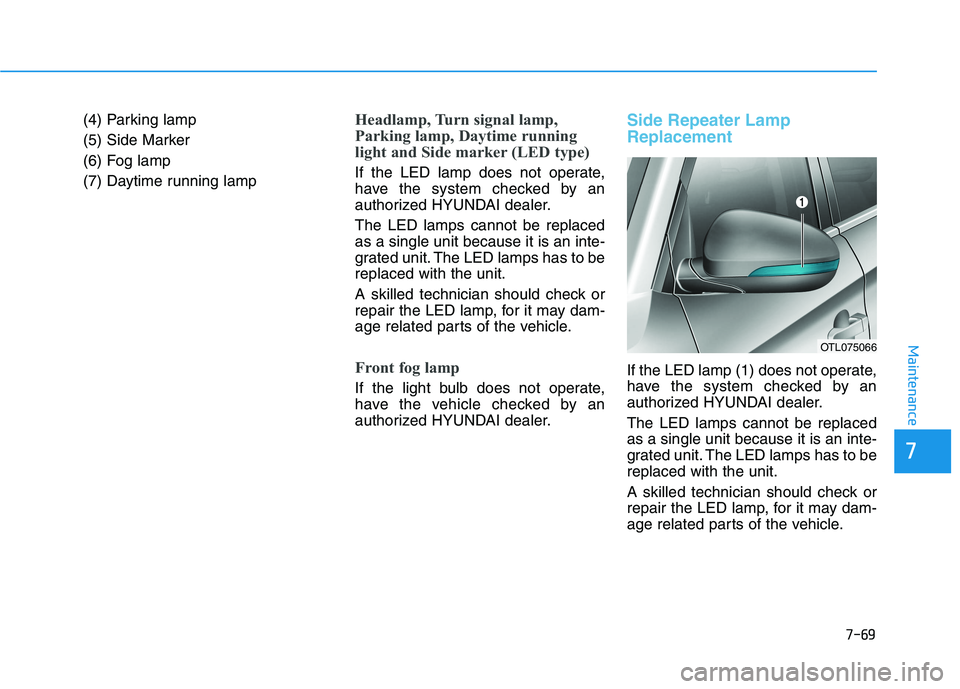
(4) Parking lamp
(5) Side Marker
(6) Fog lamp
(7) Daytime running lampHeadlamp, Turn signal lamp,
Parking lamp, Daytime running
light and Side marker (LED type)
If the LED lamp does not operate,
have the system checked by an
authorized HYUNDAI dealer.
The LED lamps cannot be replaced
as a single unit because it is an inte-
grated unit. The LED lamps has to be
replaced with the unit.
A skilled technician should check or
repair the LED lamp, for it may dam-
age related parts of the vehicle.
Front fog lamp
If the light bulb does not operate,
have the vehicle checked by an
authorized HYUNDAI dealer.
Side Repeater Lamp
Replacement
If the LED lamp (1) does not operate,
have the system checked by an
authorized HYUNDAI dealer.
The LED lamps cannot be replaced
as a single unit because it is an inte-
grated unit. The LED lamps has to be
replaced with the unit.
A skilled technician should check or
repair the LED lamp, for it may dam-
age related parts of the vehicle.
OTL075066
7
Page 504 of 546
7-70
Maintenance
Ty p e A
(1) Tail/Stop lamp
(2) Turn signal lamp
(3) Tail lamp
(4) Back-up lamp
(5) Side MarkerType B
(1) Tail/Stop lamp, Tail lamp
(2) Turn signal lamp
(3 Tail/Stop lamp, Tail lamp
(4) Back-up lamp
(5) Side Marker
Outside lamp
Stop/tail Lamp, Turn signal Lamp
and Side marker lamp
1. Turn off the engine.
2. Open the liftgate.
3. Remove the cover using a flat-
blade screwdriver.
OTL078034N OTL078109N
Rear Combination Light Bulb Replacement
Page 507 of 546
7-73
7
Maintenance
High Mounted Stop Lamp
Replacement
If the LED lamp (1) does not operate,
have the system checked by an
authorized HYUNDAI dealer.
The LED lamps cannot be replaced
as a single unit because it is an inte-
grated unit. The LED lamps has to be
replaced with the unit.
A skilled technician should check or
repair the LED lamp, for it may dam-
age related parts of the vehicle.
License Plate Light Bulb
Replacement
1. Loosen the lens retaining screws
with a screwdriver.
2. Remove the lens.
3. Remove the bulb by pulling it
straight out.
4. Install a new bulb.
5. Reinstall the lens securely with
the lens retaining screws.
Interior Light Bulb Replacement
Map lamp and Room lamp
(LED type)
If the LED lamp does not operate,
have the vehicle checked by an
authorized HYUNDAI dealer.
OTLE078040OTLE078041
OTLE075017
OTL075044
■Room lamp
■Map lamp
Page 508 of 546
7-74
Maintenance
1. Using a flat-head screwdriver,
gently pry the lens from the interi-
or light housing.
2. Remove the bulb by pulling it
straight out.
3. Install a new bulb in the socket.
4. Align the lens tabs with the interi-
or light housing notches and snap
the lens into place.
If the lamps do not operating, have
the vehicle checked by an authorized
HYUNDAI dealer.
Use care not to dirty or damage
lenses, lens tabs, and plastic
housings.
NOTICE
Map lamp, Room lamp, Vanity mirror lamp, Tailgate room lamp and Glove box lamp (Bulb type)
■Map lamp
OTLE075018
OLFH074029
■Vanity mirror lamp
■Tailgate room lamp
OTL075043
OTL075045
■Room lamp
OTLE078046
■Glove box lamp