2020 HYUNDAI SONATA HYBRID oil pressure
[x] Cancel search: oil pressurePage 105 of 527

Instrument Cluster
4
Instrument Cluster ........................................................................\
....................4-4Instrument Cluster Control ........................................................................\
..................4-5
Adjusting instrument cluster illumination ................................................................4-5
Gauges and Meters ........................................................................\
..............................4-5
Speedometer ........................................................................\
.....................................4-5
Power gauge ........................................................................\
......................................4-5
Hybrid battery SOC (State of Charge) gauge ..........................................................4-6
Fuel gauge ........................................................................\
.........................................4-6
Outside temperature gauge ........................................................................\
..............4 -7
Odometer ........................................................................\
..........................................4-8
Range ........................................................................\
.................................................4-8
Transmission Shift Indicator ........................................................................\
...............4-9
Automatic transmission shift indicator ...................................................................4-9
Warning and Indicator Lights ........................................................................\
............4-10
Air Bag Warning Light ........................................................................\
......................4-10
Seat Belt Warning Light ........................................................................\
...................4-10
Parking Brake & Brake Fluid Warning Light ............................................................4-10
Regenerative brake warning light ........................................................................\
....4-11
Anti-lock Brake System (ABS) Warning Light ..........................................................4-11
Electronic Brake Force Distribution (EBD) System Warning Light ........................4-11
Electronic Parking Brake (EPB) Warning Light .......................................................4-12
AUTO HOLD Indicator Light ........................................................................\
............4-12
Electric Power Steering (EPS) Warning Light .........................................................4-12
Malfunction Indicator Lamp (MIL) ........................................................................\
..4-13
Charging System Warning Light ........................................................................\
.....4-13
Engine Oil Pressure Warning Light ........................................................................\
.4-13
Low Fuel Level Warning Light ........................................................................\
.........4-14
Service warning light ........................................................................\
.......................4-14
Exhaust system (GPF)warning light ........................................................................\
4-14
Master Warning Light ........................................................................\
......................4-15
Low Tire Pressure Warning Light ........................................................................\
....4-15
Electronic Stability Control (ESC) Indicator Light .................................................4-15
Electronic Stability Control (ESC) OFF Indicator Light ..........................................4-16
Immobilizer Indicator Light ........................................................................\
.............4-16
Immobilizer Indicator Light (with smart key) .........................................................4-16
Turn Signal Indicator Light ........................................................................\
...............4-17
Headlamp Warning Light ........................................................................\
.................4-17
4. Instrument Cluster
Page 117 of 527
04
4-13
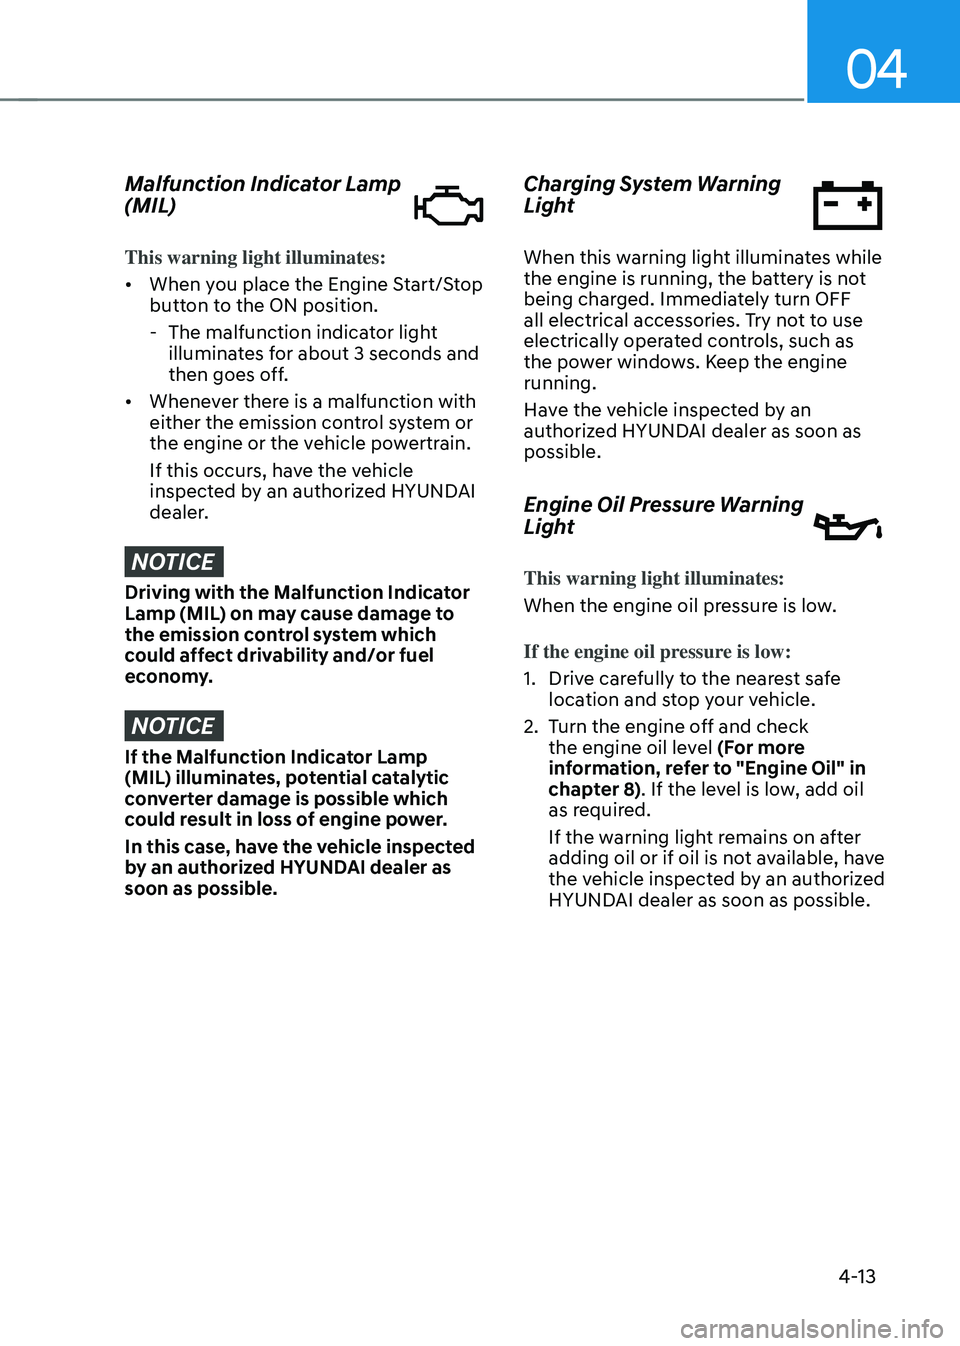
Malfunction Indicator Lamp
(MIL)
This warning light illuminates:
• When you place the Engine Start/Stop
button to the ON position.
-The malfunction indicator light
illuminates for about 3 seconds and
then goes off.
• Whenever there is a malfunction with
either the emission control system or
the engine or the vehicle powertrain.
If this occurs, have the vehicle
inspected by an authorized HYUNDAI
dealer.
NOTICE
Driving with the Malfunction Indicator
Lamp (MIL) on may cause damage to
the emission control system which
could affect drivability and/or fuel
economy.
NOTICE
If the Malfunction Indicator Lamp
(MIL) illuminates, potential catalytic
converter damage is possible which
could result in loss of engine power.
In this case, have the vehicle inspected
by an authorized HYUNDAI dealer as
soon as possible.
Charging System Warning
Light
When this warning light illuminates while
the engine is running, the battery is not
being charged. Immediately turn OFF
all electrical accessories. Try not to use
electrically operated controls, such as
the power windows. Keep the engine
running.
Have the vehicle inspected by an
authorized HYUNDAI dealer as soon as
possible.
Engine Oil Pressure Warning
Light
This warning light illuminates:
When the engine oil pressure is low.
If the engine oil pressure is low:
1. Drive carefully to the nearest safe
location and stop your vehicle.
2. Turn the engine off and check
the engine oil level (For more
information, refer to "Engine Oil" in
chapter 8). If the level is low, add oil
as required.
If the warning light remains on after
adding oil or if oil is not available, have
the vehicle inspected by an authorized
HYUNDAI dealer as soon as possible.
Page 118 of 527
Instrument Cluster
4-14
NOTICE
• If the engine is not turned OFF
immediately after the Engine
Oil Pressure Warning Light is
illuminated, severe damage could
occur.
• If the warning light stays on while the
engine is running, it indicates that
there may be serious engine damage
or malfunction. In this case:
1. Stop the vehicle as soon as it is
safe to do so.
2. Turn off the engine and check the
oil level. If the oil level is low, fill
the engine oil to the proper level.
3. Start the engine again. If the
warning light stays on after the
engine has started, turn the
engine off immediately. In this
case, have the vehicle inspected
by an authorized HYUNDAI dealer.
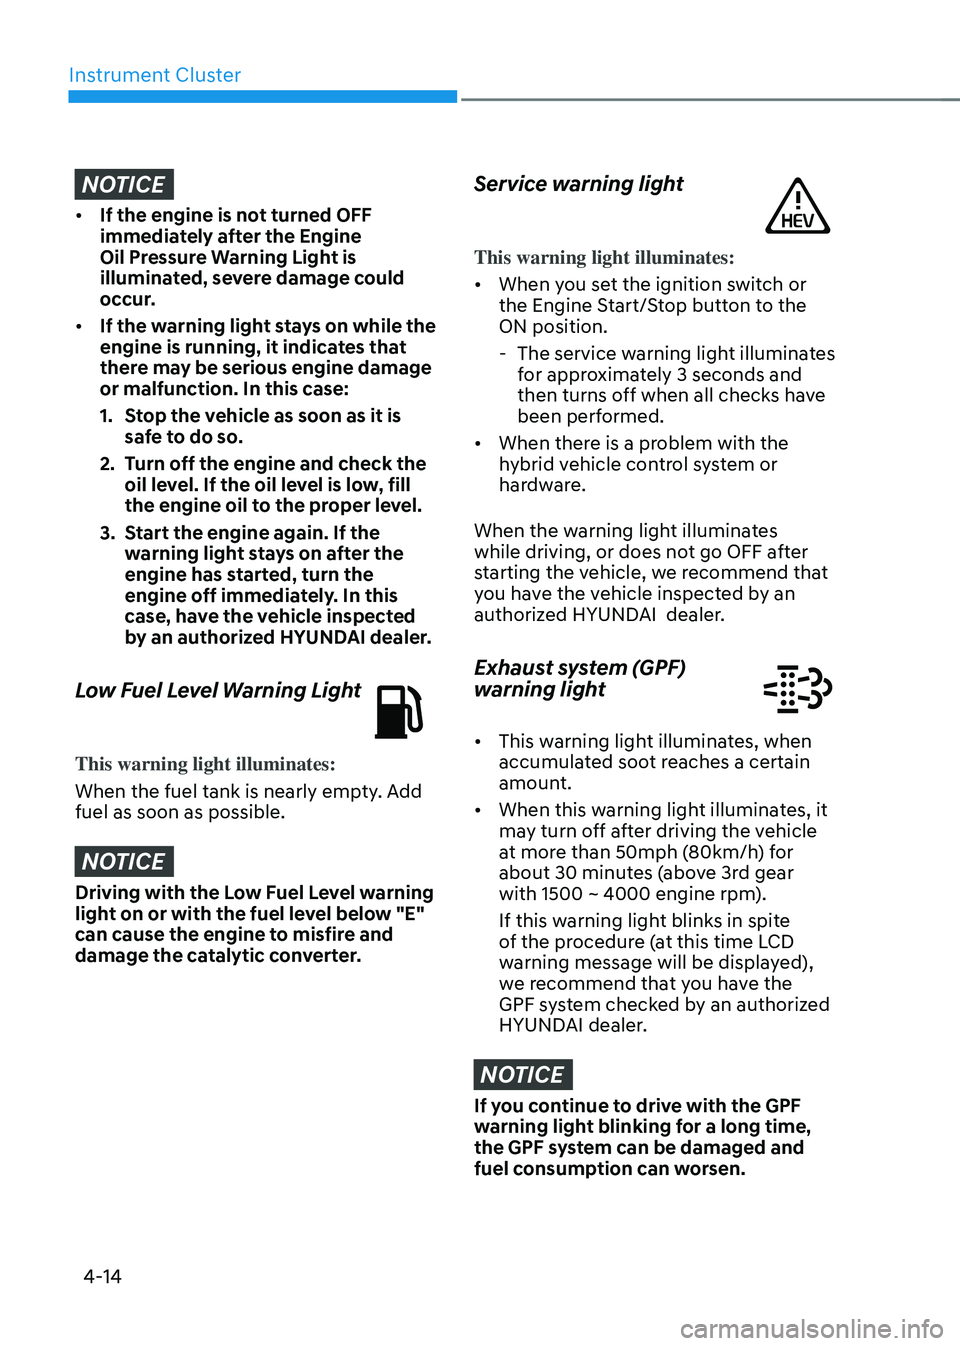
Low Fuel Level Warning Light
This warning light illuminates:
When the fuel tank is nearly empty. Add
fuel as soon as possible.
NOTICE
Driving with the Low Fuel Level warning
light on or with the fuel level below "E"
can cause the engine to misfire and
damage the catalytic converter.
Service warning light
This warning light illuminates:
• When you set the ignition switch or
the Engine Start/Stop button to the
ON position.
-The service warning light illuminates
for approximately 3 seconds and
then turns off when all checks have
been performed.
• When there is a problem with the
hybrid vehicle control system or
hardware.
When the warning light illuminates
while driving, or does not go OFF after
starting the vehicle, we recommend that
you have the vehicle inspected by an
authorized HYUNDAI dealer.
Exhaust system (GPF)
warning light
• This warning light illuminates, when
accumulated soot reaches a certain
amount.
• When this warning light illuminates, it
may turn off after driving the vehicle
at more than 50mph (80km/h) for
about 30 minutes (above 3rd gear
with 1500 ~ 4000 engine rpm).
If this warning light blinks in spite
of the procedure (at this time LCD
warning message will be displayed),
we recommend that you have the
GPF system checked by an authorized
HYUNDAI dealer.
NOTICE
If you continue to drive with the GPF
warning light blinking for a long time,
the GPF system can be damaged and
fuel consumption can worsen.
Page 260 of 527
Convenient Features
5-112
WARNING
Vehicles equipped with R-1234yf
Since the refrigerant is
mildly flammable and
operated at high pressure,
the air conditioning system
should only be serviced
by trained and certified
technicians. It is important
that the correct type
and amount of oil and
refrigerant are used.
All refrigerants should be reclaimed
with proper equipment.
Venting refrigerants directly to the
atmosphere is harmful to individuals
and environment. Failure to heed these
warnings can lead to serious injuries.
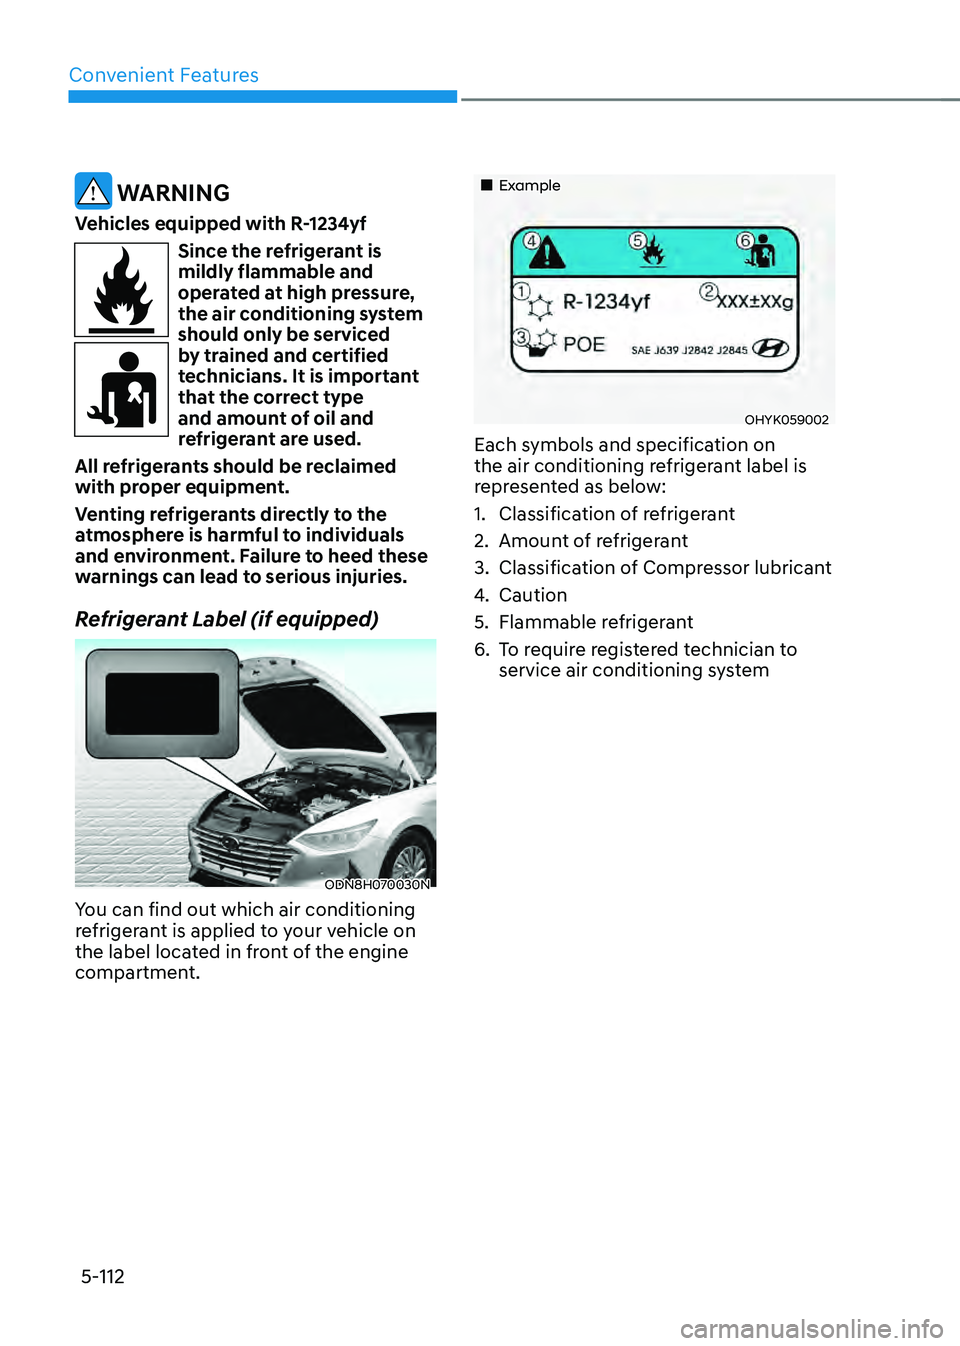
Refrigerant Label (if equipped)
ODN8H070030N
You can find out which air conditioning
refrigerant is applied to your vehicle on
the label located in front of the engine
compartment.
„„Example
OHYK059002
Each symbols and specification on
the air conditioning refrigerant label is
represented as below:
1. Classification of refrigerant
2. Amount of refrigerant
3. Classification of Compressor lubricant
4. Caution
5. Flammable refrigerant
6. To require registered technician to
service air conditioning system
Page 410 of 527
While Driving
6-134
Driving in Flooded Areas
Avoid driving through flooded areas
unless you are sure the water is no
higher than the bottom of the wheel hub.
Drive through any water slowly. Allow
adequate stopping distance because
brake performance may be reduced.
After driving through water, dry the
brakes by gently applying them several
times while the vehicle is moving slowly.
Highway Driving
Tires
Adjust the tire inflation, as specified.
Under-inflation may overheat or damage
the tires.
Do not install worn-out or damaged tires,
which may reduce traction or adversely
affect vehicle handling. This could lead
to sudden tire failure that may cause
loss of vehicle control resulting in an
accident.
Information
Never over-inflate your tires above the
maximum inflation pressure, as specified
on your tires.
Fuel, engine coolant and engine oil
Driving at higher speeds on the highway
consumes more fuel and is less efficient
than driving at a slower, more moderate
speed. Maintain a moderate speed in
order to conserve fuel when driving on
the highway.
Be sure to check both the engine coolant
level and the engine oil before driving.
Drive belt
A loose or damaged drive belt may
overheat the engine.
Page 483 of 527
Maintenance
8-34
Cold Tire Pressure
The amount of air pressure in a tire,
measured in pounds per square inch
(psi) or kilopascals (kPa) before a tire
has built up heat from driving.
Curb Weight
This means the weight of a motor
vehicle with standard and optional
equipment including the maximum
capacity of fuel, oil and coolant, but
without passengers and cargo.
DOT Markings
A code molded into the sidewall
of a tire signifying that the tire
is in compliance with the U.S.
Department of Transportation motor
vehicle safety standards. The DOT
code includes the Tire Identification
Number (TIN), an alphanumeric
designator which can also identify
the tire manufacturer, production
plant, brand and date of production.
GVWR
Gross Vehicle Weight Rating
GAWR FRT
Gross Axle Weight Rating for the
Front Axle.
GAWR RR
Gross Axle Weight Rating for the
Rear axle.
Intended Outboard Sidewall
The side of an asymmetrical tire,
that must always face outward when
mounted on a vehicle.Kilopascal (kPa)
The metric unit for air pressure.
Light truck (LT) tire
A tire designated by its manufacturer
as primarily intended for use on
lightweight trucks or multipurpose
passenger vehicles.
Load ratings
The maximum load that a tire is rated
to carry for a given inflation pressure.
Load Index
An assigned number ranging from 1
to 279 that corresponds to the load
carrying capacity of a tire.
Maximum Inflation Pressure
The maximum air pressure to which
a cold tire may be inflated. The
maximum air pressure is molded
onto the sidewall.
Maximum Load Rating
The load rating for a tire at the
maximum permissible inflation
pressure for that tire.
Maximum Loaded Vehicle Weight
The sum of curb weight; accessory
weight; vehicle capacity weight; and
production options weight.
Normal Occupant Weight
The number of occupants a vehicle
is designed to seat multiplied by 150
pounds (68 kg).
Occupant Distribution
Designated seating positions.
Page 500 of 527
08
8-51
NOTICE
ODN8H080039N
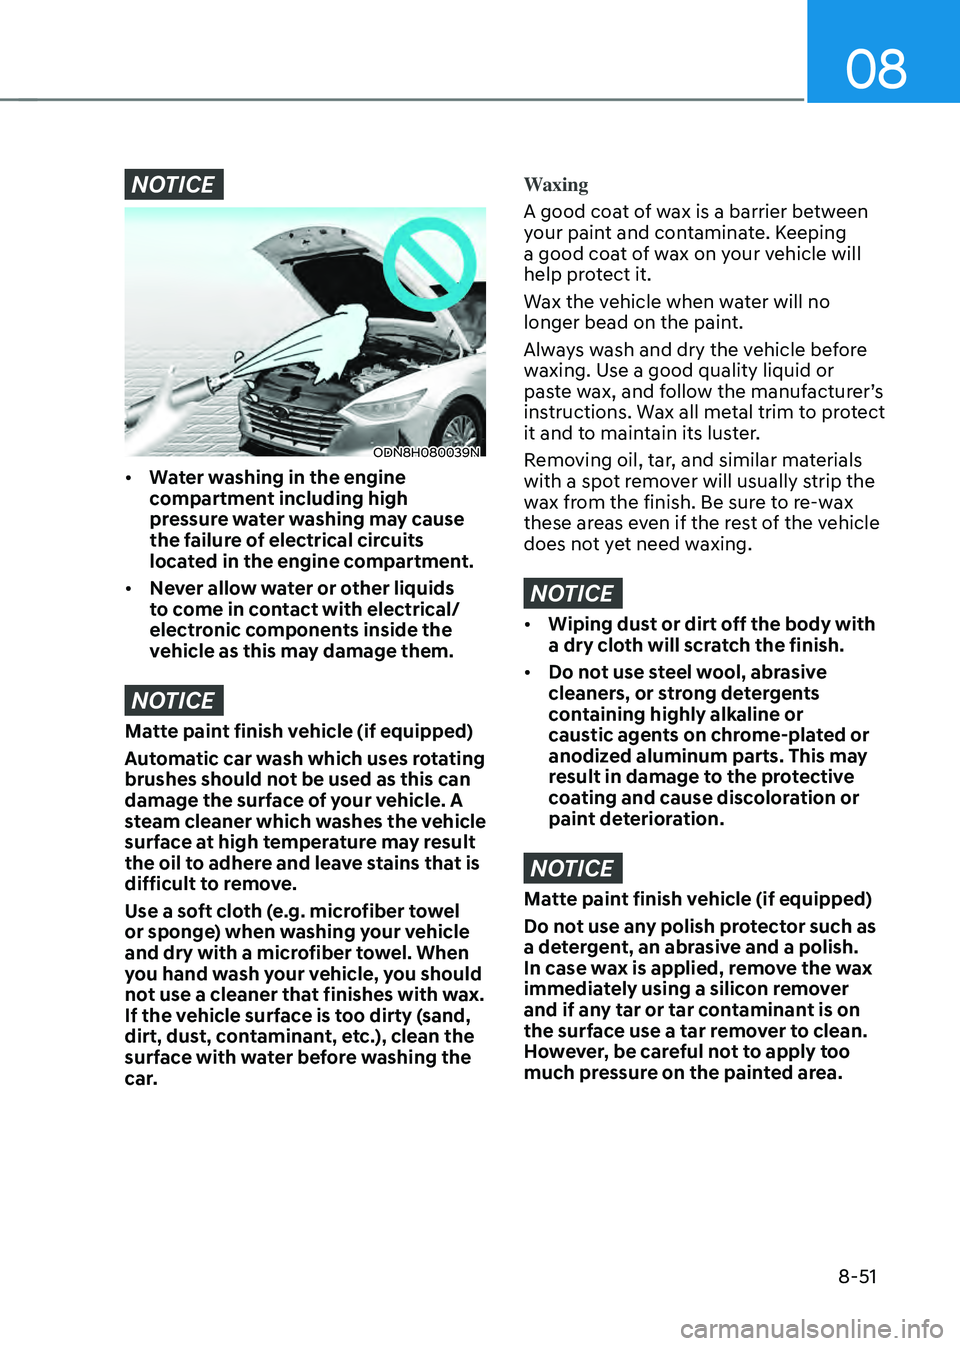
• Water washing in the engine
compartment including high
pressure water washing may cause
the failure of electrical circuits
located in the engine compartment.
• Never allow water or other liquids
to come in contact with electrical/
electronic components inside the
vehicle as this may damage them.
NOTICE
Matte paint finish vehicle (if equipped)
Automatic car wash which uses rotating
brushes should not be used as this can
damage the surface of your vehicle. A
steam cleaner which washes the vehicle
surface at high temperature may result
the oil to adhere and leave stains that is
difficult to remove.
Use a soft cloth (e.g. microfiber towel
or sponge) when washing your vehicle
and dry with a microfiber towel. When
you hand wash your vehicle, you should
not use a cleaner that finishes with wax.
If the vehicle surface is too dirty (sand,
dirt, dust, contaminant, etc.), clean the
surface with water before washing the
car.
Waxing
A good coat of wax is a barrier between
your paint and contaminate. Keeping
a good coat of wax on your vehicle will
help protect it.
Wax the vehicle when water will no
longer bead on the paint.
Always wash and dry the vehicle before
waxing. Use a good quality liquid or
paste wax, and follow the manufacturer’s
instructions. Wax all metal trim to protect
it and to maintain its luster.
Removing oil, tar, and similar materials
with a spot remover will usually strip the
wax from the finish. Be sure to re-wax
these areas even if the rest of the vehicle
does not yet need waxing.
NOTICE
• Wiping dust or dirt off the body with
a dry cloth will scratch the finish.
• Do not use steel wool, abrasive
cleaners, or strong detergents
containing highly alkaline or
caustic agents on chrome-plated or
anodized aluminum parts. This may
result in damage to the protective
coating and cause discoloration or
paint deterioration.
NOTICE
Matte paint finish vehicle (if equipped)
Do not use any polish protector such as
a detergent, an abrasive and a polish.
In case wax is applied, remove the wax
immediately using a silicon remover
and if any tar or tar contaminant is on
the surface use a tar remover to clean.
However, be careful not to apply too
much pressure on the painted area.
Page 503 of 527
Maintenance
8-54
To help prevent corrosion
Keep your vehicle clean
The best way to prevent corrosion is
to keep your vehicle clean and free of
corrosive materials. Attention to the
underside of the vehicle is particularly
important.
• If you live in a high-corrosion area —
where road salts are used, near the
ocean, areas with industrial pollution,
acid rain, etc.—, you should take extra
care to prevent corrosion. In winter,
hose off the underside of your vehicle
at least once a month and be sure to
clean the underside thoroughly when
winter is over.
• When cleaning underneath the
vehicle, pay particular attention to the
components under the fenders and
other areas that are hidden from view.
Do a thorough job; just dampening
the accumulated mud rather than
washing it away will accelerate
corrosion rather than prevent it. Water
under high pressure and steam are
particularly effective in removing
accumulated mud and corrosive
materials.
• When cleaning lower door panels,
rocker panels and frame members, be
sure that drain holes are kept open so
that moisture can escape and not be
trapped inside to accelerate corrosion. Keep your garage dry
Don’t park your vehicle in a damp,
poorly ventilated garage. This creates
a favorable environment for corrosion.
This is particularly true if you wash your
vehicle in the garage or drive it into the
garage when it is still wet or covered with
snow, ice or mud. Even a heated garage
can contribute to corrosion unless it is
well ventilated so moisture is dispersed.
Keep paint and trim in good condition
Scratches or chips in the finish should
be covered with “touch-up” paint as
soon as possible to reduce the possibility
of corrosion. If bare metal is showing
through, the attention of a qualified body
and paint shop is recommended.
Bird droppings are highly corrosive and
may damage painted surfaces in just a
few hours. Always remove bird droppings
as soon as possible.
Interior Care
Interior general precautions
Prevent caustic solutions such as
perfume and cosmetic oil, from
contacting the interior parts because
they may cause damage or discoloration.
If they do contact the interior parts,
wipe them off immediately. See the
instructions for the proper way to clean
vinyl.