2020 HYUNDAI SONATA HYBRID stop start
[x] Cancel search: stop startPage 184 of 527
Convenient Features
5-36
Recalling Positions from Memory
1. Shift to P (Park) while the ignition
switch is in the ON position.
2. Press the desired memory button
(1 or 2). The system will beep once,
and then the driver’s seat position,
side view mirror position, instrument
panel illumination intensity and
head-up display height/brightness
will automatically adjust to the stored
positions.
3. “Settings 1 (or 2) applied” will appear
on the cluster LCD display.
If your vehicle is equipped with
additional navigation, please refer to the
infotainment system manual separately
supplied.
Information
• While recalling the “1” memory
position, pressing the SET or 1 button
temporarily stops the adjustment of
the recalled memory position. Pressing
the 2 button recalls the “2” memory
position.
• While recalling the “2” memory
position, pressing the SET or 2 button
temporarily stops the adjustment of
the recalled memory position. Pressing
the 1 button recalls the “1” memory
position.
• While recalling the stored positions,
pressing one of the control buttons
for the driver’s seat, side view mirror,
instrument panel illumination or head-
up display will cause the movement of
that component to stop and move in
the direction that the control button is
pressed.
Resetting the Driver’s Seat
Memory System
Take the following procedures to reset
the driver’s seat memory system, when it
does not operate properly.
To reset the driver’s seat memory
system
1. Place the ignition switch to the ON
position, shift to P (Park), and open
the driver’s door.
2. Operate the control switch to set
the driver’s seat and seatback to the
foremost position.
3. Simultaneously press the SET button
and push forward the seat movement
switch over 2 seconds.
While resetting the driver’s seat
memory system
1. It starts with the notification sound.
2. The driver’s seat and seatback is
adjusted to the rearward position with
the notification sound.
3. The driver’s seat and seatback is
re-adjusted to the default position
(central position) with the notification
sound.
However, in the following cases, the
resetting procedure and the notification
sound may stop.
- The memory button is pressed.
-The control switch is operated.
-The gear is shifted out of P (Park) .
-The driving speed exceeds 2 mph (3
km/h).
-The driver’s door is closed.
Page 185 of 527
05
5-37
NOTICE
• Reattempt to do the resetting
procedure again, when the resetting
procedure incompletely stops or the
notification sound do not stop.
• Make sure that there is no obstacle
around the driver’s seat in advance
of resetting the driver’s seat memory
system.
Easy Access Function
The system will move the driver’s seat
automatically as follows:
• It will move the driver’s seat rearward
when the Engine Start/Stop button is
pressed to the OFF position.
• It will move the driver’s seat forward
when the Engine Start/Stop button is
pressed to the ACC or START position.
You can activate or deactivate the Easy
Access Function from the User Settings
mode in the cluster LCD display.
‘Convenience → Seat Easy Access →
Off/Normal/Extended’.
For more information, refer to “LCD
Display” in chapter 4.If your vehicle is
equipped with additional navigation,
please refer to the infotainment system
manual separately supplied.
CAUTION
Driver should be cautious when using
this function to assure no injury to
passenger or child on the back seat.
In case of emergency the driver has to
stop movement of front seat (when easy
access feature is activated) by pressing
SET button or any of the driver seat
control switches.
Page 192 of 527
Convenient Features
5-44
WARNING
Before programming HomeLink® to a
garage door opener or gate operator,
make sure people and objects are out
of the way of the device to prevent
potential harm or damage. Do not
use the HomeLink® with any garage
door opener that lacks the safety
stop and reverse features required
by U.S. federal safety standards (this
includes any garage door opener model
manufactured before April 1, 1982).
A garage door that cannot detect an
object - signaling the door to stop and
reverse - does not meet current U.S.
federal safety standards. Using a garage
door opener without these features
increases the risk of serious injury or
death.
Programming HomeLink
®
Please note the following:
• When programming a garage door
opener, it is advised to park the
vehicle outside of the garage.
• It is recommended that a new battery
be placed in the hand-held transmitter
of the device being programmed to
HomeLink® for quicker training and
accurate transmission of the radio-
frequency signal.
• Some vehicles may require the
Engine Start/Stop button to be in the
ACC (or “Accessories”) position for
programming and/or operation of
HomeLink®.
• In the event that there are still
programming difficulties or questions
after following the programming steps
listed below, contact HomeLink® at:
www.homelink.com, www.youtube.
com/HomeLinkGentex or by calling
1-800-355-3515. Programming
To program most devices, follow these
instructions:
ODN8H050136N
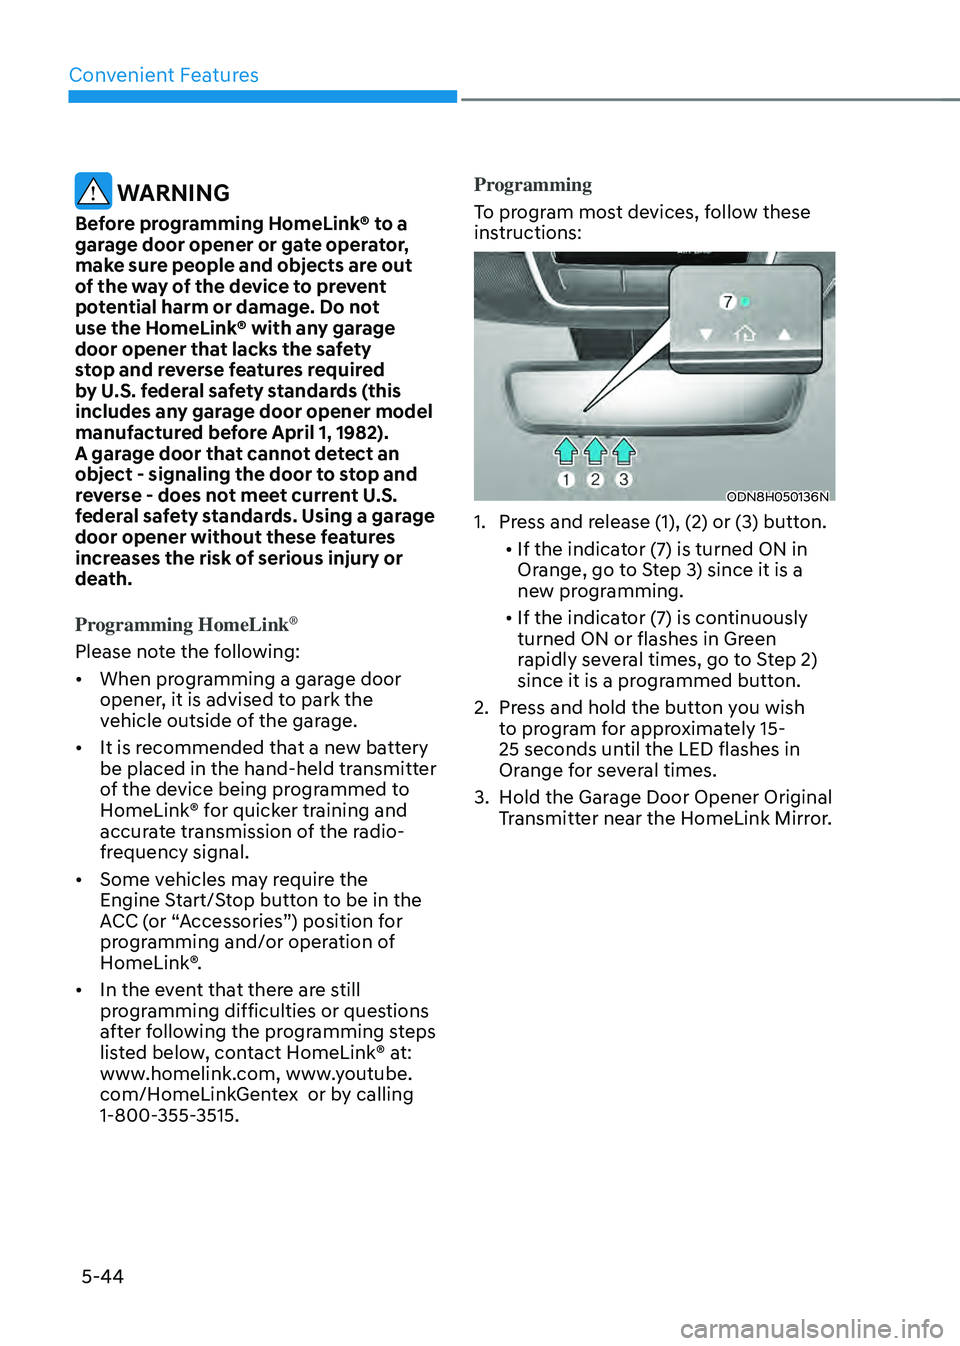
1. Press and release (1), (2) or (3) button.
• If the indicator (7) is turned ON in
Orange, go to Step 3) since it is a
new programming.
• If the indicator (7) is continuously
turned ON or flashes in Green
rapidly several times, go to Step 2)
since it is a programmed button.
2. Press and hold the button you wish
to program for approximately 15-
25 seconds until the LED flashes in
Orange for several times.
3. Hold the Garage Door Opener Original
Transmitter near the HomeLink Mirror.
Page 207 of 527
05
5-59
How to Use
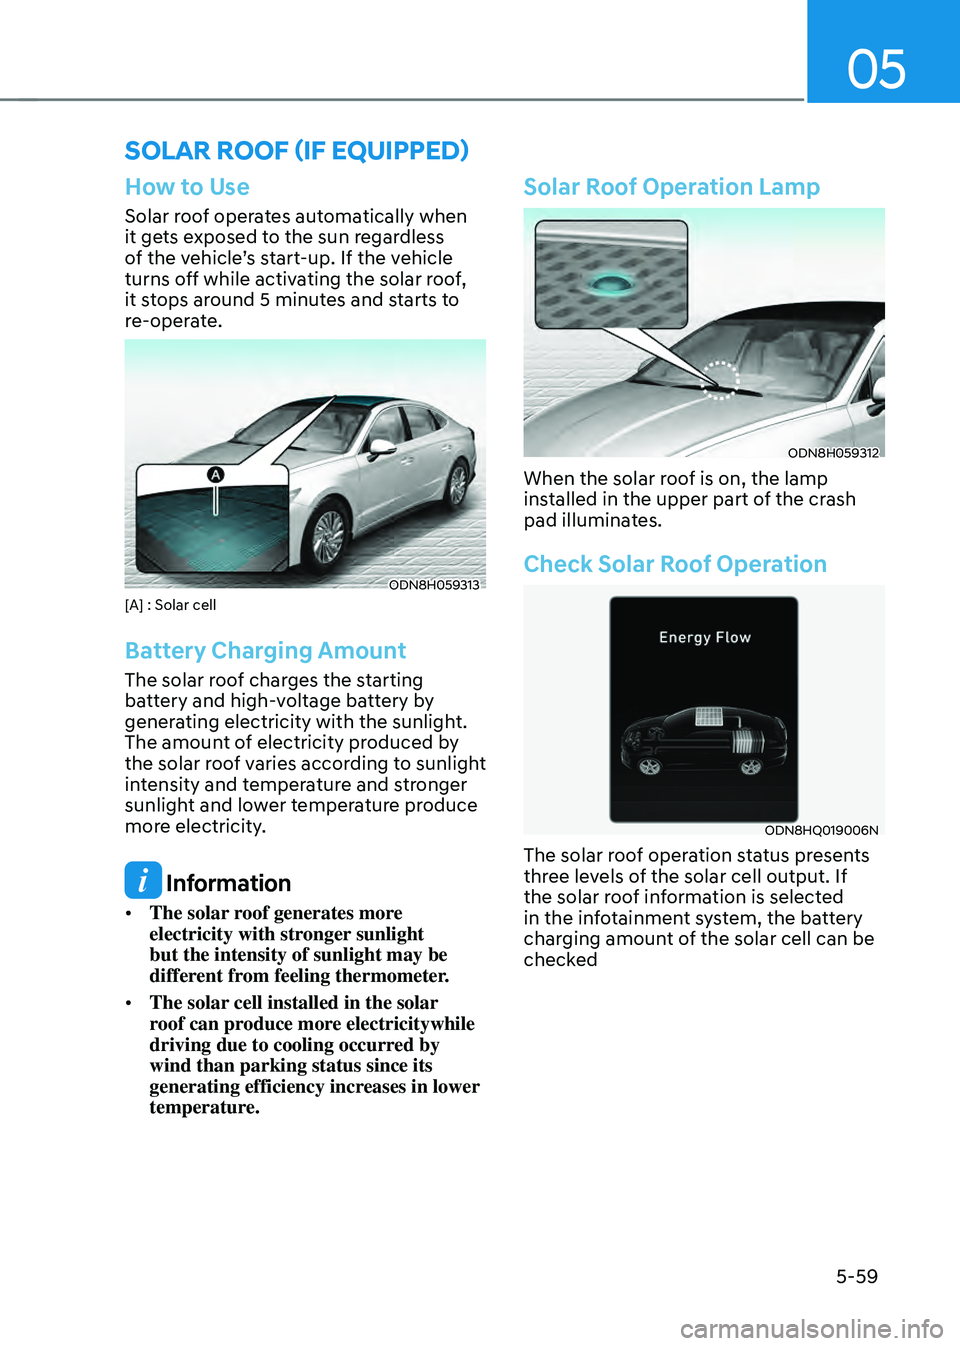
Solar roof operates automatically when
it gets exposed to the sun regardless
of the vehicle’s start-up. If the vehicle
turns off while activating the solar roof,
it stops around 5 minutes and starts to
re-operate.
ODN8H059313[A] : Solar cell
Battery Charging Amount
The solar roof charges the starting
battery and high-voltage battery by
generating electricity with the sunlight.
The amount of electricity produced by
the solar roof varies according to sunlight
intensity and temperature and stronger
sunlight and lower temperature produce
more electricity.
Information
• The solar roof generates more
electricity with stronger sunlight
but the intensity of sunlight may be
different from feeling thermometer.
• The solar cell installed in the solar
roof can produce more electricitywhile
driving due to cooling occurred by
wind than parking status since its
generating efficiency increases in lower
temperature.
Solar Roof Operation Lamp
ODN8H059312
When the solar roof is on, the lamp
installed in the upper part of the crash
pad illuminates.
Check Solar Roof Operation
ODN8HQ019006N
The solar roof operation status presents
three levels of the solar cell output. If
the solar roof information is selected
in the infotainment system, the battery
charging amount of the solar cell can be
checked
SOLAR ROOF (IF EQUIPPED)
Page 231 of 527
05
5-83
Information
If the wiper switch is set in AUTO mode
when Engine Start/Stop button is in the
ON position, the wiper will operate once to
perform a self-check of the system. Set the
wiper to the OFF position when the wiper
is not in use.
WARNING
To avoid personal injury from the
windshield wipers, when the engine
is running and the windshield wiper
switch is placed in the AUTO mode:
• Do not touch the upper end of the
windshield glass facing the rain
sensor.
• Do not wipe the upper end of the
windshield glass with a damp or wet
cloth.
• Do not put pressure on the
windshield glass.
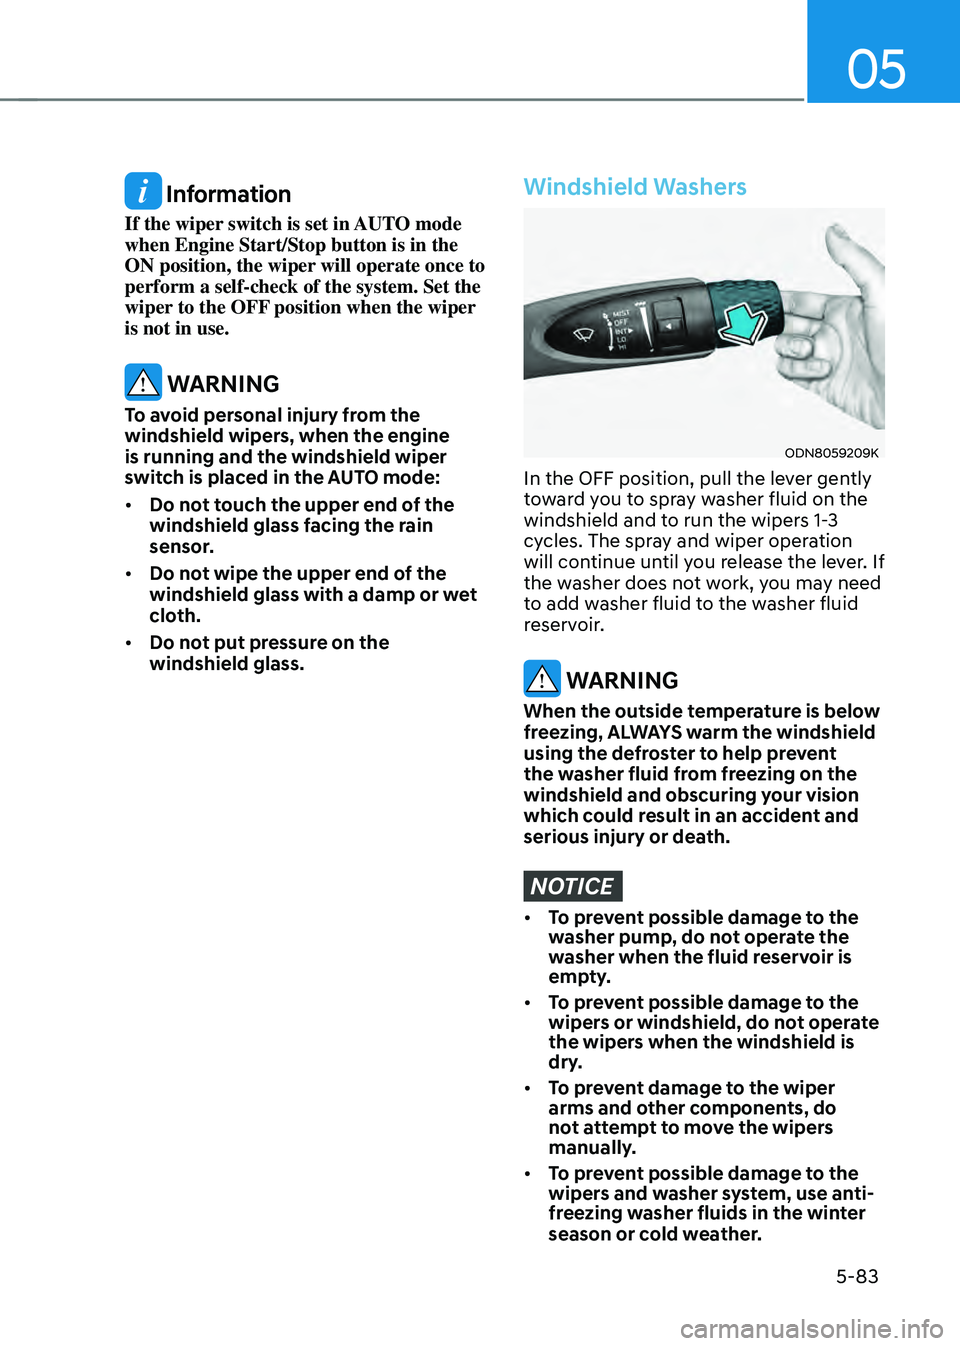
Windshield Washers
ODN8059209K
In the OFF position, pull the lever gently
toward you to spray washer fluid on the
windshield and to run the wipers 1-3
cycles. The spray and wiper operation
will continue until you release the lever. If
the washer does not work, you may need
to add washer fluid to the washer fluid
reservoir.
WARNING
When the outside temperature is below
freezing, ALWAYS warm the windshield
using the defroster to help prevent
the washer fluid from freezing on the
windshield and obscuring your vision
which could result in an accident and
serious injury or death.
NOTICE
• To pr event possible damage to the
washer pump, do not operate the
washer when the fluid reservoir is
empty.
• To prevent possible damage to the
wipers or windshield, do not operate
the wipers when the windshield is
dry.
• To prevent damage to the wiper
arms and other components, do
not attempt to move the wipers
manually.
• To prevent possible damage to the
wipers and washer system, use anti-
freezing washer fluids in the winter
season or cold weather.
Page 243 of 527

05
5-95
Reverse Parking Collision-Avoidance
Assist is a supplemental system that can
warn the driver or apply braking force
to reduce the possibility of collision
with pedestrians when the vehicle is
reversing.
WARNING
• Always look around your vehicle to
make sure there are no objects or
pedestrian before moving the vehicle
in any direction to prevent a collision.
• Do not solely rely on Reverse Parking
Collision-Avoidance Assist system.
The system might not assist the
driver leading to pedestrian injury or
vehicle damage.
• Be aware that some objects may
not be visible on the screen or be
detected by the rear ultrasonic
sensors, due to the objects’ distance,
size or material, all of which can limit
the effectiveness of the sensors.
System Setting and Operation
System setting
Parking Collision-Avoidance Assist-
Reverse can be activated from the
Settings menu in the LCD display or
infotainment system display by following
the procedure below.
1. Set the Engine Start/Stop button to
the ON or START position.
2. Select ‘User Settings → Driver Assistance → Parking Safety → Active Assist / Warning Only / Off’ in the
LCD display or infotainment system
display.
-The system is ready for operation
when ‘Active Assist’ is selected. In
the event of an imminent collision
with a pedestrian or an object, the
system warns the driver or applies
braking force to help avoid the
collision.
-The system is ready for operation
when ‘Warning Only’ is selected. In
the event of an imminent collision
with a pedestrian, the system warns
the driver but does not assist in
braking.
-The system deactivates when ‘Off’ is
selected.
REVERSE PARKING COLLISION-AVOIDANCE ASSIST (PCA)
Page 267 of 527
05
5-119
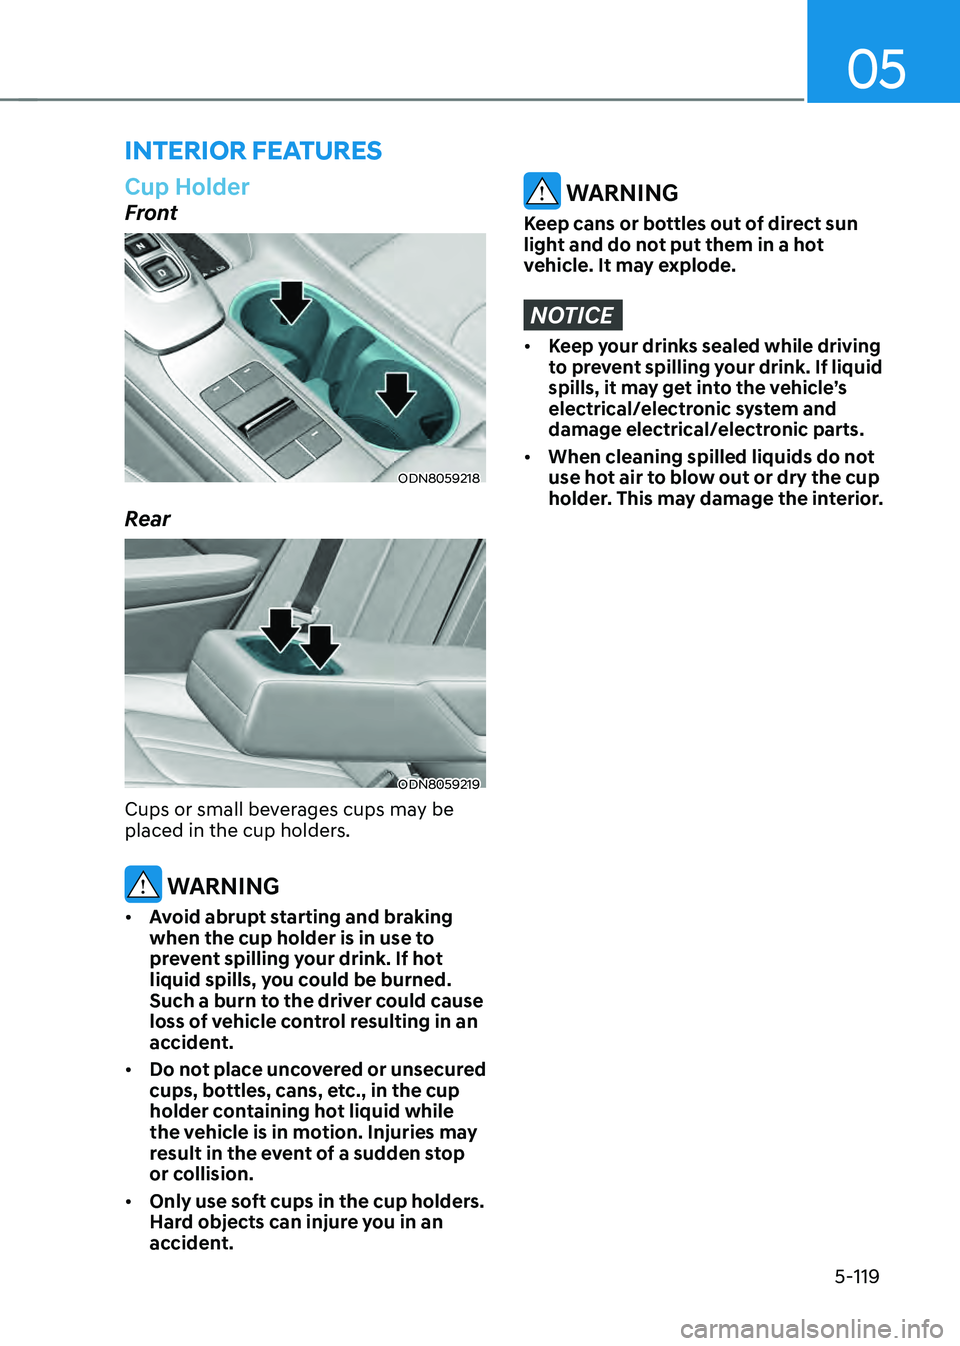
Cup Holder
Front
ODN8059218
Rear
ODN8059219
Cups or small beverages cups may be
placed in the cup holders.
WARNING
• Avoid abrupt starting and braking
when the cup holder is in use to
prevent spilling your drink. If hot
liquid spills, you could be burned.
Such a burn to the driver could cause
loss of vehicle control resulting in an
accident.
• Do not place uncovered or unsecured
cups, bottles, cans, etc., in the cup
holder containing hot liquid while
the vehicle is in motion. Injuries may
result in the event of a sudden stop
or collision.
• Only use soft cups in the cup holders.
Hard objects can injure you in an
accident.
WARNING
Keep cans or bottles out of direct sun
light and do not put them in a hot
vehicle. It may explode.
NOTICE
• Keep your drinks sealed while driving
to prevent spilling your drink. If liquid
spills, it may get into the vehicle’s
electrical/electronic system and
damage electrical/electronic parts.
• When cleaning spilled liquids do not
use hot air to blow out or dry the cup
holder. This may damage the interior.
INTERIOR FEATURES
Page 269 of 527
05
5-121
NOTICE
To prevent damage to the Power
Outlets:
• Use the power outlet only when the
engine is running and remove the
accessory plug after use. Using the
accessory plug for prolonged periods
of time with the engine off could
cause the battery to discharge.
• Only use 12V electric accessories
which are less than 180 W in electric
capacity.
• Adjust the air-conditioner or heater
to the lowest operating level when
using the power outlet.
• Close the cover when not in use.
• Some electronic devices can
cause electronic interference
when plugged into a vehicle’s
power outlet. These devices may
cause excessive audio static and
malfunctions in other electronic
systems or devices used in your
vehicle.
• Push the plug in as far as it will go. If
good contact is not made, the plug
may overheat and the fuse may open.
• Plug in battery equipped electrical/
electronic devices with reverse
current protection. The current
from the battery may flow into the
vehicle’s electrical/electronic system
and cause system malfunction.
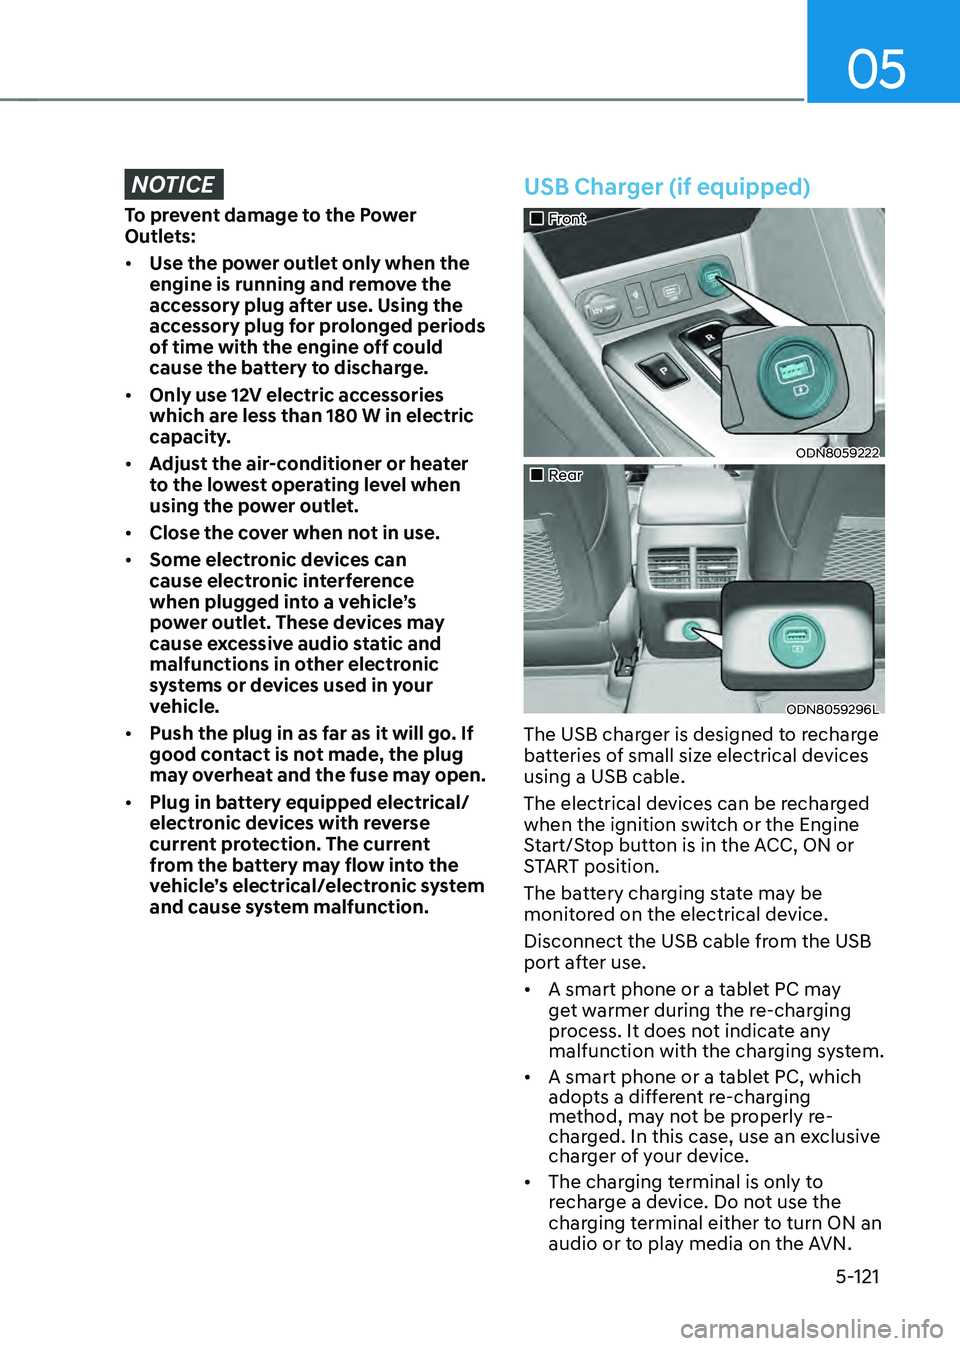
USB Charger (if equipped)
„„Front
ODN8059222
„„Rear
ODN8059296L
The USB charger is designed to recharge
batteries of small size electrical devices
using a USB cable.
The electrical devices can be recharged
when the ignition switch or the Engine
Start/Stop button is in the ACC, ON or
START position.
The battery charging state may be
monitored on the electrical device.
Disconnect the USB cable from the USB
port after use.
• A smart phone or a tablet PC may
get warmer during the re-charging
process. It does not indicate any
malfunction with the charging system.
• A smart phone or a tablet PC, which
adopts a different re-charging
method, may not be properly re-
charged. In this case, use an exclusive
charger of your device.
• The charging terminal is only to
recharge a device. Do not use the
charging terminal either to turn ON an
audio or to play media on the AVN.