2020 Hyundai Santa Fe oil
[x] Cancel search: oilPage 460 of 557

E
EX
X P
PL
LA
A N
N A
AT
TI
IO
O N
N
O
O F
F
S
S C
C H
H E
ED
D U
U L
LE
E D
D
M
M A
AI
IN
N T
TE
EN
N A
AN
N C
CE
E
I
IT
T E
EM
M S
S
Engine Oil and Filter
The engine oil and filter should be
changed at the intervals specified in
the maintenance schedule. If the
vehicle is being driven in severe con-
ditions, more frequent oil and filter
changes are required.
Drive Belts
Inspect all drive belts for evidence of
cuts, cracks, excessive wear or oil
saturation and replace if necessary.
Drive belts should be checked peri-
odically for proper tension and
adjusted as necessary.
Fuel Filter
A clogged-up fuel filter may limit the
vehicle driving speed, damage the
emission system, and cause the
hard starting. When a considerable
amount of foreign substances are
accumulated in the fuel tank, the fuel
filter should be replaced.
Upon installing a new fuel filter, oper-
ate the engine for several minutes,
and check the connections for any
leakages. Fuel filters should be
installed by an authorized HYUNDAI
dealer.
Fuel Lines, Fuel Hoses and
Connections
Check the fuel lines, fuel hoses and
connections for leakage and dam-
age. Have an authorized HYUNDAI
dealer replace any damaged or leak-
ing parts immediately.
Vapor Hose and Fuel Filler
Cap
The vapor hose and fuel filler cap
should be inspected at those inter-
vals specified in the maintenance
schedule. Make sure a new vapor
hose or fuel filler cap is correctly
replaced.
Vacuum Crankcase Ventilation
Hoses (if equipped)
Inspect the surface of hoses for evi-
dence of heat and/or mechanical
damage. Hard and brittle rubber,
cracking, tears, cuts, abrasions, and
excessive swelling indicate deterio-
ration. Particular attention should be
paid to examine those hose surfaces
nearest to high heat sources, such
as the exhaust manifold.
Inspect the hose routing to ensure
that the hoses do not come in con-
tact with any heat source, sharp
edges or moving component which
might cause heat damage or
mechanical wear. Inspect all hose
connections, such as clamps and
couplings, to make sure they are
secure, and that no leaks are pres-
ent. Hoses should be replaced
immediately if there is any evidence
of deterioration or damage.
Maintenance
7-18
Page 463 of 557
7-21
7
Maintenance
E
EN
N G
GI
IN
N E
E
O
O I
IL
L
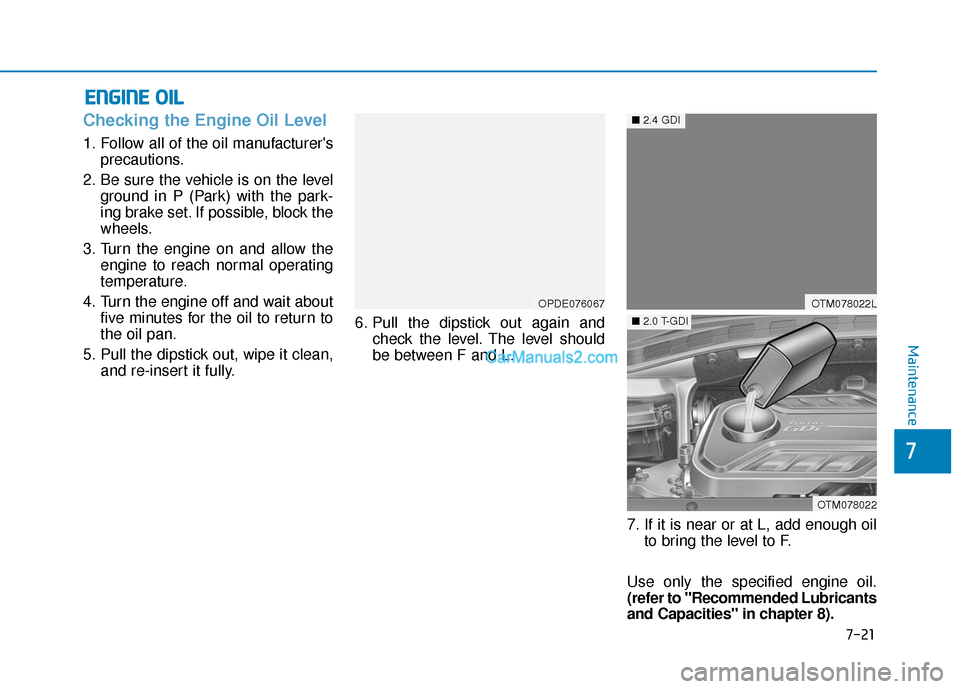
Checking the Engine Oil Level
1. Follow all of the oil manufacturer's
precautions.
2. Be sure the vehicle is on the level ground in P (Park) with the park-
ing brake set. If possible, block the
wheels.
3. Turn the engine on and allow the engine to reach normal operating
temperature.
4. Turn the engine off and wait about five minutes for the oil to return to
the oil pan.
5. Pull the dipstick out, wipe it clean, and re-insert it fully. 6. Pull the dipstick out again and
check the level. The level should
be between F and L.
7. If it is near or at L, add enough oilto bring the level to F.
Use only the specified engine oil.
(refer to "Recommended Lubricants
and Capacities" in chapter 8).
OPDE076067OTM078022L
OTM078022
■ 2.4 GDI
■2.0 T-GDI
Page 464 of 557
To prevent damage to your
engine:
Do not overfill with engine oil.Add oil in small quantities and
recheck level to ensure engine
is not overfilled.
Do not spill engine oil when adding or changing engine oil.
Use a funnel to help prevent oil
from being spilled on engine
components. Wipe off spilled oil
immediately.
Checking the Engine Oil and
Filter
Have engine oil and filter changed by
an authorized HYUNDAI dealer
according to the Maintenance
Schedule at the beginning of this
chapter.
NOTICE
CALIFORNIA PROPOSITION 65
WARNING
Engine oil contains chemicals
known to the State of California
to cause cancer, birth defects
and reproductive harm. Used
engine oil may cause irritation
or cancer of the skin if left in
contact with the skin for pro-
longed periods of time. Always
protect your skin by washing
your hands thoroughly with
soap and warm water as soon
as possible after handling used
oil.
WARNING
Maintenance
7-22
Page 468 of 557
B
BR
RA
A K
KE
E
F
F L
LU
U I
ID
D
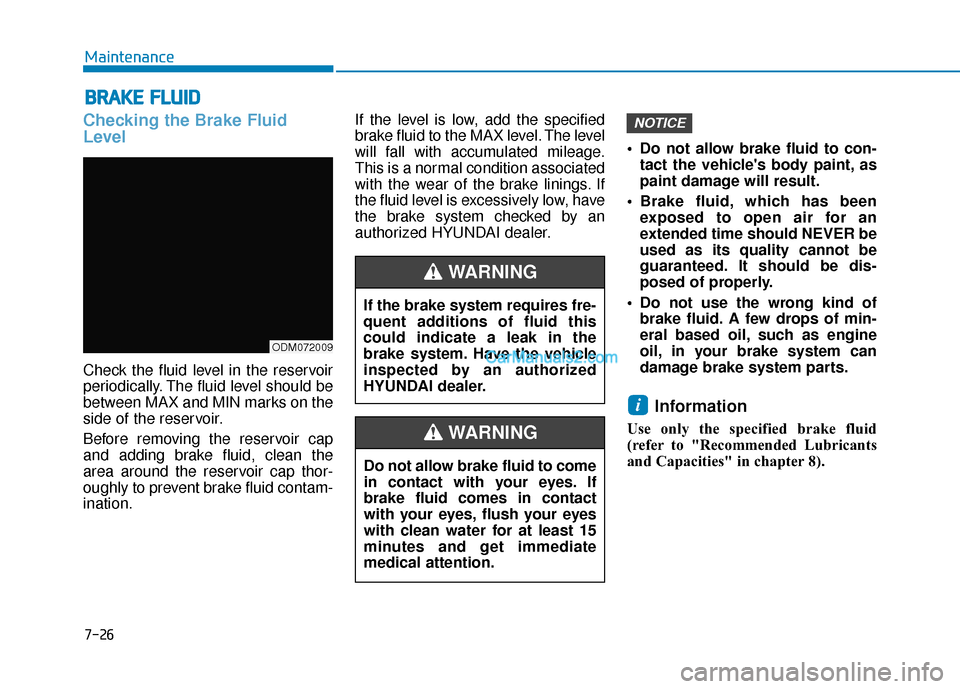
Checking the Brake Fluid
Level
Check the fluid level in the reservoir
periodically. The fluid level should be
between MAX and MIN marks on the
side of the reservoir.
Before removing the reservoir cap
and adding brake fluid, clean the
area around the reservoir cap thor-
oughly to prevent brake fluid contam-
ination. If the level is low, add the specified
brake fluid to the MAX level. The level
will fall with accumulated mileage.
This is a normal condition associated
with the wear of the brake linings. If
the fluid level is excessively low, have
the brake system checked by an
authorized HYUNDAI dealer.
Do not allow brake fluid to con-
tact the vehicle's body paint, as
paint damage will result.
Brake fluid, which has been exposed to open air for an
extended time should NEVER be
used as its quality cannot be
guaranteed. It should be dis-
posed of properly.
Do not use the wrong kind of brake fluid. A few drops of min-
eral based oil, such as engine
oil, in your brake system can
damage brake system parts.
Information
Use only the specified brake fluid
(refer to "Recommended Lubricants
and Capacities" in chapter 8).
i
NOTICE
If the brake system requires fre-
quent additions of fluid this
could indicate a leak in the
brake system. Have the vehicle
inspected by an authorized
HYUNDAI dealer.
WARNING
Do not allow brake fluid to come
in contact with your eyes. If
brake fluid comes in contact
with your eyes, flush your eyes
with clean water for at least 15
minutes and get immediate
medical attention.
WARNING
ODM072009
Maintenance
7-26
Page 469 of 557
W
WA
AS
SH
H E
ER
R
F
F L
LU
U I
ID
D
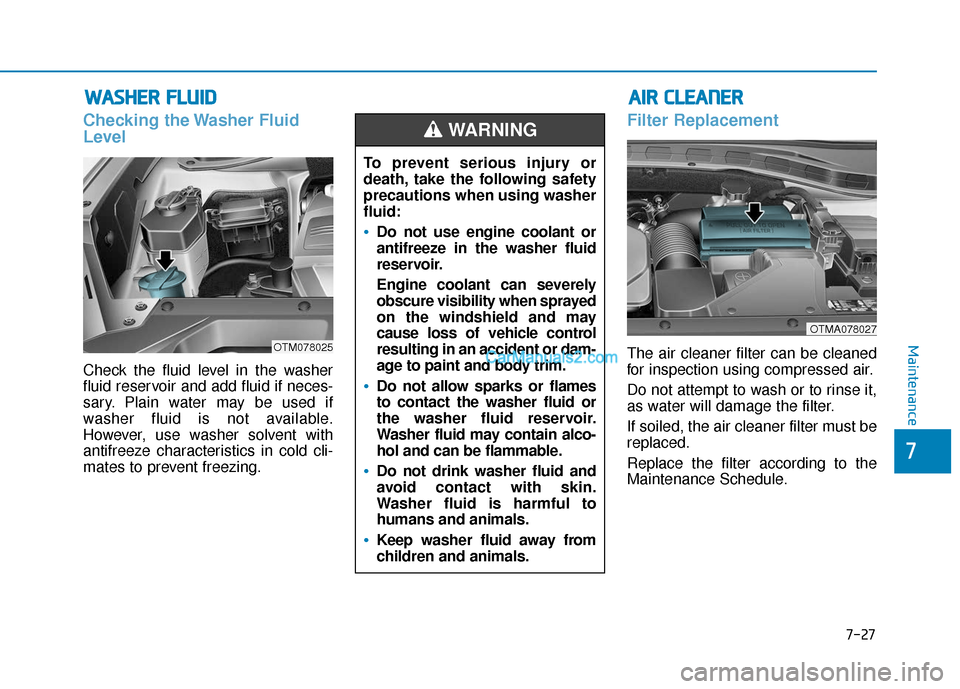
Checking the Washer Fluid
Level
Check the fluid level in the washer
fluid reservoir and add fluid if neces-
sary. Plain water may be used if
washer fluid is not available.
However, use washer solvent with
antifreeze characteristics in cold cli-
mates to prevent freezing.
Filter Replacement
The air cleaner filter can be cleaned
for inspection using compressed air.
Do not attempt to wash or to rinse it,
as water will damage the filter.
If soiled, the air cleaner filter must be
replaced.
Replace the filter according to the
Maintenance Schedule.OTM078025
OTMA078027
A
A I
IR
R
C
C L
LE
E A
A N
N E
ER
R
To prevent serious injury or
death, take the following safety
precautions when using washer
fluid:
Do not use engine coolant or
antifreeze in the washer fluid
reservoir.
Engine coolant can severely
obscure visibility when sprayed
on the windshield and may
cause loss of vehicle control
resulting in an accident or dam-
age to paint and body trim.
Do not allow sparks or flames
to contact the washer fluid or
the washer fluid reservoir.
Washer fluid may contain alco-
hol and can be flammable.
Do not drink washer fluid and
avoid contact with skin.
Washer fluid is harmful to
humans and animals.
Keep washer fluid away from
children and animals.
WARNING
Maintenance
7
7-27
Page 477 of 557
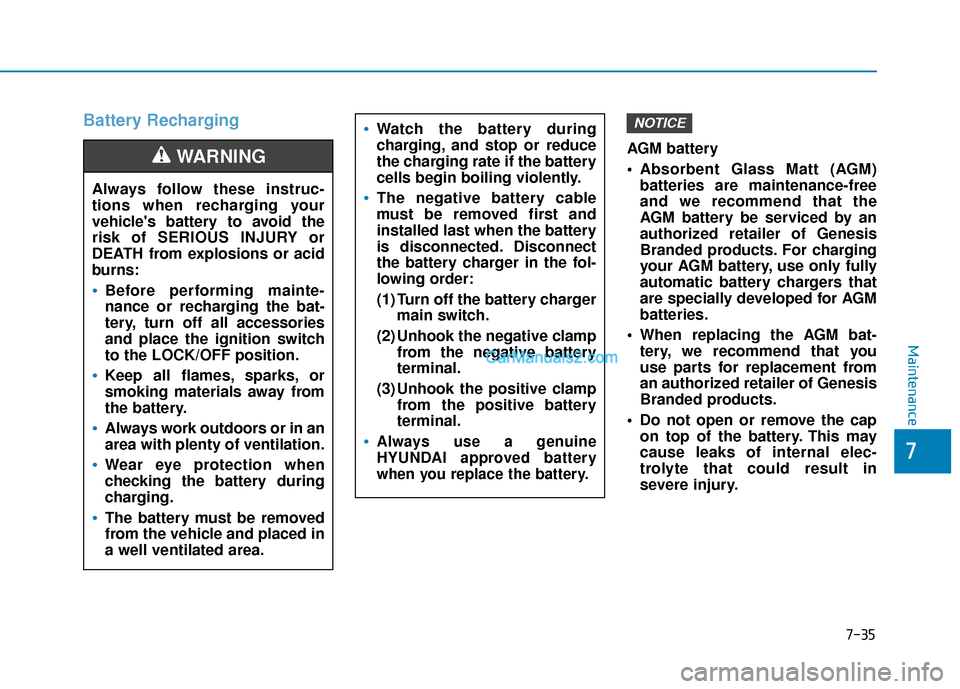
Battery Recharging
AGM battery
Absorbent Glass Matt (AGM)batteries are maintenance-free
and we recommend that the
AGM battery be serviced by an
authorized retailer of Genesis
Branded products. For charging
your AGM battery, use only fully
automatic battery chargers that
are specially developed for AGM
batteries.
When replacing the AGM bat- tery, we recommend that you
use parts for replacement from
an authorized retailer of Genesis
Branded products.
Do not open or remove the cap on top of the battery. This may
cause leaks of internal elec-
trolyte that could result in
severe injury.
NOTICE
Always follow these instruc-
tions when recharging your
vehicle's battery to avoid the
risk of SERIOUS INJURY or
DEATH from explosions or acid
burns:
Before performing mainte-
nance or recharging the bat-
tery, turn off all accessories
and place the ignition switch
to the LOCK/OFF position.
Keep all flames, sparks, or
smoking materials away from
the battery.
Always work outdoors or in an
area with plenty of ventilation.
Wear eye protection when
checking the battery during
charging.
The battery must be removed
from the vehicle and placed in
a well ventilated area.
WARNING
Watch the battery during
charging, and stop or reduce
the charging rate if the battery
cells begin boiling violently.
The negative battery cable
must be removed first and
installed last when the battery
is disconnected. Disconnect
the battery charger in the fol-
lowing order:
(1) Turn off the battery charger main switch.
(2) Unhook the negative clamp from the negative battery
terminal.
(3) Unhook the positive clamp from the positive battery
terminal.
Always use a genuine
HYUNDAI approved battery
when you replace the battery.
Maintenance
7
7-35
Page 489 of 557

Tire Terminology and
Definitions
Air Pressure
The amount of air inside the tire
pressing outward on the tire. Air
pressure is expressed in pounds per
square inch (psi) or kilopascal (kPa).
Accessory Weight
This means the combined weight of
optional accessories. Some exam-
ples of optional accessories are
automatic transmission, power
seats, and air conditioning.
Aspect Ratio
The relationship of a tire's height to
its width.
Belt
A rubber coated layer of cords that is
located between the plies and the
tread. Cords may be made from steel
or other reinforcing materials.
Bead
The tire bead contains steel wires
wrapped by steel cords that hold the
tire onto the rim.
Bias Ply Tire
A pneumatic tire in which the plies
are laid at alternate angles less than
90 degrees to the centerline of the
tread.
Cold Tire Pressure
The amount of air pressure in a tire,
measured in pounds per square inch
(psi) or kilopascals (kPa) before a tire
has built up heat from driving.
Curb Weight
This means the weight of a motor
vehicle with standard and optional
equipment including the maximum
capacity of fuel, oil and coolant, but
without passengers and cargo.
DOT Markings
A code molded into the sidewall of a
tire signifying that the tire is in com-
pliance with the U.S. Department of
Transportation motor vehicle safety
standards. The DOT code includes
the Tire Identification Number (TIN),
an alphanumeric designator which
can also identify the tire manufactur-
er, production plant, brand and date
of production.
GVWR
Gross Vehicle Weight Rating
GAWR FRT
Gross Axle Weight Rating for the
Front Axle.
GAWR RR
Gross Axle Weight Rating for the
Rear axle.
Intended Outboard Sidewall
The side of an asymmetrical tire, that
must always face outward when
mounted on a vehicle.
Maintenance
7
7-47
Page 494 of 557
F
FU
U S
SE
E S
S
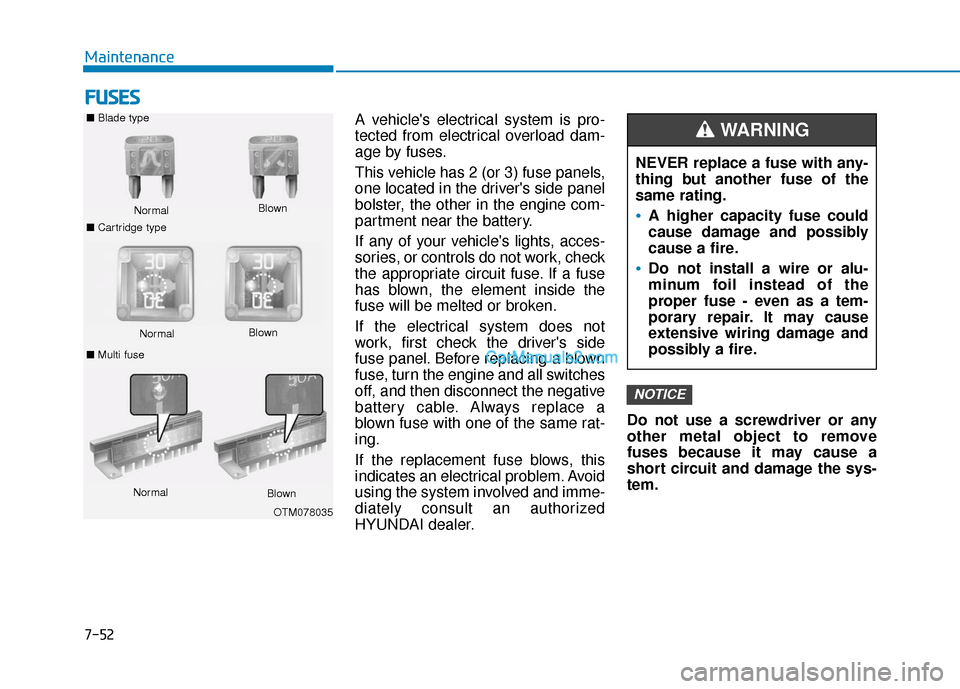
A vehicle's electrical system is pro-
tected from electrical overload dam-
age by fuses.
This vehicle has 2 (or 3) fuse panels,
one located in the driver's side panel
bolster, the other in the engine com-
partment near the battery.
If any of your vehicle's lights, acces-
sories, or controls do not work, check
the appropriate circuit fuse. If a fuse
has blown, the element inside the
fuse will be melted or broken.
If the electrical system does not
work, first check the driver's side
fuse panel. Before replacing a blown
fuse, turn the engine and all switches
off, and then disconnect the negative
battery cable. Always replace a
blown fuse with one of the same rat-
ing.
If the replacement fuse blows, this
indicates an electrical problem. Avoid
using the system involved and imme-
diately consult an authorized
HYUNDAI dealer. Do not use a screwdriver or any
other metal object to remove
fuses because it may cause a
short circuit and damage the sys-
tem.
NOTICE
NEVER replace a fuse with any-
thing but another fuse of the
same rating.
A higher capacity fuse could
cause damage and possibly
cause a fire.
Do not install a wire or alu-
minum foil instead of the
proper fuse - even as a tem-
porary repair. It may cause
extensive wiring damage and
possibly a fire.
WARNING ■
Blade type
Normal
■ Cartridge type Blown
Normal
Blown
■ Multi fuse
Normal Blown
OTM078035
Maintenance
7-52