Page 317 of 557

5-43
Driving your vehicle
5
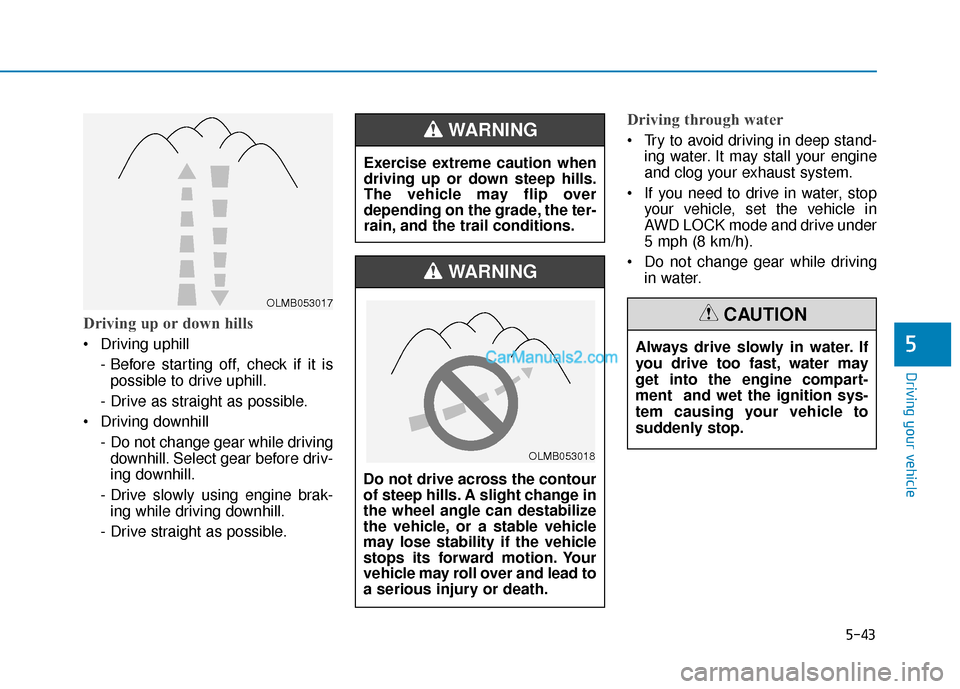
Driving up or down hills
Driving uphill - Before starting off, check if it ispossible to drive uphill.
- Drive as straight as possible.
Driving downhill - Do not change gear while drivingdownhill. Select gear before driv-
ing downhill.
- Drive slowly using engine brak- ing while driving downhill.
- Drive straight as possible.
Driving through water
Try to avoid driving in deep stand- ing water. It may stall your engine
and clog your exhaust system.
If you need to drive in water, stop your vehicle, set the vehicle in
AWD LOCK mode and drive under
5 mph (8 km/h).
Do not change gear while driving in water.
OLMB053017
Exercise extreme caution when
driving up or down steep hills.
The vehicle may flip over
depending on the grade, the ter-
rain, and the trail conditions.
WARNING
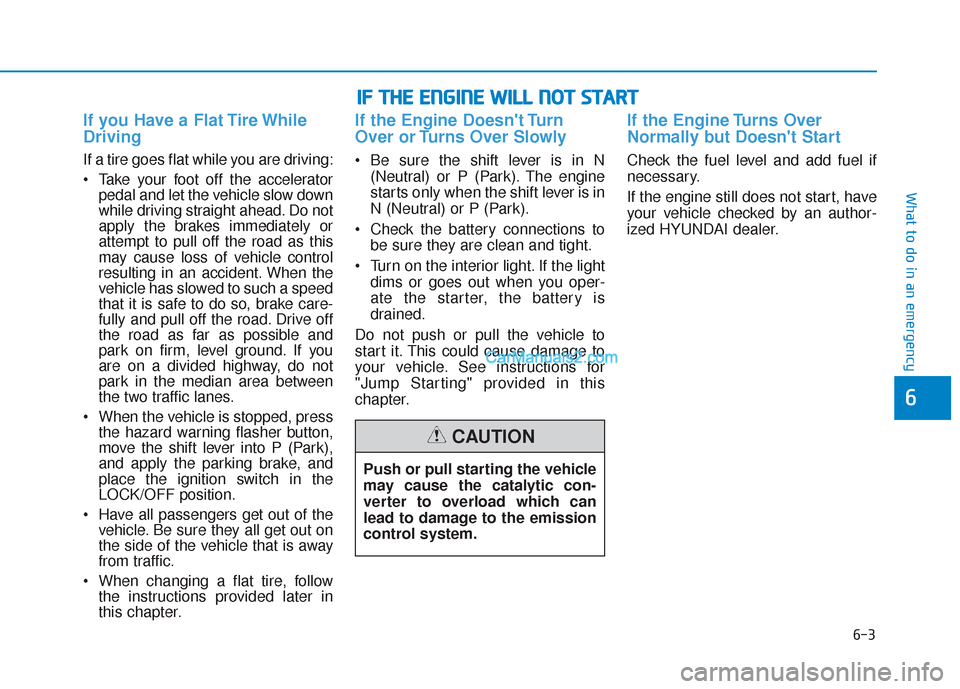
Do not drive across the contour
of steep hills. A slight change in
the wheel angle can destabilize
the vehicle, or a stable vehicle
may lose stability if the vehicle
stops its forward motion. Your
vehicle may roll over and lead to
a serious injury or death.
WARNING
Always drive slowly in water. If
you drive too fast, water may
get into the engine compart-
ment and wet the ignition sys-
tem causing your vehicle to
suddenly stop.
CAUTION
OLMB053018
Page 423 of 557

6-3
What to do in an emergency
If you Have a Flat Tire While
Driving
If a tire goes flat while you are driving:
Take your foot off the acceleratorpedal and let the vehicle slow down
while driving straight ahead. Do not
apply the brakes immediately or
attempt to pull off the road as this
may cause loss of vehicle control
resulting in an accident. When the
vehicle has slowed to such a speed
that it is safe to do so, brake care-
fully and pull off the road. Drive off
the road as far as possible and
park on firm, level ground. If you
are on a divided highway, do not
park in the median area between
the two traffic lanes.
When the vehicle is stopped, press the hazard warning flasher button,
move the shift lever into P (Park),
and apply the parking brake, and
place the ignition switch in the
LOCK/OFF position.
Have all passengers get out of the vehicle. Be sure they all get out on
the side of the vehicle that is away
from traffic.
When changing a flat tire, follow the instructions provided later in
this chapter.
If the Engine Doesn't Turn
Over or Turns Over Slowly
Be sure the shift lever is in N
(Neutral) or P (Park). The engine
starts only when the shift lever is in
N (Neutral) or P (Park).
Check the battery connections to be sure they are clean and tight.
Turn on the interior light. If the light dims or goes out when you oper-
ate the starter, the battery is
drained.
Do not push or pull the vehicle to
start it. This could cause damage to
your vehicle. See instructions for
"Jump Starting" provided in this
chapter.
If the Engine Turns Over
Normally but Doesn't Start
Check the fuel level and add fuel if
necessary.
If the engine still does not start, have
your vehicle checked by an author-
ized HYUNDAI dealer.
6
I I F
F
T
T H
H E
E
E
E N
N G
GI
IN
N E
E
W
W I
IL
L L
L
N
N O
O T
T
S
S T
T A
A R
RT
T
Push or pull starting the vehicle
may cause the catalytic con-
verter to overload which can
lead to damage to the emission
control system.
CAUTION
Page 425 of 557

6-5
What to do in an emergency
6
Information
An inappropriately disposedbattery can be harmful to the
environment and human
health. Dispose of the battery
according to your local law(s)
or regulations.
To prevent damage to your vehicle:
Only use a 12-volt power supply (battery or jumper system) to
jump start your vehicle.
Do not attempt to jump start your vehicle by push-starting.
Jump starting procedure
1. Position the vehicles close enough that the jumper cables will reach,
but do not allow the vehicles to
touch.
2. Avoid fans or any moving parts in the engine compartment at all
times, even when the vehicles are
turned off.
3. Turn off all electrical devices such as radios, lights, air conditioning,
etc. Put the vehicles in P (Park)
and set the parking brakes. Turn
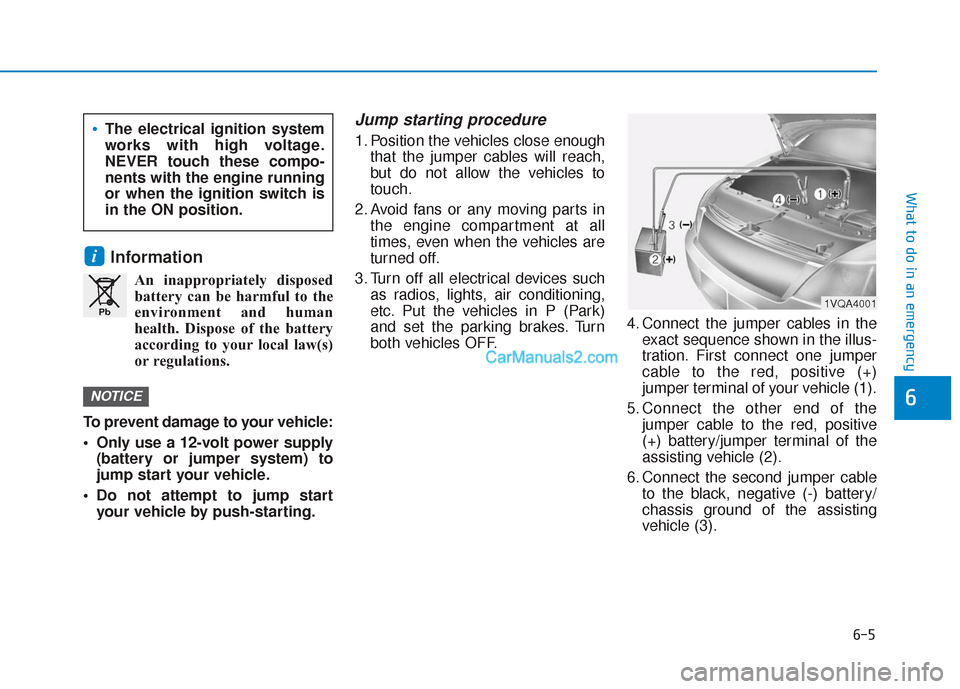
both vehicles OFF. 4. Connect the jumper cables in the
exact sequence shown in the illus-
tration. First connect one jumper
cable to the red, positive (+)
jumper terminal of your vehicle (1).
5. Connect the other end of the jumper cable to the red, positive
(+) battery/jumper terminal of the
assisting vehicle (2).
6. Connect the second jumper cable to the black, negative (-) battery/
chassis ground of the assisting
vehicle (3).
NOTICE
i
Pb
The electrical ignition system
works with high voltage.
NEVER touch these compo-
nents with the engine running
or when the ignition switch is
in the ON position.
1VQA4001
Page 551 of 557

I-8
Jump starting .....................................................................6-4\
Key ignition switch ...........................................................5-6
LabelRefrigerant label .........................................................8-11
Tire sidewall labeling .................................................7-43
Tire specification and pressure label ..........................8-11
Vehicle certification label ...........................................8-10
Lane change signals ......................................................3-117
Lane Keeping Assist (LKA) system ...............................5-93
Lap/shoulder belt ............................................................2-28
LCD display LCD display modes ....................................................3-92
Assist mode ................................................................3-93
Master warning mode .................................................3-94
Quick guide ................................................................3-96
Trip computer mode ...................................................3-93
Turn By Turn (TBT) mode.........................................3-93
User settings mode .....................................................3-95
LCD display messages Check Blind-Spot Collision Warning system ............3-89
Check BRAKE SWITCH fuse ...................................3-86 Check Driver Attention Warning system ...................3-90
Check Forward Collision Avoidance Assist system...3-89
Check headlight ..........................................................3-89
Check headlight LED .................................................3-89
Check High Beam Assist (HBA) system ...................3-89
Check Lane Keeping Assist (LKA) system ...............3-90
Check Smart Cruise Control System .........................3-90
Check turn signal........................................................3-89
Door, Hood, Liftgate open indicator ..........................3-86
Engine overheated ......................................................3-88
Key not detected .........................................................3-85
Key not in vehicle ......................................................3-85
Lights mode ................................................................3-88
Low fuel .....................................................................3-8\
8
Low key battery..........................................................3-85
Low pressure ..............................................................3-87
Low washer fluid........................................................3-88
Press brake pedal to start engine ................................3-85
Press START button again .........................................3-85
Press START button with key ....................................3-86
Shift to P.....................................................................3-8\
5
Shift to P or N to start engine ....................................3-85
Sunroof open indicator ...............................................3-87
Window open indicator ..............................................3-87
Wiper mode ................................................................3-88
LCD display modes ........................................................3-92
Leading vehicle departure alert ....................................5-123
Index
J
K
L