2020 Hyundai Ioniq Hybrid instrument cluster
[x] Cancel search: instrument clusterPage 240 of 635
3-148
Convenient features of your vehicle
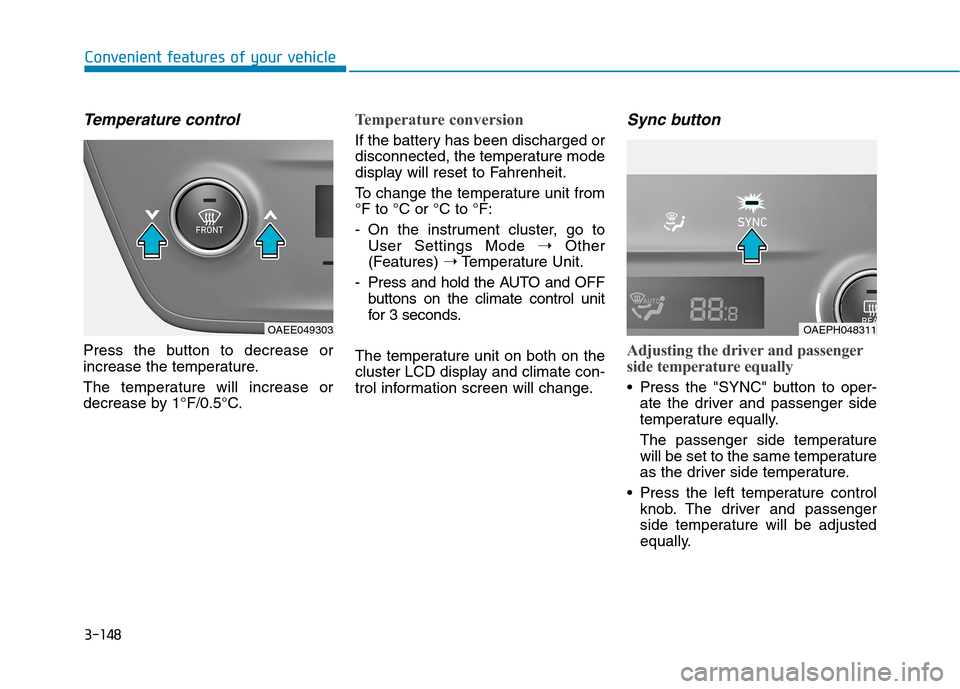
Temperature control
Press the button to decrease or
increase the temperature.
The temperature will increase or
decrease by 1°F/0.5°C.
Temperature conversion
If the battery has been discharged or
disconnected, the temperature mode
display will reset to Fahrenheit.
To change the temperature unit from
°F to °C or °C to °F:
- On the instrument cluster, go to
User Settings Mode ➝Other
(Features) ➝Temperature Unit.
- Press and hold the AUTO and OFF
buttons on the climate control unit
for 3 seconds.
The temperature unit on both on the
cluster LCD display and climate con-
trol information screen will change.
Sync button
Adjusting the driver and passenger
side temperature equally
Press the "SYNC" button to oper-
ate the driver and passenger side
temperature equally.
The passenger side temperature
will be set to the same temperature
as the driver side temperature.
Press the left temperature control
knob. The driver and passenger
side temperature will be adjusted
equally.
OAEPH048311OAEE049303
Page 257 of 635
3-165
Convenient features of your vehicle
3
To charge a cellular phone
The wireless cellular phone charging
system charges only the Qi-enabled
cellular phones ( ). Read the label
on the cellular phone accessory
cover or visit your cellular phone
manufacturer’s website to check
whether your cellular phone supports
the Qi technology.
The wireless charging process starts
when you put a Qi-enabled cellular
phone on the wireless charging unit.
1. Remove other items, including the
smart key, from the wireless charg-
ing unit. If not, the wireless charg-
ing process may be interrupted.
Place the cellular phone on the
center of charging pad.
2. The indicator light is orange when
the cellular phone is charging. The
indicator light turns green when
phone charging is completed.
3. You can turn ON or OFF the wire-
less charging function in the user
settings mode on the instrument
cluster. For further information,
refer to the "LCD Display Modes"
in this chapter.If your phone is not charging:
- Slightly change the position of the
cellular phone on the charging pad.
- Make sure the indicator light is
orange.
The indicator light will blink orange
for 10 seconds if there is a malfunc-
tion in the wireless charging system.
In this case, temporarily stop the
charging process, and re-attempt to
wirelessly charge your cellular phone
again.
The system warns you with a mes-
sage on the LCD display if the cellu-
lar phone is still on the wireless
charging unit after the ignition switch
is in the OFF position and the front
door is opened.
Information
For some manufacturers' cellular
phones, the system may not warn you
even though the cellular phone is left
on the wireless charging unit. This is
due to the particular characteristic of
the cellular phone and not a malfunc-
tion of the wireless charging. The wireless cellular phone
charging system may not sup-
port certain cellular phones,
which are not verified for the Qi
specification ( ).
When placing your cellular
phone on the charging mat,
position the phone in the middle
of the mat for optimal charging
performance. If your cell phone
is off to the side, the charging
rate may be less and in some
cases the cell phone may experi-
ence higher heat conduction.
In some cases, the wireless
charging may stop temporarily
when the Smart Key is used,
either when starting the vehicle
or locking/unlocking the doors,
etc.
When charging certain cellular
phones, the charging indicator
may not change to green when
the cell phone is fully charged.
(Continued)
NOTICE
i
Page 277 of 635
5-11
Driving your vehicle
5
Turning Off the Vehicle
1. Depress the brake pedal fully.
2. Shift to P (Park).
3. Apply the parking brake.
4. Press the Engine Start/Stop but-
ton to turn the vehicle off.
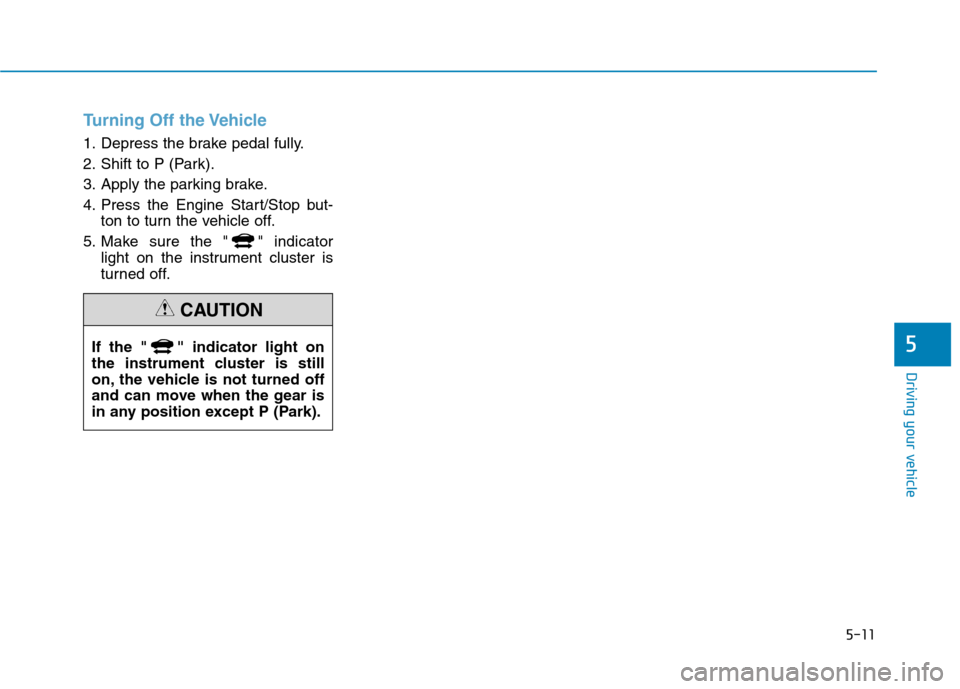
5. Make sure the " " indicator
light on the instrument cluster is
turned off.
If the " " indicator light on
the instrument cluster is still
on, the vehicle is not turned off
and can move when the gear is
in any position except P (Park).
CAUTION
Page 283 of 635
5-17
Driving your vehicle
R (Reverse)
Use this position to drive the vehicle
backward.
Always come to a complete stop
before shifting into or out of R
(Reverse); you may damage the
transmission if you shift into R
(Reverse) while the vehicle is in
motion.
N (Neutral)
The wheels and transmission are not
engaged.
Always depress the brake pedal
when you are shifting from N
(Neutral) to another gear.
D (Drive)
This is the normal driving position.
The transmission will automatically
shift through a six-gear sequence,
providing the best fuel economy and
power.
For extra power when passing anoth-
er vehicle or driving uphill depress
the accelerator pedal further until
you feel the transmission downshift
to a lower gear.
To stop the vehicle during driving,
please press brake pedal fully to pre-
vent unintended movement.If you drive the vehicle with the shift
lever in D (Drive), the vehicle will
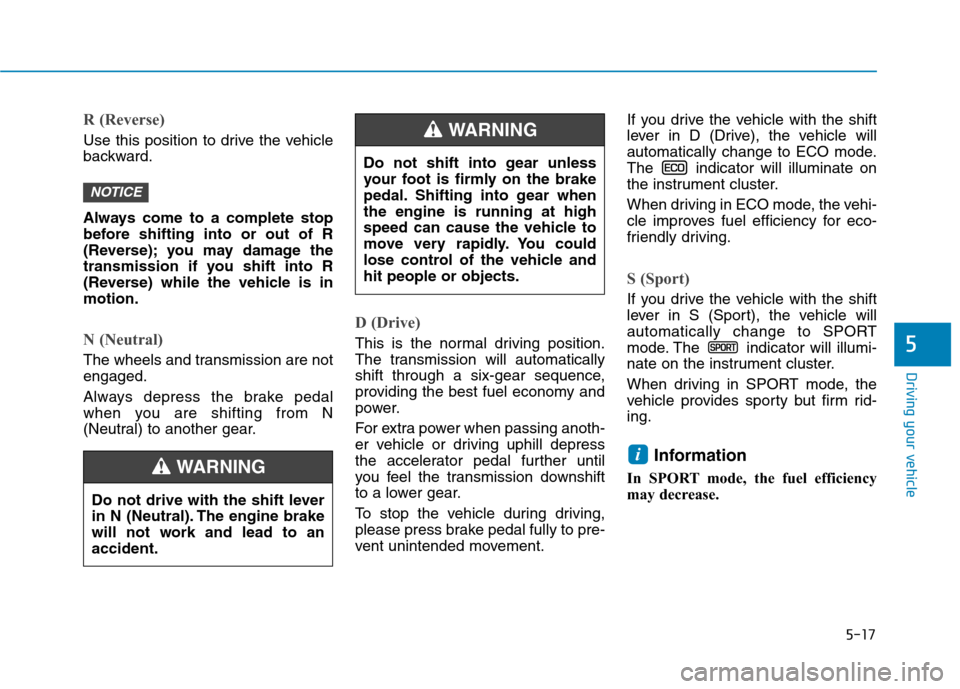
automatically change to ECO mode.
The indicator will illuminate on
the instrument cluster.
When driving in ECO mode, the vehi-
cle improves fuel efficiency for eco-
friendly driving.
S (Sport)
If you drive the vehicle with the shift
lever in S (Sport), the vehicle will
automatically change to SPORT
mode. The indicator will illumi-
nate on the instrument cluster.
When driving in SPORT mode, the
vehicle provides sporty but firm rid-
ing.
Information
In SPORT mode, the fuel efficiency
may decrease.
i
NOTICE
5
Do not drive with the shift lever
in N (Neutral). The engine brake
will not work and lead to an
accident.
WARNING
Do not shift into gear unless
your foot is firmly on the brake
pedal. Shifting into gear when
the engine is running at high
speed can cause the vehicle to
move very rapidly. You could
lose control of the vehicle and
hit people or objects.
WARNING
Page 289 of 635
5-23
Driving your vehicle
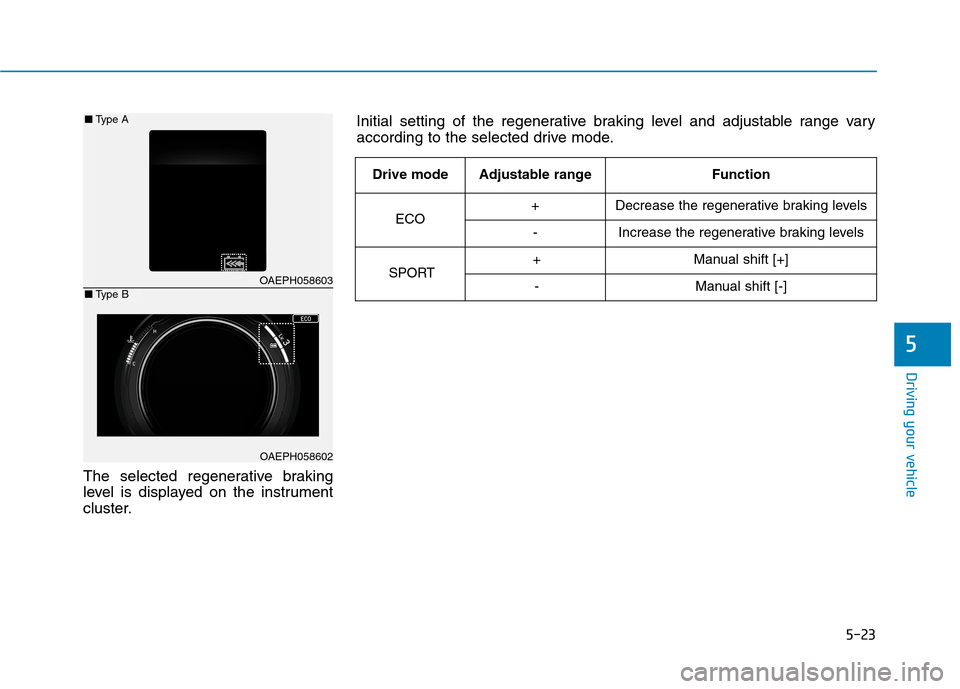
The selected regenerative braking
level is displayed on the instrument
cluster.
5
OAEPH058603
OAEPH058602
■Type A
■Type B
Initial setting of the regenerative braking level and adjustable range vary
according to the selected drive mode.
Drive modeAdjustable rangeFunction
ECO+Decrease the regenerative braking levels
-Increase the regenerative braking levels
SPORT+Manual shift [+]
-Manual shift [-]
Page 291 of 635

5-25
Driving your vehicle
5
The coasting guide function informs
the driver when to take the foot off
from the accelerator by anticipating a
decelerating event* based on the
analysis of driving routes and road
conditions of the navigation. It
encourages the driver to remove foot
from the pedal and allow coasting
down the road with EV motor only.
This helps prevent unnecessary fuel
consumption and increases fuel effi-
ciency.
Information
Example of a deceleration event is
making a right/left turn, driving
through a rotary, entering or exiting a
highway (freeway), etc. The driver can activate the coasting
guide by placing the ignition switch in
the ON position and by selecting:
User Settings →Convenience →
Coasting Guide
For the explanation of the system,
press and hold the [OK] button.
Operation conditions
To activate the system, take the fol-
lowing procedures. Enter your desti-
nation information on the navigation
and select the driving route. Have the
vehicle in ECO mode by driving the
vehicle in D (Drive). Then, satisfy the
following.
- The operational speed is above 25
mph (40 km/h).
Information
The operating speed may vary due to
difference between instrument cluster
and navigation effected by tire infla-
tion level.
Information
Coasting guide is only a supplemental
system to assist with fuel-efficient
driving. Thus, the operating condi-
tions may be different in accordance
with traffic/road conditions (i.e. driv-
ing in a traffic jam, driving on a slope,
driving on a curve). Thus, take the
actual driving conditions into consid-
eration, such as distances from the
vehicles ahead/behind, while referring
to the coasting guide system as guid-
ance.
i
i
i
C CO
OA
AS
ST
TI
IN
NG
G
G
GU
UI
ID
DE
E
(
(I
IF
F
E
EQ
QU
UI
IP
PP
PE
ED
D)
)
OAEPH047504L/OAEPH059618L ■Type A■Type B
Page 314 of 635
5-48
- If you select 'Warning only', FCA
system activates and produces
only warning alarms in accor-
dance with the collision risk lev-
els. Braking assist will not be
applied in this setting.
- If you select 'Off', FCA system
deactivates,
The warning light illumi-
nates on the instrument
cluster, when you cancel
FCA system. The driver
can monitor the FCA ON/OFF status
on the LCD display. Also, the warning
light illuminates when the ESC
(Electronic Stability Control) is
turned off.
- If the warning light remains ON
when FCA is activated, we recom-
mend that you have the system
checked by an authorized
HYUNDAI dealer. Selecting Warning Timing
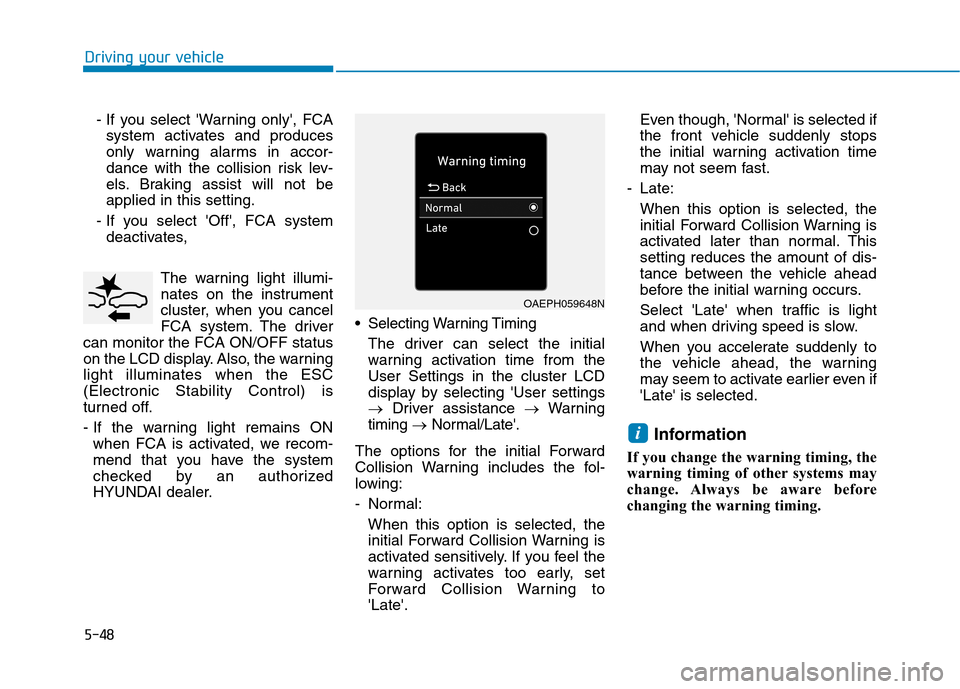
The driver can select the initial
warning activation time from the
User Settings in the cluster LCD
display by selecting 'User settings
→Driver assistance →Warning
timing →Normal/Late'.
The options for the initial Forward
Collision Warning includes the fol-
lowing:
- Normal:
When this option is selected, the
initial Forward Collision Warning is
activated sensitively. If you feel the
warning activates too early, set
Forward Collision Warning to
'Late'.Even though, 'Normal' is selected if
the front vehicle suddenly stops
the initial warning activation time
may not seem fast.
- Late:
When this option is selected, the
initial Forward Collision Warning is
activated later than normal. This
setting reduces the amount of dis-
tance between the vehicle ahead
before the initial warning occurs.
Select 'Late' when traffic is light
and when driving speed is slow.
When you accelerate suddenly to
the vehicle ahead, the warning
may seem to activate earlier even if
'Late' is selected.
Information
If you change the warning timing, the
warning timing of other systems may
change. Always be aware before
changing the warning timing.
i
Driving your vehicle
OAEPH059648N
Page 328 of 635
5-62
Driving your vehicle
- If you select 'Warning only', FCA
system activates and produces
only warning alarms in accor-
dance with the collision risk lev-
els. Braking assist will not be
applied in this setting.
- If you select 'Off', FCA system
deactivates,
The warning light illumi-
nates on the instrument
cluster, when you cancel
FCA system. The driver
can monitor the FCA ON/OFF status
on the LCD display. Also, the warning
light illuminates when the ESC
(Electronic Stability Control) is
turned off.
- If the warning light remains ON
when FCA is activated, we recom-
mend that you have the system
checked by an authorized
HYUNDAI dealer. Selecting Warning Timing
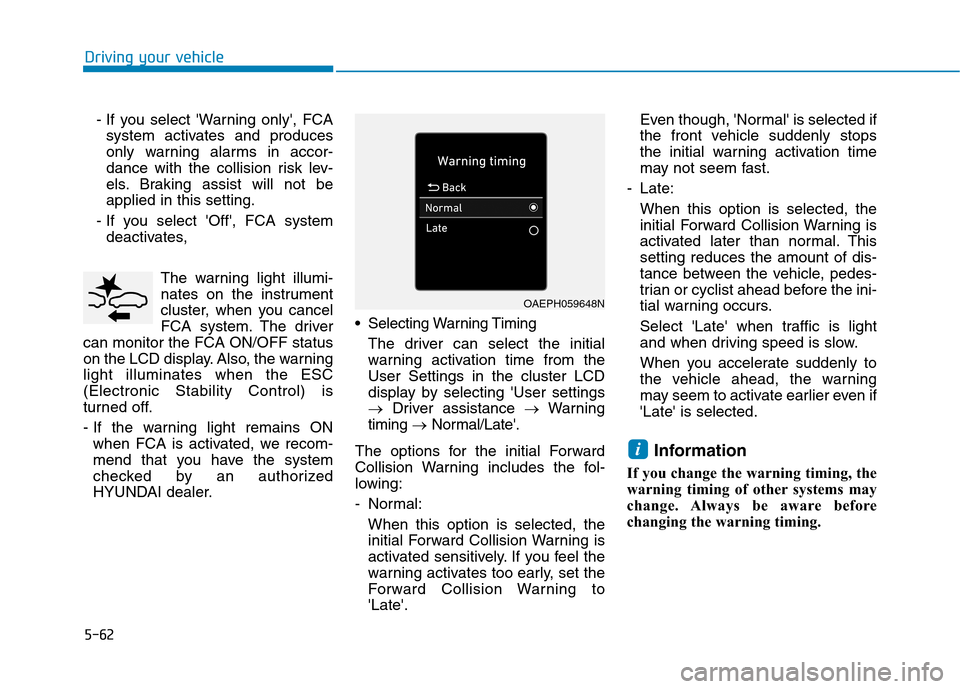
The driver can select the initial
warning activation time from the
User Settings in the cluster LCD
display by selecting 'User settings
→Driver assistance →Warning
timing →Normal/Late'.
The options for the initial Forward
Collision Warning includes the fol-
lowing:
- Normal:
When this option is selected, the
initial Forward Collision Warning is
activated sensitively. If you feel the
warning activates too early, set the
Forward Collision Warning to
'Late'.Even though, 'Normal' is selected if
the front vehicle suddenly stops
the initial warning activation time
may not seem fast.
- Late:
When this option is selected, the
initial Forward Collision Warning is
activated later than normal. This
setting reduces the amount of dis-
tance between the vehicle, pedes-
trian or cyclist ahead before the ini-
tial warning occurs.
Select 'Late' when traffic is light
and when driving speed is slow.
When you accelerate suddenly to
the vehicle ahead, the warning
may seem to activate earlier even if
'Late' is selected.
Information
If you change the warning timing, the
warning timing of other systems may
change. Always be aware before
changing the warning timing.
i
OAEPH059648N