Page 479 of 613
6-6
The following items may need to be
reset after the battery has been dis-
charged or the battery has been dis-
connected.
See chapter 3 or 4 for:
Power Windows
Trip Computer
Climate Control System
Clock
Audio System
Sunroof
Driver Position Memory System
External power source using 12V
battery
The use of external power acces-
sories may reduce performance
and function of the vehicle.
Especially, the use of dash cam-
eras may shut off the power of the
vehicle prior to the dash camera's
automatic shut-down.
If the power of the vehicle is shut
off, start the vehicle as explained.
(refer to "Using the 12V Battery
Reset Switch")Jump starting
In the event vehicle still does not
have a functional 12V battery (check
if interior lights will not turn on) then
you can try a jump start to the engine
compartment jumper terminals using
a 12V booster pack or jumper cables
from another vehicle's 12V battery
according to the following instruc-
tions.1. Position the vehicles close enough
that the jumper cables will reach,
but do not allow the vehicles to
touch.
2. Avoid fans or any moving parts in
the engine compartment at all
times, even when the vehicles are
turned off.
3. Turn off all electrical devices such
as radios, lights, air conditioning,
etc. Put the vehicles in P (Park)
and set the parking brake. Turn
both vehicles OFF.
NOTICE
What to do in an emergency
Jump starting can be danger-
ous if done incorrectly. Follow
the jump starting procedure in
this section to avoid serious
injury or damage to your vehi-
cle. If in doubt about how to
properly jump start your vehi-
cle, we strongly recommend
that you have a service techni-
cian or towing service do it for
you.
CAUTION
Page 553 of 613
7-35
7
Maintenance
By jump starting
After a jump start from a good bat-
tery, drive the vehicle for 20-30 min-
utes before it is shutoff. The vehicle
may not restart if you shut it off
before the battery had a chance to
adequately recharge. See “Jump
Starting” in chapter 6 for more infor-
mation on jump starting procedures.
Information
An inappropriately disposed
battery can be harmful to
the environment and human
health. Dispose of the bat-
tery according to your local
law(s) or regulations.
Reset features
The following items need to be reset
after the battery has been dis-
charged or the battery has been dis-
connected.
See chapter 3 or 4 for:
Power Windows
Trip Computer
Climate Control System
Clock
Audio System
Sunroof
Driver Position Memory System
i
(Continued)
Watch the battery during
charging, and stop or reduce
the charging rate if the battery
cells begin boiling violently.
The negative battery cable
must be removed first and
installed last when the battery
is disconnected. Disconnect
the battery charger in the fol-
lowing order:
(1) Turn off the battery charger
main switch.
(2) Unhook the negative
clamp from the negative
battery terminal.
(3) Unhook the positive clamp
from the positive battery
terminal.
Always use a genuine HYUNDAI
approved battery when you
replace the battery.
Page 571 of 613
7-53
7
Maintenance
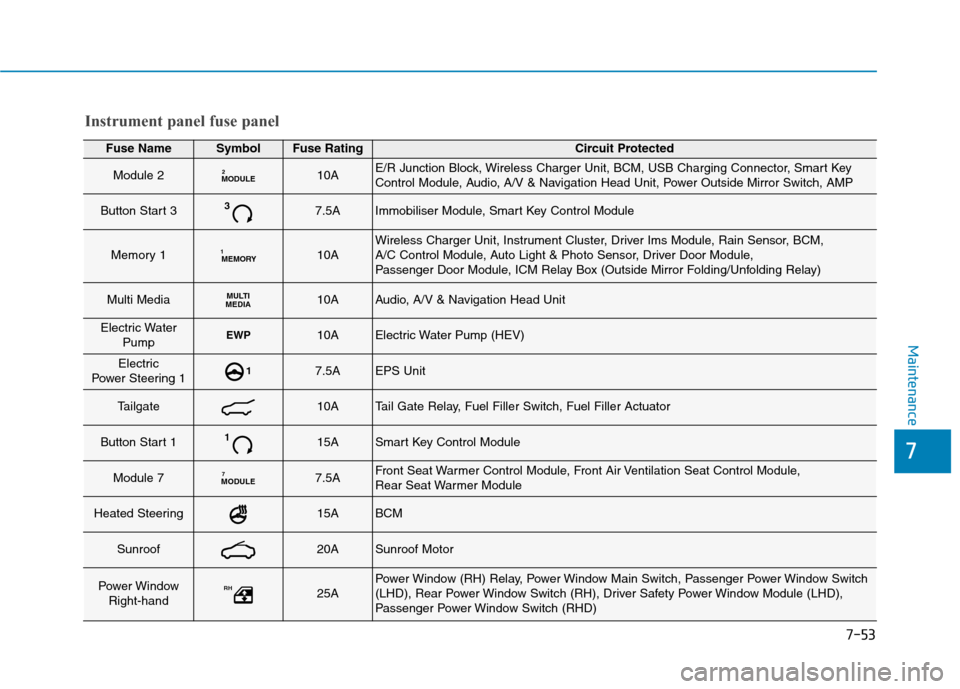
Fuse NameSymbolFuse RatingCircuit Protected
Module 2MODULE210AE/R Junction Block, Wireless Charger Unit, BCM, USB Charging Connector, Smart Key
Control Module, Audio, A/V & Navigation Head Unit, Power Outside Mirror Switch, AMP
Button Start 337.5AImmobiliser Module, Smart Key Control Module
Memory 1MEMORY110AWireless Charger Unit, Instrument Cluster, Driver Ims Module, Rain Sensor, BCM,
A/C Control Module, Auto Light & Photo Sensor, Driver Door Module,
Passenger Door Module, ICM Relay Box (Outside Mirror Folding/Unfolding Relay)
Multi MediaMULTI
MEDIA10AAudio, A/V & Navigation Head Unit
Electric Water
PumpEWP10AElectric Water Pump (HEV)
Electric
Power Steering 117.5AEPS Unit
Tailgate10ATail Gate Relay, Fuel Filler Switch, Fuel Filler Actuator
Button Start 1115ASmart Key Control Module
Module 7MODULE77.5AFront Seat Warmer Control Module, Front Air Ventilation Seat Control Module,
Rear Seat Warmer Module
Heated Steering15ABCM
Sunroof20ASunroof Motor
Power Window
Right-handRH25APower Window (RH) Relay, Power Window Main Switch, Passenger Power Window Switch
(LHD), Rear Power Window Switch (RH), Driver Safety Power Window Module (LHD),
Passenger Power Window Switch (RHD)
Instrument panel fuse panel
Page 572 of 613
7-54
Maintenance
Fuse NameSymbolFuse RatingCircuit Protected
Power Window
Left-handLH25APower Window (LH) Relay, Power Window Main Switch,
Passenger Power Window Switch (RHD), Rear Power Window Switch (LH),
Driver Safety Power Window Module (RHD), Passenger Power Window Switch (LHD)
Button Start 227.5AImmobiliser Module, Smart Key Control Module, Start/Stop Button Switch
Brake SwitchBRAKE
SWITCH7.5AStop Lamp Switch, Smart Key Control Module
Air conditioner7.5AIonizer, A/C Control Module, Electronic A/C Compressor, E/R Junction Block
Washer15AMultifunction Switch
Seat Heater RearRR25ARear Seat Warmer Module
Battery
Management
SystemBATTERYMANAG-
EMENT10ABMS Control Module
Power Seat DriverDRV30ADriver Seat Manual Switch
AMPAMP30AAMP
AMSAMS30ABattery Sensor
Module 1MODULE110ADriver Power Outside Mirror, Passenger Power Outside Mirror
Door Lock20ADoor Lock/Unlock Relay, ICM Relay Box (Dead Lock Relay)
Instrument panel fuse panel
Page 591 of 613
7-73
7
Maintenance
Do not use strong soap, chemi-
cal detergents or hot water, and
do not wash the vehicle in direct
sunlight or when the body of the
vehicle is warm.
Be careful when washing the
side windows of your vehicle.
Especially, with high-pressure
water, water may leak through
the windows and wet the interior.
To prevent damage to the plastic
parts, do not clean with chemi-
cal solvents or strong deter-
gents.
To prevent damage to the charg-
ing door, make sure to close and
lock the vehicle doors when
washing (high-pressure wash-
ing, automatic car washing, etc.)
the vehicle.
High-pressure washing
When using high-pressure washers,
make sure to maintain sufficient dis-
tance from the vehicle.
Insufficient clearance or excessive
pressure can lead to component
damage or water penetration.
Do not spray the camera, sensors or
its surrounding area directly with a
high pressure washer. Shock
applied from high pressure water
may cause the device to not operate
normally.
Do not bring the nozzle tip close to
boots (rubber or plastic covers) or
connectors as they may be dam-
aged if they come into contact with
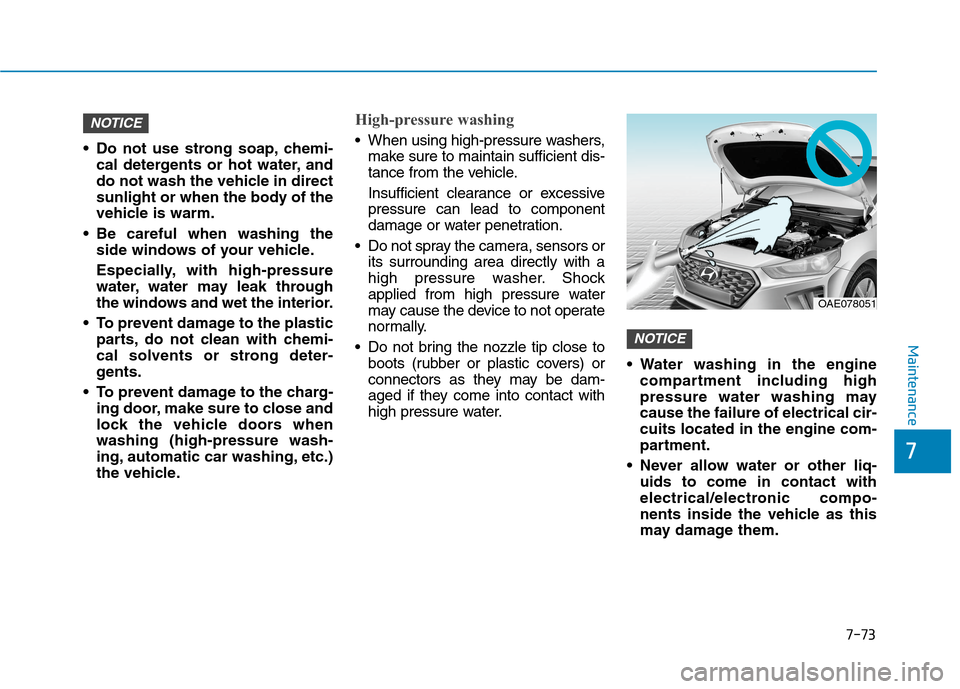
high pressure water. Water washing in the engine
compartment including high
pressure water washing may
cause the failure of electrical cir-
cuits located in the engine com-
partment.
Never allow water or other liq-
uids to come in contact with
electrical/electronic compo-
nents inside the vehicle as this
may damage them.
NOTICE
NOTICE
OAE078051
Page 598 of 613
7-80
Maintenance
Caring for the leather seats
- Vacuum the seat periodically to
remove dust and sand on the
seat. It will prevent abrasion or
damage of the leather and main-
tain its quality.
- Wipe the natural leather seat
cover often with dry or soft cloth.
- Use of proper leather protector
may prevent abrasion of the
cover and helps maintain the
colour. Be sure to read the
instructions and consult a spe-
cialist when using leather coating
or protective agent.
- Light coloured (beige, cream
beige) leather is easily contami-
nated and the stain is noticeable.
Clean the seats frequently.
- Avoid wiping with wet cloth. It may
cause the surface to crack. Cleaning the leather seats
- Remove all contaminations instant-
ly. Refer to instructions below for
removal of each contaminant.
- Cosmetic products (sunscreen,
foundation, etc.)
Apply cleansing cream on a cloth
and wipe the contaminated spot.
Wipe off the cream with a wet cloth
and remove water with a dry cloth.
- Beverages (coffee, soft drink, etc.)
Apply a small amount of neutral
detergent and wipe until contami-
nations do not smear.
- Oil
Remove oil instantly with
absorbable cloth and wipe with
stain remover used only for natu-
ral leather.
- Chewing gum
Harden the gum with ice and
remove gradually.
Cleaning the seat belt webbing
Clean the belt webbing with any mild
soap solution recommended for
cleaning upholstery or carpet. Follow
the instructions provided with the
soap. Do not bleach or re-dye the
webbing because this may weaken
the seat belt.
Cleaning the interior window
glass
If the interior glass surfaces of the
vehicle become fogged (that is, cov-
ered with an oily, greasy or waxy
film), they should be cleaned with
glass cleaner. Follow the directions
on the glass cleaner container.
Do not scrape or scratch the
inside of the rear window. This
may result in damage to the rear
window defroster grid.
NOTICE