2020 FORD EXPEDITION light
[x] Cancel search: lightPage 307 of 542

4. You can attempt to start the vehicle
by pressing the brake pedal and
START/STOP, or press START/STOP
without pressing the brake pedal.
5. If the vehicle does not start, repeat steps 1 through 4.
JUMP STARTING THE VEHICLE WARNING:
Batteries normally
produce explosive gases which can
cause personal injury. Therefore, do not
allow flames, sparks or lighted
substances to come near the battery.
When working near the battery, always
shield your face and protect your eyes.
Always provide correct ventilation. WARNING:
Keep batteries out of
reach of children. Batteries contain
sulfuric acid. Avoid contact with skin,
eyes or clothing. Shield your eyes when
working near the battery to protect
against possible splashing of acid
solution. In case of acid contact with skin
or eyes, flush immediately with water for
a minimum of 15 minutes and get prompt
medical attention. If acid is swallowed,
call a physician immediately. WARNING:
Use only adequately
sized cables with insulated clamps.
Note: To avoid reverse polarity connections,
make sure that you correctly identify the
positive (+) and negative (-) terminals on
both the disabled and booster vehicles
before connecting the cables. Stay clear of
moving parts.
Preparing Your Vehicle
Do not attempt to push-start your
automatic transmission vehicle. Note:
Attempting to push-start a vehicle
with an automatic transmission may cause
transmission damage.
Note: Use only a 12-volt supply to start your
vehicle.
Note: Do not disconnect the battery of the
disabled vehicle as this could damage the
vehicle electrical system.
Park the booster vehicle close to the hood
of the disabled vehicle, making sure the
two vehicles do not touch.
Connecting the Jumper Cables WARNING:
Do not connect the
negative jumper cable to any other part
of your vehicle. Use the ground point.
Note: Do not attach the end of the positive
cable to the studs or L-shaped eyelet
located above the positive (+) terminal of
your vehicle ’s battery. High current may flow
through and cause damage to the fuses.
Note: In the illustration, the bottom vehicle
represents the booster vehicle.
304
Expedition (TB8) Canada/United States of America, enUSA, Edition date: 201907, Third-Printing- Roadside Emergencies
Page 319 of 542

Protected Component
Fuse Rating
Fuse
Number
Horn.
25A
1
Fan 1.
50A
2
Front wiper motor.
30A
3
Inverter.
50A
4
Starter relay.
30A
5
Power point 1.
20A
6
Power point 2.
20A
8
Rain sensor.
5A
10
Trailer tow light module.
20A
12
4x4 module.
10A
13
316
Expedition (TB8) Canada/United States of America, enUSA, Edition date: 201907, Third-Printing- FusesE251921
Page 320 of 542

Protected Component
Fuse Rating
Fuse
Number
Heated backlight relay coil.
Heated mirror relay coil.
Heated wiper park relay coil.
Transmission isolation relay coil.
Not used (spare).
15A
14
Voltage quality module run/start power.
15A
15
Blindspot information system.
Image processing module B.
Front view camera.
Rear view camera.
Cruise control module.
Powertrain control module run/start feed.
10A
16
Anti-lock brake system run/start feed.
10A
17
Electronic power assist steering run/start feed.
10A
18
Not used.
—
19
Front blower.
40A
20
Passenger seat motors.
40A
21
Not used.
—
22
Alternator A-line.
10A
23
Trailer brake control module.
30A
24
Body control module power 1.
50A
25
Electronic fan 3.
50A
26
Driver seat motors.
40A
27
Rear heated seats.
15A
28
Rear seat climate control module.
Integrated wheel end solenoid.
10A
29
Trailer tow class II-IV battery charge.
25A
30
Power folding seat module.
50A
31
A/C clutch.
10A
32
Not used.
—
33
317
Expedition (TB8) Canada/United States of America, enUSA, Edition date: 201907, Third-Printing- Fuses
Page 323 of 542

Protected Component
Fuse Rating
Fuse
Number
Heated mirrors.
15A
93
USB smart charger 1.
5A
94
USB smart charger 2.
10A
95
Rear wiper motor relay.
30A
96
Not used (spare).
40A
97
Transmission oil pump.
15A
98
Heated backlight.
40A
99
Power point 5.
20A
100
Fan 2.
25A
101
Not used.
—
102
Not used.
—
103
Not used.
—
104
Not used.
—
105
Note: Spare fuse amperage may vary. Protected Component
Relay
Number
Powertrain control module.
R02
Electric fan 2.
R05
320
Expedition (TB8) Canada/United States of America, enUSA, Edition date: 201907, Third-Printing- Fuses
Page 332 of 542

Action and description
Message
If the instrument cluster
displays one of the following
messages, repeat the
process.
Not Reset
Reset Cancelled
CHANGING THE ENGINE AIR
FILTER WARNING: To reduce the risk of
vehicle damage and personal burn
injuries, do not start your engine with the
air cleaner removed and do not remove
it while the engine is running.
Note: Failure to use the correct air filter
element may result in severe engine
damage. Resulting component damage
may not be covered by the vehicle Warranty.
When changing the air filter element, use
only the air filter element listed. See
Motorcraft Parts
(page 380).
Change the air filter element at the correct
interval. See
Scheduled Maintenance
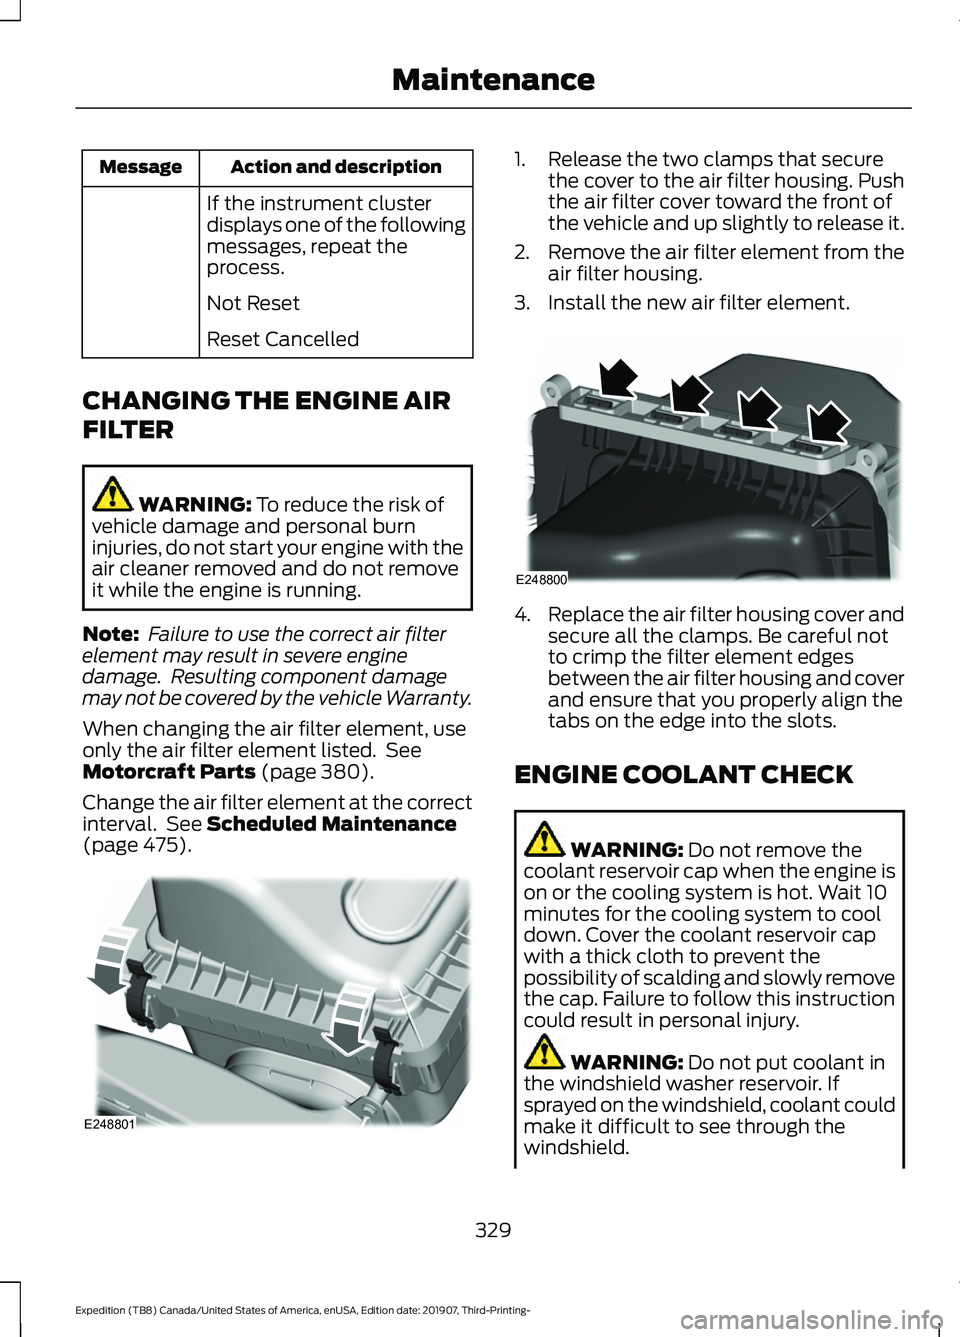
(page 475). 1. Release the two clamps that secure
the cover to the air filter housing. Push
the air filter cover toward the front of
the vehicle and up slightly to release it.
2. Remove the air filter element from the
air filter housing.
3. Install the new air filter element. 4.
Replace the air filter housing cover and
secure all the clamps. Be careful not
to crimp the filter element edges
between the air filter housing and cover
and ensure that you properly align the
tabs on the edge into the slots.
ENGINE COOLANT CHECK WARNING: Do not remove the
coolant reservoir cap when the engine is
on or the cooling system is hot. Wait 10
minutes for the cooling system to cool
down. Cover the coolant reservoir cap
with a thick cloth to prevent the
possibility of scalding and slowly remove
the cap. Failure to follow this instruction
could result in personal injury. WARNING:
Do not put coolant in
the windshield washer reservoir. If
sprayed on the windshield, coolant could
make it difficult to see through the
windshield.
329
Expedition (TB8) Canada/United States of America, enUSA, Edition date: 201907, Third-Printing- MaintenanceE248801 E248800
Page 333 of 542

WARNING: To reduce the risk of
personal injury, make sure the engine is
cool before unscrewing the coolant
pressure relief cap. The cooling system
is under pressure. Steam and hot liquid
can come out forcefully when you loosen
the cap slightly. WARNING:
Do not add coolant
further than the MAX mark.
When the engine is cold, check the
concentration and level of the coolant at
the intervals listed in the scheduled
maintenance information. See Scheduled
Maintenance
(page 475).
Note: Make sure that the coolant level is
between the
MIN and MAX marks on the
coolant reservoir.
Note: Coolant expands when it is hot. The
level may extend beyond the
MAX mark.
Maintain coolant concentration within
48% to 50%, which equates to a freeze
point between
-29°F (-34°C) and -35°F
(-37°C). Coolant concentration should be
checked using a refractometer. We do not
recommend the use of hydrometers or
coolant test strips for measuring coolant
concentration.
Adding Coolant WARNING:
Do not remove the
coolant reservoir cap when the engine is
on or the cooling system is hot. Wait 10
minutes for the cooling system to cool
down. Cover the coolant reservoir cap
with a thick cloth to prevent the
possibility of scalding and slowly remove
the cap. Failure to follow this instruction
could result in personal injury. WARNING:
Do not add engine
coolant when the engine is on or the
cooling system is hot. Failure to follow
this instruction could result in personal
injury.
Note: Automotive fluids are not
interchangeable. Take care not to put
engine coolant in the windshield washer
fluid reservoir or windshield washer fluid in
the engine coolant reservoir.
Note: Do not use stop leak pellets, cooling
system sealants, or non-specified additives
as they can cause damage to the engine
cooling or heating systems. Resulting
component damage may not be covered by
the vehicle Warranty.
It is very important to use prediluted
coolant approved to the correct
specification in order to avoid plugging the
small passageways in the engine cooling
system. See
Capacities and
Specifications (page 380). Do not mix
different colors or types of coolant in your
vehicle. Mixing of engine coolants or using
an incorrect coolant may harm the engine
or cooling system components and may
not be covered by the vehicle Warranty.
Note: If prediluted coolant is not available,
use the approved concentrated coolant
diluting it to 50/50 with distilled water. See
Capacities and Specifications (page 380).
Using water that has not been deionised
may contribute to deposit formation,
corrosion and plugging of the small cooling
system passageways.
Note: Coolants marketed for all makes and
models may not be approved to our
specifications and may cause damage to
the cooling system. Resulting component
damage may not be covered by the vehicle
Warranty.
330
Expedition (TB8) Canada/United States of America, enUSA, Edition date: 201907, Third-Printing- Maintenance
Page 338 of 542

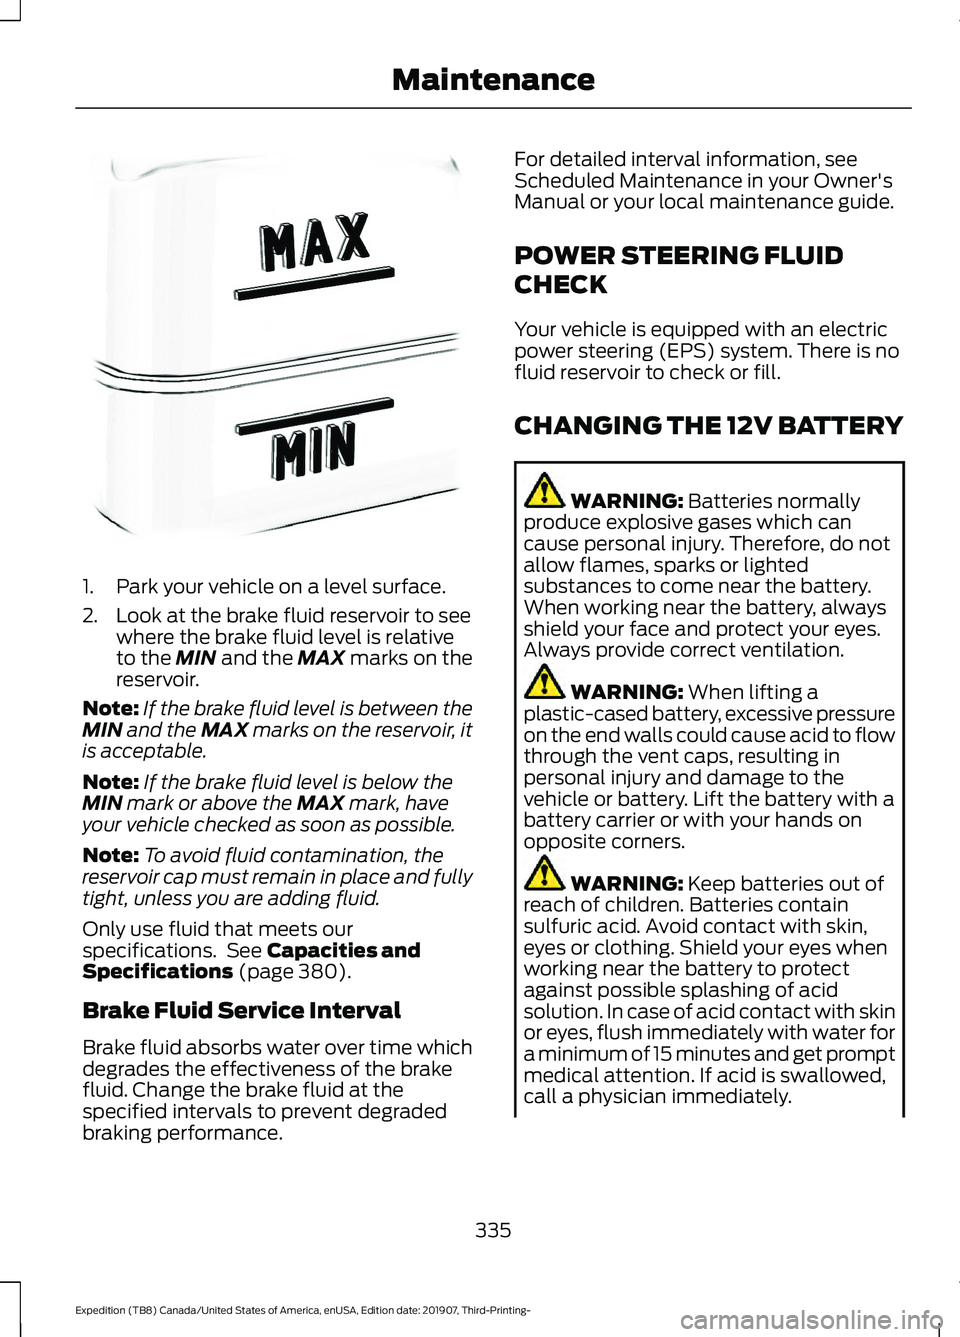
1. Park your vehicle on a level surface.
2. Look at the brake fluid reservoir to see
where the brake fluid level is relative
to the MIN and the MAX marks on the
reservoir.
Note: If the brake fluid level is between the
MIN
and the MAX marks on the reservoir, it
is acceptable.
Note: If the brake fluid level is below the
MIN
mark or above the MAX mark, have
your vehicle checked as soon as possible.
Note: To avoid fluid contamination, the
reservoir cap must remain in place and fully
tight, unless you are adding fluid.
Only use fluid that meets our
specifications. See
Capacities and
Specifications (page 380).
Brake Fluid Service Interval
Brake fluid absorbs water over time which
degrades the effectiveness of the brake
fluid. Change the brake fluid at the
specified intervals to prevent degraded
braking performance. For detailed interval information, see
Scheduled Maintenance in your Owner's
Manual or your local maintenance guide.
POWER STEERING FLUID
CHECK
Your vehicle is equipped with an electric
power steering (EPS) system. There is no
fluid reservoir to check or fill.
CHANGING THE 12V BATTERY
WARNING:
Batteries normally
produce explosive gases which can
cause personal injury. Therefore, do not
allow flames, sparks or lighted
substances to come near the battery.
When working near the battery, always
shield your face and protect your eyes.
Always provide correct ventilation. WARNING:
When lifting a
plastic-cased battery, excessive pressure
on the end walls could cause acid to flow
through the vent caps, resulting in
personal injury and damage to the
vehicle or battery. Lift the battery with a
battery carrier or with your hands on
opposite corners. WARNING:
Keep batteries out of
reach of children. Batteries contain
sulfuric acid. Avoid contact with skin,
eyes or clothing. Shield your eyes when
working near the battery to protect
against possible splashing of acid
solution. In case of acid contact with skin
or eyes, flush immediately with water for
a minimum of 15 minutes and get prompt
medical attention. If acid is swallowed,
call a physician immediately.
335
Expedition (TB8) Canada/United States of America, enUSA, Edition date: 201907, Third-Printing- MaintenanceE170684
Page 341 of 542

Vertical Aim Adjustment
1. Park your vehicle directly in front of a
wall or screen on a level surface,
approximately 25 ft (7.6 m) away.
2. Measure the height from the center of your headlamp (indicated by a 3 mm
circle on the lens) to the ground and
mark an
8 ft (2.4 m) horizontal
reference line on the vertical wall or
screen at this height (a piece of
masking tape works well).
Note: To see a clearer light pattern for
adjusting, you may want to block the light
from one headlamp while adjusting the
other.
3. Switch on the low beam headlamps to
illuminate the wall or screen and open
the hood. Cover one of the headlamps
so no light hits the wall. 4.
For halogen or LED headlamps:
On
the wall or screen you will observe a
light pattern with a distinct horizontal
edge toward the right. If this edge is not
at the horizontal reference line, you will
need to adjust the beam so the edge
is at the same height as the horizontal
reference line. 5. Locate the vertical adjuster on each
headlamp. Use a #2 Phillips
screwdriver to turn the adjuster either
counterclockwise or clockwise in order
to adjust the vertical aim of the
headlamp.
6. Repeat Steps 3 through 7 to adjust the
other headlamp.
7. Close the hood and turn off the lamps.
Horizontal Aim Adjustment
Horizontal aim is not required for this
vehicle and is not adjustable.
WASHER FLUID CHECK WARNING:
If you operate your
vehicle in temperatures below 41.0°F
(5°C), use washer fluid with antifreeze
protection. Failure to use washer fluid
with antifreeze protection in cold
weather could result in impaired
windshield vision and increase the risk
of injury or accident.
338
Expedition (TB8) Canada/United States of America, enUSA, Edition date: 201907, Third-Printing- MaintenanceE167358 E248807