2020 DODGE GRAND CARAVAN warning
[x] Cancel search: warningPage 37 of 380

GETTING TO KNOW YOUR VEHICLE35
The Automatic Dimming feature can be turned
on or off through the touchscreen.
Press the mirror dimmer button once to turn
the feature on.
Press the mirror dimmer button a second
time to turn the feature off.
Automatic Dimming Mirror
Automatic Dimming Mirror With Rear View
Camera Display — If Equipped
A single ball joint mirror is provided in the
vehicle. It is a twist on mirror that has a fixed
position at the windshield. The mirror installs on
the windshield button with a counterclockwise
rotation and requires no tools for mounting. The
mirror head can be adjusted up, down, left, and
right for various drivers. The mirror should be
adjusted to center on the view through the rear
window.
This mirror automatically adjusts for headlight
glare from vehicles behind you.
When the vehicle is placed into reverse gear, a
video display illuminates to display the image
generated by the rear view camera located on
the liftgate handle. The auto dimming feature is
also disabled to improve rear view viewing.
Automatic Dimming Mirror With Rear View Camera
Outside Mirrors
To receive maximum benefit, adjust the outside
mirror(s) to center on the adjacent lane of traffic
with a slight overlap of the view obtained on the
inside mirror.
CAUTION!
To avoid damage to the mirror during
cleaning, never spray any cleaning solution
directly onto the mirror. Apply the solution
onto a clean cloth and wipe the mirror clean.
WARNING!
Vehicles and other objects seen in an outside
convex mirror will look smaller and farther
away than they really are. Relying too much
on side convex mirrors could cause you to
collide with another vehicle or other object.
Use your inside mirror when judging the size
or distance of a vehicle seen in a side convex
mirror.
2
20_RT_OM_EN_USC_t.book Page 35
Page 41 of 380

GETTING TO KNOW YOUR VEHICLE39
When exiting the vehicle the driver can choose
to have the headlights remain on for 30, 60 or
90 seconds or not remain on. To change the
timer setting, see an authorized dealer.
The headlight delay time is programmable on
vehicles equipped with an instrument cluster
display. Refer to “Instrument Cluster Display” in
“Getting To Know Your Instrument Panel” for
further information.
If the headlights are turned off before the
ignition, they will turn off in the normal manner.
NOTE:
The headlights must be turned off within 45
seconds of placing the ignition in the OFF
position to activate this feature.
Lights-On Reminder
If the headlights or the parking lights are left on,
or if the dimmer control is in the extreme top
position after the ignition has been placed in
the OFF position, a chime will sound when the
driver's door is opened.
Front Fog Lights — If Equipped
To activate the front fog lights, turn on the
parking lights or the low beam headlights and
push in the headlight switch control knob. Pushing the headlight switch control knob a
second time will turn the front fog lights off.
Turn Signals
Move the multifunction lever up or down and
the arrows on each side of the instrument
cluster display will flash to show proper
operation of the front and rear turn signal lights.
NOTE:
If either light remains on and does not flash, or
there is a very fast flash rate, check for a
defective outside light bulb. If an indicator fails
to light when the lever is moved, it would
suggest that the indicator bulb is defective.
Turn Signal Warning
If the vehicle electronics sense that the vehicle
has traveled at over 18 mph (29 km/h) for
about 1 mile (1.6 km) with the turn signals on, a
chime will sound to alert the driver.
Lane Change Assist
Tap the lever up or down once, without moving
beyond the detent, and the turn signal (right or
left) will flash three times then automatically
turn off.
Battery Protection
This feature provides battery protection to avoid
wearing down the battery if the headlights or
parking lights are left on for extended periods of
time when the ignition is in the OFF position.
After eight minutes of the ignition being placed
in the OFF position, and the headlight switch in
any position other than OFF or AUTO, the lights
will turn off automatically until the next cycle of
the ignition or headlight switch.
The battery protection feature will be disabled if
the ignition is placed in any position other than
OFF during the eight minute delay.
INTERIOR LIGHTS
Courtesy/Interior Lighting
At the forward end of the overhead console are
two courtesy lights (standard dome light has
two buttons). These interior lights are turned on
when a door or the liftgate is opened, the
remote keyless entry key fob is activated, or
when the dimmer control is moved to the
extreme top.
2
20_RT_OM_EN_USC_t.book Page 39
Page 43 of 380

GETTING TO KNOW YOUR VEHICLE41
Dimmer Controls
The dimmer switch is located next to the
headlight switch.
Instrument Panel Dimmer Control
With the parking lights or headlights on, rotating
the left dimmer control upward will increase the
brightness of the instrument panel lights.
Rotating the left dimmer control completely
upward to the second detent (extreme top
position) will turn on the interior lights. The
interior lights will remain on when the dimmer
control is in this position.
Rotating the left dimmer control to the off
position (extreme bottom) will turn the interior
lights off, and will remain off when the doors or
liftgate are opened.
Parade Mode (Daytime Brightness Feature)
Rotate the dimmer control upward to the first
detent. This feature brightens all text displays
such as the odometer, instrument cluster
display, and radio when the parking lights or
headlights are on.
WINDSHIELD WIPER AND WASHERS
The wipers and washers are operated by a
switch within the multifunction lever. Rotate the
end of the multifunction lever to select the
desired wiper speed.
Washer And Wiper Controls
NOTE:
Always remove any buildup of snow that
prevents the windshield wiper blades from
returning to the off position. If the windshield
wiper switch is turned off and the blades cannot
return to the off position, damage to the wiper
motor may occur.
Windshield Wiper Operation
Rotate the end of the lever upward, to the first
detent past the intermittent settings for
low-speed wiper operation. Rotate the end of
the lever upward to the second detent past the
intermittent settings for high-speed wiper
operation.
WARNING!
Sudden loss of visibility through the
windshield could lead to a collision. You might
not see other vehicles or other obstacles. To
avoid sudden icing of the windshield during
freezing weather, warm the windshield with
the defroster before and during windshield
washer use.
2
20_RT_OM_EN_USC_t.book Page 41
Page 62 of 380

60GETTING TO KNOW YOUR VEHICLE
To close the window part way, lift the window
control to the first detent and release when you
want the window to stop.
NOTE:
If the window runs into any obstacle during
auto-closure, it will reverse direction and
then go back down. Remove the obstacle and
use the window control again to close the
window.
Any impact due to rough road conditions may
trigger the auto reverse function unexpect -
edly during auto-closure. If this happens, pull
the control lightly to the first detent and hold
to close window manually. Auto Up Reset — If Equipped
To reactivate the Auto Up feature, perform the
following steps after vehicle power is restored:
1. Pull the window control up to close the
window completely and continue to hold
the control up for an additional two
seconds after the window is closed.
2. Push the window control down firmly to the second detent to open the window
completely and continue to hold the control
down for an additional two seconds after
the window is fully open.
Sliding Side Door Power Window Control — If
Equipped
Second row passengers may open and close
the sliding door window by a single control on
the door handle assembly.
The controls will operate only when the ignition
switch is in the ON/RUN or ACC position and
during power accessory delay.
NOTE:
The controls will not operate if the driver has
activated the Power Window Lockout.
The sliding door windows do not open fully.
They stop several inches above the window
sill.
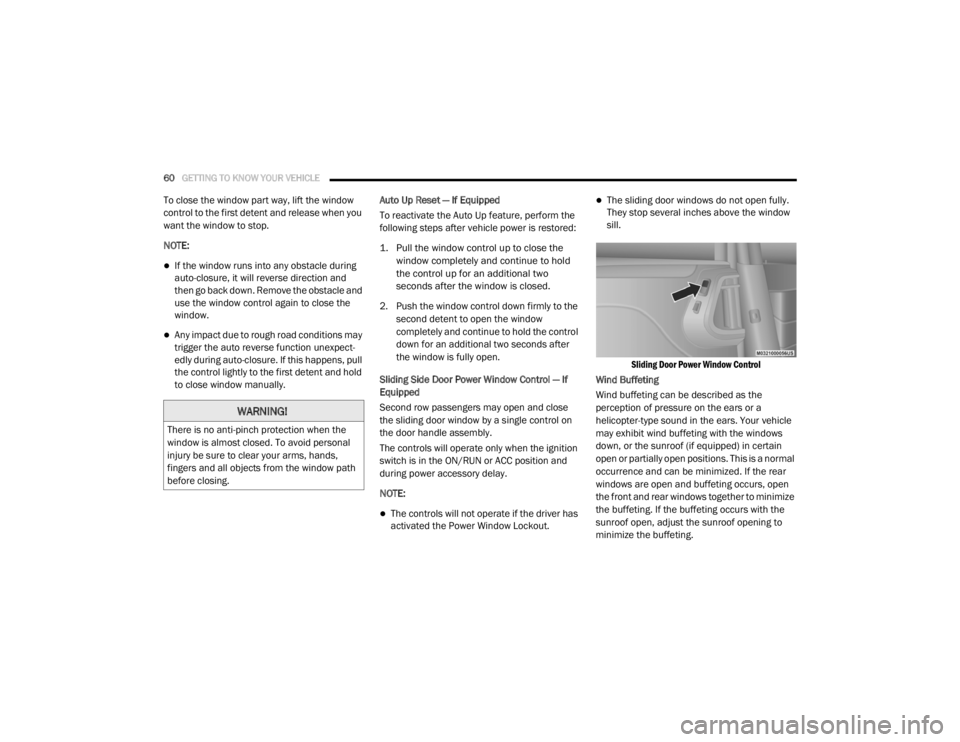
Sliding Door Power Window Control
Wind Buffeting
Wind buffeting can be described as the
perception of pressure on the ears or a
helicopter-type sound in the ears. Your vehicle
may exhibit wind buffeting with the windows
down, or the sunroof (if equipped) in certain
open or partially open positions. This is a normal
occurrence and can be minimized. If the rear
windows are open and buffeting occurs, open
the front and rear windows together to minimize
the buffeting. If the buffeting occurs with the
sunroof open, adjust the sunroof opening to
minimize the buffeting.
WARNING!
There is no anti-pinch protection when the
window is almost closed. To avoid personal
injury be sure to clear your arms, hands,
fingers and all objects from the window path
before closing.
20_RT_OM_EN_USC_t.book Page 60
Page 63 of 380

GETTING TO KNOW YOUR VEHICLE61
HOOD
Opening The Hood
To open the hood, two latches must be
released.
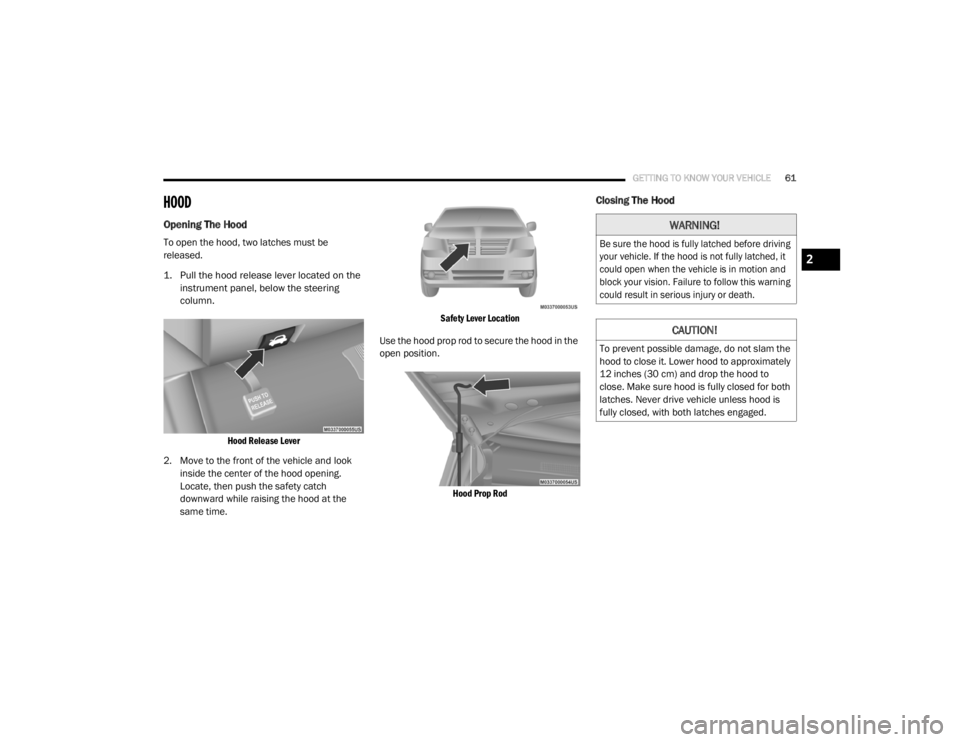
1. Pull the hood release lever located on the
instrument panel, below the steering
column.
Hood Release Lever
2. Move to the front of the vehicle and look inside the center of the hood opening.
Locate, then push the safety catch
downward while raising the hood at the
same time.
Safety Lever Location
Use the hood prop rod to secure the hood in the
open position.
Hood Prop Rod
Closing The Hood
WARNING!
Be sure the hood is fully latched before driving
your vehicle. If the hood is not fully latched, it
could open when the vehicle is in motion and
block your vision. Failure to follow this warning
could result in serious injury or death.
CAUTION!
To prevent possible damage, do not slam the
hood to close it. Lower hood to approximately
12 inches (30 cm) and drop the hood to
close. Make sure hood is fully closed for both
latches. Never drive vehicle unless hood is
fully closed, with both latches engaged.
2
20_RT_OM_EN_USC_t.book Page 61
Page 64 of 380

62GETTING TO KNOW YOUR VEHICLE
LIFTGATE
Opening
To Unlock/Enter The Liftgate
The liftgate may be released in several ways:
Overhead console liftgate button
Key fob
Outside handle
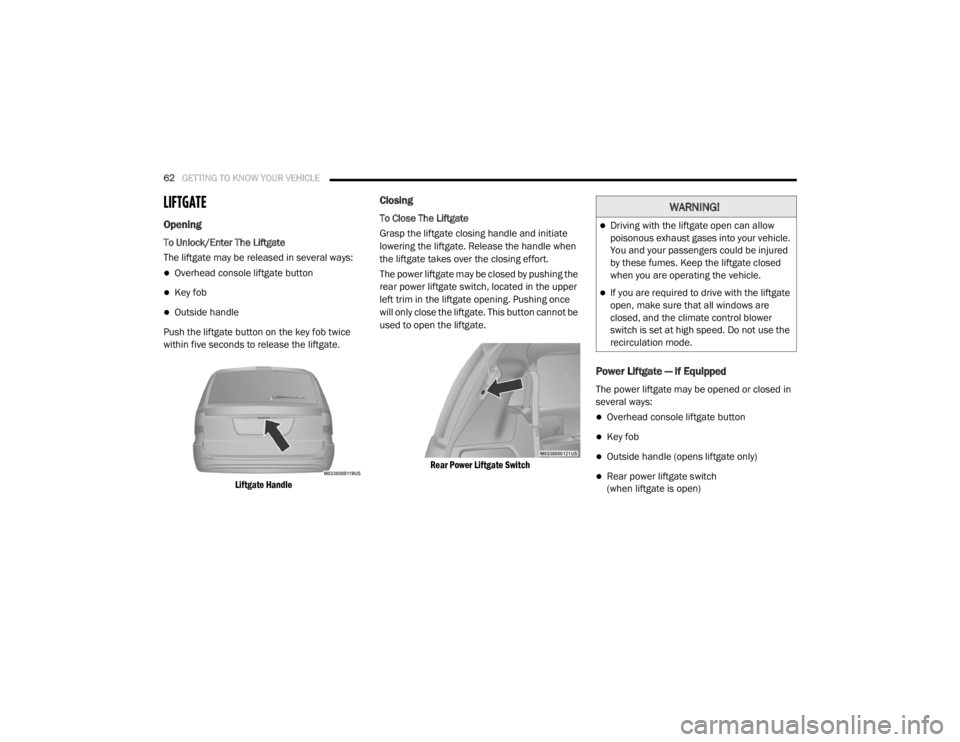
Push the liftgate button on the key fob twice
within five seconds to release the liftgate.
Liftgate Handle
Closing
To Close The Liftgate
Grasp the liftgate closing handle and initiate
lowering the liftgate. Release the handle when
the liftgate takes over the closing effort.
The power liftgate may be closed by pushing the
rear power liftgate switch, located in the upper
left trim in the liftgate opening. Pushing once
will only close the liftgate. This button cannot be
used to open the liftgate.
Rear Power Liftgate Switch
Power Liftgate — If Equipped
The power liftgate may be opened or closed in
several ways:
Overhead console liftgate button
Key fob
Outside handle (opens liftgate only)
Rear power liftgate switch
(when liftgate is open)
WARNING!
Driving with the liftgate open can allow
poisonous exhaust gases into your vehicle.
You and your passengers could be injured
by these fumes. Keep the liftgate closed
when you are operating the vehicle.
If you are required to drive with the liftgate
open, make sure that all windows are
closed, and the climate control blower
switch is set at high speed. Do not use the
recirculation mode.
20_RT_OM_EN_USC_t.book Page 62
Page 69 of 380

GETTING TO KNOW YOUR VEHICLE67
5. Push and hold the programmed
HomeLink® button and observe the
indicator light.
NOTE:
If the indicator light stays on constantly,
programming is complete and the garage
door/device should activate when the
HomeLink® button is pushed.
To program the two remaining
HomeLink® buttons, repeat each step
for each remaining button. DO NOT erase
the channels.
If you unplugged the garage door
opener/device for programming, plug it back in
at this time.
Using HomeLink®
To operate, push and release the programmed
HomeLink® button. Activation will now occur for
the programmed device (i.e. garage door
opener, gate operator, security system, entry
door lock, home/office lighting, etc.) The
hand-held transmitter of the device may also be
used at any time.
Security
It is advised to erase all channels before you sell
or turn in your vehicle.
To do this, push and hold the two outside
buttons for 20 seconds until the red indicator
flashes.
NOTE:
All channels will be erased. Individual channels
cannot be erased.
The HomeLink® Universal Transceiver is
disabled when the vehicle security alarm is
active.
Troubleshooting Tips
If you are having trouble programming
HomeLink®, here are some of the most
common solutions:
Replace the battery in the garage door
opener hand-held transmitter.
Push the LEARN button on the garage door
opener to complete the training for a Rolling
Code.
Did you unplug the device for programming
and remember to plug it back in?
If you have any problems, or require assistance,
please call toll-free 1-800-355-3515 or, on the
Internet at HomeLink.com for information or
assistance.
WARNING!
Vehicle exhaust contains carbon monoxide,
a dangerous gas. Do not run your vehicle in
the garage while programming the trans -
ceiver. Exhaust gas can cause serious
injury or death.
Your motorized door or gate will open and
close while you are programming the
universal transceiver. Do not program the
transceiver if people, pets or other objects
are in the path of the door or gate. Only use
this transceiver with a garage door opener
that has a “stop and reverse” feature as
required by Federal safety standards. This
includes most garage door opener models
manufactured after 1982. Do not use a
garage door opener without these safety
features.
2
20_RT_OM_EN_USC_t.book Page 67
Page 71 of 380

GETTING TO KNOW YOUR VEHICLE69
To open the lower compartment, pull the
release handle.
Lower Compartment Release Handle
NOTE:
The lower compartment is equipped with a lock
that is a part of the compartment handle.
Center Console Features
There are two consoles available: Basic and
Super. Basic Console
The Basic Console consists of the following
features:
The Basic Console profile allows vehicle
occupants to easily pass through the first row
to the second.
Four cupholders accept up to extra large size
beverage cups or 20 oz (0.6 L) plastic bottles.
Cupholders are dishwasher safe for cleaning.
The cupholders are removable to access a
large storage bin.
The Basic Console is removable from the
vehicle for additional floor space by removing
the anchor cup plug and clip at the console
base, sliding the console base forward while
lifting slightly to clear the rear load floor hook.To reinstall the Basic Console:
1. Position the console at a slight angle (front
slightly higher than the rear).
2. Slide the console rearward into the floor bracket/hook.
3. Align the console until the front anchor cup plug hole is centered on the winch hole.
4. Reinstall the clip first and then while pushing downward on the console with
slight pressure, reinstall the cover plug.
5. Pull up on the console to be sure it is firmly latched.
WARNING!
Do not operate this vehicle with a console
compartment lid in the open position. Driving
with the console compartment lid open may
result in injury in a collision.
WARNING!
In an accident, serious injury could result if
the removable floor console is not properly
installed. Always be sure the removable floor
console is fully latched.
2
20_RT_OM_EN_USC_t.book Page 69