2020 CITROEN RELAY dashboard
[x] Cancel search: dashboardPage 20 of 196

18
Instruments
Touch screen audio and telematics system
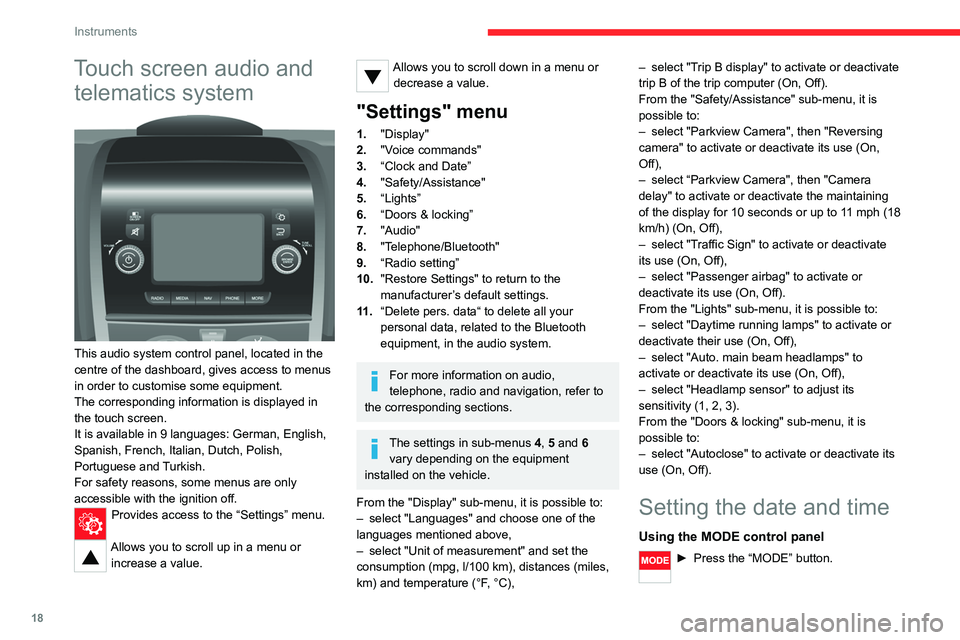
This audio system control panel, located in the
centre of the dashboard, gives access to menus
in order to customise some equipment.
The corresponding information is displayed in
the touch screen.
It is available in 9 languages: German, English,
Spanish, French, Italian, Dutch, Polish,
Portuguese and Turkish.
For safety reasons, some menus are only
accessible with the ignition off.
Provides access to the “Settings” menu.
Allows you to scroll up in a menu or
increase a value.
Allows you to scroll down in a menu or decrease a value.
"Settings" menu
1. "Display"
2. "Voice commands"
3. “Clock and Date”
4. "Safety/Assistance"
5. “Lights”
6. “Doors & locking”
7. "Audio"
8. "Telephone/Bluetooth"
9. “Radio setting”
10. "Restore Settings" to return to the
manufacturer’s default settings.
11 . “Delete pers. data“ to delete all your
personal data, related to the Bluetooth
equipment, in the audio system.
For more information on audio,
telephone, radio and navigation, refer to
the corresponding sections.
The settings in sub-menus 4, 5 and 6
vary depending on the equipment
installed on the vehicle.
From the "Display" sub-menu, it is possible to:
– select "Languages" and choose one of the
languages mentioned above,
– select "Unit of measurement" and set the
consumption (mpg, l/100 km), distances (miles,
km) and temperature (°F, °C), –
select "Trip B display" to activate or deactivate
trip B of the trip computer (On, Off).
From the "Safety/Assistance" sub-menu, it is
possible to:
– select "Parkview Camera", then "Reversing
camera" to activate or deactivate its use (On,
Off),
– select “Parkview Camera", then "Camera
delay" to activate or deactivate the maintaining
of the display for 10 seconds or up to 11 mph (18
km/h) (On, Off),
– select "Traffic Sign" to activate or deactivate
its use (On, Off),
– select "Passenger airbag" to activate or
deactivate its use (On, Off).
From the "Lights" sub-menu, it is possible to:
– select "Daytime running lamps" to activate or
deactivate their use (On, Off),
– select "Auto. main beam headlamps" to
activate or deactivate its use (On, Off),
– select "Headlamp sensor" to adjust its
sensitivity (1, 2, 3).
From the "Doors & locking" sub-menu, it is
possible to:
– select "Autoclose" to activate or deactivate its
use (On, Off).
Setting the date and time
Using the MODE control panel
► Press the “MODE” button.
Page 22 of 196

20
Access
Key
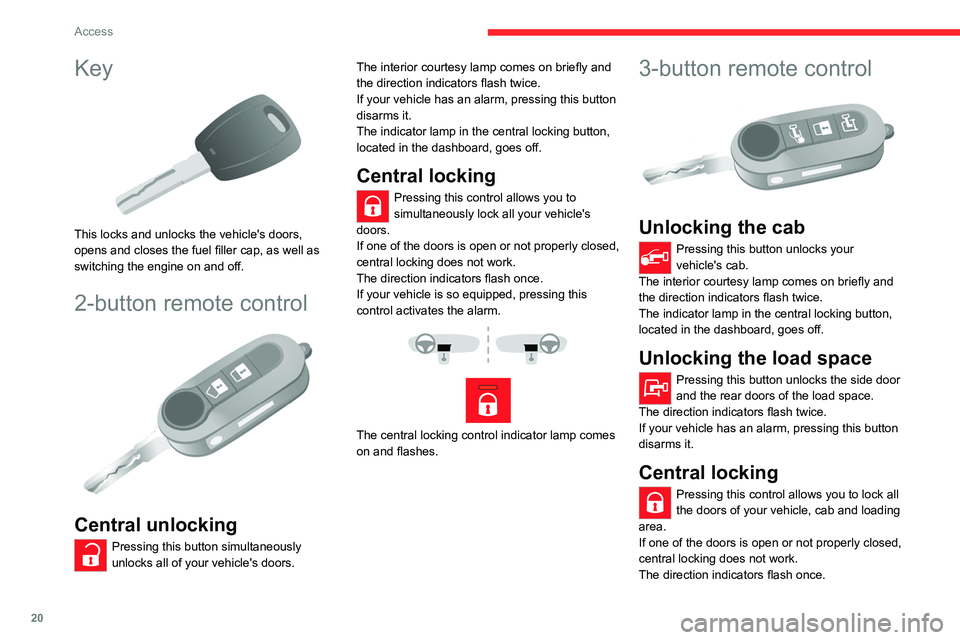
This locks and unlocks the vehicle's doors,
opens and closes the fuel filler cap, as well as
switching the engine on and off.
2-button remote control
Central unlocking
Pressing this button simultaneously
unlocks all of your vehicle's doors. The interior courtesy lamp comes on briefly and
the direction indicators flash twice.
If your vehicle has an alarm, pressing this button
disarms it.
The indicator lamp in the central locking button,
located in the dashboard, goes off.
Central locking
Pressing this control allows you to
simultaneously lock all your vehicle's
doors.
If one of the doors is open or not properly closed,
central locking does not work.
The direction indicators flash once.
If your vehicle is so equipped, pressing this
control activates the alarm.
The central locking control indicator lamp comes
on and flashes.
3-button remote control
Unlocking the cab
Pressing this button unlocks your
vehicle's cab.
The interior courtesy lamp comes on briefly and
the direction indicators flash twice.
The indicator lamp in the central locking button,
located in the dashboard, goes off.
Unlocking the load space
Pressing this button unlocks the side door
and the rear doors of the load space.
The direction indicators flash twice.
If your vehicle has an alarm, pressing this button
disarms it.
Central locking
Pressing this control allows you to lock all
the doors of your vehicle, cab and loading
area.
If one of the doors is open or not properly closed,
central locking does not work.
The direction indicators flash once.
If your vehicle is so equipped, pressing this
control activates the alarm.
The central locking control indicator lamp comes
on and flashes.
Folding / Unfolding the
key
► Press this button to unfold / fold the
key.
If you do not press the button, you risk
damaging the mechanism.
Summary of the main functions of the key
Type of key Unlocking the cabLocking the doorsUnlocking the rear doors
Basic key Turn anti-clockwise (driver’s side).Turn clockwise (driver’s side).-
Remote control key
Signalling
Page 24 of 196

22
Access
Type of keyUnlocking the cabLocking the doorsUnlocking the rear doors
Direction indicators 2 flashes.1 flash.2 flashes.
Central locking control indicator
lamp on the dashboard Off.
Fixed for approximately 3
seconds, then flashing. Flashing.
Using the key in the driver's door lock does not activate/deactivate the alarm.
Locking/Unlocking from
inside
Cab and loading area
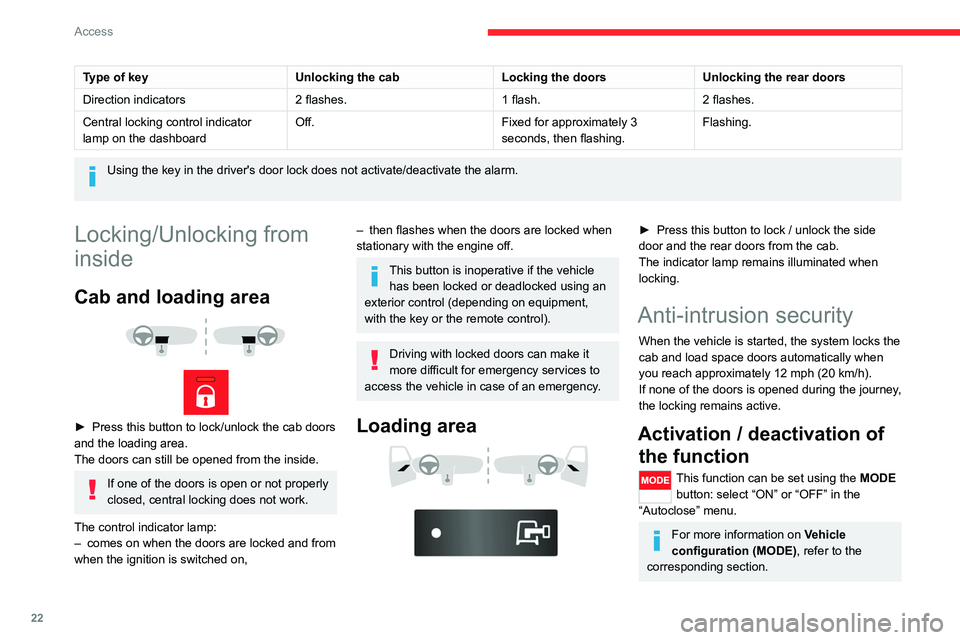
► Press this button to lock/unlock the cab doors
and the loading area.
The doors can still be opened from the inside.
If one of the doors is open or not properly
closed, central locking does not work.
The control indicator lamp:
– comes on when the doors are locked and from
when the ignition is switched on,
– then flashes when the doors are locked when
stationary with the engine off.
This button is inoperative if the vehicle has been locked or deadlocked using an
exterior control (depending on equipment,
with the key or the remote control).
Driving with locked doors can make it
more difficult for emergency services to
access the vehicle in case of an emergency.
Loading area
► Press this button to lock / unlock the side
door and the rear doors from the cab.
The indicator lamp remains illuminated when
locking.
Anti-intrusion security
When the vehicle is started, the system locks the
cab and load space doors automatically when
you reach approximately 12 mph (20 km/h).
If none of the doors is opened during the journey,
the locking remains active.
Activation / deactivation of the function
This function can be set using the MODE
button: select “ON” or “OFF” in the
“Autoclose” menu.
For more information on Vehicle
configuration (MODE) , refer to the
corresponding section.
Front doors
► Use the corresponding button on the remote
control or use the key in the driver's door lock to
unlock.
► Pull the handle towards you.
Sliding side door
Take care not to block the guide space
on the floor to allow the door to slide
correctly.
Opening
From outside
► Pull the handle towards you and then towards
the rear.
Page 33 of 196

31
Ease of use and comfort
3As a safety precaution, these operations should only be carried out while the
vehicle is stationary.
Mirrors
Door mirrors
They are divided into two zones:
A - Upper mirror
B - Lower mirror
The mirrors are spherical in shape to widen the
lateral field of vision. The objects that you see in
the mirrors are in fact closer than they appear.
This must be taken into account to correctly
assess the distance.
The shell integrates the direction indicator
side repeater and the aerials, according to the
equipment available on board (GPS, GSM,
Radio, etc.).
Electric adjustments
The ignition key must be in MAR position.
► Turn the control to select the mirror zone.
Left-hand door mirror:
A1 - Upper mirror
B1 - Lower mirror
Right-hand door mirror:
A2 - Upper mirror
B2 - Lower mirror
► Then move the control in the direction of the
desired adjustment.
Electric folding
► Press this control.
De-icing the mirrors
► Press the heated rear screen button.
Interior rear view mirror
The lever on the lower edge allows the mirror to
be placed in two positions.
Day position, the lever is pushed.
Night position for anti-glare, pull the lever
towards you.
Heating and Ventilation
Advice
Using the ventilation and air
conditioning system
► To ensure that air is distributed evenly,
keep the external air intake grilles at the base
of the windscreen, the nozzles, the vents, the
air outlets and the air extractor in the boot
free from obstructions.
► Do not cover the sunshine sensor located
on the dashboard; this sensor is used to
regulate the automatic air conditioning
system.
Page 42 of 196

40
Ease of use and comfort
Chilled glove box
It is located on the upper part of the dashboard,
passenger side.
The air circulated in the glove box is the same as
that circulated by the air vents.
USB socket
The socket is used only to power or recharge the
connected portable device.
Multifunction support
This can hold a portable device, such as a
smartphone in a vertical position or a tablet in a
horizontal position.
► Pull the top of the support to unfold it.
► Tilt the side lever to unlock the upper and
lower clamps.
► Open the clamps to install the portable
device.
► Lift the side lever to lock the clamps.
Before folding the support, remove the
mobile device by repeating the same
operations.
Push the top of the support to fold it.
Front door pockets
Depending on the country of sale, one of the
door pockets may contain the puncture repair kit.
Page 43 of 196

41
Ease of use and comfort
3Chilled glove box
It is located on the upper part of the dashboard,
passenger side.
The air circulated in the glove box is the same as
that circulated by the air vents.
USB socket
The socket is used only to power or recharge the
connected portable device.
12 volt socket
Maximum power: 180 W.
The connection of an electrical device not approved by CITROËN, such as a
USB charger, may adversely affect the
operation of vehicle electrical systems,
causing faults such as poor radio reception or
interference with displays in the screens.
Cigarette lighter
► Press and wait a few moments for automatic
triggering.
Overhead storage
compartment
It is located above the sun visors.
Maximum load: approximately 20 kg.
Page 44 of 196

42
Ease of use and comfort
Support for stowing rail
Supports for securing a stowing rail are available
above the trims, on each side of the vehicle.
Maximum load: 200 kg.
Side trim
The interior sections of the side walls are fitted
with loading protection trims.
12 volt socket
Maximum power: 180 W.
Reading lamps
They are controlled by the switches.
The driver's switch controls both lamps together.
The passenger's switch controls either the
driver's lamp or the passenger's lamp.
Controls, located at the bottom of the
dashboard on the driver's side, allow the
driver to activate/deactivate the passenger's
lamp.
Courtesy lamp
It can be activated by:
– the switches located on the courtesy lamp,
with the ignition on - MAR - ON position,
– the opening or closing of one of the front
doors,
– the locking/unlocking of the vehicle.
It turns off automatically:
– if the switch is not pressed to the right or to
the left,
– in any case after 15 minutes, if the doors
remain open,
– or when the ignition is switched on.
Rear fittings
Stowing rings
Stowing rings are installed on the floor to fix and
secure loads: 8, for vehicles of L1 and L2 length;
10, for vehicles of L3 and L4 length.
Two additional rings are installed on the partition
behind the cab.
Maximum load: 500 kg.
As a safety precaution in case of sharp braking, you are advised to place heavy
objects as far forwards towards the cab as
possible.
Page 49 of 196

47
Lighting and visibility
4Automatic illumination of headlamps
If your vehicle is fitted with this function, the
dipped beam headlamps are switched on
automatically if the light is poor.
In fog or snow, the sunshine sensor may
detect sufficient light. In this case, the
lighting will not come on automatically. If
necessary, you must switch on the dipped
beam headlamps manually.
They are switched off when the light returns
to a sufficient level.
Do not cover the sunshine sensor at the top
centre of the windscreen.
You can adjust the sensitivity of the sunshine sensor.
For more information on Vehicle
configuration , refer to the corresponding
section.
Activation
► Turn the ring to this position.
The lamps go out automatically when the ignition
is switched off.
Guide-me-home lighting
If your vehicle is equipped: when you leave your
vehicle, the dipped beam headlamps remain on
for the selected period of time (e.g. leaving a car
park).
With the ignition off or the
key in the STOP position
► Within 2 minutes of switching off the engine,
turn the ignition key to the STOP position or
remove the key.
► Pull the lighting control stalk towards the
steering wheel.
This indicator lamp lights up on the
dashboard.
Each action on the lighting control stalk, pulled
towards the steering wheel, extends the
guide-me-home lighting by 30 seconds up to
approximately 3 minutes. Once this time has
elapsed, the lamps go out automatically.
Deactivate this control by holding the control
stalk pulled towards the steering wheel for more
than 2 seconds.
Automatic headlamps
System which automatically changes to main
beam according to the ambient light level and
the driving conditions, using a camera located at
the top of the windscreen.
This system is a driving aid. The driver remains responsible for
the vehicle's lighting, its correct use for the
prevailing conditions of light, visibility and
traffic, and observation of driving regulations.
Activation
► Turn the lighting control stalk ring to
this position.
► Set the function by pressing the
MODE button: select "ON" in the
"Automatic main beam" menu.
For more information on Vehicle
configuration , refer to the corresponding
section.
► Flash the headlamps (going beyond the point
of resistance) to activate the function.
Operation