2019 VOLVO XC60 TWIN ENGINE buttons
[x] Cancel search: buttonsPage 5 of 695

3
Top tether anchors72
Lower child seat attachment points73
ISOFIX/LATCH lower anchors74
Integrated booster cushion*75
Folding up the integrated boostercushion*77
Folding down the integrated boostercushion*78
DISPLAYS AND VOICE CONTROL
Instruments and controls in left-handdrive vehicles82
Instrument panel84
Instrument panel settings86
Fuel gauge87
Hybrid gauge87
Hybrid gauge88
Trip computer89
Displaying trip data in the instrumentpanel91
Resetting the trip odometer92
Displaying trip statistics in the centerdisplay92
Trip statistics settings93
Date and time93
Ambient temperature sensor94
Indicator symbols in the instrument panel94
Warning symbols in the instrument panel97
Instrument panel licenses98
App menu in instrument panel103
Handling the App menu in the instru-ment panel104
Messages in the instrument panel105
Handling messages in the instru-ment panel106
Handling messages saved from theinstrument panel107
Center display overview109
Handling the center display112
Activating and deactivating the cen-ter display115
Navigating in the center display's views115
Handling tiles in the center display119
Function view in the center display122
Moving apps and buttons in the cen-ter display124
Symbols in the center display status bar124
Using the center display keyboard126
Changing keyboard language in thecenter display129
Entering characters, letters andwords by hand in the center display129
Changing the appearance of thecenter display131
Turning off and adjusting the volumeof the center display system sounds131
Changing system units of measurement132
Changing system language132
Changing settings in the center dis-play's Top view132
Opening contextual setting in thecenter display133
Page 34 of 695

||
YOUR VOLVO
* Option/accessory.32
currently playing. It is controlled using the steer-ing wheel keypads.
Center display
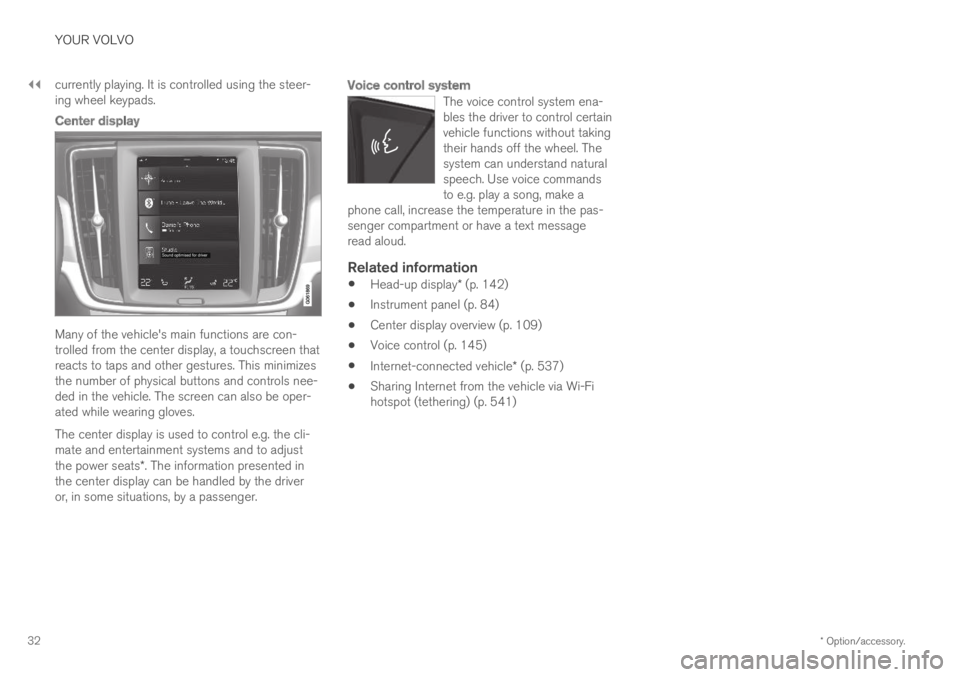
Many of the vehicle's main functions are con-trolled from the center display, a touchscreen thatreacts to taps and other gestures. This minimizesthe number of physical buttons and controls nee-ded in the vehicle. The screen can also be oper-ated while wearing gloves.
The center display is used to control e.g. the cli-mate and entertainment systems and to adjustthe power seats*. The information presented inthe center display can be handled by the driveror, in some situations, by a passenger.
Voice control system
The voice control system ena-bles the driver to control certainvehicle functions without takingtheir hands off the wheel. Thesystem can understand naturalspeech. Use voice commandsto e.g. play a song, make aphone call, increase the temperature in the pas-senger compartment or have a text messageread aloud.
Related information
Head-up display* (p. 142)
Instrument panel (p. 84)
Center display overview (p. 109)
Voice control (p. 145)
Internet-connected vehicle* (p. 537)
Sharing Internet from the vehicle via Wi-Fihotspot (tethering) (p. 541)
Page 93 of 695

DISPLAYS AND VOICE CONTROL
91
Displaying trip data in theinstrument panel
Data recorded and calculated by the trip com-puter can be displayed on the instrument panel.
This data is stored in a trip computer app. Youcan choose which information the instrumentpanel will display in the app menu.
Open and navigate in the app menu2 using the right-hand steering wheel keypad.
App menu
Left/right
Up/down
Confirm
1.Open the app menu in the instrument panelby pressing (1).
(The App menu cannot be opened whilethere is an unacknowledged message in theinstrument panel. The message must be con-firmed before the App menu can be opened.)
2. Navigate to the trip computer app by movingleft or right using (2).
> The top four menu rows show measuredvalues for trip odometer TM. The next fourmenu rows show measured values for tripodometer TA. Scroll up or down in the listusing (3).
3. Scroll down to the option buttons to choosewhich information to show in the instrumentpanel:
Distance to empty tank
Odometer
Mileage for trip odometer TM, TA or nodisplay of mileage
Current fuel consumption, average fuelconsumption for TM or TA, or no displayof fuel consumption
Tourist (alternative speedometer).
Distance to discharged battery
Select or clear a selection using the O but-ton (4). The change will apply immediately.
Related information
Trip computer (p. 89)
Resetting the trip odometer (p. 92)
2The illustration is generic - details may vary according to vehicle model.
Page 107 of 695

DISPLAYS AND VOICE CONTROL
}}
105
Related information
App menu in instrument panel (p. 103)
Messages in the instrument panel (p. 105)
Messages in the instrument panel
The instrument panel shows messages in certaincircumstances to inform or assist the driver.
Message in the instrument panel.
High-priority messages for the driver are dis-played in the instrument panel.
The messages may appear in different parts ofthe instrument panel depending on what otherinformation is currently being displayed. The mes-sage will disappear from the instrument panelafter a short period of time or after it has beenacknowledged or any required action has beentaken. Messages that need to be saved arestored in the Car Status app, which can beopened from the App view in the center display.
The message may be shown along with graphics,symbols or buttons to e.g. acknowledge the mes-sage or accept a request.
Service messages
The following table lists a selection of importantservice messages and what they mean.
MessageMeaning
Stop safelyAStop and switch off theengine. Serious risk ofdamage - contact a work-
shopB.
Turn off
engineAStop and switch off theengine. Serious risk ofdamage - contact a work-
shopB.
Service urgentDrive to work-
shopA
Contact a workshopB tohave the vehicle inspectedimmediately.
Service
requiredAContact a workshopB tohave the vehicle inspectedas soon as possible.
Regular main-tenance
Book time formaintenance
Time for service - contact
a workshopB. Shownbefore the next servicedate.
Regular main-tenance
Time for main-tenance
Time for service - contact
a workshopB. Shown onthe next service date.
Page 108 of 695

||
DISPLAYS AND VOICE CONTROL
106
MessageMeaning
Regular main-tenance
Maintenanceoverdue
Time for service - contact
a workshopB. Shown whenthe date for service haspassed.
Temporarily
offAA function has been tem-porarily deactivated andwill be reactivated auto-matically while driving orafter the engine is restar-ted.
APart of message, shown along with information on the locationof the problem.BAn authorized Volvo workshop is recommended.
Related information
Handling messages in the instrument panel(p. 106)
Handling messages saved from the instru-ment panel (p. 107)
Messages in the center display (p. 140)
Handling messages in theinstrument panel
Messages in the instrument panel are controlledusing the right-side steering wheel keypad.
Messages in the instrument panel and the right-sidesteering wheel keypad.
Left/right
Confirm
Some messages in the instrument panel containone or more buttons for e.g. confirming the mes-sage or accepting a request.
Handling new messages
For messages with buttons:
1. Navigate among the buttons available bypressing the left/right arrow keys (1).
2. Confirm your selection by pressing confirm(2).
> The message will disappear from theinstrument panel.
For messages without buttons:
–Close the message by pressing confirm (2)or let the message automatically time-outafter a short period.
>The message will disappear from theinstrument panel.
Messages that need to be saved are stored inthe Car Status app, which can be opened fromthe App view in the center display. The messageVehicle message stored in Car Status appwill simultaneously appear in the center display.
Related information
Messages in the instrument panel (p. 105)
Handling messages saved from the instru-ment panel (p. 107)
Messages in the center display (p. 140)
Page 116 of 695

||
DISPLAYS AND VOICE CONTROL
114
Returning to Home view from another
view
1. Briefly press the home button below the cen-ter display.
> The most recent Home view mode will bedisplayed.
2. Press briefly again.
> All of the Home view's tiles will return tostandard mode.
NOTE
In Home view's standard mode – short presson the Home button. An animation describingaccess to the various views is shown on thescreen.
Scrolling in lists, articles or views
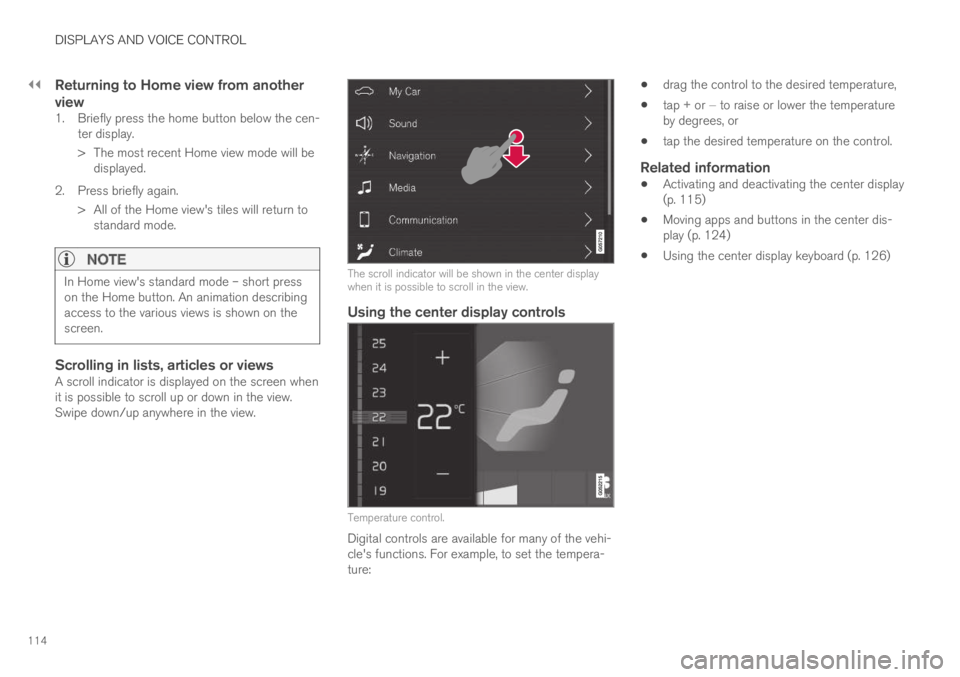
A scroll indicator is displayed on the screen whenit is possible to scroll up or down in the view.Swipe down/up anywhere in the view.
The scroll indicator will be shown in the center displaywhen it is possible to scroll in the view.
Using the center display controls
Temperature control.
Digital controls are available for many of the vehi-cle's functions. For example, to set the tempera-ture:
drag the control to the desired temperature,
tap + or − to raise or lower the temperatureby degrees, or
tap the desired temperature on the control.
Related information
Activating and deactivating the center display(p. 115)
Moving apps and buttons in the center dis-play (p. 124)
Using the center display keyboard (p. 126)
Page 119 of 695

DISPLAYS AND VOICE CONTROL
}}
* Option/accessory.117
App view
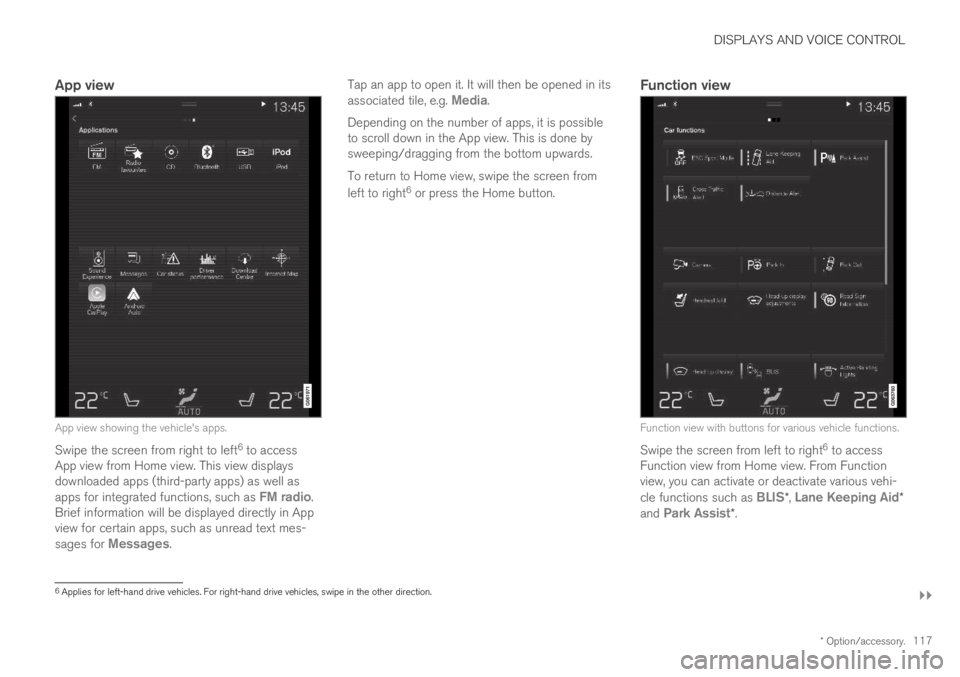
App view showing the vehicle's apps.
Swipe the screen from right to left6 to accessApp view from Home view. This view displaysdownloaded apps (third-party apps) as well asapps for integrated functions, such as FM radio.Brief information will be displayed directly in Appview for certain apps, such as unread text mes-sages for Messages.
Tap an app to open it. It will then be opened in itsassociated tile, e.g. Media.
Depending on the number of apps, it is possibleto scroll down in the App view. This is done bysweeping/dragging from the bottom upwards.
To return to Home view, swipe the screen from
left to right6 or press the Home button.
Function view
Function view with buttons for various vehicle functions.
Swipe the screen from left to right6 to accessFunction view from Home view. From Functionview, you can activate or deactivate various vehi-cle functions such as BLIS*, Lane Keeping Aid*and Park Assist*.
6Applies for left-hand drive vehicles. For right-hand drive vehicles, swipe in the other direction.
Page 124 of 695

DISPLAYS AND VOICE CONTROL
122
Function view in the center display
Function view, which is one of the center dis-play's basic views, contains all of the vehicle'sfunction buttons. From the Home view, navigate
to Function view by swiping from left to right
over the screen8.
Different types of buttons
There are three different types of buttons forvehicle functions; see below:
Type of buttonFunctionsVehicle function affected
Function buttonsHave On/Off modes.
When a function is active, an LED indicator light will illuminate to the left of the button's icon.Press the button to turn the function on or off.
Most buttons in Function view are func-tion buttons.
Trigger buttons Do not have On/Off modes.
Pressing a trigger button opens a window for the function. This can be, for example, a win-dow to change seat position.
Camera
Headrest Fold
Head-up Display Adjustments
Parking buttons Have On/Off and scanning modes.
Similar to function buttons, but have an extra mode for parking scanning.
Park In
Park Out
8Applies for left-hand drive vehicles. For right-hand drive vehicles, swipe in the other direction.