2019 VOLKSWAGEN TRANSPORTER roof
[x] Cancel search: roofPage 138 of 486
Additional information and warnings:
• Lights 106
• Transporting 125
• Driving with respect for the environment 278
• Wheels and tyres 367
• Accessories, modifications, repairs and renewal of parts 394
A wARNING
When transporting heavy or bulky objects in the roof carrier, the vehicle's handling will change due to a shift in the centre of gravity and an increased susceptibility to cross-winds.
• Always secure loads properly using suita-ble and undamaged securing straps.
• Cargo that is large, heavy, bulky, long or flat will have a negative effect on the vehicle aerodynamics, centre of gravity and overall handling.
Attaching the mounts and roof carrier
r-Y'n First read and observe the introductory L-J,:.JJ information and safety warnings &. on page 137.
Your vehicle has special roof rails on the right and left for fitting the mounts. Therefore, standard roof carriers cannot be used. Volkswagen Commercial Vehicles recommends using only mounts and roof carriers that have been approved by Volkswagen Commercial Vehicles.
The mounts are the basis of a complete roof carrier system. Special fixtures must then be added to transport luggage, bicycles, skis, surfboards or boats safely on the roof. All components of this system are available at a Volkswagen Commercial Vehicles dealership.
The roof carrier system must always be installed exactly according to instructions and should be kept with the vehicle wallet.
138 I Before the journey
A WARNING (Continued)
• Avoid abrupt and sudden driving and braking manoeuvres.
• Always adapt your speed and driving style to suit visibility, weather, road and traffic con-ditions.
CD
• Always remove the roof carrier before driv-ing through an automatic car wash.
• The height of the vehicle is changed by the installation of a carrier system and the load se-cured to it. Check and compare the height of the vehicle with clearance heights, e.g. for un-derpasses and garage doors.
• The roof carrier system and its load must not obstruct you from opening and closing the sliding/tilting roof and tallgate. The roof aerial must also remain unaffected.
• When opening the tallgate, take care not to let it hit the roof load.
Driving with a fitted roof carrier will increase W air resistance and thus increase fuel con-sumption.
Incorrectly attaching the mounts and roof carrier, and using them Inappropriately, can cause the whole system to fail off the roof. This can cause accidents and injuries.
• Always observe the manufacturer's in-structions.
• Only use mounts and roof carriers when they are undamaged and fitted correctly.
• Fit mounts and roof carriers correctly.
• Check the bolts and anchorage points be-fore starting your journey and adjust as nec-essary after driving a short distance. During a long trip, check ail bolts and fasteners at each stop.
• Special fixtures for items such as bicy-cles, skis, surfboards, etc. should always be properly Installed.
• Do not carry out any alterations or repairs to the mounts and roof carrier.
W Read and observe the instructions provided L!J for the fitted roof carrier system and carry them in the vehicle at all times.
Page 139 of 486
Loading the roof carrier
ill1 First read and observe the introductory L-l.:.l.l information and safety warnings & on page 137.
Loads can only be attached securely when the roof carrier system is fitted correctly &.
Maximum permissible roof load
The maximum permissible roof load for vehicles with a normal roof is 150 kg and for vehicles with a pop-up roof it is 50 kg. The roof load limit refers to the combined weight of the roof carrier and the load carried on the roof &.
Each mount can bear a maximum load of 50 kg if the weight of the load is evenly distributed over the entire length of the mount.
Ensure that you know the weight of the roof rack and the items to be transported on the roof, and weigh them if necessary. Never exceed the maxi-mum permissible roof load.
However, you will not be able to carry the maxi-mum roof load if you are using a roof carrier with a lower weight rating. In this instance, do not exceed the maximum weight limit for the roof carrier. This weight limit is listed in the fitting instructions.
Distributing the load
Distribute the load evenly and secure it correctly
Checking the fittings
After the mounts and roof carrier have been at-tached, check the bolted connections and fasten-ings once you have travelled a short distance and then at regular intervals.
Towing a trailer
o:n Introduction
This chapter contains information on the following subjects:
Technical requirements . . . . . . . . . . 141 Fitting the removable ball coupling 142
Removing the ball coupling . . . . . . . . . 144
Hitching and connecting the trailer . . . 144 Loading the trailer . . . . . . . . . .. . . 146 Towing a trailer . . . . . . . . . . . . . . . . . . . . . . . . 146
Trailer stabilisation . . . . . . . . . . . . . . . . . . . . . . 147
Retrofitting a towing bracket............... 149
A WARNING
Accidents and vehicle damage can occur if the maximum permitted roof load is excee-ded.
• Never exceed the quoted roof load, the maximum permissible axle loads, and the permissible gross vehicle weight for the vehi-cle.
• Do not exceed the weight rating of the roof carrier, even if the maximum roof load has not been reached.
• Secure heavy objects as far forwards as possible and distribute the load evenly.
A WARNING
Loose and Incorrectly secured loads can fall off the roof carrier and cause accidents and injuries.
• Always use suitable and undamaged se-curing straps.
• Secure loads properly.
The additional load will affect the durability, fuel consumption and performance of the vehicle and, in certain circumstances, could shorten the service intervals.
Driving with a trailer not only places an extra load on the vehicle, but also requires increased concen-tration on the part of the driver.
Transporting items 139
Page 152 of 486
Cooling the stowage compartment
There is a vent in the rear panel 117 Q). If the air conditioning is switched on, cooled air can be directed into the compartment. Turn the vents to open and close them.
A WARNING
If the stowage compartment on the front pas-senger side is left open, this can Increase the risk of serious injury In the event of an acci-dent or during sudden braking or driving ma-noeuvres.
Other stowage compartments
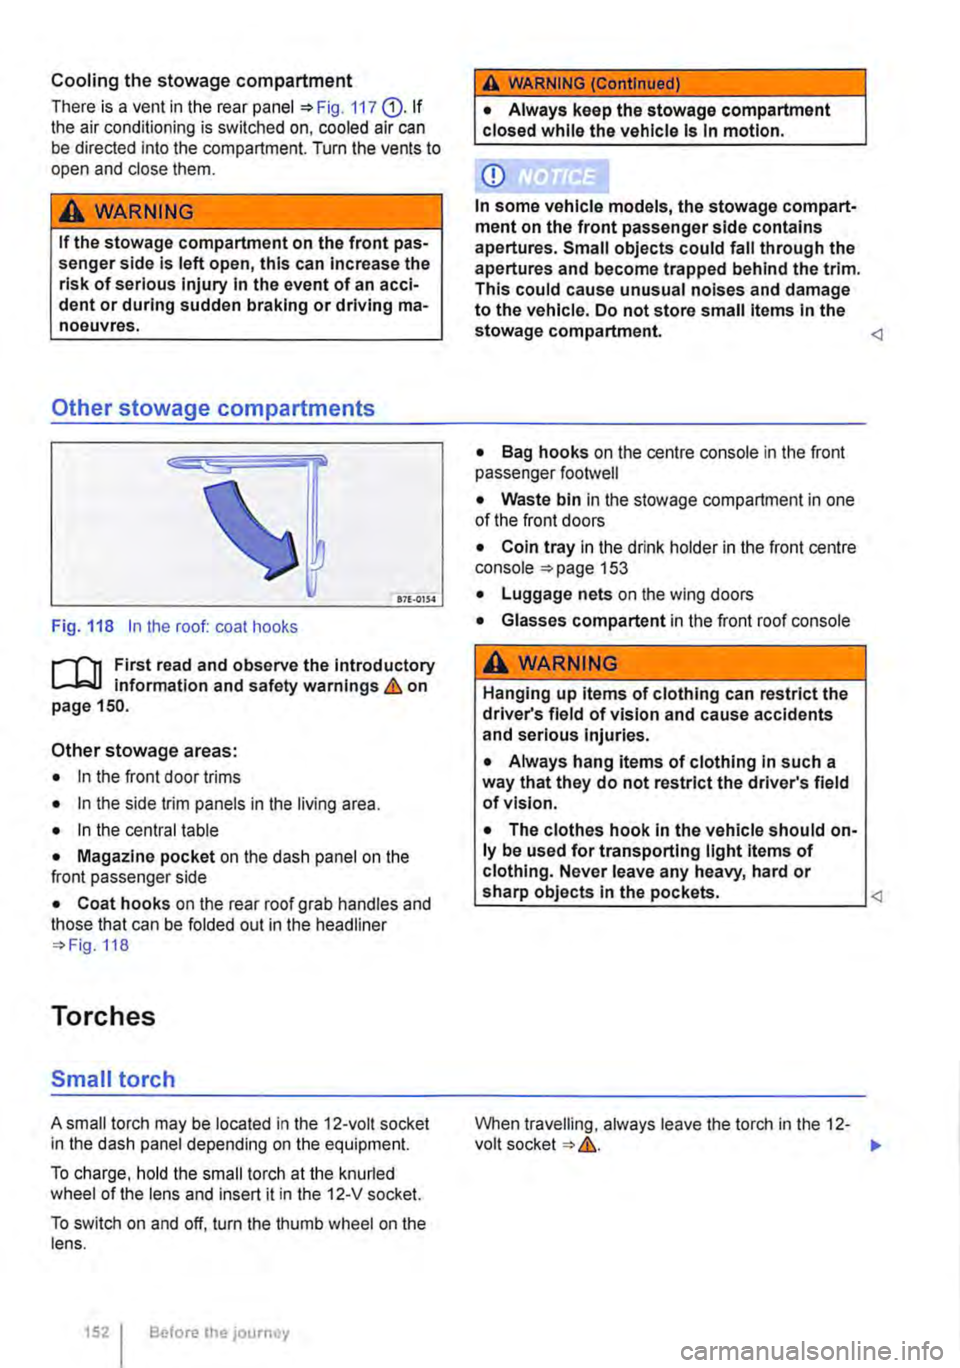
Fig. 118 In the roof: coat hooks
r-T'n First read and observe the Introductory 1...-J,:.lJ information and safety warnings&. on page 150.
Other stowage areas:
• In the front door trims
• In the side trim panels in the living area.
• In the central table
• Magazine pocket on the dash panel on the front passenger side
• Coat hooks on the rear roof grab handles and those that can be folded out in the headliner 118
Torches
Small torch
A small torch may be located in the 12-volt socket in the dash panel depending on the equipment.
To charge, hold the small torch at the knurled wheel of the lens and insert it in the 12-V socket.
To switch on and off, turn the thumb wheel on the lens.
1521 Before the journey
A WARNING (Continued)
• Always keep the stowage compartment closed while the vehicle Is In motion.
CD
In some vehicle models, the stowage compart-ment on the front passenger side contains apertures. Small objects could fall through the apertures and become trapped behind the trim. This could cause unusual noises and damage to the vehicle. Do not store small Items In the stowage compartment.
• Bag hooks on the centre console in the front passenger footwell
• Waste bin in the stowage compartment in one of the front doors
• Coin tray in the drink holder in the front centre console 153
• Luggage nets on the wing doors
• Glasses compartent in the front roof console
A WARNING
Hanging up items of clothing can restrict the driver's field of vision and cause accidents and serious Injuries.
• Always hang items of clothing In such a way that they do not restrict the driver's field of vision.
• The clothes hook In the vehicle should on-ly be used for transporting light Items of clothing. Never leave any heavy, hard or
When travelling, always leave the torch in the 12-volt socket &.. ..,.
Page 158 of 486
Removing the central table
The central table can be removed more easily by two people than by one person.
• Remove front protective covers from the central seat rails.
• Turn the single seats so that they face the di-rection of travel.
• Adjust the back rest of single seats to an upright position.
• Fold up the armrests of the single seats.
• Pull the handle @ up and hold the central table with the handle and the handle recess@.
• Push the central table forwards to the point where it can be lifted out of the slots in the seat rails.
• Lift the central table out.
• Put down the central table carefully so that the rollers and feet are not soiled or damaged.
• Place the removed covers on the open slots in the seat rails.
Fitting the central table
The central table can be installed more easily by two people than by one person.
• Remove front protective covers from the central seat rails.
• Turn the single seats so that they face the di-rection of travel.
Cool box
c:cn Introduction
This chapter contains information on the following subjects:
Fitting and removing the cool box
Switching the cool box on and off 159 161
The cool box may be used while the vehicle is in motion only if it is fitted to the adapter plate.
Power for the cool box can be supplied by any of the 12-volt sockets in the vehicle. The power con-sumption is approx. 33 watts. The cool box has a capacity of 32 litres.
Follow instructions provided for the installation and use of the cool box and keep it in the vehicle wal-let.
As far as possible, keep food and drinks in the cool box in leak-proof containers. Do not overfill the cool box such that air circulation is impaired.
158 Before the journey
• Adjust the backrest of single seats to an upright position.
• Fold up the armrests of the single seats.
• Pull the handle @ up and hold the central table with the handle and the handle recess®.
• Insert the central table guides into the recesses in the seat rails.
• Insert the central table into the seat rails and push them back, so that the removed covers can be placed on the open slots in the seat rails.
• Fold the handle@ back to engage the central table in the seat rails.
• Check that the central table is locked securely. it should now no longer be possible to move the central table.
• Do not raise the table module when the cen-tral table Is located between the single seats. This could cause damage to the table.
The vehicle battery will be drained if the cool box is used when the engine is switched off. For this rea-son, the cool box is fitted with a battery monitor. The battery monitor will switch the cool box off if the vehicle battery has a low charge level. The bat-tery monitor will switch the cool box on again as soon as the battery has reached a suitable charge level, for example, after a long journey.
Additional information and warnings:
• Seat functions, front =>page 69
• Seat functions, rear =>page 72
• Seat functions, rear, Business =>page 182
• Seat functions, rear, California =>page 193
• Electrical sockets =>page 163
• Battery =>page 350
Page 164 of 486
CD
• In order to avoid damage due to voltage fluctuation, always switch any electrical con-sumers connected to the 12-volt sockets off be-fore switching the ignition or the engine on or off. When the start/stop system automatically switches off and restarts the engine, it Is not necessary to switch off any connected electri-cal consumers.
• Never connect electrical devices requiring more electrical power to a 12-volt socket. The vehicle's electrical system can be damaged If the maximum power output Is exceeded.
• Never feed electricity Into the socket.
Sockets in the vehicle
rT'n First read and observe the Introductory L-lo:J.I information and safety warnings&. on page 163.
There are two separate power circuits in the vehi-cle depending on the equipment:
• 12-volt DC circuit
• 230-volt AC circuit
Maximum power rating
Electrical Maximum power rating socket
12-volt 120 watts
230-volt 2500 watts
Do not exceed the maximum power rating. This al-so applies to the total power consumption of all connected devices if you connect several devices at the same time Introduction on page 163. The power rating of each device is stated on its type plate.
12-volt socket
Electrical equipment can be connected to the 12-volt sockets in the vehicle.
Using electrical appliances with the engine switch-ed off and the ignition switched on will drain the battery. Electrical consumers should therefore only be plugged into the sockets when the engine is running.
To prevent damage due to voltage fluctuation, switch off any connected devices before switching the ignition or engine on or off.
In the vehicle, there are 12-volt sockets in the fol-lowing locations, among others:
164 I Before the journey
Do not leave the engine running when the ve-l?1S hicle is stationary.
m Using electrical appliances with the engine L!..J switched off and the ignition switched on will drain the battery.
m Unshielded devices can cause interference L!..J with radio reception and vehicle electronics.
m Functional problems may occur with some L!..J devices when they are connected to the 230-volt socket due to the lower power output (wat-tage).
• In the stowage compartment on the dash panel under a small cover.
• In the stowage compartment in the dash panel.
• In the side trim panels in the passenger com-partment
• In the luggage compartment.
• In the roof frame of the pop-up roof.
230-volt grounded safety socket
The 230-volt grounded safety socket is supplied via electrical feed from the external socket 192.
The following electrical consumers are supplied from the 230-volt power supply via the external socket:
• Battery charger
• Depending on the vehicle equipment, the 230-volt grounded safety socket is located in the side trim panel behind the left front seat or on the side of the kitchen unit 192.
230-volt Euro socket
The 230-volt Euro socket is supplied via additional batteries or via an inverter and is located in the side trim panel behind the left front seat 192.
A DANGER !
High voltage In the electrical system!
• Never pour any liquid over the socket.
• Do not Insert any Items which will conduct electricity, such as knitting needles, Into the contacts of the 230-volt socket. .,.
Page 172 of 486
• Press the [ENTER! button to confirm your selec-tion.
• Press the [SETUP! button again to leave the main menu.
The following settings can be made in the subme-nus:
• Picture format.
• Camera perspective.
• Language.
• Subtitles.
• Screen saver.
• Saving the last item played.
Tachograph
o::D Introduction
This chapter contains information on the following subjects:
Notes on the tachograph . . . . . . . . . . . . . . . . . 172
The function and operation of the factory-fitted ta-chograph can be found in an additional operating manual delivered with the vehicle.
If you retro-fit a tachograph to the vehicle, ensure it complies with relevant legislation.
Additional information and warnings:
• Towing a trailer 139
• Accessories. modifications, repairs and renewal of parts 394
Notes on the tachograph
I""'""'J'n First read and observe the Introductory L-lo:.l.l Information given on page 172.
Location
Depending on the model, the factory-fitted tacho-graph could be located in the middle of the dash panel or in a console on the dash panel.
Time
For the time settings, refer to the additional operat-ing instructions for the tachograph.
Please note that in digital tachographs, the time must be displayed in local time. The time on the printouts is always given in UTC (Coordinated Uni-versal Time).
1721 Before the journey
• Various audio settings.
• Colour system.
• Playback control for video COs
• Parental lock 172.
• Reset to default settings.
• Password protection.
Childproof locks
This function is only available in the case of DVDs with restricted access for young people and chil-dren. This menu is used to specify whether a DVD with access restrictions is to be played or whether a password has to be entered first.
m Manipulation of the tachograph and its signal, l.!J and misuse of the tachograph discs can re-sult in prosecution.
The digital tachograph has a buffer battery to pre-vent data loss. The buffer battery can supply power for approx. one year without an external power supply. This function is used if, for example, the digital tachograph is removed from the vehicle and stored or if left in a vehicle with a battery fault or a flat battery.
Legal requirements
By law. the tachograph must be used in:
Page 186 of 486
Opening and closing the stowage compartment on the centre console
• To open the storage compartment@, slide the cover open.
• To close, push the cover shut, making sure that the storage compartment is closed completely
Ash tray
• Press the storage compartment@ in until it opens automatically. The ashtray is now accessible
• To empty the ashtray, press the button (8 in the storage compartment. The ashtray pops out of its holder. After emptying the ashtray, re-insert it.
Cigarette lighter
• Press the storage compartment@ in until it opens automatically.
• With the ignition switched on, press in the knob on the cigarette lighter.
• Wait for the lighter to pop out.
• Pull out the cigarette lighter and light the tobac-co product on the glowing spiral &.
• Insert the cigarette lighter back into the socket.
Opening and closing the stowage compartment at the front of the centre console
• To open, press the storage compartment@ in until it opens automatically.
• To close, push the storage compartment shut, making sure that it closes completely &.
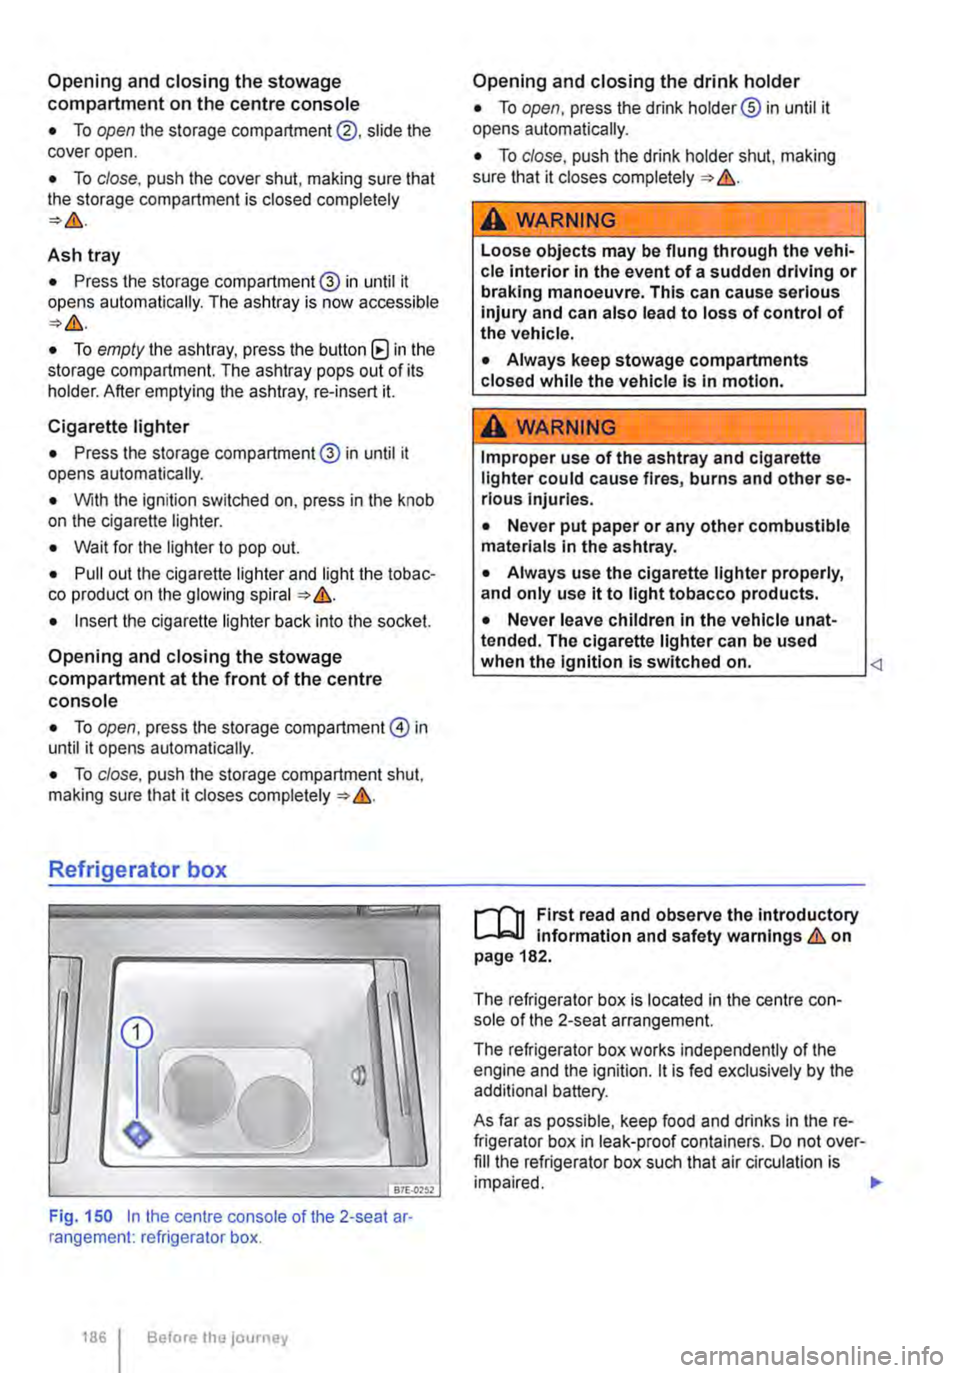
Refrigerator box
fBiU>,.,
Fig. 150 In the centre console of the 2-seat ar· rangement: refrigerator box.
1861 Before the journey
Opening and closing the drink holder
• To open, press the drink holder® in until it opens automatically.
• To close, push the drink holder shut, making sure that it closes completely &.
A WARNING
Loose objects may be flung through the vehi-cle interior In the event of a sudden driving or braking manoeuvre. This can cause serious injury and can also lead to loss of control of the vehicle.
• Always keep stowage compartments closed while the vehicle is in motion.
A WARNING
Improper use of the ashtray and cigarette lighter could cause fires, burns and other se-rious Injuries.
• Never put paper or any other combustible materials in the ashtray.
• Always use the cigarette lighter properly, and only use it to light tobacco products.
• Never leave children in the vehicle unat-tended. The cigarette lighter can be used when the Ignition is switched on.
The refrigerator box is located in the centre con-sole of the 2-seat arrangement.
The refrigerator box works independently of the engine and the ignition. lt is fed exclusively by the additional battery.
As far as possible, keep food and drinks in the re-frigerator box in leak-proof containers. Do not over-fill the refrigerator box such that air circulation is impaired. .,.
Page 193 of 486
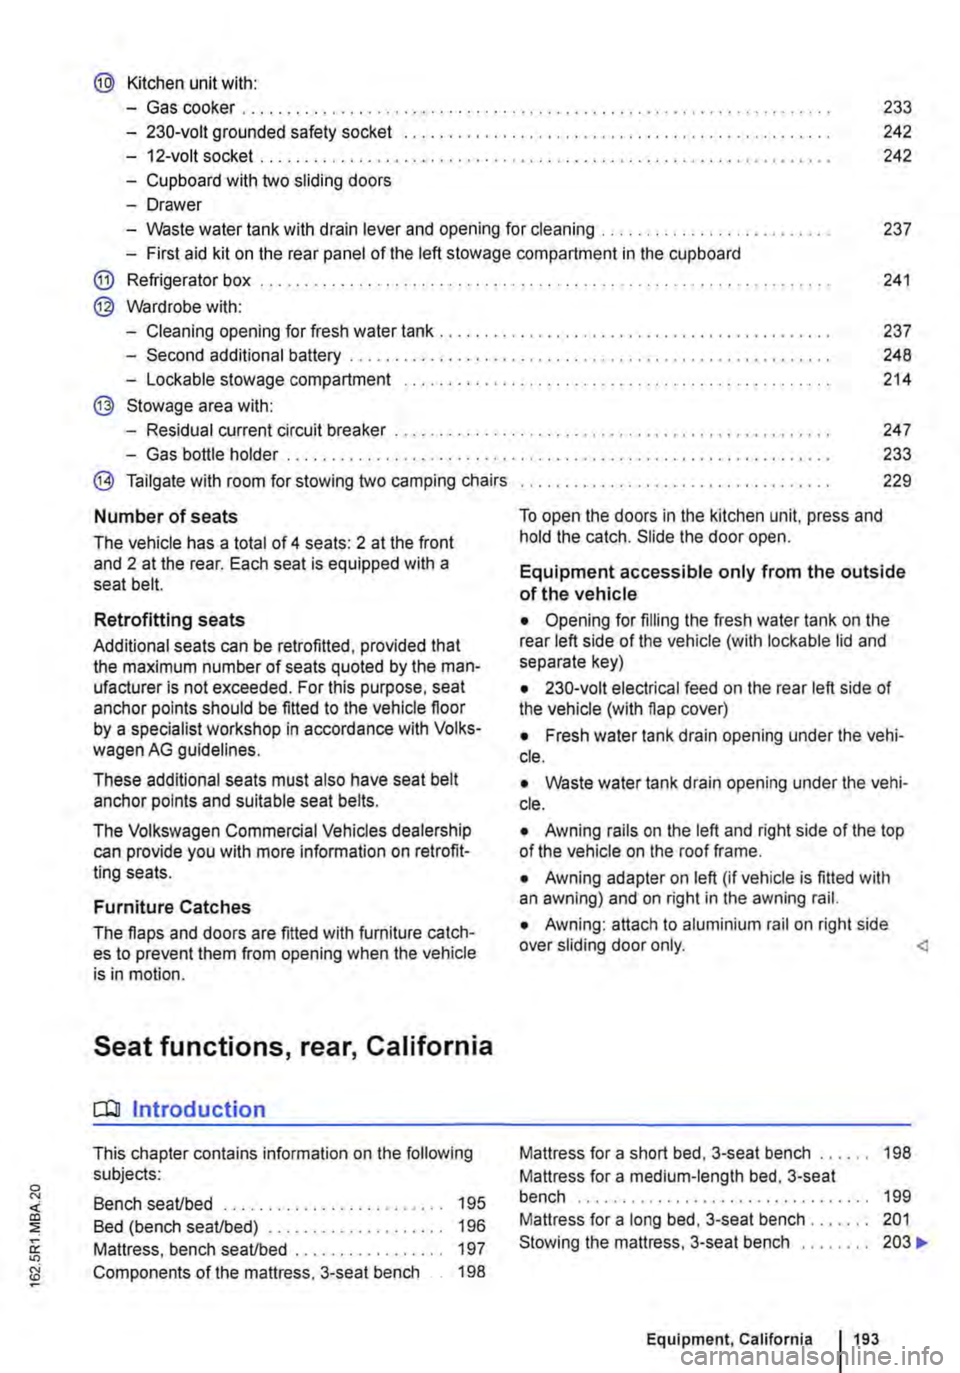
@ Kitchen unit with:
-Gas cooker ................................... . 233
242
242
-230-volt grounded safety socket ................. .
-12-volt socket .............................•..................................
-Cupboard with two sliding doors
-Drawer
-Waste water tank with drain lever and opening for cleaning ...... . 237
-First aid kit on the rear panel of the left stowage compartment in the cupboard
@ Refrigerator box ...
@ Wardrobe with:
241
-Cleaning opening for fresh water tank . . . . . . . . . . . . . . . . . . . . . . . . . . . . . . . . . . . . . . . 237
-Second additional battery . . . . . ........ , . . . . . . . . . . . . . . . . . . . . . . . . . . 248
-Lockable stowage compartment . . . . . . . . . . . . . . . . . . . . . . . . . . . . . . . . . . . . . . . . . . . . . . . . 214
@ Stowage area with:
-Residual current circuit breaker ............... , ...... . 247
233
229
-Gas bottle holder .................. .
® Tailgate with room for stowing two camping chairs
Number of seats
The vehicle has a total of 4 seats: 2 at the front and 2 at the rear. Each seat is equipped with a seat belt.
Retrofitting seats
Additional seats can be retrofitted, provided that the maximum number of seats quoted by the man-ufacturer is not exceeded. For this purpose, seat anchor points should be fitted to the vehicle floor by a specialist workshop in accordance with Volks-wagen AG guidelines.
These additional seats must also have seat belt anchor points and suitable seat belts.
The Volkswagen Commercial Vehicles dealership can provide you with more information on retrofit-ting seats.
Furniture Catches
The flaps and doors are fitted with furniture catch-es to prevent them from opening when the vehicle is in motion.
Seat functions, rear, California
ClJ Introduction
This chapter contains information on the following subjects:
Bench seat/bed . . . . . . . . . . . . . . . . . . . . • • . . . 195
Bed (bench seat/bed) . . . . . . . . . . . 196 Mattress, bench seat/bed . . . . . . . . . . . . . . . . . 197
Components of the mattress, 3-seat bench . . 198
To open the doors in the kitchen unit, press and hold the catch. Slide the door open.
Equipment accessible only from the outside of the vehicle
• Opening for filling the fresh water tank on the rear left side of the vehicle (with lockable lid and separate key)
• 230-volt electrical feed on the rear left side of the vehicle (with flap cover)
• Fresh water tank drain opening under the vehi-cle.
• Waste water tank drain opening under the vehi-cle.
• Awning rails on the left and right side of the top of the vehicle on the roof frame.
• Awning adapter on left (if vehicle is fitted with an awning) and on right in the awning rail.
• Awning: attach to aluminium rail on right side over sliding door only.
Mattress for a medium-length bed, 3-seat bench . . . . . . . . . . . . . . . . . . . . . . . . . . . . 199 Mattress for a long bed, 3-seat bench . . . . . . . 201 Stowing the mattress, 3-seat bench . . . . . . . . 203 .,..
Equipment, California 1193