Page 24 of 456
24
Supra Owner's Manual2-1. QUICK REFERENCE
1Wipers
2Instrument cluster
3Turn indicator, high-beam head-
lights
4Light switch element
Indicator and warning lamps can
illuminate in a variety of combina-
tions and colours.
When the engine starts or the
standby state is switched on, the
functionality of some lights is briefly
checked.1Exterior mirrors
2Power window switches
3Central locking system
4Unlocking the boot lid
1Selector lever
2Controller
3Auto Start & Stop cancel button
4Sport mode switch
5Park Assistant button
6VSC OFF button
7Toyota Supra Safety button
8Parking brake
Toyota Supra Command brings
Displays and controls
Around the steering wheel
Indicator and warning lamps
Instrument cluster
1
2
3
4
Driver's door
Switch cluster
Toyota Supra Command
Principle
321
4
Page 36 of 456
36
Supra Owner's Manual2-1. QUICK REFERENCE
A current measurement is available
after approximately 30 minutes of
normal driving.
Via Toyota Supra Command:
1"My Vehicle"
2"Vehicle status"
3"Engine oil level"
Different messages are shown on
the Control Display, depending on
the engine oil level. Follow these
messages
Safely stop the vehicle and switch
off drive-ready state before topping
up with engine oil.
Do not top up engine oil unless a message is displayed in the instru-
ment cluster.
Note the top-up quantity in the mes-
sage.
Do not top up with too much engine
oil.
Note recommended engine oil
types.
The button is located in the centre
console.
Via Toyota Supra Command:
1"Connected Serv."
2"Toyota Supra Assistance"
3"Roadside assistance"
A voice connection is established.
Electronic oil measurement
Operating requirements
Displaying the engine oil level
Adding engine oil
General
Topping up
Breakdown Assist
Hazard warning lights
Breakdown Assist
Roadside assistance
Page 42 of 456
42
Supra Owner's Manual3-1. CONTROLS
14 To release the bonnet
P. 3 0 615 Unlocking the boot lid P.77
1Control Display P.50
2 Hazard warning lights
P. 3 3 6
3Ventilation P.255
4Glove box P.260
5Radio/multimedia, see Owner's
Manual for Navigation, Enter-
tainment, Communication
6Automatic air conditioning P.250
7Controller with buttons P.50,
P. 5 1
8 Sport mode switch P.149
SPORT drive mode
Toyota Supra Safety P.191 Auto Start/Stop P.134
Parking Sensors P.236
Rear-view camera P.242
Crossing traffic warning P.246
Park Assistant P.236
Vehicle Stability Control,
VSC P.216
9 Parking brake P.137
10Automatic transmission selector
lever P.143
11 To switch drive-ready
state on/off P.134
Around the centre console
1
4
23
5
6
7
89
10
11
Page 77 of 456
77
3
Supra Owner's Manual3-1. CONTROLS
CONTROLS
The exterior mirrors are folded in.
If the hazard warning lights are
switched on, the exterior mirrors
are not folded in.
The function is not available for the
first 10 seconds after locking.
• The interior light is switched on
unless it was switched off manu-
ally. Switching the interior light
on/off manually, see page 178.
• Depending on the settings, the
exterior lights, see page 173, are
switched on.
The light functions might be
dependent on the ambient bright-
ness.
To prevent the remote control from
being locked in, do not place the
remote control in the boot.
It is possible to set whether the
doors are unlocked when the boot
lid is opened with the remote con-
trol. For settings, see page 89.On some equipment versions, the
doors are also unlocked each time.
Setting the duration, see page 173.
1Remove the integrated key from
the remote control, see page 80.
2Place integrated key under the
battery compartment cover,
arrow 1, and pry off the cover Switching on the interior
light and exterior lights
With the vehicle locked,
press the button on the
remote control.
Boot lid
General
Safety notes
WARNING
Parts of the body can become
trapped when the boot lid is operated.
There is a danger of injury. When
opening and closing, make sure that
the area of movement of the boot lid
is kept clear.
NOTICE
The boot lid swings rearwards and
upwards when opened. There is a
danger of damage to property. When
opening and closing, make sure that
the area of movement of the boot lid
is kept clear.
Unlocking
Press and hold the button on
the remote control for approx-
imately 1 second.
Switching on the headlight
courtesy delay feature
Press and hold the button on
the remote control for approx-
imately 1 second.
Replacing the battery
Page 81 of 456
81
3
Supra Owner's Manual3-1. CONTROLS
CONTROLS
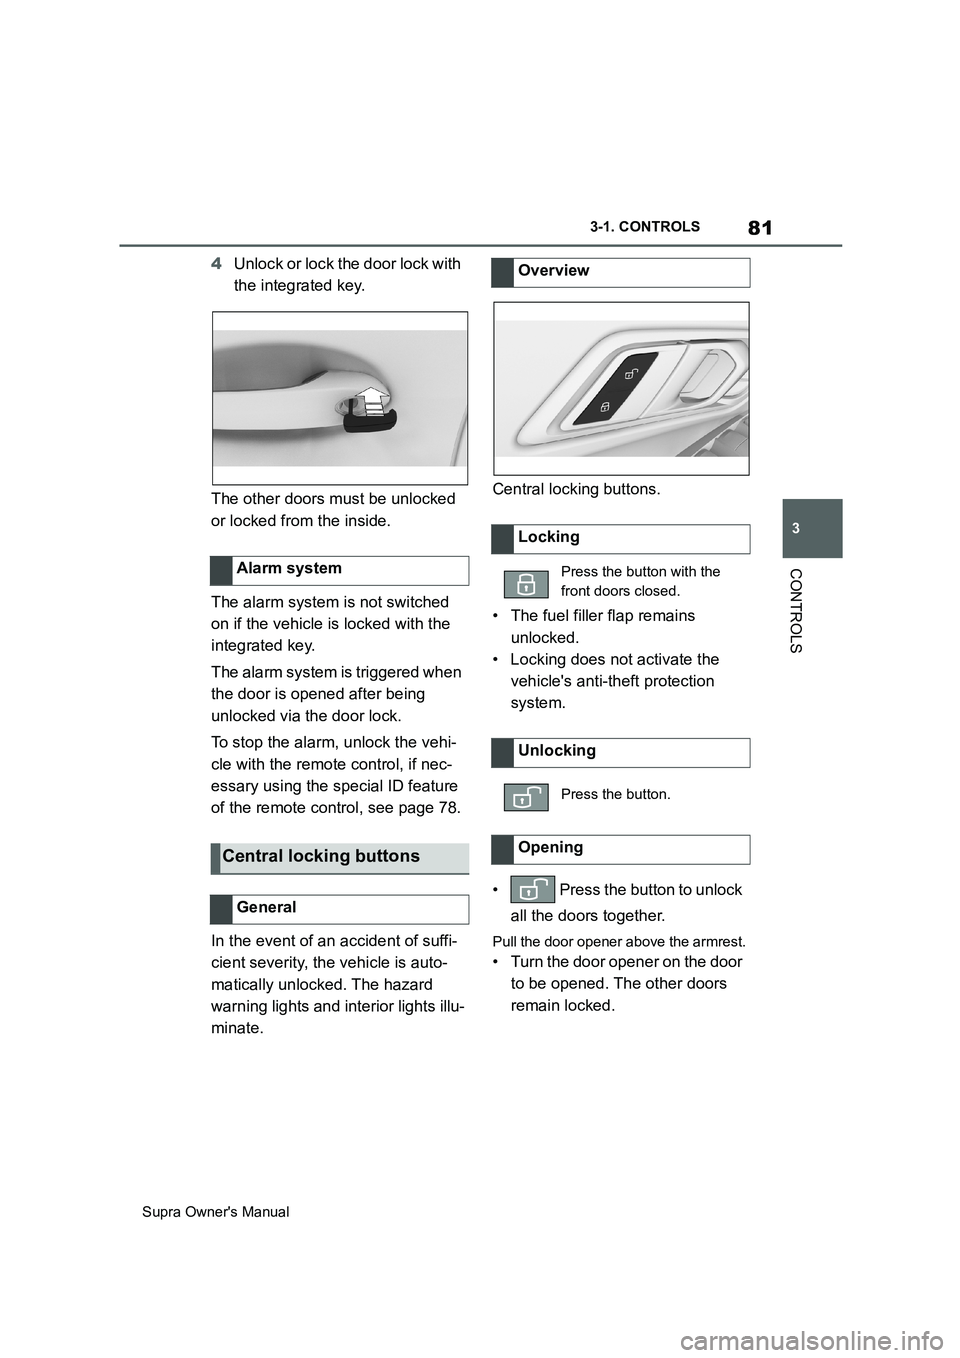
4Unlock or lock the door lock with
the integrated key.
The other doors must be unlocked
or locked from the inside.
The alarm system is not switched
on if the vehicle is locked with the
integrated key.
The alarm system is triggered when
the door is opened after being
unlocked via the door lock.
To stop the alarm, unlock the vehi-
cle with the remote control, if nec-
essary using the special ID feature
of the remote control, see page 78.
In the event of an accident of suffi-
cient severity, the vehicle is auto-
matically unlocked. The hazard
warning lights and interior lights illu-
minate.Central locking buttons.
• The fuel filler flap remains
unlocked.
• Locking does not activate the
vehicle's anti-theft protection
system.
• Press the button to unlock
all the doors together.
Pull the door opener above the armrest.
• Turn the door opener on the door
to be opened. The other doors
remain locked. Alarm system
Central locking buttons
General
Overview
Locking
Press the button with the
front doors closed.
Unlocking
Press the button.
Opening
Page 138 of 456
138
Supra Owner's Manual3-1. CONTROLS
■General
Use during the journey serves as
an emergency brake.
Pull and hold the switch. Vehicle brakes strongly for as long as the
switch is pulled.
A vehicle message is shown.
Apply the parking brake when the
vehicle is stationary.
1Switch on drive-ready state.
2 Automatic transmission:
press the switch with the brake
pedal depressed or selector
lever position P engaged.
LED and indicator lamp turn off.
The parking brake is released.
The parking brake is automatically
released on driving off.
LED and indicator lamp turn off.
If the parking brake fails or malfunc-
tions:
After getting out, secure the vehicle
to prevent it from rolling away, for
example with a chock.
WARNING
●Engaging selector lever position N.
●Operating vehicle equipment.
There is a risk of accidents or injury.
Do not leave children or pets unsu-
pervised in the vehicle. When leaving
the vehicle, take the remote control
with you and lock the vehicle.
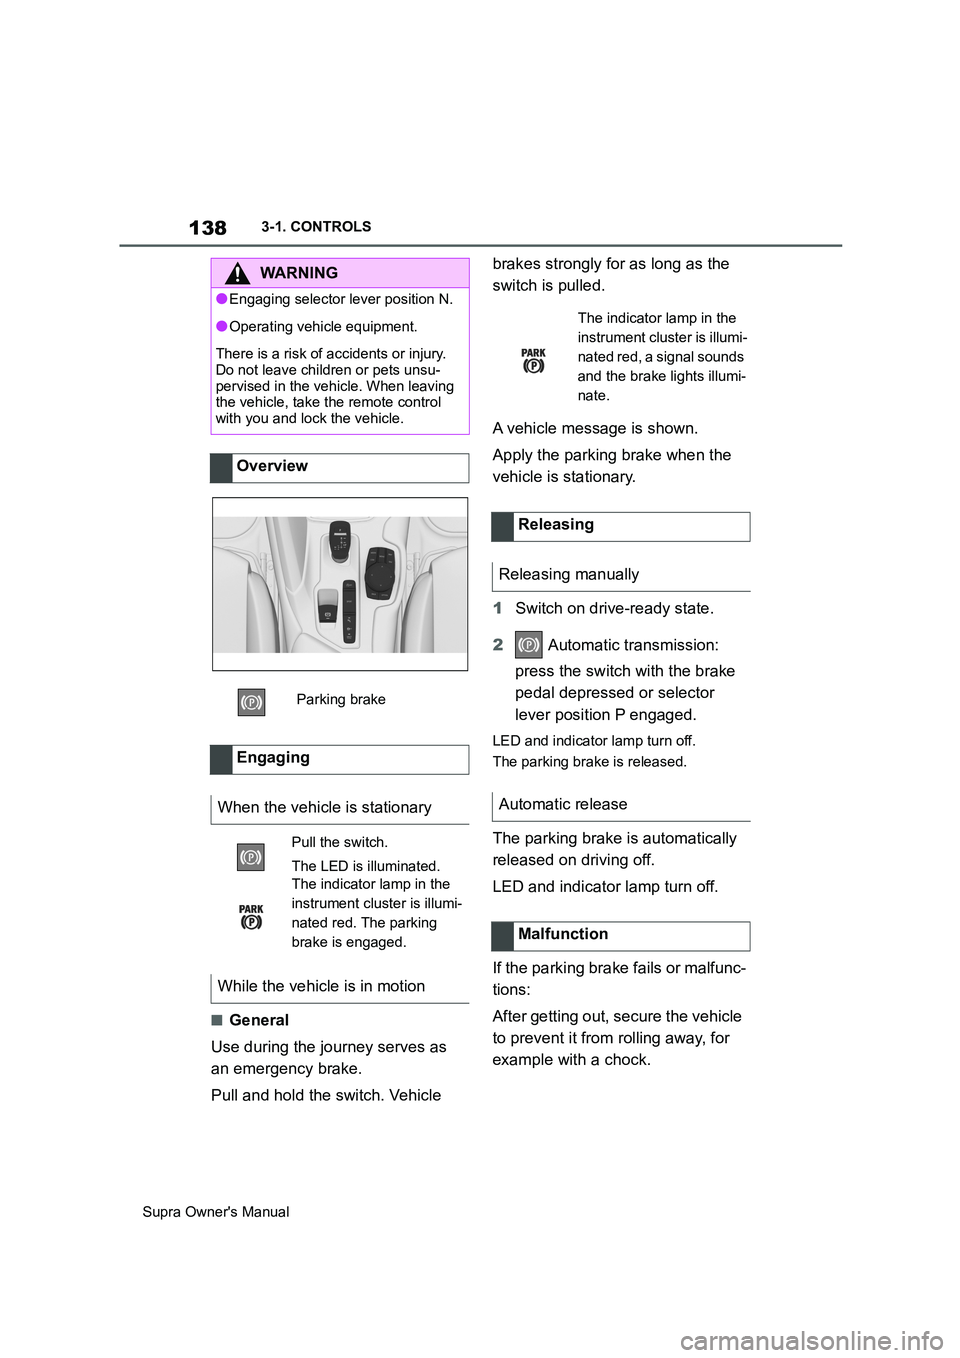
Overview
Parking brake
Engaging
When the vehicle is stationary
Pull the switch.
The LED is illuminated.
The indicator lamp in the
instrument cluster is illumi-
nated red. The parking
brake is engaged.
While the vehicle is in motion
The indicator lamp in the
instrument cluster is illumi-
nated red, a signal sounds
and the brake lights illumi-
nate.
Releasing
Releasing manually
Automatic release
Malfunction
Page 139 of 456
139
3
Supra Owner's Manual3-1. CONTROLS
CONTROLS
To restore parking brake functional-
ity after a power failure:
1Switch on standby state.
2 Pull the switch with the
brake pedal depressed or selec-
tor lever position P engaged and
then press it.
The procedure can take a few sec-
onds. Any sounds that occur are
normal.
Do not fold in the exterior mirrors
while driving or while operating the
turn indicators or hazard warning
lights to ensure that the turn indica-
tors in the exterior mirrors are well
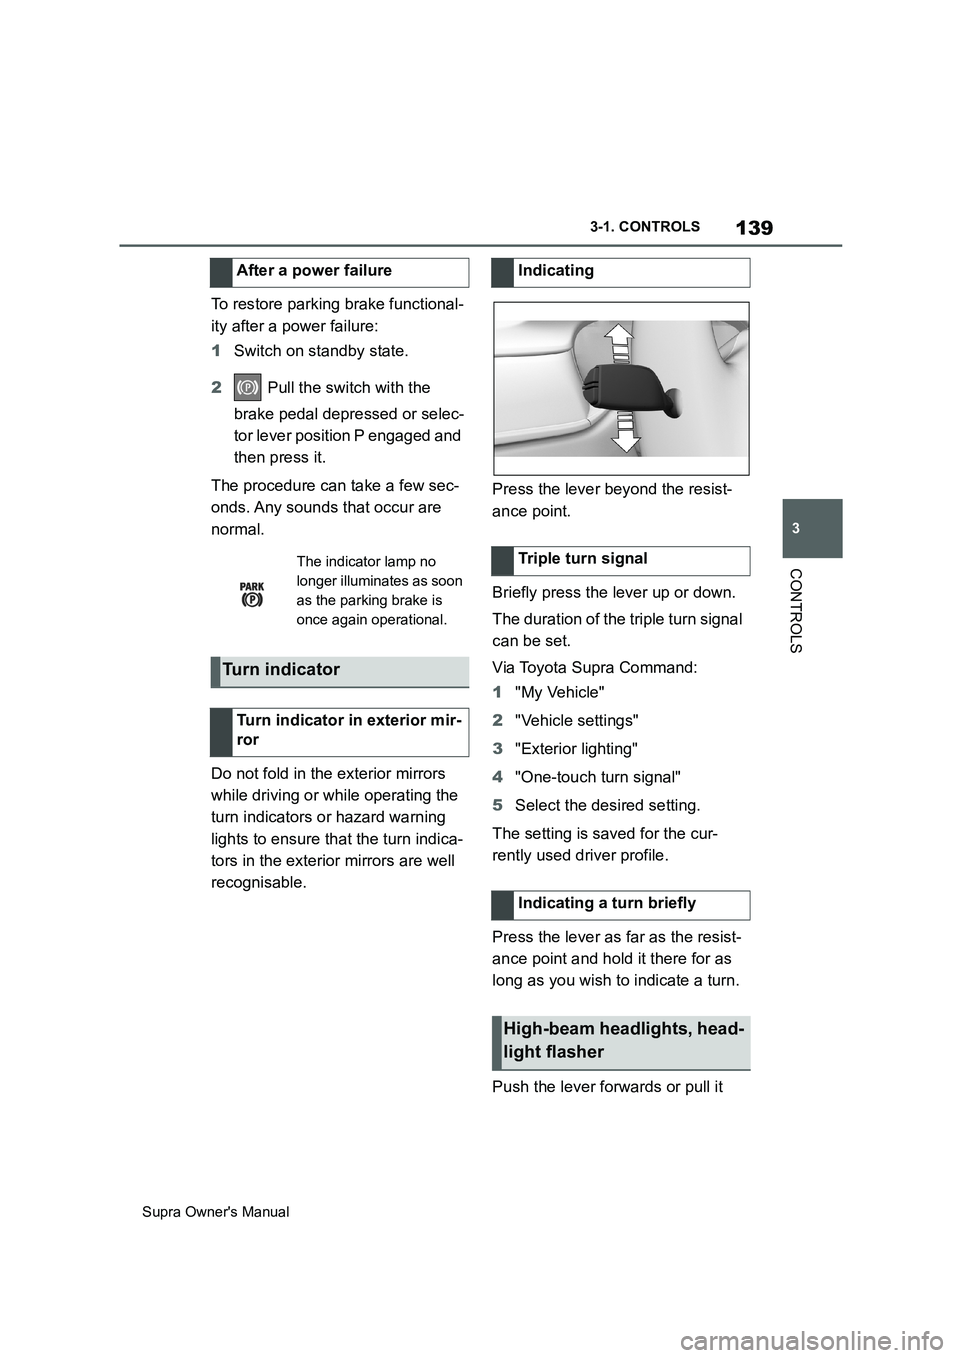
recognisable.Press the lever beyond the resist-
ance point.
Briefly press the lever up or down.
The duration of the triple turn signal
can be set.
Via Toyota Supra Command:
1"My Vehicle"
2"Vehicle settings"
3"Exterior lighting"
4"One-touch turn signal"
5Select the desired setting.
The setting is saved for the cur-
rently used driver profile.
Press the lever as far as the resist-
ance point and hold it there for as
long as you wish to indicate a turn.
Push the lever forwards or pull it After a power failure
The indicator lamp no
longer illuminates as soon
as the parking brake is
once again operational.
Turn indicator
Turn indicator in exterior mir-
ror
Indicating
Triple turn signal
Indicating a turn briefly
High-beam headlights, head-
light flasher
Page 140 of 456
140
Supra Owner's Manual3-1. CONTROLS
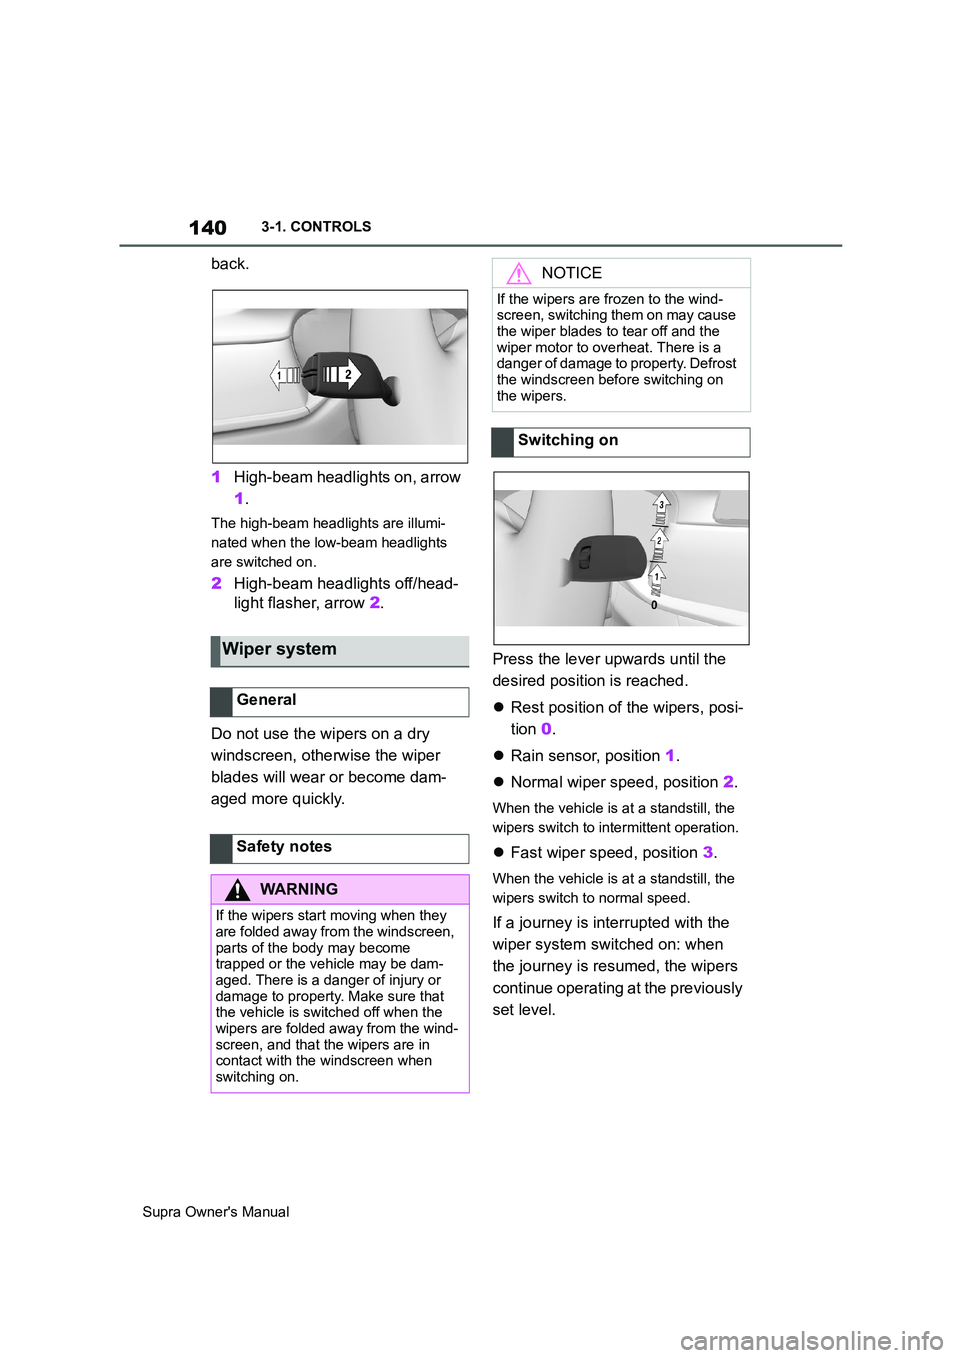
back.
1High-beam headlights on, arrow
1.
The high-beam headlights are illumi-
nated when the low-beam headlights
are switched on.
2High-beam headlights off/head-
light flasher, arrow 2.
Do not use the wipers on a dry
windscreen, otherwise the wiper
blades will wear or become dam-
aged more quickly.Press the lever upwards until the
desired position is reached.
Rest position of the wipers, posi-
tion 0.
Rain sensor, position 1.
Normal wiper speed, position 2.
When the vehicle is at a standstill, the
wipers switch to intermittent operation.
Fast wiper speed, position 3.
When the vehicle is at a standstill, the
wipers switch to normal speed.
If a journey is interrupted with the
wiper system switched on: when
the journey is resumed, the wipers
continue operating at the previously
set level.
Wiper system
General
Safety notes
WARNING
If the wipers start moving when they
are folded away from the windscreen,
parts of the body may become
trapped or the vehicle may be dam-
aged. There is a danger of injury or
damage to property. Make sure that
the vehicle is switched off when the
wipers are folded away from the wind-
screen, and that the wipers are in
contact with the windscreen when
switching on.
NOTICE
If the wipers are frozen to the wind-
screen, switching them on may cause
the wiper blades to tear off and the
wiper motor to overheat. There is a
danger of damage to property. Defrost
the windscreen before switching on
the wipers.
Switching on