2019 TOYOTA PROACE CITY VERSO child lock
[x] Cancel search: child lockPage 42 of 272
42
Electric unfolding
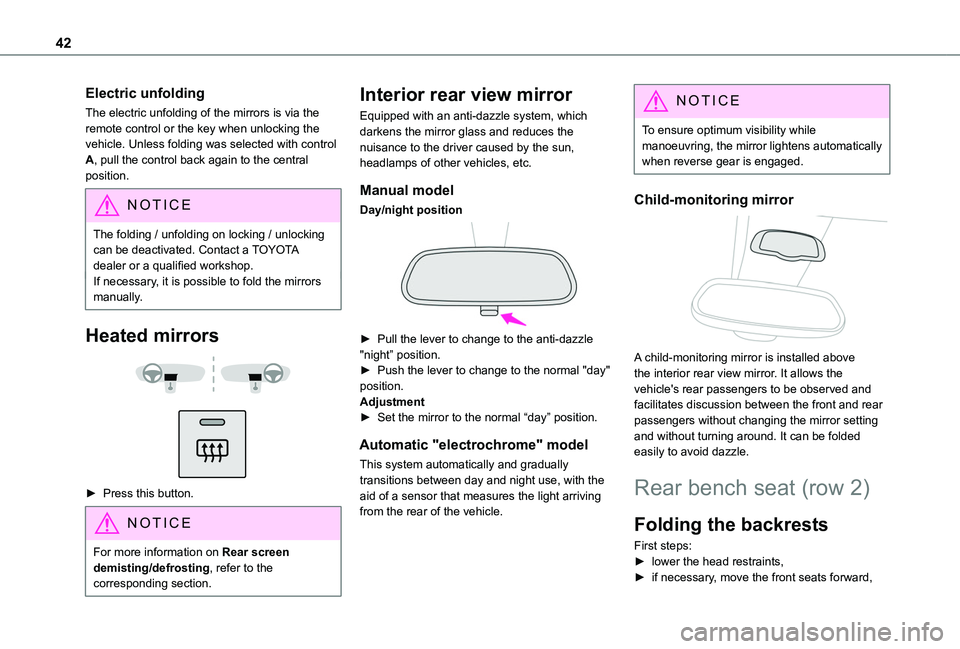
The electric unfolding of the mirrors is via the remote control or the key when unlocking the vehicle. Unless folding was selected with control A, pull the control back again to the central position.
NOTIC E
The folding / unfolding on locking / unlocking
can be deactivated. Contact a TOYOTA dealer or a qualified workshop.If necessary, it is possible to fold the mirrors manually.
Heated mirrors
► Press this button.
NOTIC E
For more information on Rear screen demisting/defrosting, refer to the corresponding section.
Interior rear view mirror
Equipped with an anti-dazzle system, which darkens the mirror glass and reduces the nuisance to the driver caused by the sun, headlamps of other vehicles, etc.
Manual model
Day/night position
► Pull the lever to change to the anti-dazzle "night” position.► Push the lever to change to the normal "day" position.Adjustment► Set the mirror to the normal “day” position.
Automatic "electrochrome" model
This system automatically and gradually transitions between day and night use, with the aid of a sensor that measures the light arriving from the rear of the vehicle.
NOTIC E
To ensure optimum visibility while manoeuvring, the mirror lightens automatically when reverse gear is engaged.
Child-monitoring mirror
A child-monitoring mirror is installed above the interior rear view mirror. It allows the vehicle's rear passengers to be observed and facilitates discussion between the front and rear passengers without changing the mirror setting and without turning around. It can be folded easily to avoid dazzle.
Rear bench seat (row 2)
Folding the backrests
First steps:► lower the head restraints,► if necessary, move the front seats forward,
Page 85 of 272
85
Safety
5
NOTIC E
It is recommended that children travel on the rear seats of the vehicle:– ‘rear facing’ up to the age of 3,– ‘forward facing’ over the age of 3.
WARNI NG
Make sure that the seat belt is correctly positioned and tightened.For child seats with a support leg, ensure that the support leg is in firm and steady contact with the floor.
WARNI NG
Remove and stow the head restraint before installing a child seat with backrest on a passenger seat. Refit the head restraint once the child seat has been removed.
Advice
WARNI NG
An incorrectly installed child seat compromises the child's safety in the event of an accident.Ensure that there is no seat belt or seat belt buckle under the child seat, as this could destabilise it.
Remember to fasten the seat belts or the harness of child seats, keeping the slack relative to the child's body to a minimum, even for short journeys.When installing a child seat using the seat belt, ensure that the seat belt is tightened correctly on the child seat and that it secures the child seat firmly on the seat of the vehicle. If the passenger seat is adjustable, move it forwards if necessary.Remove the head restraint before installing a child seat with a backrest on a passenger seat.Ensure that the head restraint is stored or attached securely to prevent it from being thrown around the vehicle in the event of sharp braking. Refit the head restraint once the child seat has been removed.
WARNI NG
Installing a booster seatThe chest part of the seat belt must be positioned on the child's shoulder without touching the neck.Ensure that the lap part of the seat belt passes correctly over the child's thighs.Use a booster seat with backrest, equipped with a belt guide at shoulder level.
WARNI NG
Additional protectionsTo prevent accidental opening of the doors and rear windows, use the "Child lock".Take care not to open the rear windows by more than one third.To protect young children from the rays of the sun, fit side blinds on the rear windows.As a safety precaution, do not leave:– a child alone and unattended in a vehicle,– a child or an animal in a vehicle which is exposed to the sun, with the windows closed,– the keys within reach of children inside the vehicle.
Page 94 of 272
94
Manual child lock
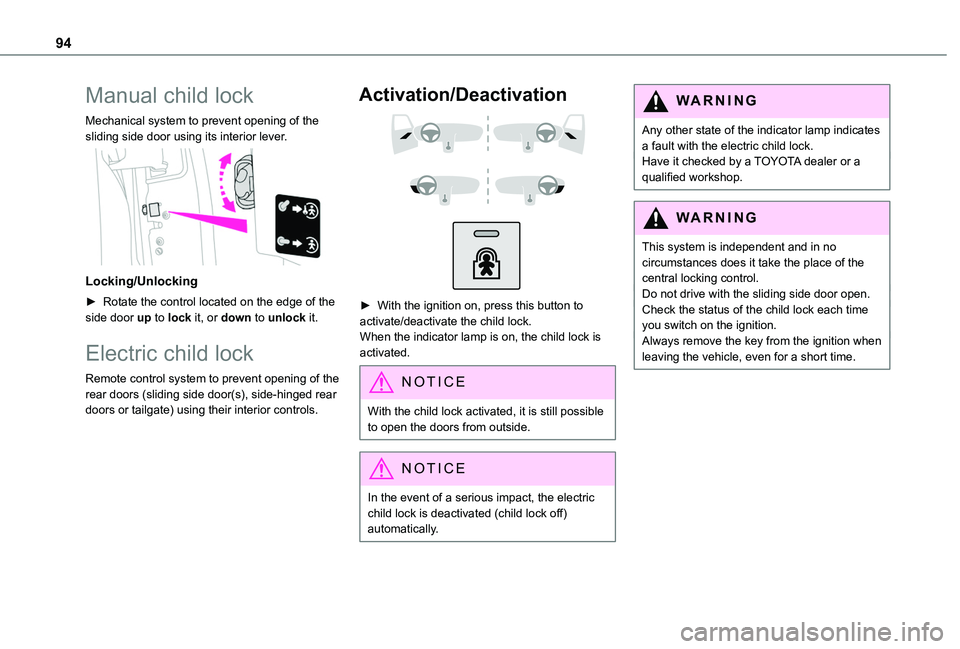
Mechanical system to prevent opening of the sliding side door using its interior lever.
Locking/Unlocking
► Rotate the control located on the edge of the side door up to lock it, or down to unlock it.
Electric child lock
Remote control system to prevent opening of the rear doors (sliding side door(s), side-hinged rear doors or tailgate) using their interior controls.
Activation/Deactivation
► With the ignition on, press this button to activate/deactivate the child lock.When the indicator lamp is on, the child lock is activated.
NOTIC E
With the child lock activated, it is still possible to open the doors from outside.
NOTIC E
In the event of a serious impact, the electric child lock is deactivated (child lock off) automatically.
WARNI NG
Any other state of the indicator lamp indicates a fault with the electric child lock.Have it checked by a TOYOTA dealer or a qualified workshop.
WARNI NG
This system is independent and in no circumstances does it take the place of the central locking control.Do not drive with the sliding side door open.Check the status of the child lock each time you switch on the ignition.Always remove the key from the ignition when leaving the vehicle, even for a short time.
Page 160 of 272
160
Precautions for use
AdBlue® is a urea-based solution. This fluid is non-flammable, colourless and odourless (when kept in a cool place).In the event of contact with the skin, wash the affected area with soap and running water. In the event of contact with the eyes, immediately rinse the eyes with large amounts of water or with an eye wash solution for at least 15 minutes. Seek medical attention if you feel a persistent burning sensation or irritation.If swallowed, immediately wash out the mouth with clean water and then drink plenty of water.In certain conditions (high temperature, for example), the risk of release of ammonia cannot be excluded: do not inhale the fluid. Ammonia vapours have an irritant effect on mucous membranes (eyes, nose and throat).
WARNI NG
Store AdBlue® out of the reach of children, in its original container.
Procedure
Before starting the top-up procedure, ensure that the vehicle is parked on a flat and level surface.In wintry conditions, ensure that the temperature of the vehicle is above -11 °C. Otherwise the AdBlue® may be frozen and so cannot be poured into its tank. Park the vehicle in a warmer area
for a few hours to allow the top-up to be carried out.
WARNI NG
Never put the AdBlue® into the Diesel fuel tank.
WARNI NG
If any AdBlue® is splashed, or if there are any spillages on the bodywork, rinse immediately with cold water or wipe with a damp cloth.If the fluid has crystallised, clean it off using a sponge and hot water.
WARNI NG
Important: in the event of a top-up after a breakdown because of a lack of AdBlue, it is essential to wait around 5 minutes before switching on the ignition, without opening the driver’s door, unlocking the vehicle, introducing the key into the ignition switch, or introducing the key of the “Keyless Entry and Starting ” system into the passenger compartment.Switch on the ignition, then wait for 10 seconds before starting the engine.
► Switch off the ignition and remove the key from the switch to switch off the engine.
or► With Keyless Entry and Starting, press the "START/STOP" button to switch off the engine.
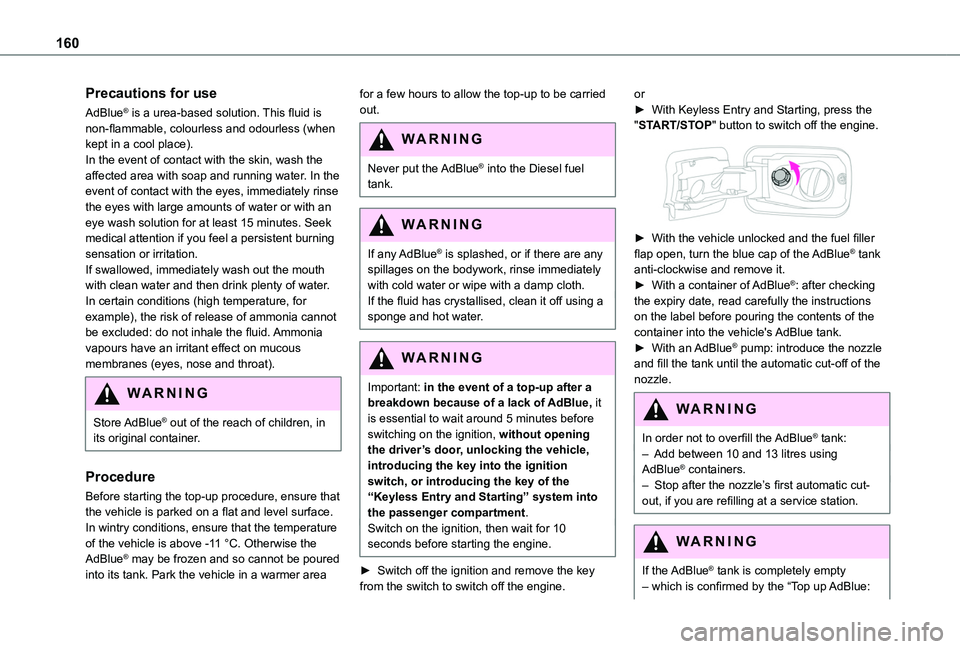
► With the vehicle unlocked and the fuel filler flap open, turn the blue cap of the AdBlue® tank anti-clockwise and remove it.► With a container of AdBlue®: after checking the expiry date, read carefully the instructions on the label before pouring the contents of the container into the vehicle's AdBlue tank.► With an AdBlue® pump: introduce the nozzle and fill the tank until the automatic cut-off of the nozzle.
WARNI NG
In order not to overfill the AdBlue® tank:– Add between 10 and 13 litres using AdBlue® containers.– Stop after the nozzle’s first automatic cut-out, if you are refilling at a service station.
WARNI NG
If the AdBlue® tank is completely empty – which is confirmed by the “Top up AdBlue:
Page 245 of 272
245
Alphabetical index
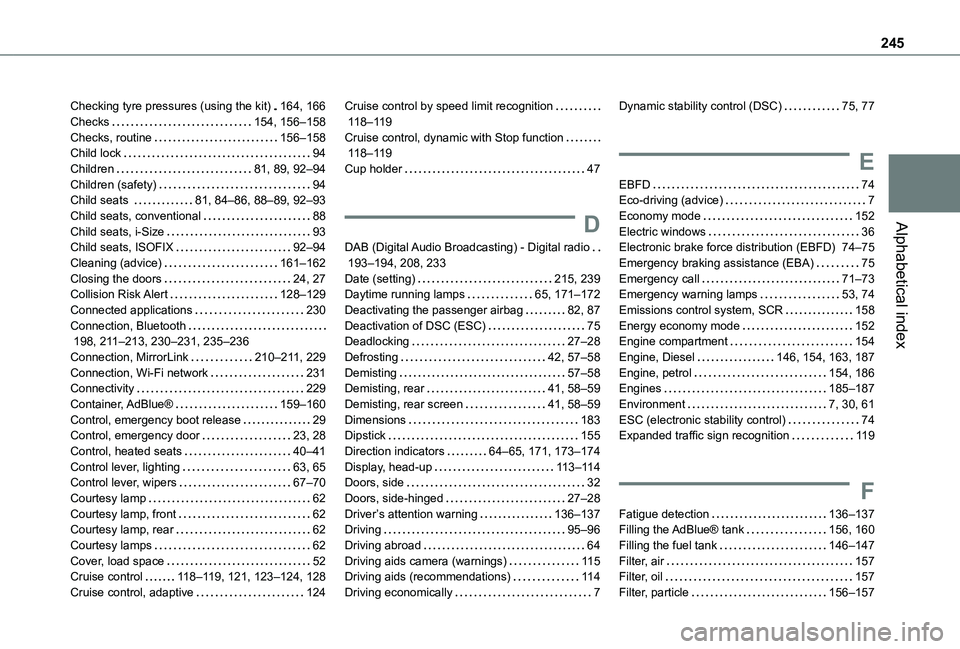
Checking tyre pressures (using the kit) 164, 166Checks 154, 156–158Checks, routine 156–158Child lock 94Children 81, 89, 92–94Children (safety) 94Child seats 81, 84–86, 88–89, 92–93Child seats, conventional 88Child seats, i-Size 93Child seats, ISOFIX 92–94Cleaning (advice) 161–162Closing the doors 24, 27Collision Risk Alert 128–129Connected applications 230Connection, Bluetooth 198, 2 11–213, 230–231, 235–236Connection, MirrorLink 210–2 11, 229Connection, Wi-Fi network 231Connectivity 229Container, AdBlue® 159–160Control, emergency boot release 29Control, emergency door 23, 28
Control, heated seats 40–41Control lever, lighting 63, 65Control lever, wipers 67–70Courtesy lamp 62Courtesy lamp, front 62Courtesy lamp, rear 62Courtesy lamps 62Cover, load space 52Cruise control 11 8–11 9, 121, 123–124, 128Cruise control, adaptive 124
Cruise control by speed limit recognition 11 8–11 9Cruise control, dynamic with Stop function 11 8–11 9Cup holder 47
D
DAB (Digital Audio Broadcasting) - Digital radio 193–194, 208, 233Date (setting) 215, 239Daytime running lamps 65, 171–172Deactivating the passenger airbag 82, 87Deactivation of DSC (ESC) 75Deadlocking 27–28Defrosting 42, 57–58Demisting 57–58Demisting, rear 41, 58–59Demisting, rear screen 41, 58–59Dimensions 183Dipstick 155
Direction indicators 64–65, 171, 173–174Display, head-up 11 3–11 4Doors, side 32Doors, side-hinged 27–28Driver’s attention warning 136–137Driving 95–96Driving abroad 64Driving aids camera (warnings) 11 5Driving aids (recommendations) 11 4Driving economically 7
Dynamic stability control (DSC) 75, 77
E
EBFD 74Eco-driving (advice) 7Economy mode 152Electric windows 36Electronic brake force distribution (EBFD) 74–75Emergency braking assistance (EBA) 75Emergency call 71–73Emergency warning lamps 53, 74Emissions control system, SCR 158Energy economy mode 152Engine compartment 154Engine, Diesel 146, 154, 163, 187Engine, petrol 154, 186Engines 185–187Environment 7, 30, 61ESC (electronic stability control) 74Expanded traffic sign recognition 11 9
F
Fatigue detection 136–137Filling the AdBlue® tank 156, 160Filling the fuel tank 146–147Filter, air 157Filter, oil 157Filter, particle 156–157
Page 247 of 272
247
Alphabetical index
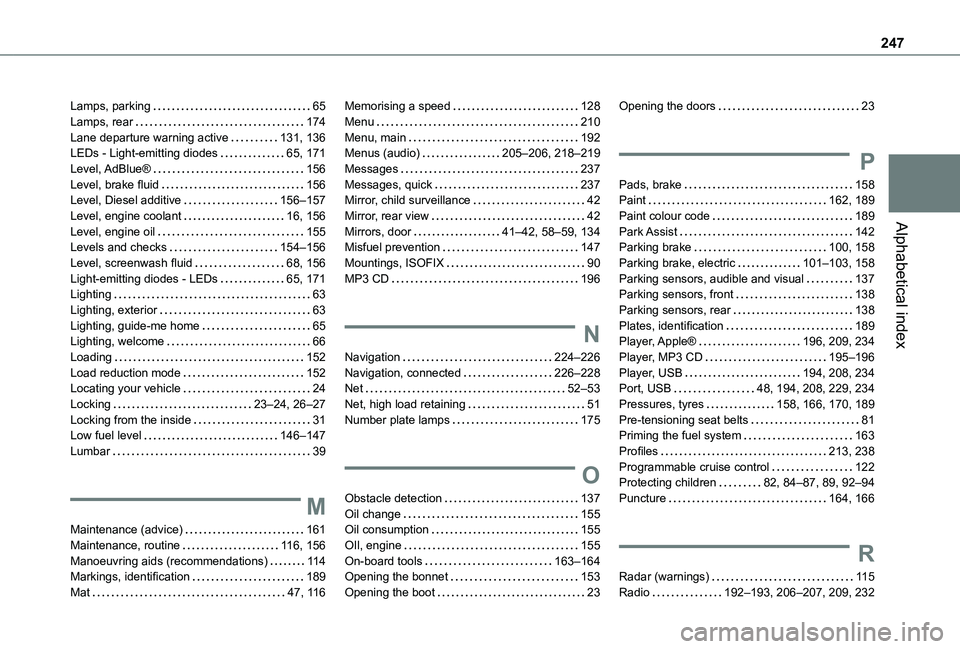
Lamps, parking 65Lamps, rear 174Lane departure warning active 131, 136LEDs - Light-emitting diodes 65, 171Level, AdBlue® 156Level, brake fluid 156Level, Diesel additive 156–157Level, engine coolant 16, 156Level, engine oil 155Levels and checks 154–156Level, screenwash fluid 68, 156Light-emitting diodes - LEDs 65, 171Lighting 63Lighting, exterior 63Lighting, guide-me home 65Lighting, welcome 66Loading 152Load reduction mode 152Locating your vehicle 24Locking 23–24, 26–27Locking from the inside 31Low fuel level 146–147
Lumbar 39
M
Maintenance (advice) 161Maintenance, routine 11 6, 156Manoeuvring aids (recommendations) 11 4Markings, identification 189Mat 47, 11 6
Memorising a speed 128Menu 210Menu, main 192Menus (audio) 205–206, 218–219Messages 237Messages, quick 237Mirror, child surveillance 42Mirror, rear view 42Mirrors, door 41–42, 58–59, 134Misfuel prevention 147Mountings, ISOFIX 90MP3 CD 196
N
Navigation 224–226Navigation, connected 226–228Net 52–53Net, high load retaining 51Number plate lamps 175
O
Obstacle detection 137Oil change 155Oil consumption 155OIl, engine 155On-board tools 163–164Opening the bonnet 153Opening the boot 23
Opening the doors 23
P
Pads, brake 158Paint 162, 189Paint colour code 189Park Assist 142Parking brake 100, 158Parking brake, electric 101–103, 158Parking sensors, audible and visual 137Parking sensors, front 138Parking sensors, rear 138Plates, identification 189Player, Apple® 196, 209, 234Player, MP3 CD 195–196Player, USB 194, 208, 234Port, USB 48, 194, 208, 229, 234Pressures, tyres 158, 166, 170, 189Pre-tensioning seat belts 81Priming the fuel system 163
Profiles 213, 238Programmable cruise control 122Protecting children 82, 84–87, 89, 92–94Puncture 164, 166
R
Radar (warnings) 11 5Radio 192–193, 206–207, 209, 232