Page 61 of 696

GETTING TO KNOW YOUR VEHICLE 59
Automatic Dimming Mirror With Rear View Camera
Display — If Equipped
A single ball joint mirror is provided in the vehicle. It is a
twist on mirror that has a fixed position at the windshield.
The mirror installs on the windshield button with a counter-
clockwise rotation and requires no tools for mounting. The
mirror head can be adjusted up, down, left, and right for
various drivers. The mirror should be adjusted to center on
the view through the rear window.
This mirror automatically adjusts for headlight glare from
vehicles behind you.
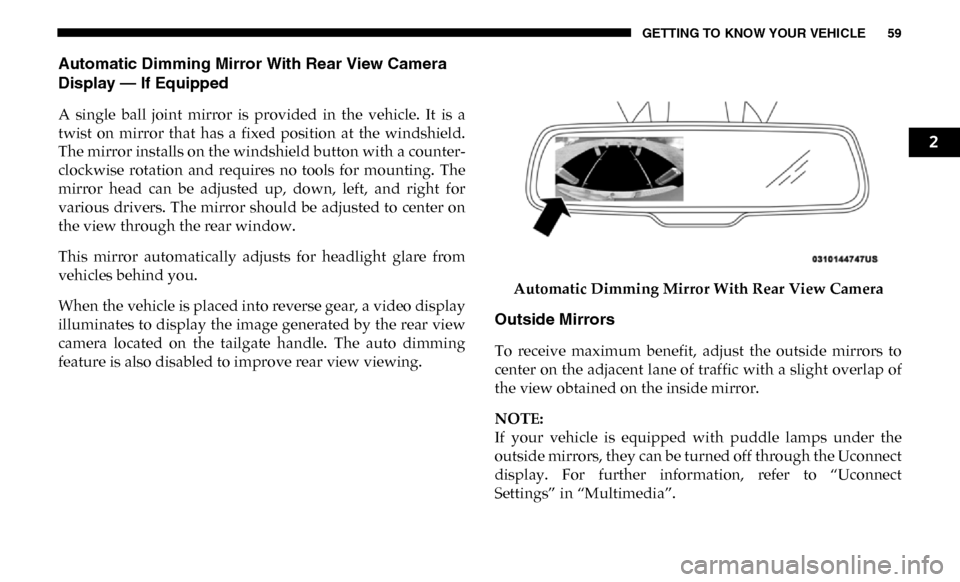
When the vehicle is placed into reverse gear, a video display
illuminates to display the image generated by the rear view
camera located on the tailgate handle. The auto dimming
feature is also disabled to improve rear view viewing. Automatic Dimming Mirror With Rear View Camera
Outside Mirrors
To receive maximum benefit, adjust the outside mirrors to
center on the adjacent lane of traffic with a slight overlap of
the view obtained on the inside mirror.
NOTE:
If your vehicle is equipped with puddle lamps under the
outside mirrors, they can be turned off through the Uconnect
display. For further information, refer to “Uconnect
Settings” in “Multimedia”.
2
Page 73 of 696
GETTING TO KNOW YOUR VEHICLE 71
Front Fog Lights — If Equipped
To activate the front fog lights, turn on the parking lights or
low beam headlights and push in the center of the headlight
switch control knob. Pushing the headlight switch control
knob a second time will turn the front fog lights off.Front Fog Light Switch
Turn Signals
Move the multifunction lever up or down and the arrows on
each side of the instrument cluster display will flash to show
proper operation of the front and rear turn signal lights.
NOTE:
If either light remains on and does not flash, or there is a very
fast flash rate, check for a defective outside light bulb. If an
indicator fails to light when the lever is moved, it would
suggest that the indicator bulb is defective.
Lane Change Assist — If Equipped
Tap the multifunction lever up or down once, without
moving beyond the detent, and the turn signal (right or left)
will flash three times then automatically turn off.
2
Page 74 of 696

72 GETTING TO KNOW YOUR VEHICLE
Cargo Light With Bed Lights — If Equipped
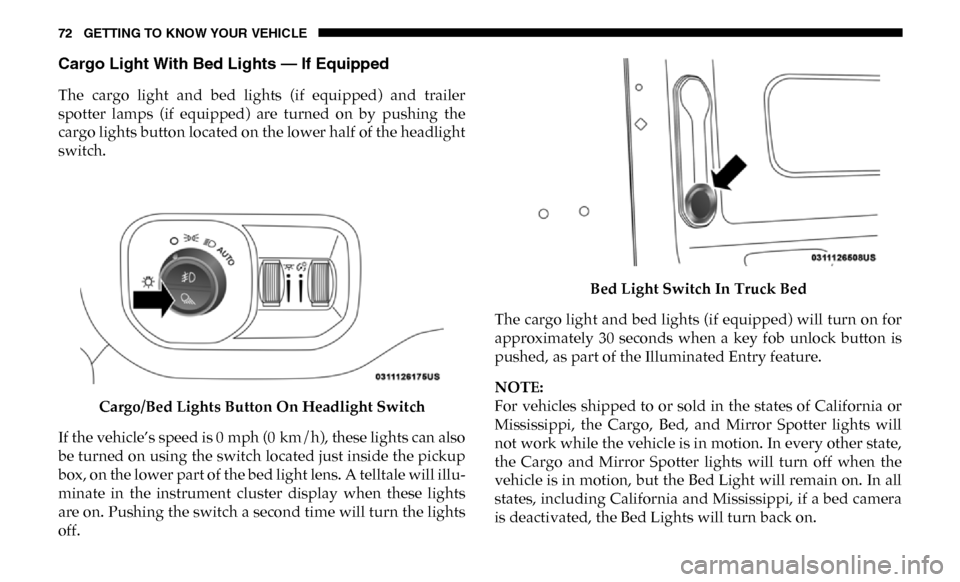
The cargo light and bed lights (if equipped) and trailer
spotter lamps (if equipped) are turned on by pushing the
cargo lights button located on the lower half of the headlight
switch.Cargo/Bed Lights Button On Headlight Switch
If the vehicle’s speed is 0 mph (0 km/h), these lights can also
be turned on using the switch located just inside the pickup
box, on the lower part of the bed light lens. A telltale will illu-
minate in the instrument cluster display when these lights
are on. Pushing the switch a second time will turn the lights
off. Bed Light Switch In Truck Bed
The cargo light and bed lights (if equipped) will turn on for
approximately 30 seconds when a key fob unlock button is
pushed, as part of the Illuminated Entry feature.
NOTE:
For vehicles shipped to or sold in the states of California or
Mississippi, the Cargo, Bed, and Mirror Spotter lights will
not work while the vehicle is in motion. In every other state,
the Cargo and Mirror Spotter lights will turn off when the
vehicle is in motion, but the Bed Light will remain on. In all
states, including California and Mississippi, if a bed camera
is deactivated, the Bed Lights will turn back on.
Page 85 of 696
GETTING TO KNOW YOUR VEHICLE 83
Climate Controls With A Touchscreen Overview
Uconnect 4/4C/4C NAV With 8.4–inch Display Automatic Temperature Controls
2
Page 86 of 696
84 GETTING TO KNOW YOUR VEHICLE
Uconnect 4C NAV With 12–inch Display Automatic Temperature Controls Control Descriptions
NOTE:
Icons and descriptions can vary based upon vehicle equip
-
ment.
Page 89 of 696

GETTING TO KNOW YOUR VEHICLE 87
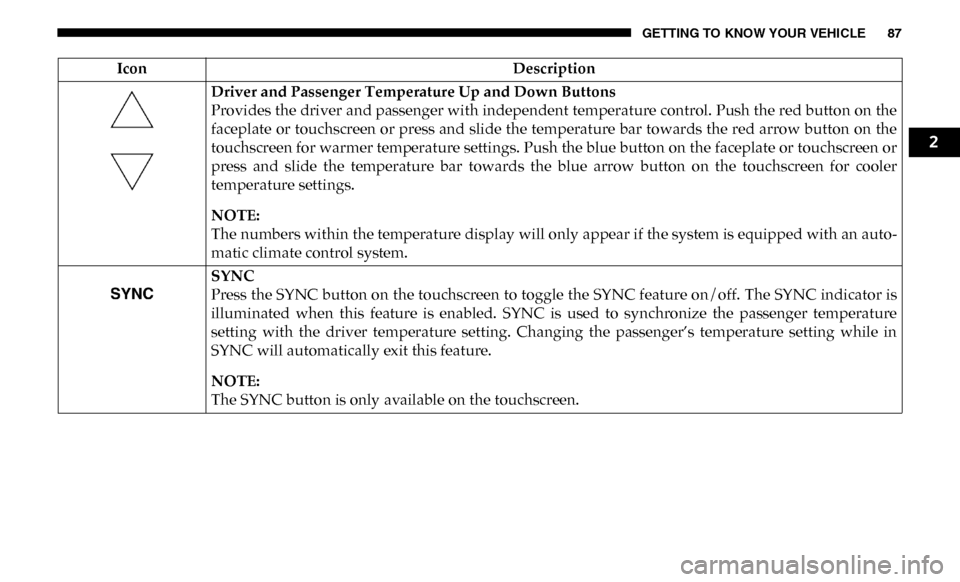
Driver and Passenger Temperature Up and Down Buttons
Provides the driver and passenger with independent temperature control. Push the red button on the
faceplate or touchscreen or press and slide the temperature bar towards the red arrow button on the
touchscreen for warmer temperature settings. Push the blue button on the faceplate or touchscreen or
press and slide the temperature bar towards the blue arrow button on the touchscreen for cooler
temperature settings.
NOTE:
The numbers within the temperature display will only appear if the system is equipped with an auto-
matic climate control system.
SYNC
Press the SYNC button on the touchscreen to toggle the SYNC feature on/off. The SYNC indicator is
illuminated when this feature is enabled. SYNC is used to synchronize the passenger temperature
setting with the driver temperature setting. Changing the passenger’s temperature setting while in
SYNC will automatically exit this feature.
NOTE:
The SYNC button is only available on the touchscreen.
Icon
Description
2
Page 90 of 696

88 GETTING TO KNOW YOUR VEHICLE
Blower Control Knob
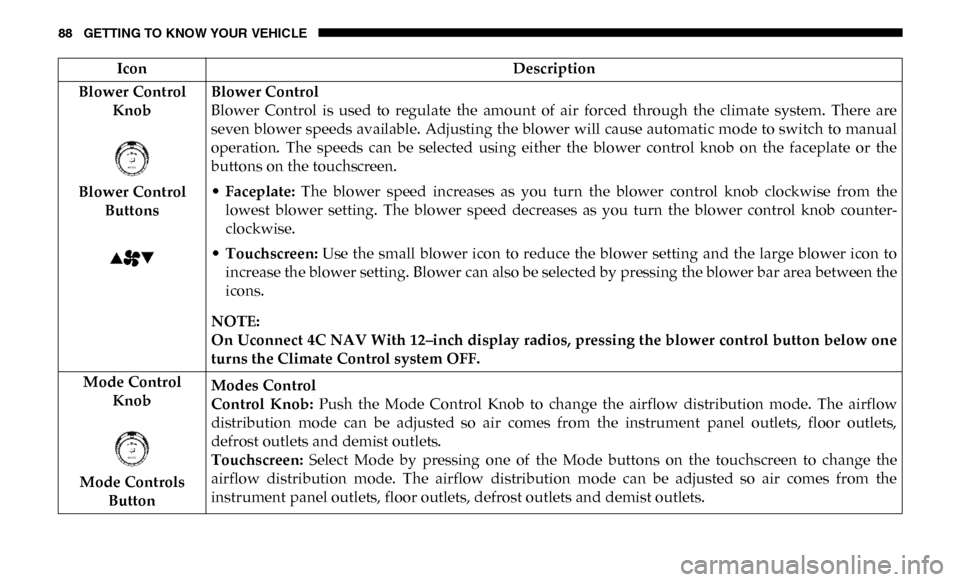
Blower Control Buttons Blower Control
Blower Control is used to regulate the amount of air forced through the climate system. There are
seven blower speeds available. Adjusting the blower will cause automatic mode to switch to manual
operation. The speeds can be selected using either the blower control knob on the faceplate or the
buttons on the touchscreen.
•
Faceplate: The blower speed increases as you turn the blower control knob clockwise from the
lowest blower setting. The blower speed decreases as you turn the blower control knob counter -
clockwise.
• Touchscreen: Use the small blower icon to reduce the blower setting and the large blower icon to
increase the blower setting. Blower can also be selected by pressing the blower bar area between the
icons.
NOTE:
On Uconnect 4C NAV With 12–inch display radios, pressing the blower control button below one
turns the Climate Control system OFF.
Mode Control Knob
Mode Controls Button Modes Control
Control Knob:
Push the Mode Control Knob to change the airflow distribution mode. The airflow
distribution mode can be adjusted so air comes from the instrument panel outlets, floor outlets,
defrost outlets and demist outlets.
Touchscreen: Select Mode by pressing one of the Mode buttons on the touchscreen to change the
airflow distribution mode. The airflow distribution mode can be adjusted so air comes from the
instrument panel outlets, floor outlets, defrost outlets and demist outlets.
Icon
Description
Page 93 of 696

GETTING TO KNOW YOUR VEHICLE 91
Automatic Temperature Control (ATC)
Automatic Operation
1. Push the AUTO button on the faceplate, or the AUTObutton on the touchscreen on the Automatic Temperature
Control (ATC) Panel.
2. Next, adjust the temperature you would like the system to maintain by adjusting the driver and passenger
temperature control buttons. Once the desired tempera -
ture is displayed, the system will achieve and automati -
cally maintain that comfort level.
3. When the system is set up for your comfort level, it is not necessary to change the settings. You will experience the
greatest efficiency by simply allowing the system to func -
tion automatically.
NOTE:
• It is not necessary to move the temperature settings for cold or hot vehicles. The system automatically adjusts the
temperature, mode, and blower speed to provide comfort
as quickly as possible. • The temperature can be displayed in U.S. or Metric units
by selecting the US/Metric customer-programmable
feature. Refer to the “Uconnect Settings” in “Multimedia”
for further information.
To provide you with maximum comfort in the Automatic
mode during cold start-ups, the blower fan will remain on
low until the engine warms up. The blower will increase in
speed and transition into Auto mode.
Manual Operation Override
This system offers a full complement of manual override
features. The AUTO symbol in the front ATC display will be
turned off when the system is being used in the manual
mode.
Operating Tips
NOTE:
Refer to the chart at the end of this section for suggested
control settings for various weather conditions.
2