Page 457 of 682
VK56VD engine (XD model)
1. Windshield-washer fluid reservoir
2. Fuse box
3. Engine oil dipstick
4. Power steering fluid reservoir
5. Engine oil filler cap
6. Brake fluid reservoir
7. Air cleaner
8. Fuse/Fusible link box
9. Engine coolant reservoir
10. Drive belt location
11. Battery
12. Radiator cap
For additional information on the Cum-
mins 5.0L engine, refer to the Titan Diesel
Owner’s Manual.
LDI3293
8-4Do-it-yourself
Page 460 of 682

Engine coolant must be disposed of prop-
erly. Check your local regulations.
For additional information on changing the
Cummins 5.0L engine coolant, refer to the
Titan Diesel Owner’s Manual.
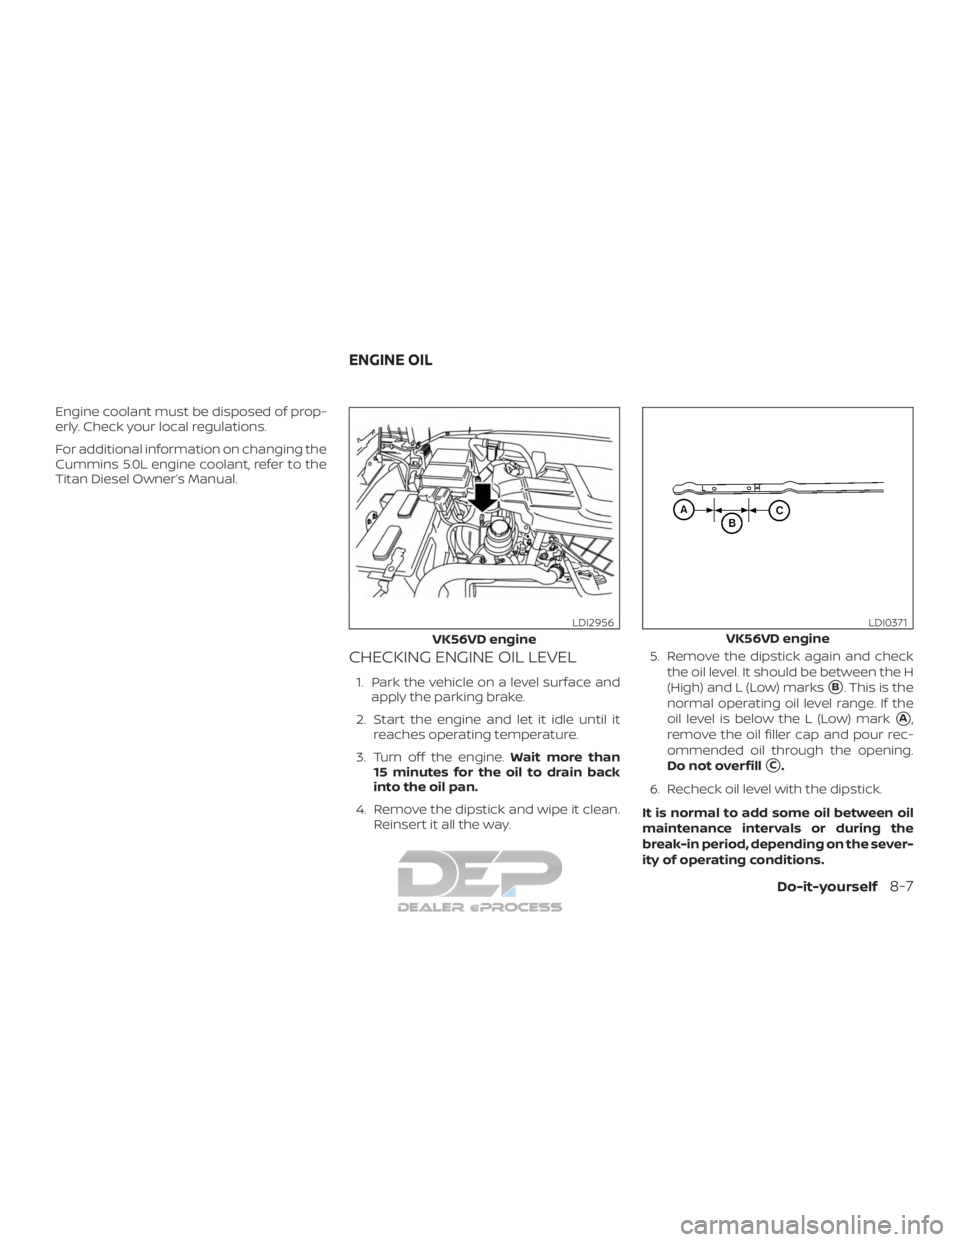
CHECKING ENGINE OIL LEVEL
1. Park the vehicle on a level surface andapply the parking brake.
2. Start the engine and let it idle until it reaches operating temperature.
3. Turn off the engine. Wait more than
15 minutes for the oil to drain back
into the oil pan.
4. Remove the dipstick and wipe it clean. Reinsert it all the way. 5. Remove the dipstick again and check
the oil level. It should be between the H
(High) and L (Low) marks�B. This is the
normal operating oil level range. If the
oil level is below the L (Low) mark
�A,
remove the oil filler cap and pour rec-
ommended oil through the opening.
Do not overfill
�C.
6. Recheck oil level with the dipstick.
It is normal to add some oil between oil
maintenance intervals or during the
break-in period, depending on the sever-
ity of operating conditions.
VK56VD engine
LDI2956
VK56VD engine
LDI0371
ENGINE OIL
Do-it-yourself8-7
Page 462 of 682

WARNING
∙ Prolonged and repeated contact withused engine oil may cause skin
cancer.
∙ Try to avoid direct skin contact with used oil. If skin contact is made, wash
thoroughly with soap or hand cleaner
as soon as possible.
∙ Keep used engine oil out of reach of children.
CAUTION
Be careful not to burn yourself. The en-
gine oil may be hot.
7. Clean and reinstall the drain plug and a new washer. Securely tighten the drain
plug with a wrench. Do not use exces-
sive force.
Drain plug tightening torque: 25 f t-lb (34 N·m) 8. Refill engine with recommended oil
through the oil filler opening, then in-
stall the oil filler cap securely.
For additional information on drain
and refill capacity, refer to “Recom-
mended fluids/lubricants and capaci-
ties” in the “Technical and consumer
information” section of this manual.
The drain and refill capacity depends
on the oil temperature and drain time.
Use these specifications for reference
only. Always use the dipstick to deter-
mine when the proper amount of oil is
in the engine.
9. Start the engine. Check for leakage around the drain plug and oil filter. Cor-
rect as required.
10. Turn the engine off and wait more than 15 minutes. Check the oil level with the
dipstick. Add engine oil if necessary.
For additional information on changing the
Cummins 5.0L engine oil, refer to the Titan
Diesel Owner’s Manual.
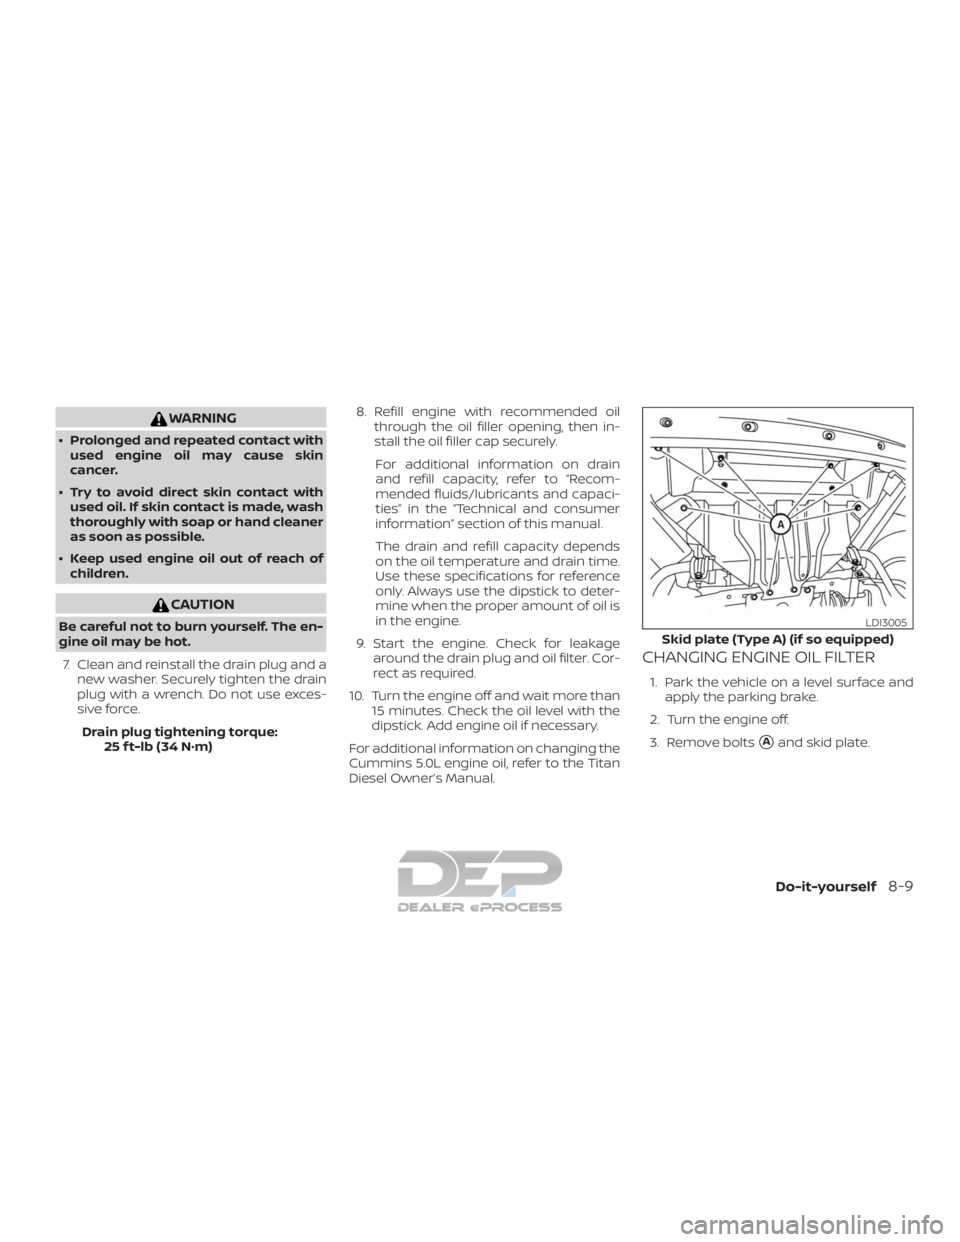
CHANGING ENGINE OIL FILTER
1. Park the vehicle on a level surface and apply the parking brake.
2. Turn the engine off.
3. Remove bolts
�Aand skid plate.
Skid plate (Type A) (if so equipped)
LDI3005
Do-it-yourself8-9
Page 655 of 682
1. Windshield-washer fluid reservoir
2. Fuse box
3. Fuse/Fusible link box
4. Engine coolant reservoir
5. Fuel filter (Stage 2)
6. Engine oil filler cap
7. Brake fluid reservoir
8. Air cleaner
9. Battery
10. Power steering fluid reservoir
11. Radiator cap
12. Engine oil dipstick
13. Drive belt location
14. Fuse/Fusible link box
15. Battery
Cummins 5.0L
LDI2870
ENGINE COMPARTMENT CHECK
LOCATIONS
7-2Do-it-yourself
Page 658 of 682

CAUTION
Your vehicle may require more frequent
maintenance if it operates on biodiesel
blends between 6% and 10% (B6 and
B10). To avoid damage to your vehicle,
the oil, oil filter, and fuel filter will need
to be replaced af ter a shorter time in-
terval than if your vehicle was operat-
ing on pure petroleum-based diesel.
For additional information, refer to the
“Maintenance and schedules” section in
the Titan Owner’s Manual.
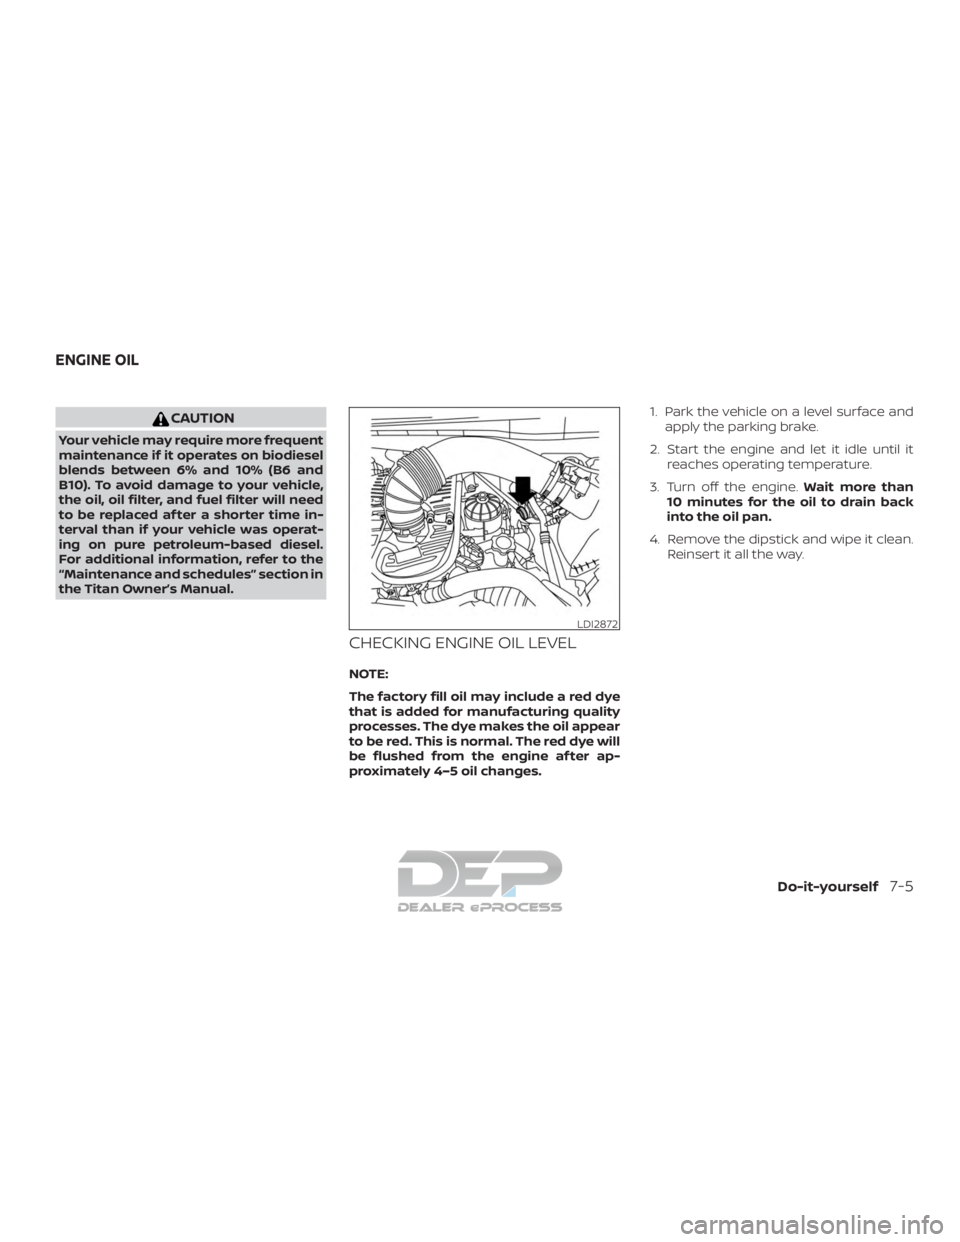
CHECKING ENGINE OIL LEVEL
NOTE:
The factory fill oil may include a red dye
that is added for manufacturing quality
processes. The dye makes the oil appear
to be red. This is normal. The red dye will
be flushed from the engine af ter ap-
proximately 4–5 oil changes.1. Park the vehicle on a level surface and
apply the parking brake.
2. Start the engine and let it idle until it reaches operating temperature.
3. Turn off the engine. Wait more than
10 minutes for the oil to drain back
into the oil pan.
4. Remove the dipstick and wipe it clean. Reinsert it all the way.
LDI2872
ENGINE OIL
Do-it-yourself7-5
Page 659 of 682
5. Remove the dipstick again and checkthe oil level. It should be between the
high and low marks
�B. This is the nor-
mal operating oil level range. If the oil
level is below the low mark
�A, remove
the oil filler cap and pour recom-
mended oil through the opening. Do
not overfill
�C.
6. Recheck oil level with the dipstick.
It is normal to add some oil between oil
maintenance intervals or during the
break-in period, depending on the sever-
ity of operating conditions.
CAUTION
Oil level should be checked regularly.
Operating the engine with an insuffi-
cient amount of oil can damage the en-
gine, and such damage is not covered
by warranty.
CHANGING ENGINE OIL
LDI2873
LDI2874
7-6Do-it-yourself
Page 660 of 682

NOTE:
The factory fill oil may include a red dye
that is added for manufacturing quality
processes. The dye makes the oil appear
to be red. This is normal. The red dye will
be flushed from the engine af ter ap-
proximately 4–5 oil changes.1. Park the vehicle on a level surface and apply the parking brake.
2. Start the engine and let it idle until it reaches operating temperature, then
turn it off.
3. Remove the oil filler cap
�Aby turning it
counterclockwise.
4. Place a large drain pan under the drain plug
�B.
5. Remove the drain plug
�Bwith a
wrench by turning it counterclockwise
and completely drain the oil.
Remove and replace the engine oil fil-
ter at this time. For additional informa-
tion, refer to “Changing engine oil filter”
in this section.
∙ Waste oil must be disposed of prop-
erly.
∙ Check your local regulations.
WARNING
∙ Prolonged and repeated contact with
used engine oil may cause skin
cancer.
∙ Try to avoid direct skin contact with used oil. If skin contact is made, wash
thoroughly with soap or hand cleaner
as soon as possible.
∙ Keep used engine oil out of reach of children.
CAUTION
Be careful not to burn yourself. The en-
gine oil may be hot.
6. Clean and reinstall the drain plug. Se- curely tighten the drain plug with a
wrench. Do not use excessive force.
Drain plug tightening torque: 25 f t-lb (34 N·m) 7. Refill engine with recommended oil
through the oil filler opening, then install
the oil filler cap securely.
For additional information on drain
and refill capacity, refer to “Recom-
mended fluids/lubricants and capaci-
ties” in the “Capacities and specifica-
tions” section of this manual.
The drain and refill capacity depends
on the oil temperature and drain time.
Use these specifications for reference
only. Always use the dipstick to deter-
mine when the proper amount of oil is
in the engine.
8. Start the engine. Check for leakage around the drain plug and oil filter. Cor-
rect as required.
9. Turn the engine off and wait more than 10 minutes. Check the oil level with the
dipstick. Add engine oil if necessary.
NOTE:
For additional information on resetting
the oil control system, refer to “Resetting
the oil control system” in the “Instrument
panel” section of this manual.
Do-it-yourself7-7